
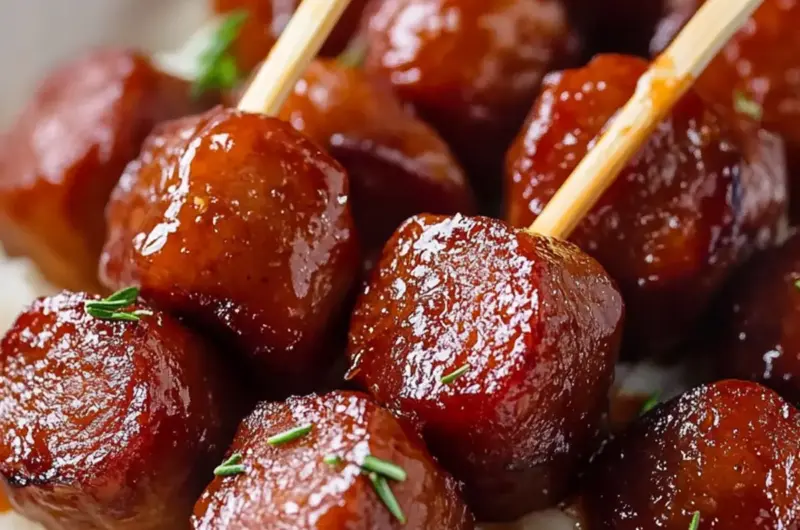
There’s something truly captivating about the rich aroma of smoky kielbasa mingling with the sweet and tangy notes of a brown sugar glaze. Picture this: it’s game day, and I’m racing against the clock to whip up a crowd-pleasing snack. As I reach into my pantry and pull out a few simple ingredients, inspiration strikes. With minimal effort, I can create Candied Kielbasa Bites—savory morsels that offer a delightful balance of flavors and textures.
These bites are more than just an appetizer; they’re an experience. The tender sausage smothered in a glossy glaze invites everyone to dig in, while the sticky sweetness keeps them coming back for more. Whether you’re hosting a party or just craving something delicious, these treats are bound to impress without stretching your budget. Plus, the beauty of this recipe lies in its versatility—experiment with various sausages or adjust the sweetness and spice to suit your taste! Ready to dive into this simple yet indulgent recipe? Let’s get cooking!
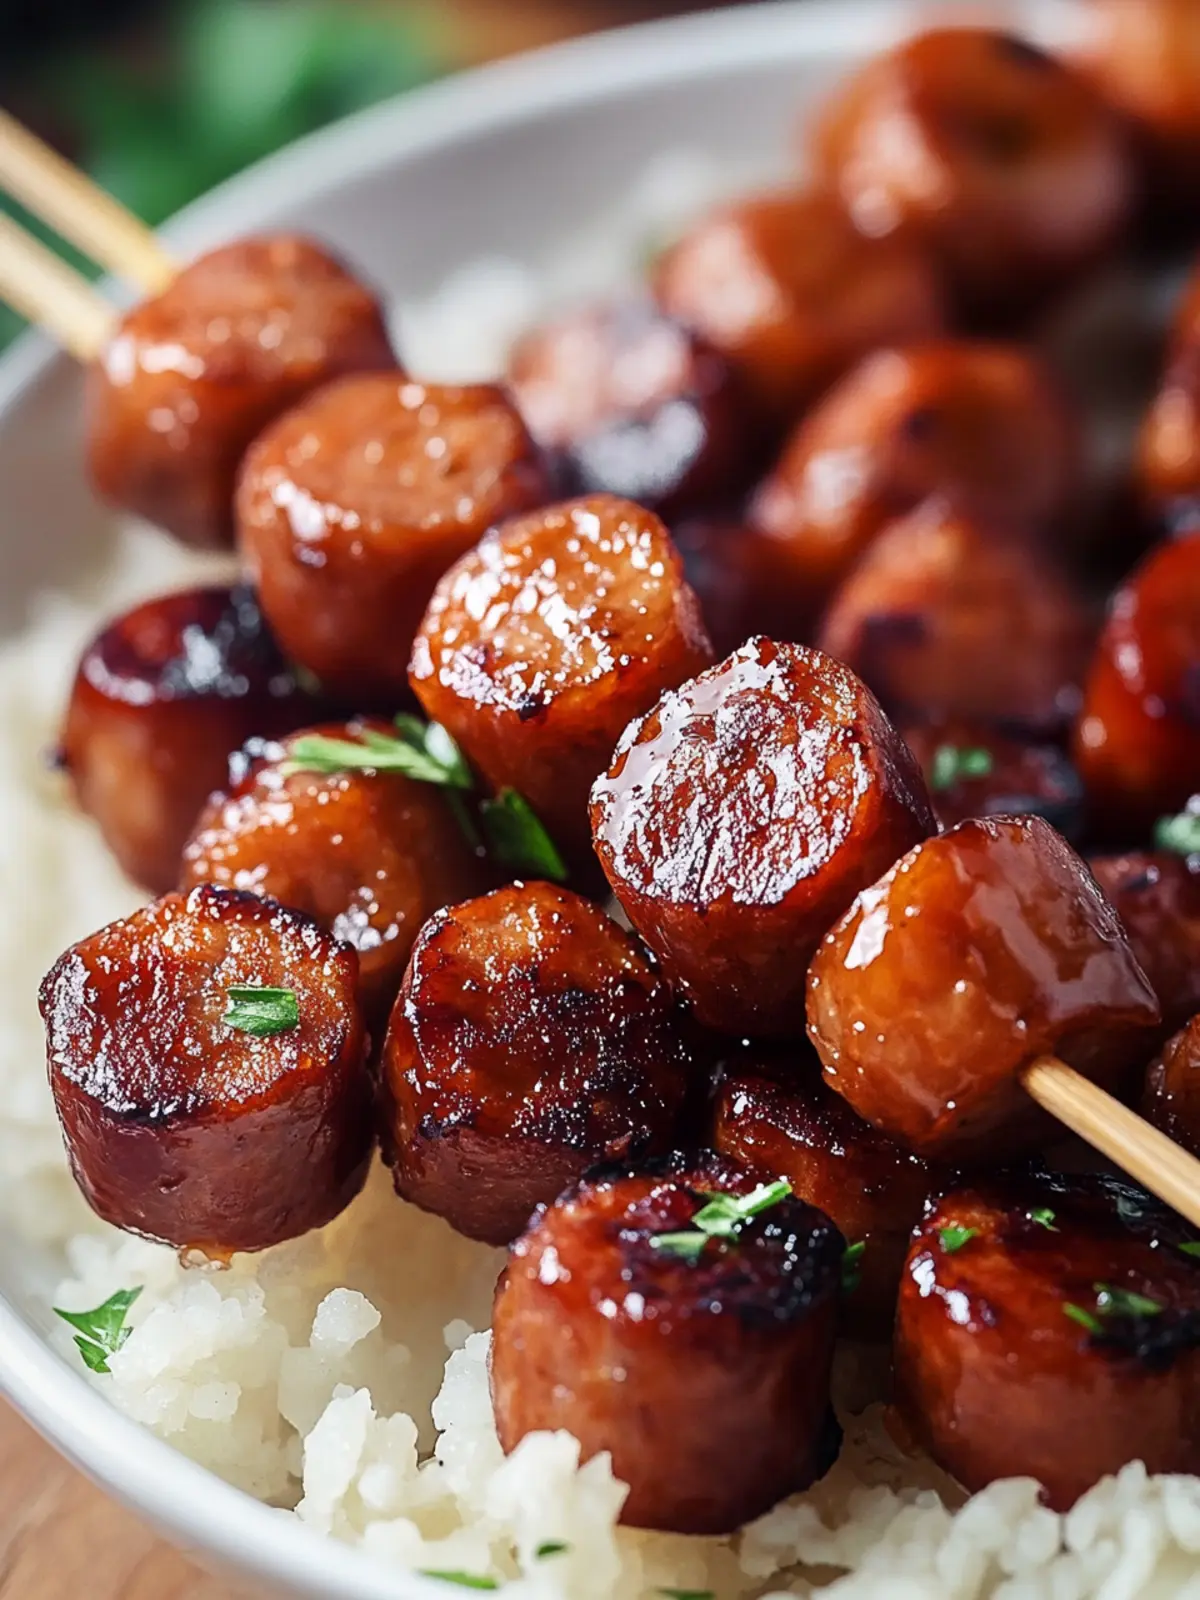
Why will you love these Candied Kielbasa Bites?
Unforgettable Flavor: The sweet and savory combination of rich brown sugar and smoky kielbasa creates an irresistible bite.
Easy to Make: With just a few pantry staples and minimal prep time, you’ll succeed even if you’re short on time!
Crowd-Pleaser: Perfect for parties, game days, or family gatherings, these bites will have everyone reaching for more.
Versatile: Feel free to switch up the sausage type or adjust the glaze for a totally different flavor.
Make-Ahead Friendly: Prepare them in advance and enjoy the convenience of having a delicious snack ready to go.
Enjoy your culinary adventure and consider serving them alongside a refreshing dipping sauce or check out my make-ahead appetizers for more crowd-pleasing ideas!
Candied Kielbasa Bites Ingredients
Discover the delightful components that make these bites so irresistible!
For the Kielbasa
• Kielbasa Sausage – The star of this dish. Choose Polish, beef, or turkey kielbasa, sliced into ½-inch rounds for optimal cooking.
For the Glaze
• Brown Sugar – Serves as the sweetness base for the glaze; dark brown sugar will give a deeper flavor.
• Honey – Adds stickiness and sweetness; you can swap it with maple syrup for a unique twist.
• Ketchup – Brings tanginess and depth; it provides that familiar comfort flavor we all adore.
• Dijon Mustard – Brightens the glaze’s profile; yellow mustard can substitute for a milder taste.
• Worcestershire Sauce – Adds complexity and depth, enhancing the umami in your candied kielbasa bites.
• Garlic Powder – Introduces savory depth; feel free to use fresh garlic if that suits your palate.
• Smoked Paprika (optional) – Offers a layer of smokiness; omit if you prefer a simpler flavor.
Now that you’ve gathered your ingredients, let the kitchen magic begin with your Candied Kielbasa Bites!
How to Make Candied Kielbasa Bites
-
Preheat Oven: Start by preheating your oven to 350°F (175°C). Prepare a baking sheet or casserole dish with foil to make cleanup a breeze!
-
Slice Kielbasa: Take your chosen kielbasa sausage and slice it into ½-inch thick rounds. Arrange these delicious rounds in a single layer on your prepared baking dish.
-
Prepare Glaze: In a saucepan over medium heat, mix together the brown sugar, honey, ketchup, Dijon mustard, Worcestershire sauce, garlic powder, and smoked paprika. Stir gently until the sugar dissolves and the ingredients meld beautifully.
-
Coat Kielbasa: Pour the homemade glaze over the sliced kielbasa. Gently stir to ensure every piece is well-coated in that sticky goodness.
-
Bake: Transfer the dish to your preheated oven. Bake uncovered for 20-25 minutes, stirring halfway through. You want the glaze to thicken and become beautifully caramelized.
-
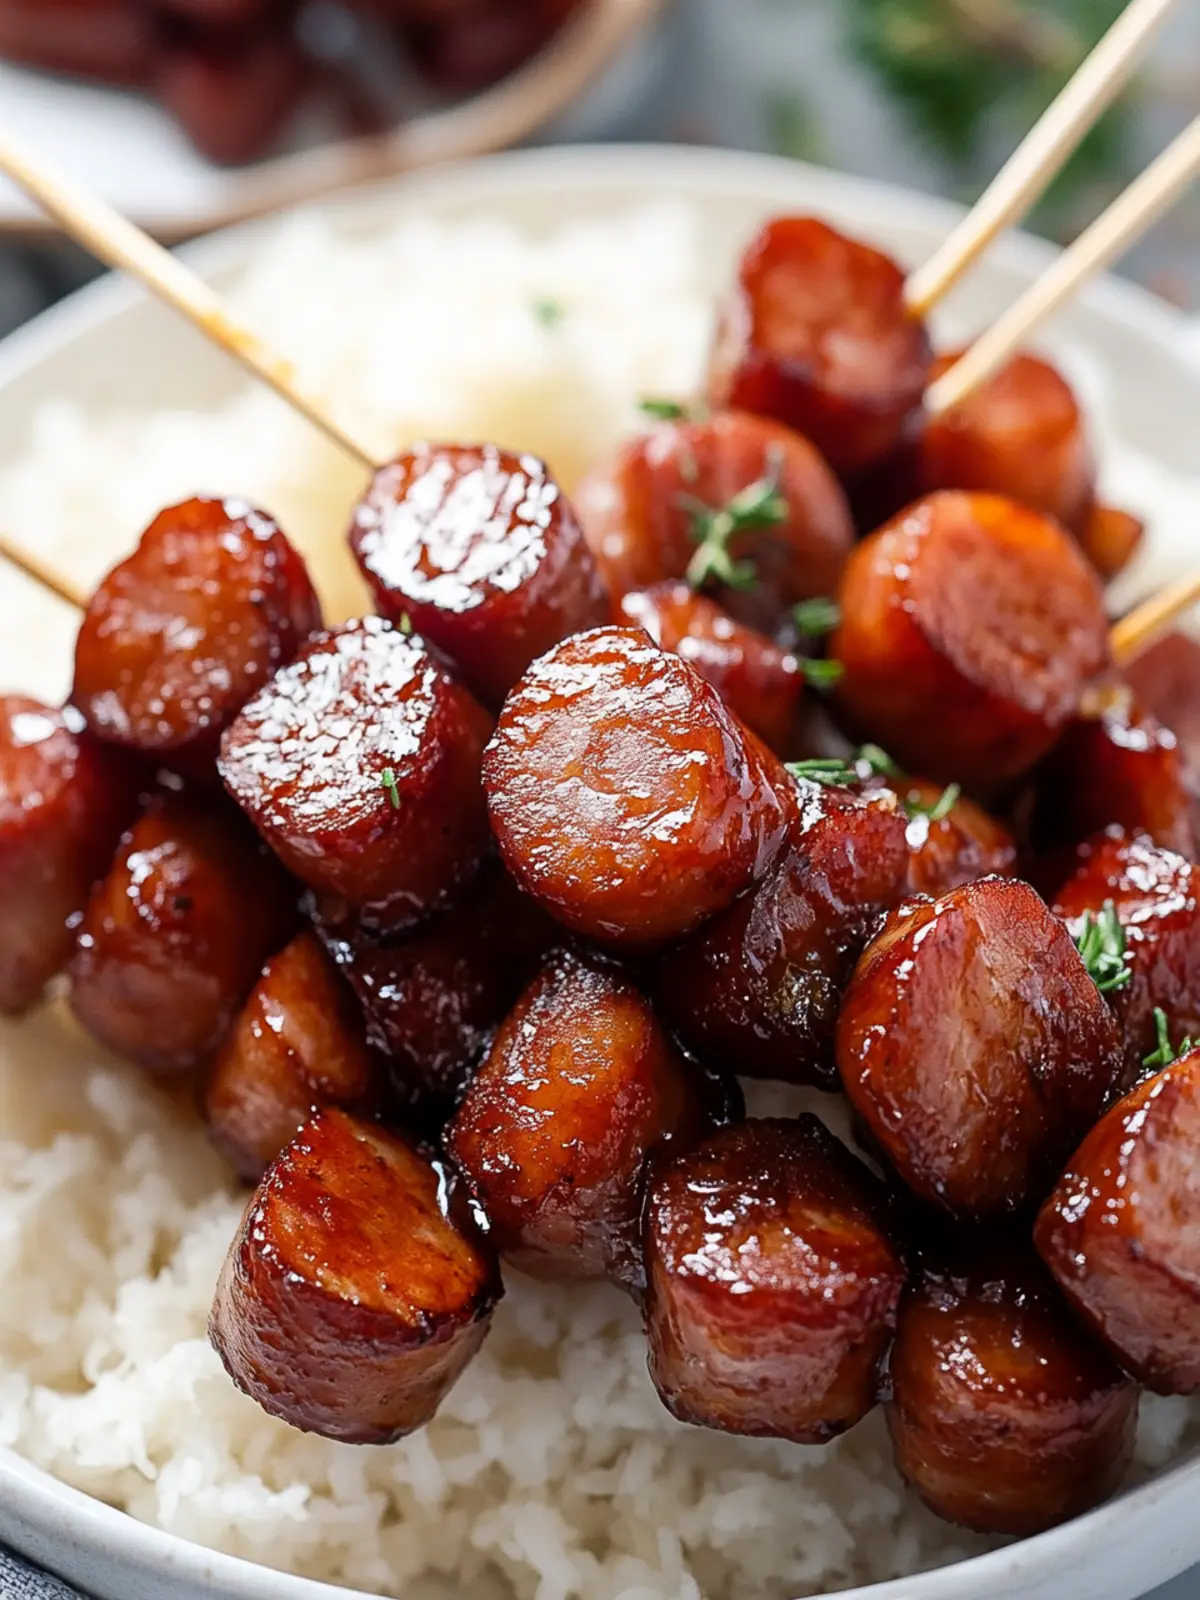
Serve: Once the kielbasa bites are done, serve them warm. Use toothpicks for easy serving and consider pairing with rice for an extra hearty meal!
Optional: Garnish with fresh parsley for a pop of color and added freshness.
Exact quantities are listed in the recipe card below.
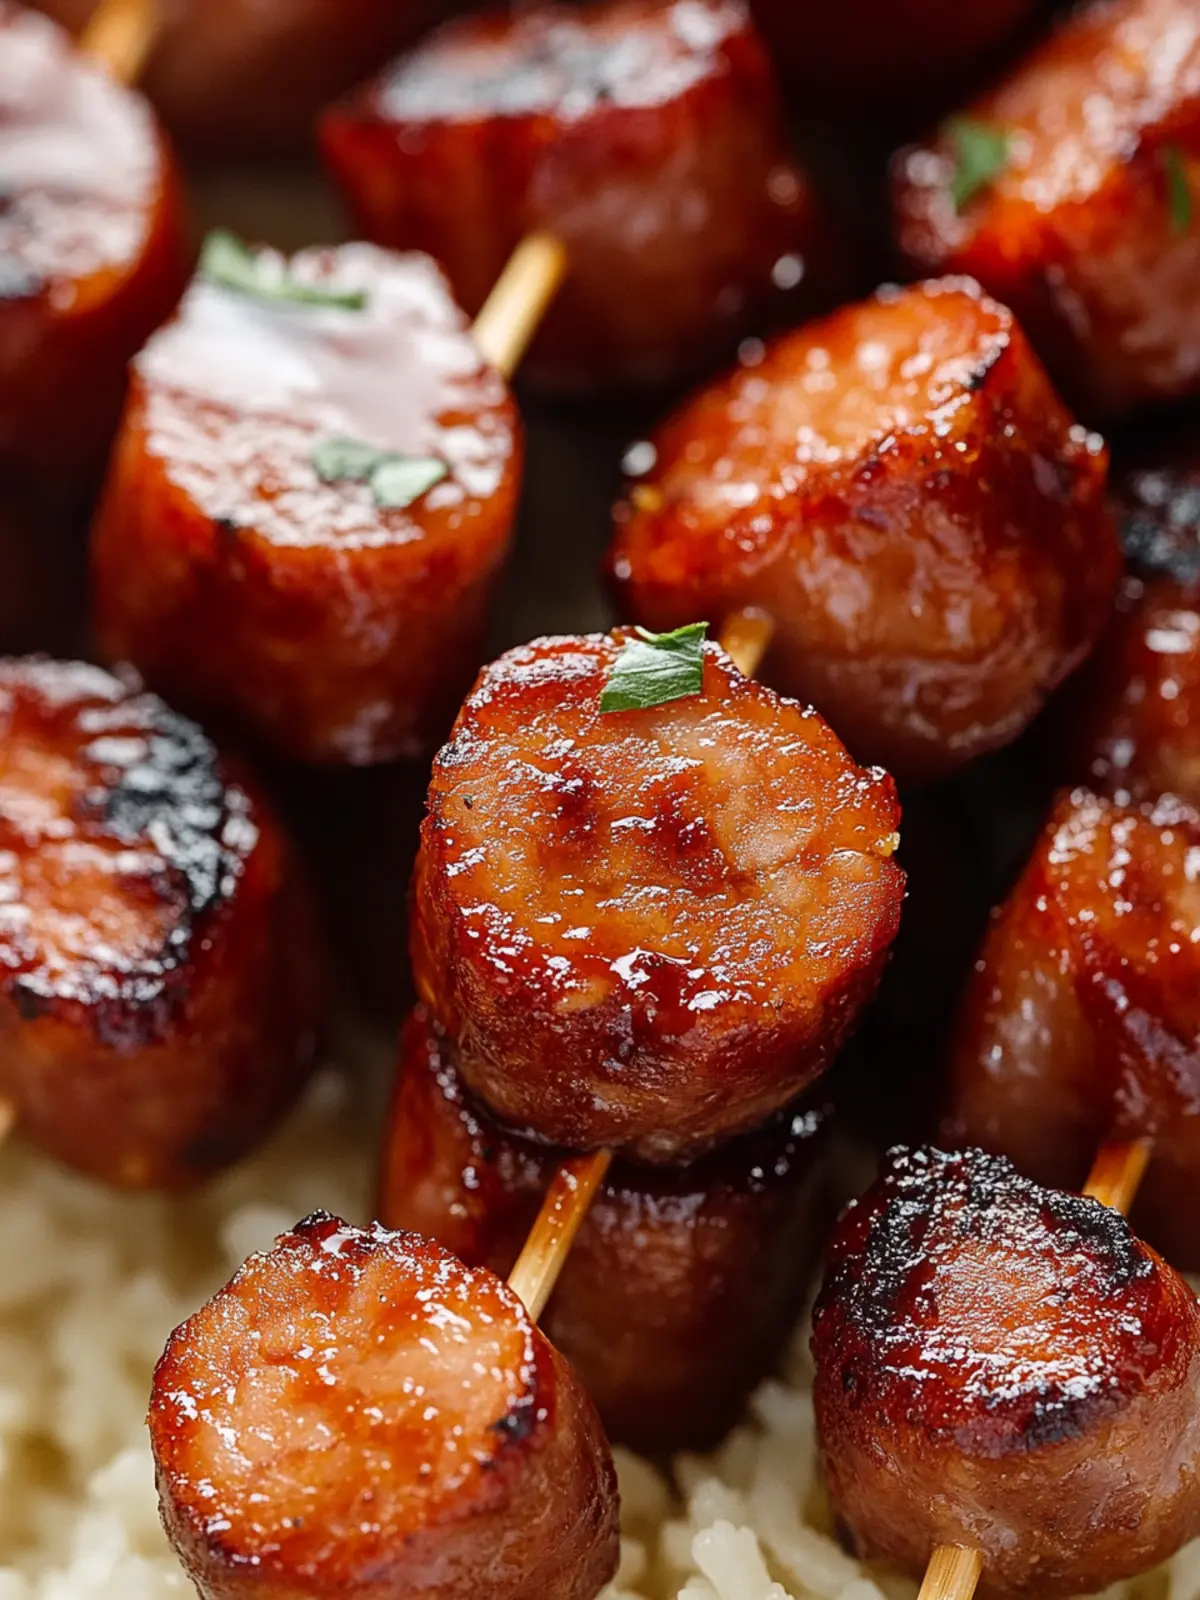
How to Store and Freeze Candied Kielbasa Bites
Fridge: Store leftover Candied Kielbasa Bites in an airtight container for up to 4 days. This keeps them fresh and flavorful for your late-night cravings!
Freezer: For longer storage, freeze the bites in a single layer on a baking sheet, then transfer to a freezer-safe bag for up to 2 months. Perfect for future gatherings!
Reheating: To enjoy the bites again, reheat them gently on the stovetop with a drizzle of water, or microwave in short bursts until warmed through.
Room Temperature: If serving at a party, let the bites sit out for no more than 2 hours for food safety, then enjoy the last of this irresistible snack!
Expert Tips for Candied Kielbasa Bites
Browning Optional: For an enhanced flavor, consider browning the kielbasa in a pan before adding the glaze, but it’s not necessary.
Watch the Glaze: The glaze will thicken as it cools, so serve the Candied Kielbasa Bites immediately for the best experience.
Experiment with Ingredients: Don’t hesitate to mix up spices or use different types of sausages to customize the flavor to your liking.
Serving Temperature: These bites are best enjoyed warm; they can lose their tasty texture if left too long.
Make-Ahead Ease: Prepare them in advance and simply reheat before serving for a fuss-free, delicious dish.
Make Ahead Options
These Candied Kielbasa Bites are fantastic for meal prep, offering a delightful solution for busy weeknights or parties! You can slice the kielbasa and prepare the glaze up to 24 hours in advance. Simply keep the sliced sausage and glaze in separate airtight containers in the refrigerator. When it’s time to serve, combine the two in your baking dish, give it a stir, and bake as directed for 20-25 minutes in a preheated oven. This not only saves you time but ensures that your bites are just as delicious and flavorful, with that irresistible caramelized glaze! Enjoy the convenience of having a crowd-pleasing appetizer ready to go!
What to Serve with Candied Kielbasa Bites?
Pair these delightful morsels with complementary sides to elevate any gathering or meal experience. Your guests will love the variety!
-
Creamy Coleslaw: The crunchy, tangy profile of coleslaw offers a refreshing contrast to the sticky sweetness of the kielbasa.
-
Garlic Bread: Warm, buttery garlic bread adds a comforting touch and is perfect for mopping up extra glaze.
-
Rice Pilaf: The subtle flavors and fluffy texture of rice pilaf balance the candied bites beautifully, making each bite a delight.
-
Vegetable Platter: Crisp, vibrant veggies bring freshness and crunch, ensuring every bite feels balanced and nourishing.
-
Baked Beans: The smoky, sweet flavors of baked beans echo the kielbasa while providing a hearty, fulfilling side.
-
Crispy Potato Wedges: Golden, crispy wedges add substance and a satisfying crunch to the meal, perfect for dipping into glaze.
-
Sparkling Lemonade: A refreshing, citrusy drink that cleanses the palate and complements the savory-sweet profile of the bites.
-
Chocolate Chip Cookies: A classic dessert that rounds out the meal, offering a sweet finish to a savory appetizer feast.
Candied Kielbasa Bites Variations
Feel free to get creative with these delightful bites! Adjust their flavors and characteristics to suit your taste buds.
-
Sausage Swap: Try using smoked sausage or chorizo for a whole new flavor profile; each variation brings its own unique twist.
-
Spicy Kick: Add red pepper flakes or a dash of hot sauce to the glaze for an exciting heat that elevates the taste.
-
Fruity Addition: Toss in pieces of pineapple or cranberries for a delightful pop of sweetness and tartness during festive seasons.
-
BBQ Inspired: Swap ketchup for your favorite barbecue sauce to create a smoky, tangy version that resonates with outdoor grilling flavors.
-
Herb Infusion: Add fresh herbs like rosemary or thyme to the glaze to infuse each bite with fragrant aroma and freshness.
-
Sweetener Alternatives: Use maple syrup or agave nectar instead of honey for a differently sweet approach that complements the sausage nicely.
-
Nutty Crunch: Sprinkle chopped pecans or almonds on top of the glazed bites just before serving for a pleasing crunch and added texture.
-
Mustard Variations: Experiment with different types of mustard, like whole grain or honey mustard, to introduce unique flavor undertones to the glaze.
Candied Kielbasa Bites Recipe FAQs
How do I select the right kielbasa sausage?
Absolutely! Look for kielbasa that is plump and firm to the touch. If there are dark spots or unusual odors, steer clear. Polish, beef, or turkey kielbasa all work beautifully, but I recommend choosing one with a good smoke flavor to enhance the savory sweet notes in the glaze.
How should I store leftover Candied Kielbasa Bites?
Very important! Store your leftover bites in an airtight container in the fridge for up to 4 days. This keeps them fresh and delicious for later snacking! Just make sure to let them cool completely before sealing to avoid moisture buildup.
Can I freeze Candied Kielbasa Bites?
Of course you can! To freeze, first arrange the bites in a single layer on a baking sheet and freeze them until solid, about 1-2 hours. Then, transfer them to a freezer-safe zip-top bag, removing as much air as possible. They can be stored in the freezer for up to 2 months. When you’re ready to enjoy them, simply reheat from frozen, either in the oven or microwave, until warmed through.
What should I do if my glaze isn’t thickening?
If you notice your glaze isn’t thickening, there are a few troubleshooting steps you can take! First, make sure you’ve allowed enough time for the bites to bake; the glaze should thicken during this time. If it’s still runny, try simmering it in a saucepan for an additional 5-10 minutes on low heat to concentrate it further. A touch of cornstarch mixed with a bit of water can also help to thicken the sauce if needed.
Are there any dietary considerations for Candied Kielbasa Bites?
Absolutely, it’s essential to consider dietary needs! While these bites are generally meat-heavy, you can easily opt for turkey or plant-based kielbasa to accommodate different diets. If allergies are a concern, check the labels for gluten-free options and ensure no unwanted additives. Always be cautious with guests who may have food allergies, especially to mustard or garlic.
Can I make Candied Kielbasa Bites ahead of time?
You certainly can! For a make-ahead option, prepare the sausages and glaze, combining them in a baking dish. Cover and refrigerate for up to 2 days. When ready to serve, pop them in the oven—no need to wait for thawing! Bake at 350°F for about 25-30 minutes, stirring halfway through, and enjoy the ease of serving a delicious appetizer without last-minute fuss.
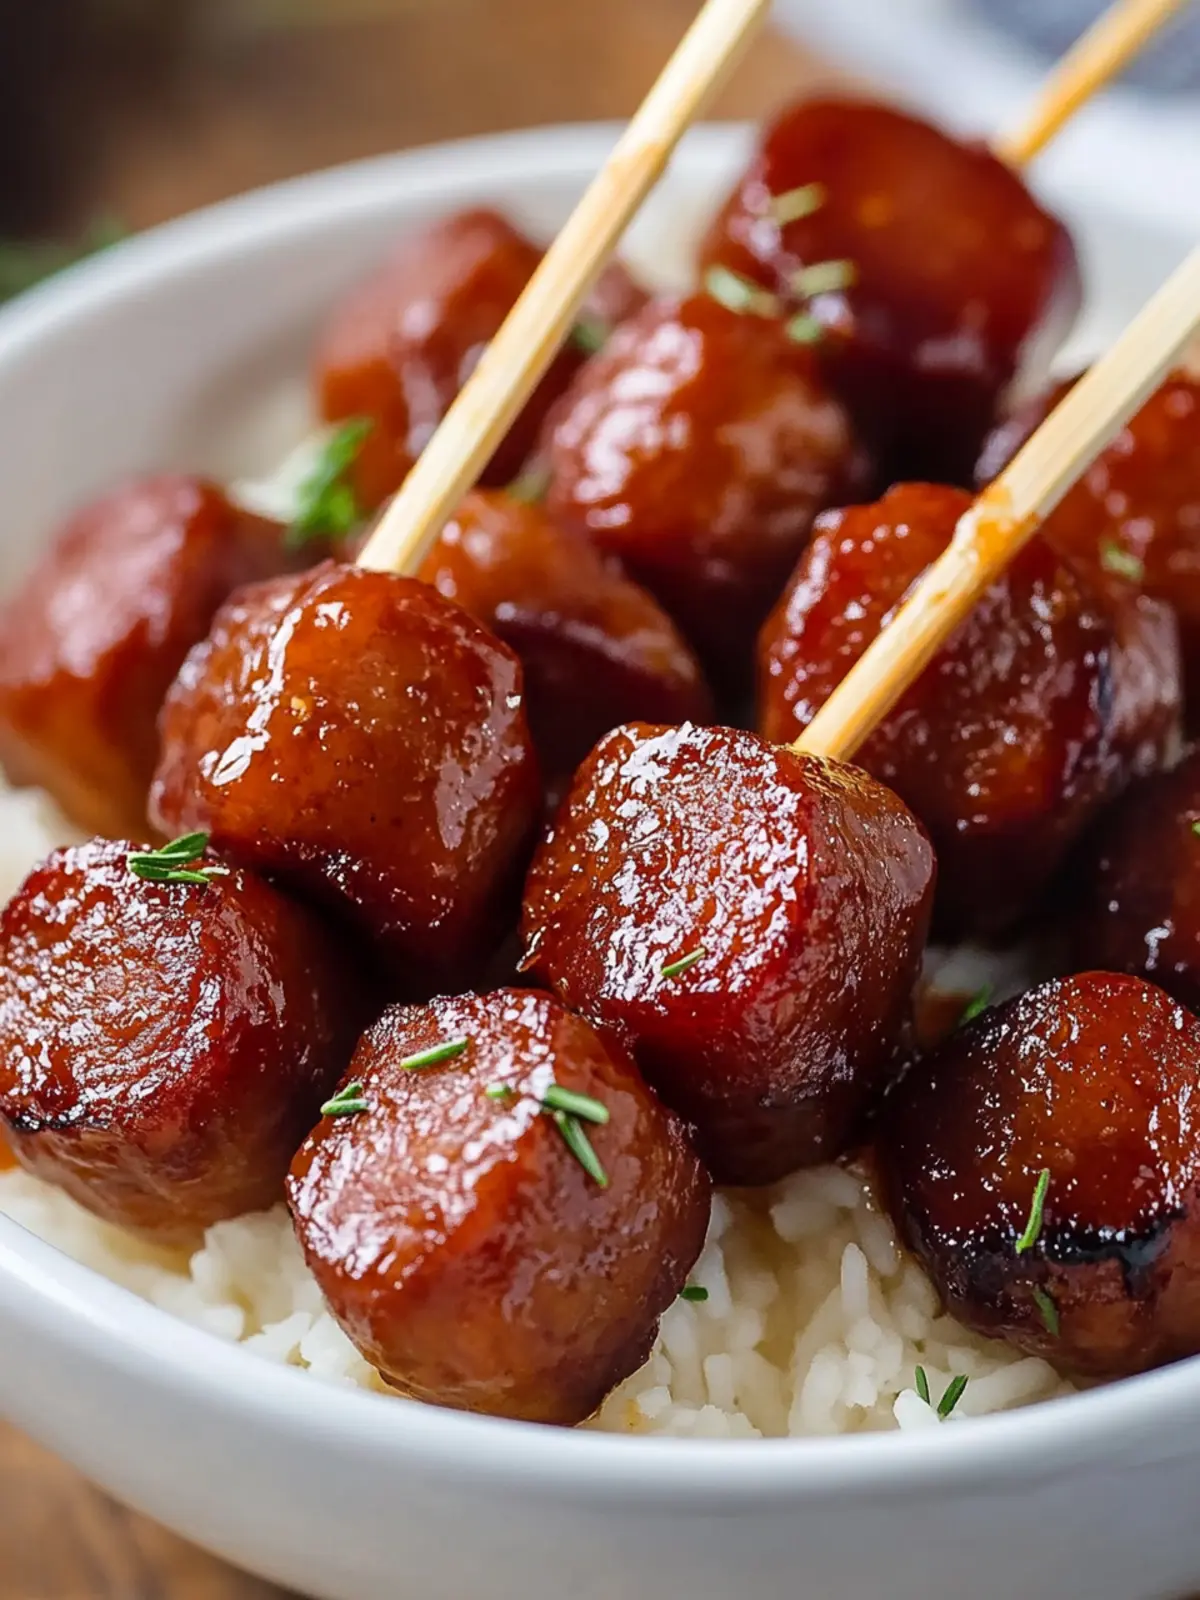
Irresistible Candied Kielbasa Bites for Every Gathering
Ingredients
Equipment
Method
- Preheat your oven to 350°F (175°C). Prepare a baking sheet or casserole dish with foil.
- Slice the kielbasa sausage into ½-inch thick rounds. Arrange in a single layer on the prepared baking dish.
- In a saucepan over medium heat, mix the brown sugar, honey, ketchup, Dijon mustard, Worcestershire sauce, garlic powder, and smoked paprika. Stir until the sugar dissolves.
- Pour the glaze over the sliced kielbasa and stir to coat well.
- Transfer to the oven and bake uncovered for 20-25 minutes, stirring halfway through.
- Serve warm using toothpicks; enjoy with rice for a hearty meal.