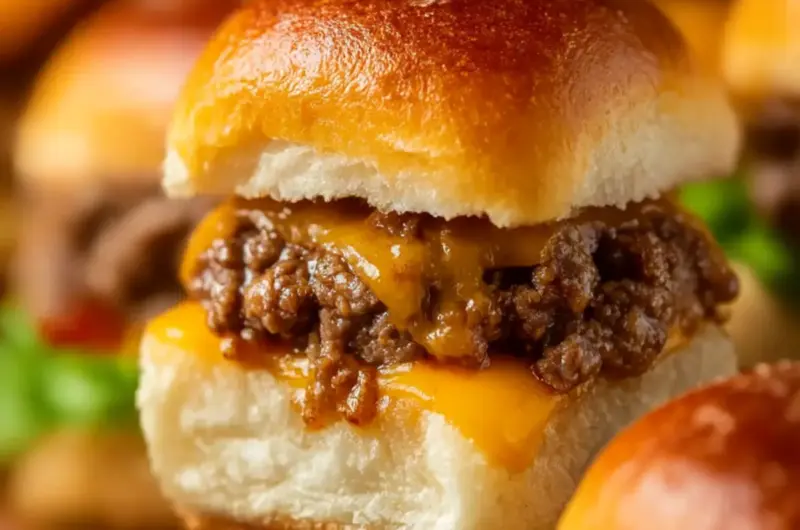
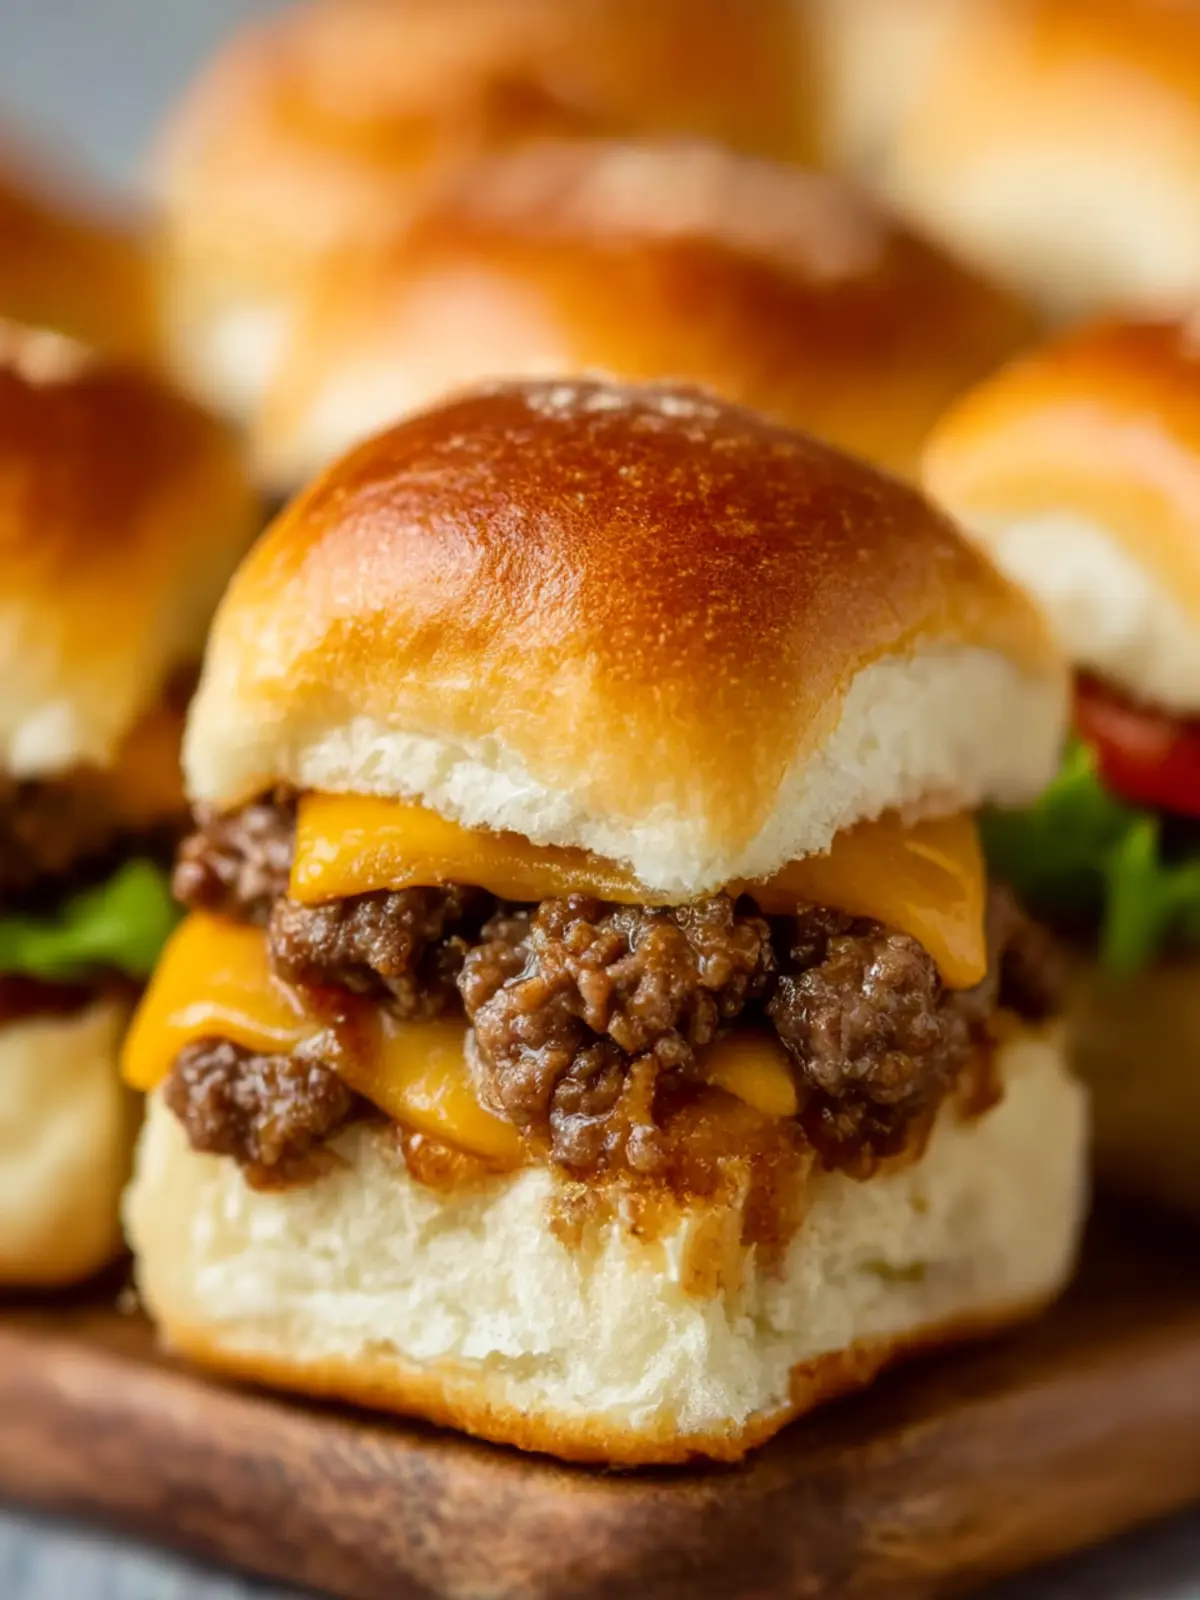
When the craving for something hearty and satisfying strikes, there’s nothing quite like the sound of sizzling meat and melting cheese filling the air. Picture this: a casual gathering with friends, and as I pull these juicy cheeseburger sliders out of the oven, everyone’s eyes light up in pure anticipation. These little bites pack all the classic flavors of a big, bold burger but are perfectly tailored for sharing—or a weeknight meal prep!
As a lover of homemade food, I often find myself yearning for dishes that strike the right balance—quick to prepare yet brimming with comforting flavors. This recipe not only meets those cravings but transforms a typical burger into a bite-sized delight that pleases kids and adults alike. With a few simple ingredients and easy steps, you’ll be able to whip these up in no time, making them the ideal solution for busy days or impromptu get-togethers. Trust me; each slider is a taste of nostalgia and a reminder of good times around the table.
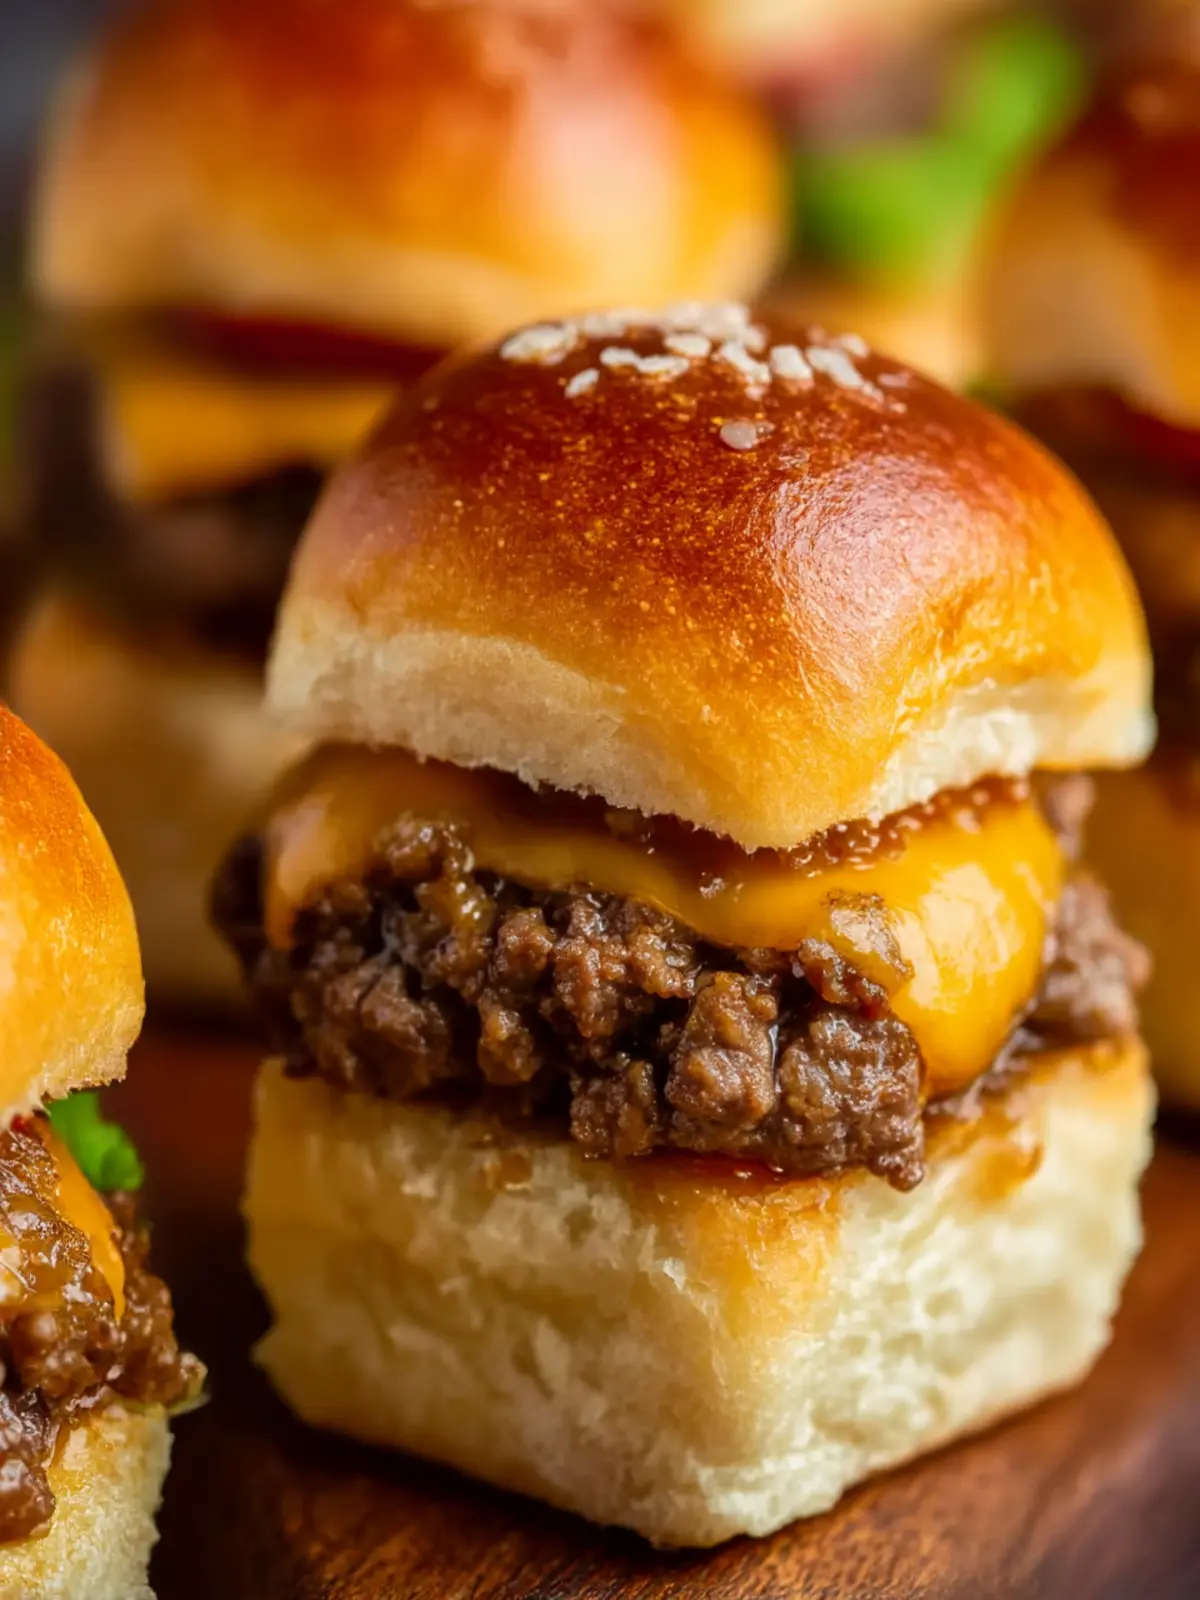
Why Will You Love Cheeseburger Sliders?
Classic Comfort: Each bite delivers the nostalgic flavors of a traditional cheeseburger in a fun, bite-sized form.
Family-Friendly: These sliders are perfect for little hands, making dinner enjoyable for the whole family.
Quick Preparation: They come together in no time, ideal for busy weeknights or last-minute gatherings.
Make-Ahead Magic: Prep them ahead of time, ensuring you’re always ready for snacking without the hassle.
Versatile Flavor: Customize with different cheeses or toppings for a fresh twist each time.
Crowd Pleaser: Glorious buttery rolls and juicy beef are sure to impress your guests for any occasion! For more great meal ideas, check out our delightful make-ahead recipes.
Cheeseburger Sliders Ingredients
For the Sliders
• Lean Ground Beef (2 lb) – Essential for juicy cheeseburger sliders; use 90/10 or 93/7 fat content for optimal moisture.
• Olive Oil (1/2 Tbsp) – Helps sauté onions for added flavor; can be replaced with butter for richness.
• Salt (1 tsp) – Enhances overall taste; feel free to adjust according to preference.
• Black Pepper (1 tsp) – Adds a kick of spice; increase for more heat if desired.
• Garlic Powder (1 tsp) – Infuses a savory depth; fresh garlic is a delightful alternative.
• Yellow Onion (1/2 large, finely diced) – Contributes sweetness and complexity; omit if needed.
• Mayonnaise (1/4 cup) – Provides moisture and richness to the beef mixture; yogurt can be used as a swap.
• Medium Cheddar Cheese (8 slices + 6 oz shredded) – Offers that iconic cheeseburger flavor; feel free to experiment with American or Pepper Jack cheese.
• Dinner Rolls (24) – The perfect base for your sliders; King’s Hawaiian Rolls add a touch of sweetness.
• Unsalted Butter (2 Tbsp, melted) – Enhances flavor and helps the buns brown beautifully; clarify if using salted butter.
• Sesame Seeds (1 Tbsp) – Optional topping for added crunch and visual appeal.
For Serving
• Dill Pickles – Classic accompaniments that add a refreshing contrast to the sliders.
• Baked Potato Wedges – Perfect side dish to balance the meal with some crispiness.
These cheeseburger sliders are not only flavorful but also incredibly easy to make, making them a go-to recipe for any home chef looking to elevate their meal prep game!
How to Make Cheeseburger Sliders
-
Preheat the Oven: Start by preheating your oven to 350°F and butter the bottom of a rimmed baking sheet, ensuring a golden, crispy slider base. This step is crucial for perfect baking results!
-
Sauté the Onions: In a skillet, heat the olive oil over medium-high heat. Add the finely diced onion and ground beef, breaking up the meat as it cooks. Season with salt, pepper, and garlic powder until the beef is nicely browned and fully cooked.
-
Mix the Beef: Once the beef is cooked, drain any excess fat from the skillet. Mix in the mayonnaise with the warm meat until well combined, adding richness that enhances the flavor profile.
-
Assemble the Sliders: Slice the dinner rolls in half and lay the bottom halves on the prepared baking sheet. Layer the sliced cheese on the buns, followed by the beef mixture, and finish with a sprinkle of shredded cheese for extra cheesiness.
-
Cover and Brush: Place the top halves of the buns over the ground beef mixture. Brush them generously with melted butter and sprinkle sesame seeds on top for that traditional touch and added flavor.
-
Bake to Perfection: Bake in the preheated oven for 12-15 minutes, or until the cheese has melted and the tops of the sliders are golden brown, indicating they’re ready to be devoured!
Optional: Serve with chilled dill pickles for a delightful crunch.
Exact quantities are listed in the recipe card below.
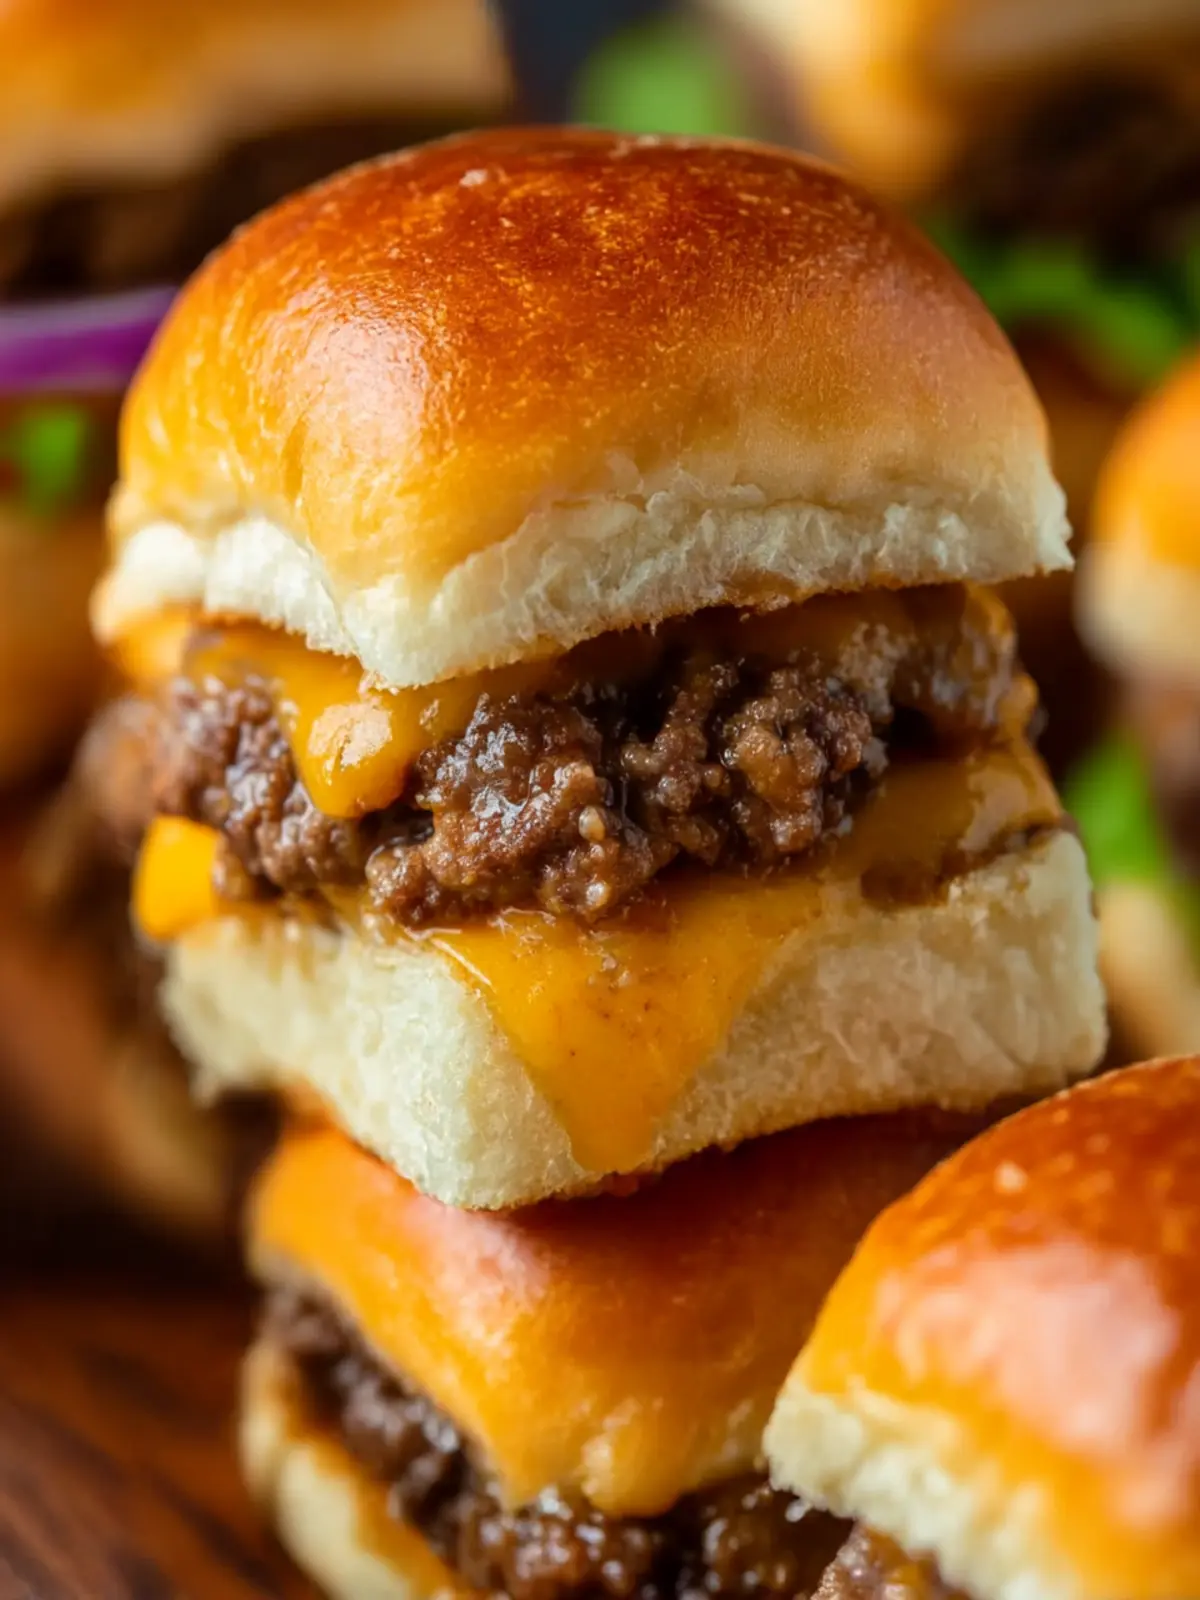
How to Store and Freeze Cheeseburger Sliders
Fridge: Store any leftover cheeseburger sliders in an airtight container for up to 3 days. Reheat in the microwave or oven for best results, restoring that soft and cheesy goodness.
Freezer: For longer storage, wrap assembled but uncooked sliders tightly in plastic wrap and then aluminum foil. They can be frozen for up to 2 months. Bake from frozen, adding a few extra minutes to the cooking time.
Reheating: If you have cooked sliders left, gently reheat in the microwave for about 30 seconds or in the oven at 350°F for 10-12 minutes. This keeps them melty and warm without losing flavor.
Wrap Ethically: Use quality foil or freezer bags to minimize freezer burn, ensuring that your cheeseburger sliders remain delicious when you’re ready to enjoy them again.
Expert Tips for Cheeseburger Sliders
-
Choose Quality Meat: Select lean ground beef for juicy cheeseburger sliders; higher fat content may lead to greasy results that overpower the flavor.
-
Chop Onions Finely: Dicing onions well ensures they cook evenly and blend beautifully with the beef mixture, enhancing taste in every bite.
-
Customize Your Cheese: Feel free to switch cheeses! Experiment with Pepper Jack for spice or Swiss for a nutty flavor; this can elevate your cheeseburger sliders.
-
Keep It Simple: Avoid overcrowding the baking sheet when assembling sliders; this allows them to cook evenly and develop that desirable golden crust.
-
Make Ahead Tips: Assemble and refrigerate sliders a day prior; add an extra five minutes to baking time if they’re coming straight from the fridge.
Make Ahead Options
These Cheeseburger Sliders are a fantastic choice for meal prep, allowing you to enjoy delicious, homemade flavors even on your busiest days! You can assemble the sliders up to 24 hours in advance; simply cover them tightly and refrigerate. For added convenience, you can also prep the beef mixture and store it in an airtight container for up to 3 days. This tip not only saves you time but also ensures that the sliders retain their juicy goodness. When you’re ready to serve, bake them directly from the fridge for an additional 5-10 minutes, checking that the cheese is melted and the buns are golden, guaranteeing that everyone enjoys fresh, restaurant-quality results without the wait!
Cheeseburger Sliders Variations
Dive into a world of flavor possibilities and make these sliders your own!
-
Ground Turkey: Swap in ground turkey for a leaner alternative, keeping just as juicy and delicious.
-
Cheese Swap: Use Swiss or Pepper Jack instead of cheddar for a unique taste twist that adds character.
-
Gluten-Free Buns: Opt for gluten-free dinner rolls to make this dish accessible for everyone, without missing out on the fun.
-
Add Veggies: Fold in finely chopped bell peppers or mushrooms into the beef mixture for a nutritious boost and more flavor layers. They bring color and an earthy taste that complements the beef beautifully!
-
BBQ Twist: Mix in 1/4 cup of your favorite BBQ sauce with the beef for a smoky flavor. This gives your sliders a fun, zesty kick that’ll wow your guests at any gathering.
-
Spicy Kick: Add some sliced jalapeños or a dash of cayenne pepper to the beef mixture for a spicy kick that raises the heat level just right.
-
Sweet and Savory: Incorporate a tablespoon of mustard or a drizzle of honey into the beef mix for a sweet-savory combination that elevates classic flavors.
-
Herb Infusion: Mix fresh herbs like chopped parsley or thyme into the beef for an aromatic touch. This adds freshness that brightens every bite and takes the sliders to a whole new level!
What to Serve with Cheeseburger Sliders?
Creating the perfect meal around your sliders can elevate the experience for everyone at the table.
-
Chilled Dill Pickles: Their crisp, tangy bite cuts through the richness of the sliders, offering a refreshing contrast that’s simply delightful.
-
Baked Potato Wedges: The golden, crispy texture pairs beautifully with the soft sliders, completing the comfort-food vibe of your meal.
-
Coleslaw: This crunchy, creamy side adds a zesty flair, making each bite of the sliders feel even more satisfying and balanced in flavor.
-
Sweet Potato Fries: A touch of sweetness complements the savory sliders, and their crispiness brings in a lovely texture contrast.
-
Classic Caesar Salad: A fresh salad with crunchy romaine and a creamy dressing can lighten the meal, providing a nice palate cleanser in between each slider.
-
Root Beer Float: This nostalgic beverage’s creamy texture and sweetness create a fun and indulgent pairing that takes you back to childhood barbecues.
-
Mini Fruit Skewers: Light and colorful, these add a burst of freshness, making the meal vibrant and appealing for all ages.
Pairing these sides with your cheeseburger sliders will ensure a well-rounded and satisfying meal that everyone will love!
Cheeseburger Sliders Recipe FAQs
What kind of ground beef should I use for cheeseburger sliders?
Absolutely! For the juiciest cheeseburger sliders, I recommend using lean ground beef with a fat content of 90/10 or 93/7. This provides the perfect moisture without being overly greasy. If you’re looking for a lighter option, ground turkey makes a fantastic substitute that keeps the sliders flavorful and tender.
How should I store leftover cheeseburger sliders?
To store any leftover cheeseburger sliders, place them in an airtight container in the refrigerator. They can last up to 3 days. When you’re ready to enjoy them, you can reheat in the microwave for about 30 seconds or in the oven at 350°F for 10-12 minutes. This method helps retain their chewy texture and melty cheese goodness.
Can I freeze cheeseburger sliders?
You certainly can! To freeze unbaked cheeseburger sliders, wrap them tightly in plastic wrap followed by aluminum foil to prevent freezer burn. They can be stored for up to 2 months. When you’re ready to bake, there’s no need to thaw; just pop them straight into the preheated oven, adding a few extra minutes to the baking time for the best results.
What if my cheeseburger sliders come out dry?
If your sliders turn out dry, it’s most likely due to overcooking the meat or using leaner beef than recommended. For the next batch, keep an eye on the cooking time and avoid drying out the hamburgers by not cooking them beyond the necessary point. Make sure to check for a nice golden brown color on the buns and melting cheese, which indicates they’re done!
Can I make cheeseburger sliders ahead of time?
Very much so! You can assemble the sliders up to a day in advance. Just cover them with plastic wrap or foil and store them in the refrigerator. When ready to cook, simply add an additional 5 minutes to the baking time if they are chilled. This makes them perfect for parties or busy weeknights when you want to save some prep time.
Are cheeseburger sliders safe for kids?
Yes, they are! These kid-friendly sliders are perfect for little hands, offering a manageable size without skimping on flavor. However, if your child has allergies, ensure to check the ingredients like cheese and mayonnaise, or consider swapping them out for alternatives like dairy-free cheese or organic mayonnaise to suit dietary needs.
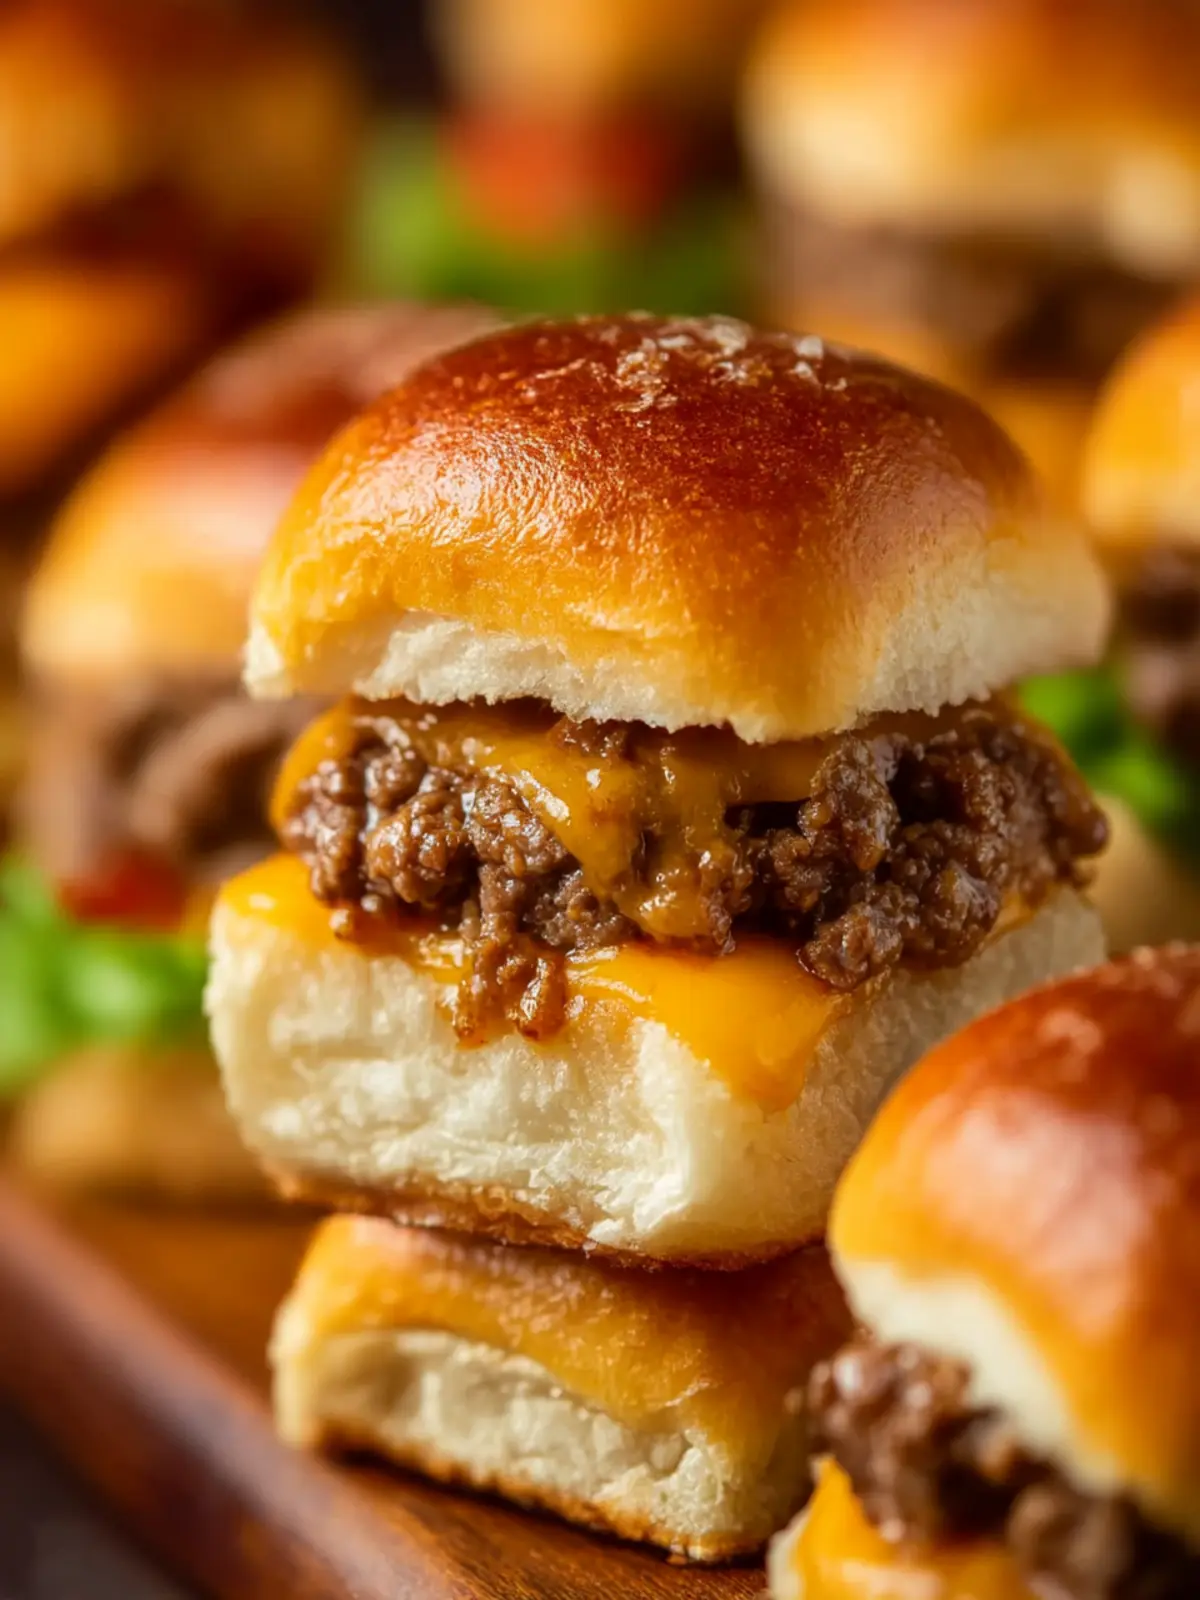
Cheeseburger Sliders: Irresistibly Juicy and Kid-Friendly Treats
Ingredients
Equipment
Method
- Preheat the Oven: Preheat your oven to 350°F and butter the bottom of a rimmed baking sheet.
- Sauté the Onions: Heat olive oil over medium-high heat, add finely diced onion and ground beef. Season and cook until browned.
- Mix the Beef: Drain excess fat, mix in mayonnaise with warm meat until well combined.
- Assemble the Sliders: Slice dinner rolls, layer sliced cheese, beef mixture, and shredded cheese on the bottom halves.
- Cover and Brush: Place top halves over the meat, brush with melted butter, and sprinkle sesame seeds.
- Bake to Perfection: Bake for 12-15 minutes until cheese has melted and buns are golden brown.