
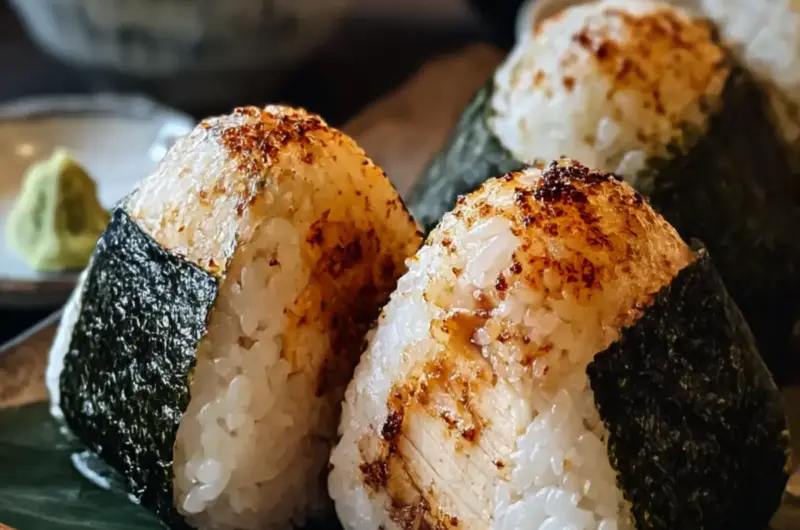
Imagine biting into a perfectly molded ball of rice, its warm and sticky texture cradling a savory filling that’s bursting with flavor. That’s exactly the joy of making Teriyaki Chicken Onigiri! This delightful snack not only satisfies your craving for something hearty but also offers the convenience of being completely portable. I discovered this marvelous recipe on a cozy evening when I was looking for a satisfying yet gluten-free snack to mix up my usual routine.
The process is simple, and you’ll be amazed at how quickly you can whip up these delicious onigiri, making them perfect for lunchboxes, picnics, or even parties! Best of all, you have the freedom to customize the fillings to welcome various dietary preferences, whether you’re a meat lover or leaning toward vegetarian options. So gather your ingredients and let’s create something that’ll not just tantalize your taste buds but also fill your kitchen with the heavenly aroma of teriyaki chicken!
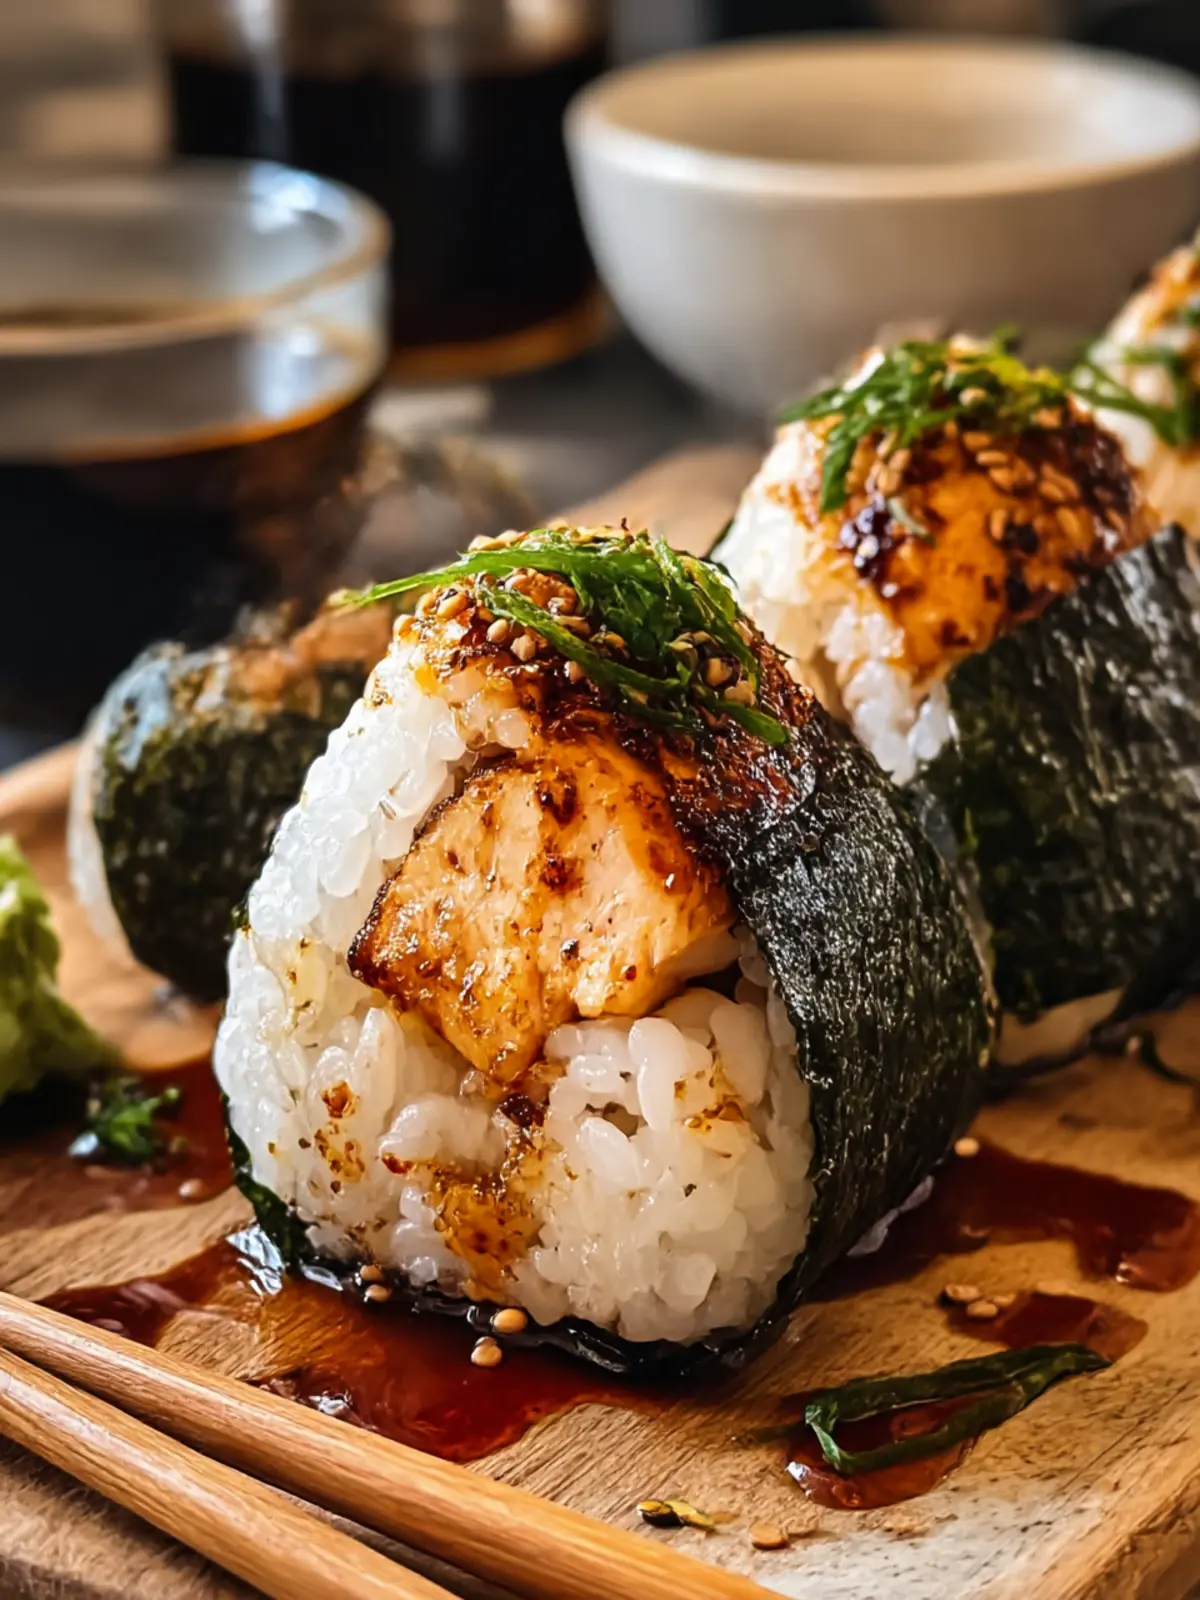
Why Love This Chicken Onigiri Recipe?
Simplicity at its Core: The straightforward preparation process means anyone can tackle it, even if you’re new to cooking.
Customizable Fillings: From seafood to vegetarian options, you can tailor these onigiri to suit any taste preference or dietary need.
Delicious Flavor Bomb: The combination of savory teriyaki chicken and sticky sushi rice creates an unforgettable taste experience.
Perfect for Any Occasion: Ideal as a quick snack, lunchbox filler, or party dish, they’re versatile enough for any setting.
Portable Snack: These delightful bites not only taste great but are also easy to take on the go, making them perfect for busy days.
Impressive Presentation: Shaped beautifully and wrapped in nori, they’re as visually appealing as they are delicious—sure to impress family and friends!
Chicken Onigiri Ingredients
• Experience the delight of crafting your own Chicken Onigiri with these simple yet essential ingredients!
For the Rice
- Sushi Rice – Essential for the sticky texture that holds the onigiri together.
- Fine Salt – Enhances the seasoning of the rice for a balanced flavor.
- Furikake – Optional seasoning that adds extra flavor to the rice; feel free to omit if desired.
For the Filling
- Boneless Skinless Chicken – Provides protein and savory filling; substitute with tofu for a vegetarian option.
- Soy Sauce – Adds umami to the dish; choose tamari for a gluten-free variation.
- Sake – Optional but enhances the flavor of the chicken; can be omitted if preferred.
- Baking Soda – Helps to tenderize the chicken for a perfect texture.
- Cornstarch – Creates a crispy glaze on the chicken when cooked.
- Mirin – Adds depth of sweetness to the teriyaki sauce; light honey can be a substitute if needed.
- Brown Sugar – Balances the savory flavors; coconut sugar is a healthier swap.
- Oil – Necessary for frying the chicken; use sesame oil for added aroma and flavor.
- Minced Garlic – Boosts the flavor profile of the dish; optional but recommended for a savory touch.
For Wrapping
- Nori (Seaweed) – Gives a delightful flavor contrast and holds everything together; can be replaced with lettuce for a low-carb option.
Elevate your cooking game with this Chicken Onigiri featuring familiar flavors and unique twists!
How to Make Chicken Onigiri
-
Cook Rice: Start by rinsing the sushi rice under cold water until the water runs clear. Cook it in a rice cooker with about 15% extra water to ensure it becomes perfectly sticky. Once done, gently mix in salt and optional furikake for extra flavor.
-
Marinate Chicken: Dice the boneless, skinless chicken into bite-sized pieces. In a bowl, combine soy sauce, sake, baking soda, cornstarch, and minced garlic. Add the chicken, coat well, and let it marinate in the refrigerator for about 30 minutes to absorb all those wonderful flavors.
-
Make Teriyaki Sauce: In a separate bowl, whisk together the soy sauce, mirin, and brown sugar until fully combined. Set this luscious sauce aside to infuse its flavor into the dish later.
-
Cook Chicken: Heat a tablespoon of oil in a skillet over medium heat. Sauté the marinated chicken for 2-3 minutes, ensuring it turns a lovely golden brown.
-
Incorporate Garlic & Sauce: Once the chicken is browned, add in the minced garlic and stir it for a minute. Pour the teriyaki sauce over the chicken and simmer for 2-3 minutes until the sauce thickens and clings to the chicken.
-
Shape Onigiri: Wet your hands to prevent sticking. Grab a handful of sticky rice and mold it into a triangle shape, making a small indentation in the center for the filling. Add your saucy chicken, then top with more rice to seal it up, pressing firmly.
-
Wrap: Cut nori sheets into strips, then wrap each shaped onigiri with the nori, securing the filling inside. Allow them to rest for a few minutes to firm up before serving.
Optional: Top with sesame seeds for an extra crunch!
Exact quantities are listed in the recipe card below.
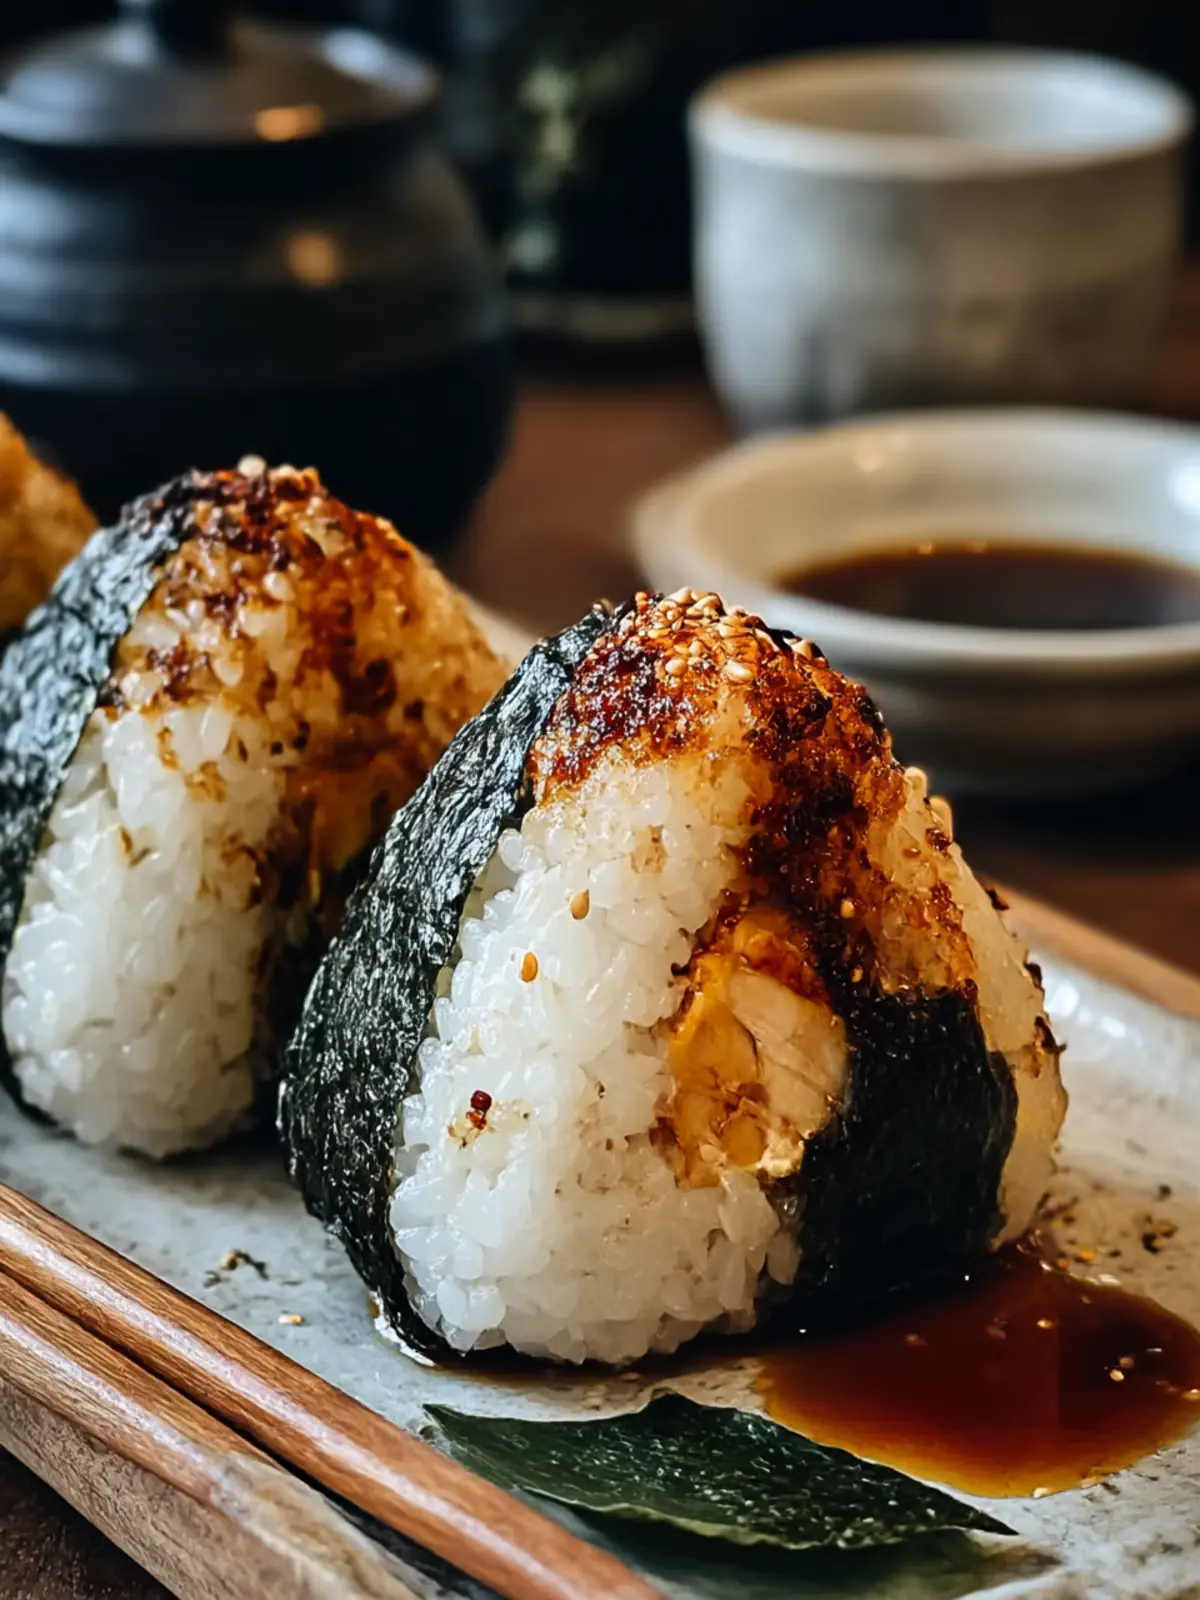
Expert Tips for Chicken Onigiri
-
Rice Selection: Use short-grain sushi rice for optimal stickiness, ensuring your onigiri holds together perfectly without falling apart.
-
Marinate for Flavor: Allow the chicken to marinate for at least 30 minutes—this step maximizes flavor absorption and enhances overall taste in your Chicken Onigiri.
-
Moisten Hands: Keep your hands moist while shaping the rice to prevent it from sticking to your palms, making for easier molding and a better overall shape.
-
Rest Before Serving: After shaping each onigiri, let them rest for a few minutes before serving; this helps them firm up and improves their structure.
-
Explore Fillings: Don’t hesitate to get creative! Try different fillings, like vegetarian alternatives or seafood, to personalize your Chicken Onigiri experience.
Make Ahead Options
These savory Teriyaki Chicken Onigiri are perfect for meal prep and can save you precious time during busy weeknights! You can marinate the chicken and prepare the teriyaki sauce up to 24 hours in advance; simply store them in airtight containers in the refrigerator. The sushi rice can also be cooked a day ahead—just refrigerate it and reheat slightly before shaping. When you’re ready to serve, mold the rice into onigiri shapes, fill them with the marinated chicken, and wrap with nori for a delightful presentation. This way, you can enjoy delicious homemade Chicken Onigiri with minimal effort, making them just as scrumptious even after prepping ahead!
How to Store and Freeze Chicken Onigiri
Fridge: Store leftover Chicken Onigiri in an airtight container for up to 2 days to maintain freshness and flavor.
Freezer: For longer storage, wrap each onigiri tightly in plastic wrap and freeze them for up to 1 month.
Reheating: Thaw in the fridge overnight, then reheat in the microwave for 30-45 seconds, ensuring they stay moist for the best texture.
Serving Tip: Enjoy room temperature or slightly warm; they make a delightful snack that’s easy to grab on any busy day!
What to Serve with Teriyaki Chicken Onigiri?
Enhancing your onigiri experience is easy with tasty side dishes that balance flavors and textures.
-
Japanese Cucumber Salad: This refreshing salad features crisp cucumbers dressed in rice vinegar. It adds a bright contrast to the savory onigiri.
-
Edamame: Lightly salted, these tender soybeans are a perfect protein-packed snack that pairs beautifully with the rich flavors of teriyaki.
-
Miso Soup: A warm, savory broth with tofu and seaweed creates a comforting side that complements the intricate taste of the chicken onigiri.
-
Pickled Ginger: Offering a light, zesty flavor, this traditional pairing cleanses the palate between bites, enhancing the savory experience of each onigiri.
-
Sesame Asparagus: Lightly sautéed with garlic and sesame oil, this dish adds a crunchy texture and earthy flavor that balances the dish beautifully.
-
Teriyaki Glazed Carrots: Glazed with a similar sauce, these carrots provide a touch of sweetness, echoing the flavors of your onigiri while contributing a vibrant color to your plate.
-
Soda or Green Tea: Enjoy your meal with a refreshing drink. Sparkling soda adds a bubbly fun, while green tea enhances the umami tones of the dish.
-
Seasonal Fruit Salad: A medley of fresh fruits adds a natural sweetness and refreshing contrast that elevates the overall meal experience, making each bite of onigiri even more delectable.
Chicken Onigiri Variations
Feel free to explore a world of flavors and textures by customizing your Chicken Onigiri to suit your taste!
-
Vegetarian Option: Swap out chicken for tofu marinated in teriyaki sauce for a delightful plant-based alternative. The tofu will absorb all those delicious flavors, making it just as satisfying.
-
Seafood Twist: Use cooked shrimp or spicy tuna as your filling for an ocean-inspired variation. This twist adds a beautiful maritime flavor that pairs perfectly with the rice.
-
Nutty Flavor: Sprinkle toasted sesame seeds into the sushi rice for an extra nutty crunch. You’ll love the added texture that elevates each bite to new heights!
-
Spicy Variant: Add sriracha or chili oil to the chicken filling for a little kick. This option is perfect for those who enjoy a little heat in their snacks!
-
Additional Fillings: Experiment with avocado or pickled veggies for some fresh, tangy flavors. Each addition can create a new experience, keeping your onigiri exciting and delicious!
-
Gluten-Free Twist: Use coconut aminos instead of soy sauce for a gluten-free option that’s also slightly sweeter. You’ll keep all the savory goodness while accommodating dietary needs.
-
Herbed Rice: Mix in finely chopped fresh herbs like cilantro or scallions into the rice for a burst of freshness. It adds a wonderful aroma that complements the teriyaki perfectly.
-
Breakfast Option: Fill with scrambled eggs and sautéed vegetables for a breakfast-themed onigiri. This unexpected twist makes for an enjoyable morning treat!
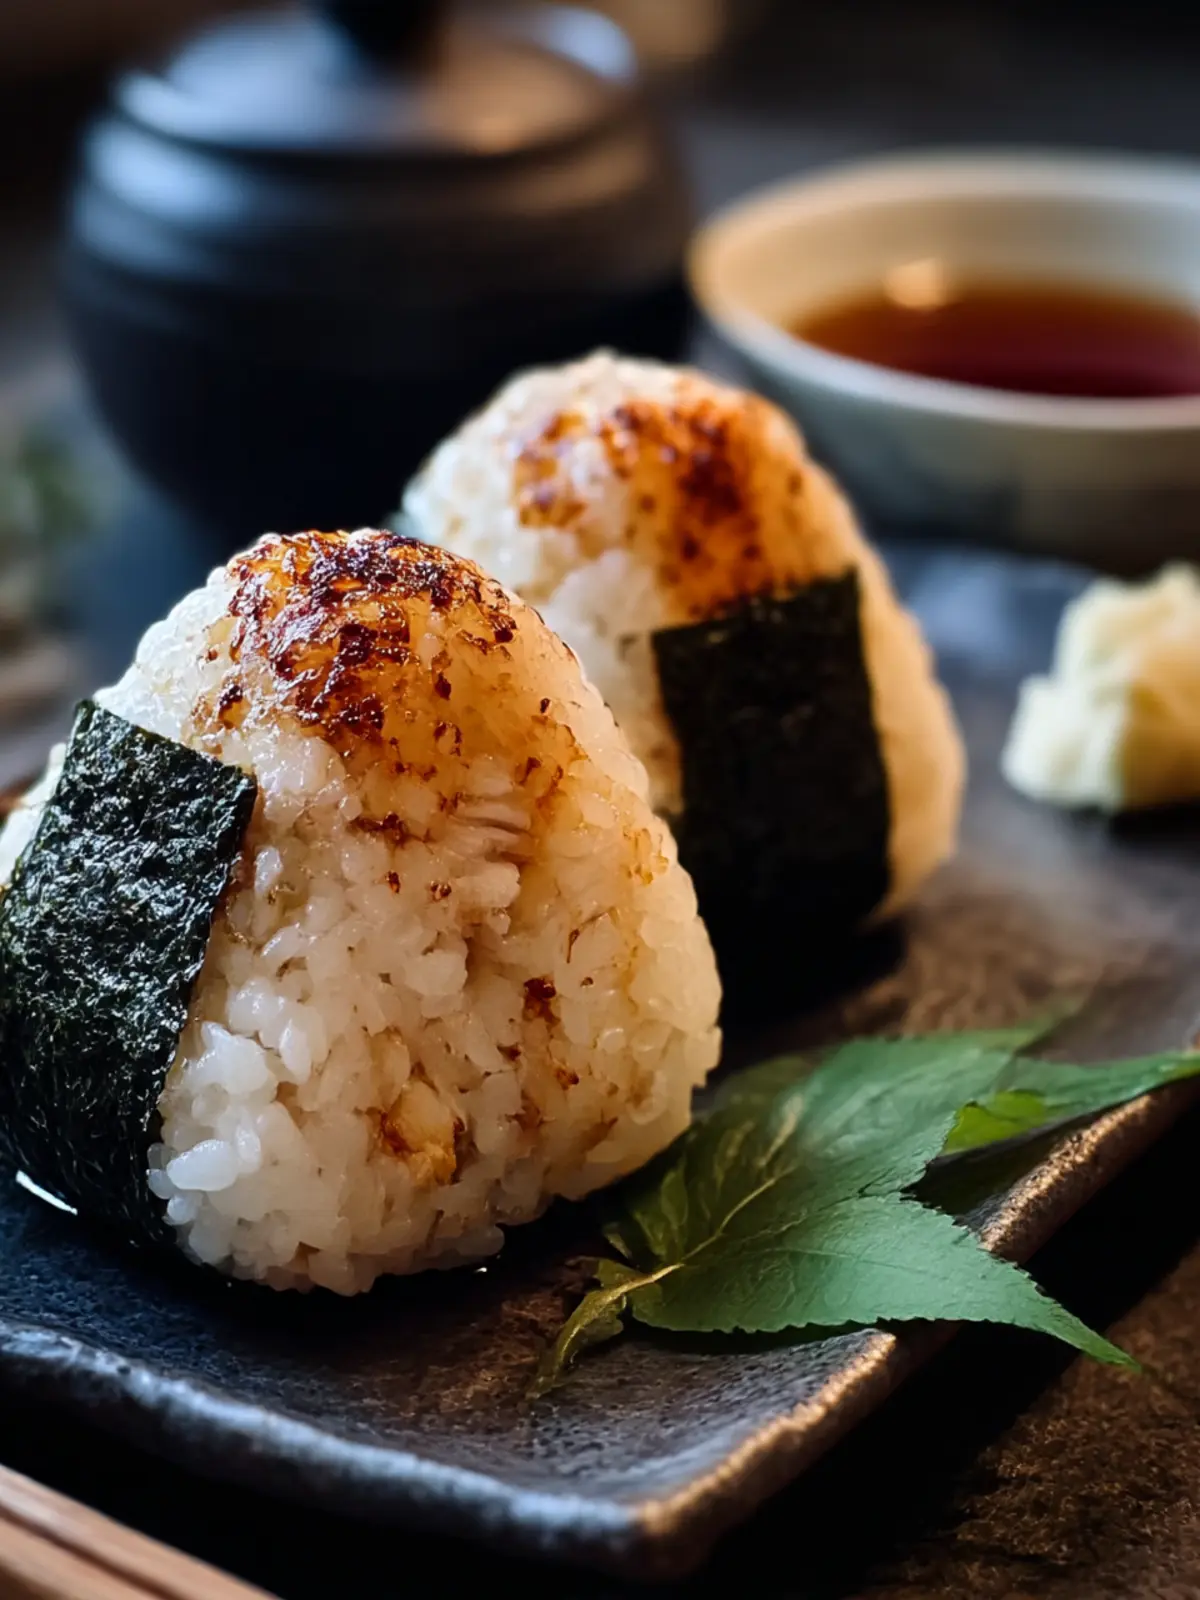
Chicken Onigiri Recipe FAQs
How do I select the best sushi rice for my Chicken Onigiri?
Look for short-grain sushi rice, as it possesses a higher starch content, which creates that delightfully sticky texture essential for onigiri. When rinsing, the water should run clear to remove excess starch before cooking.
What is the best way to store leftover Chicken Onigiri?
Absolutely! You should keep any leftover Chicken Onigiri in an airtight container in the fridge for up to 2 days to maintain their freshness. If you plan to eat them later, wrapping them tightly and freezing them will extend their storage to a month.
Can I freeze Chicken Onigiri? How do I do that?
Certainly! To freeze, wrap each individual onigiri in plastic wrap and place them in a freezer bag or airtight container. They can be frozen for up to 1 month. When you’re ready to enjoy them, thaw in the fridge overnight and reheat in the microwave for 30-45 seconds, taking care not to dry them out.
What should I do if my onigiri falls apart when shaping?
The more the merrier! If your onigiri isn’t holding its shape, it’s likely that your rice isn’t sticky enough. Ensure you use the right type of sushi rice, rinse it well, and avoid overcooking. Keeping your hands moist while shaping will also help prevent sticking and aid in forming a solid structure.
Can I adapt this recipe for dietary restrictions?
Very much so! You can make your Chicken Onigiri vegetarian by using tofu marinated in the same teriyaki sauce. For a seafood twist, try using cooked shrimp or spicy tuna instead of chicken. Just ensure any substitutes are seasoned to maintain flavor.
Are there any ingredients I should avoid for allergies?
Absolutely! If you’re preparing these for someone with allergies, be cautious with soy sauce, as it contains gluten unless using tamari, which is gluten-free. Always double-check ingredient labels to ensure safety for your guests or family members with dietary restrictions.
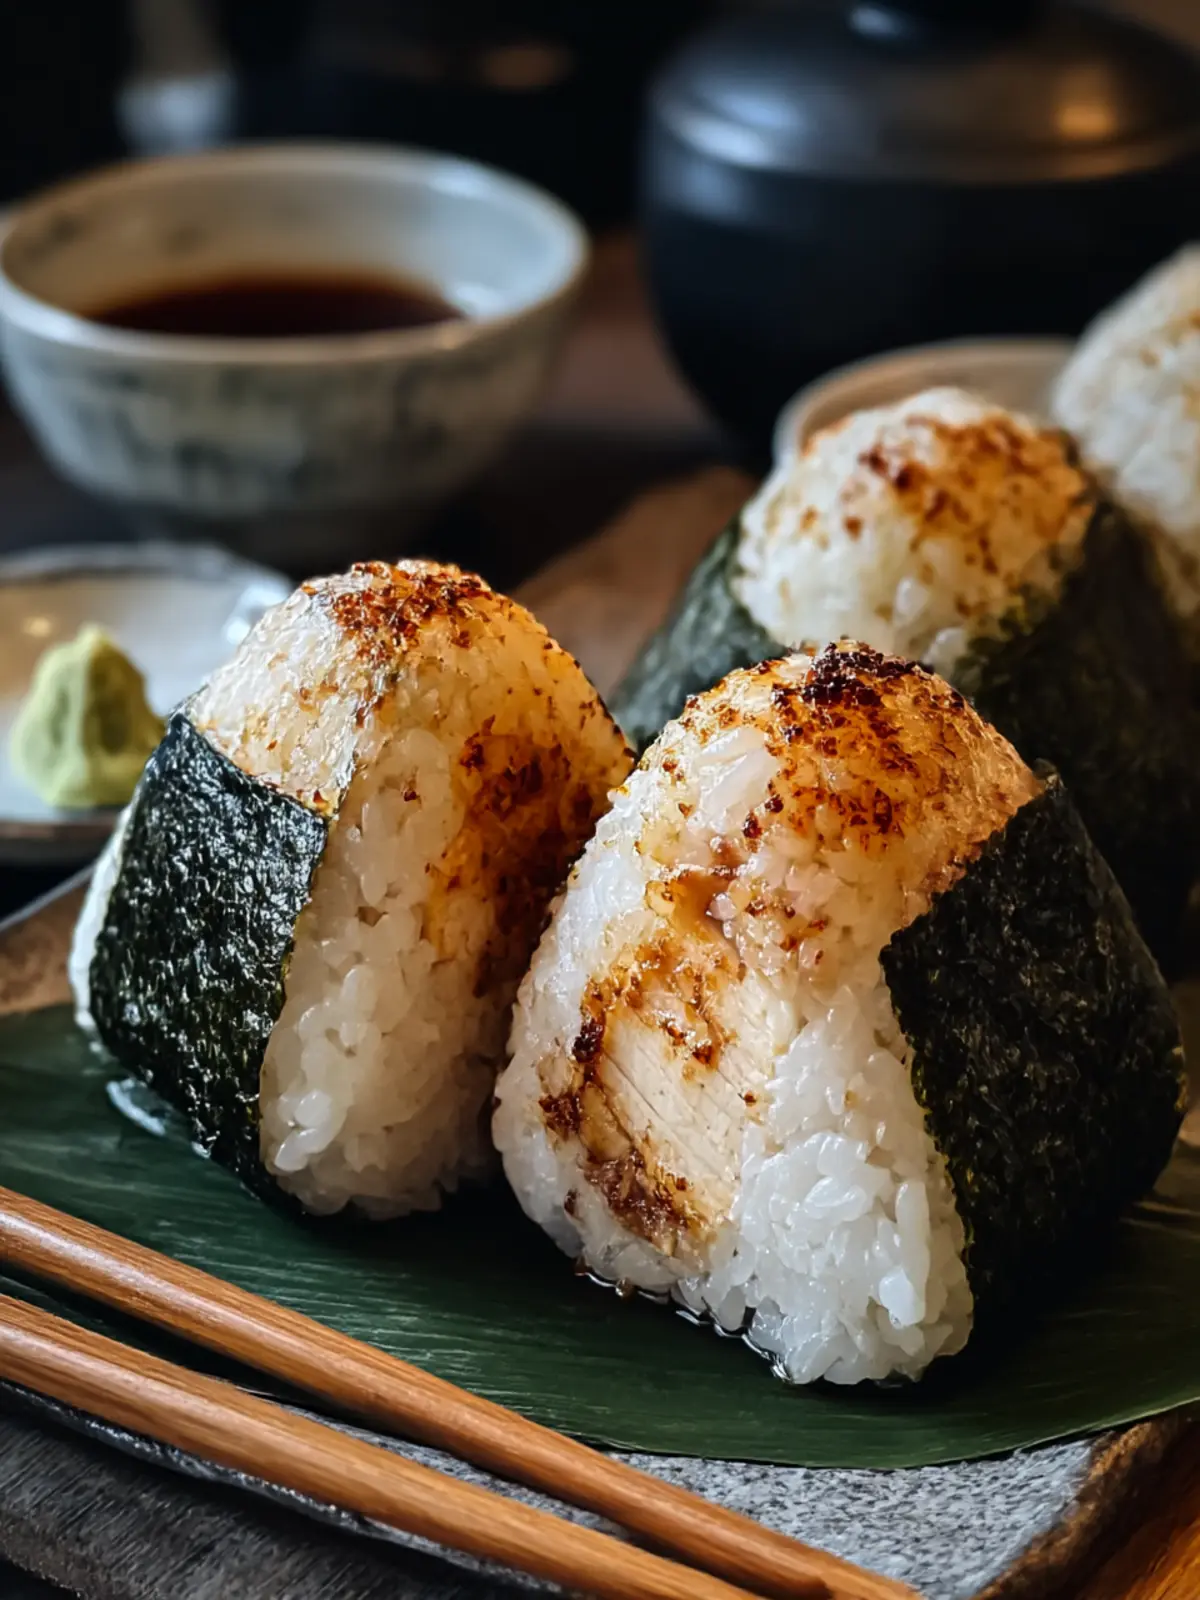
Chicken Onigiri Bliss: Easy, Gluten-Free Snack to Savor
Ingredients
Equipment
Method
- Start by rinsing the sushi rice under cold water until clear. Cook in rice cooker with extra water.
- Dice chicken into bite-sized pieces. Combine soy sauce, sake, baking soda, cornstarch, and garlic in a bowl. Marinate chicken for 30 minutes.
- Whisk together soy sauce, mirin, and brown sugar in a separate bowl to make teriyaki sauce.
- Heat oil in a skillet over medium heat. Sauté marinated chicken until golden brown.
- Add minced garlic and stir for a minute. Pour teriyaki sauce over chicken and simmer until thickened.
- Wet hands and mold sticky rice into triangles. Add chicken filling and seal with rice.
- Wrap with nori strips, securing filling inside. Let rest before serving.