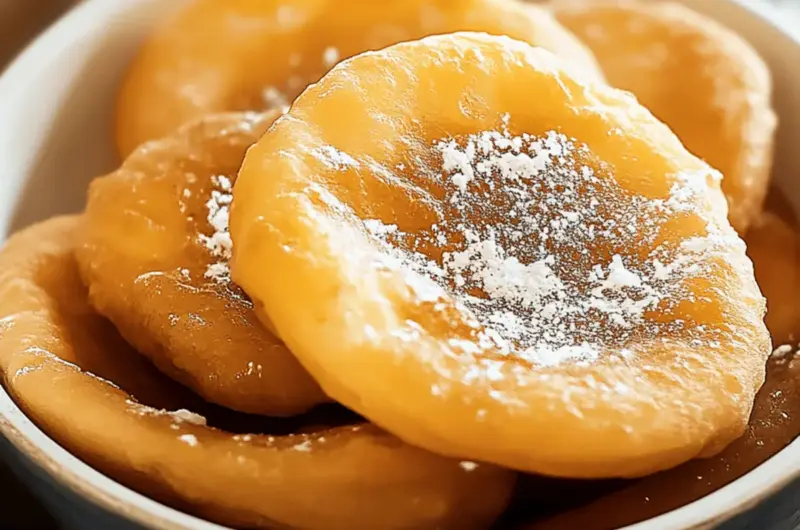
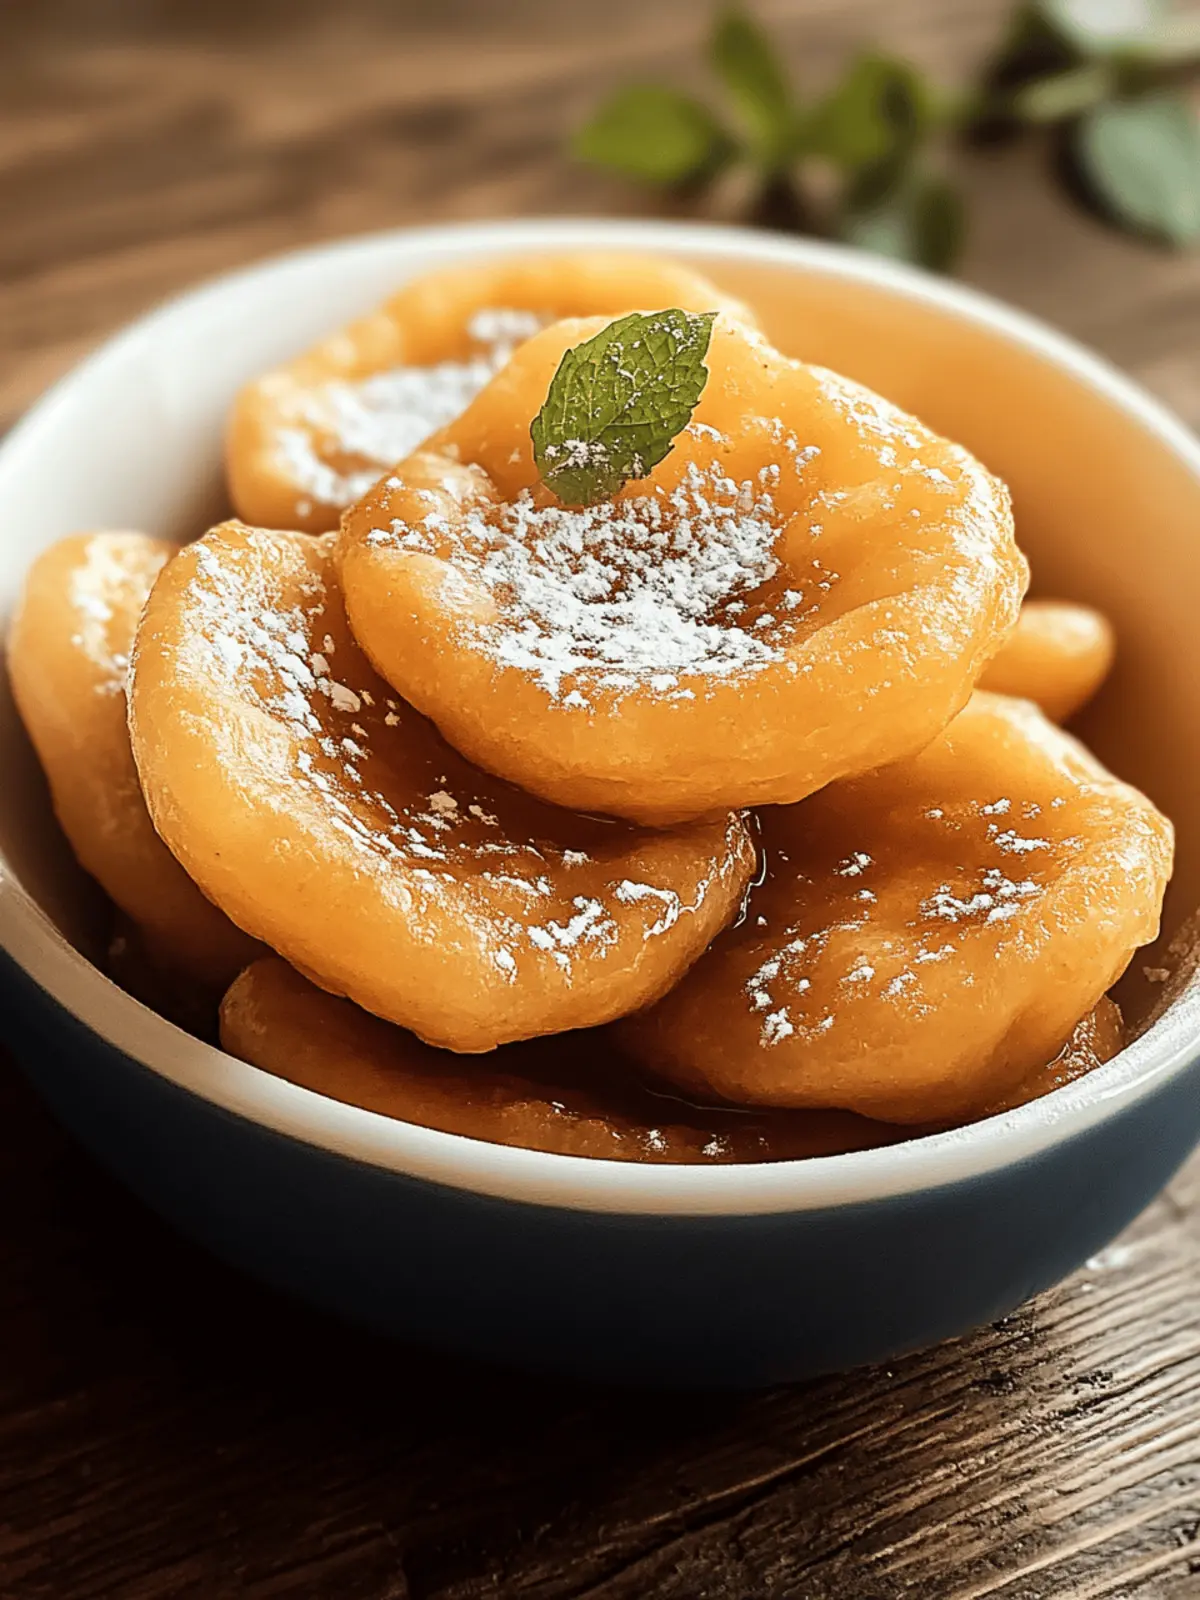
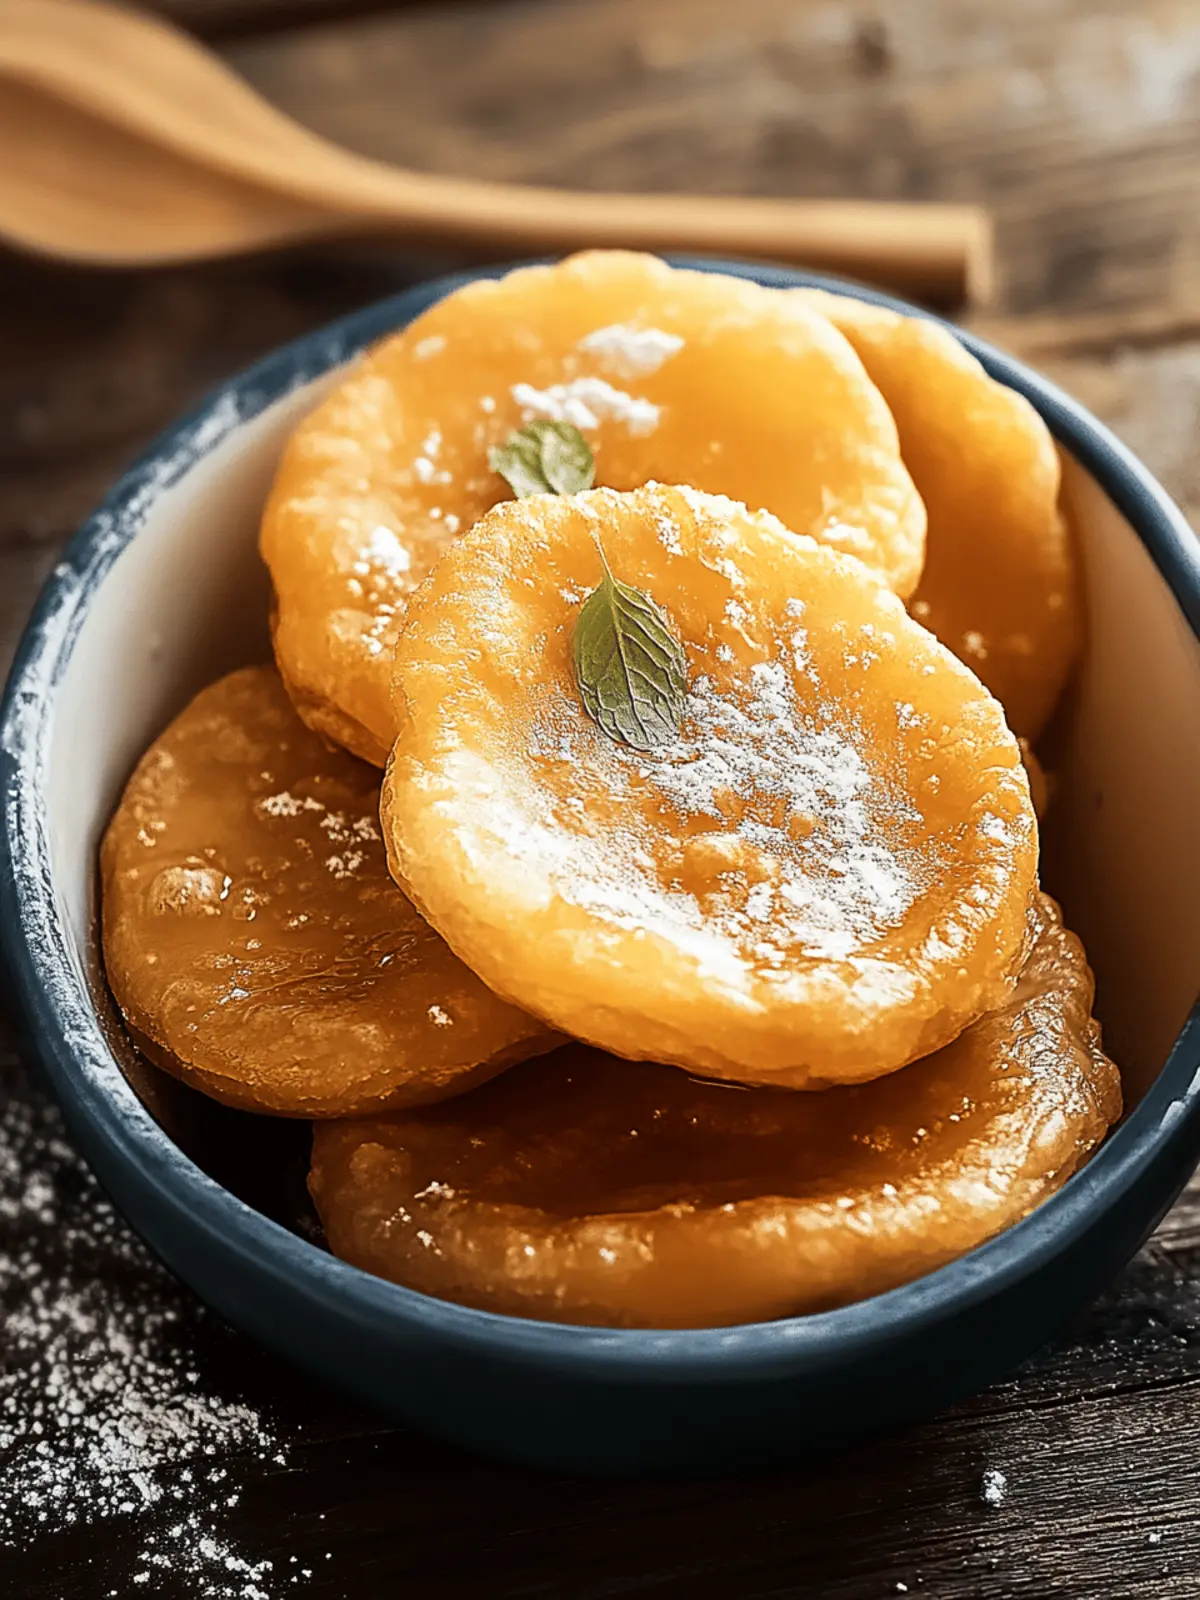
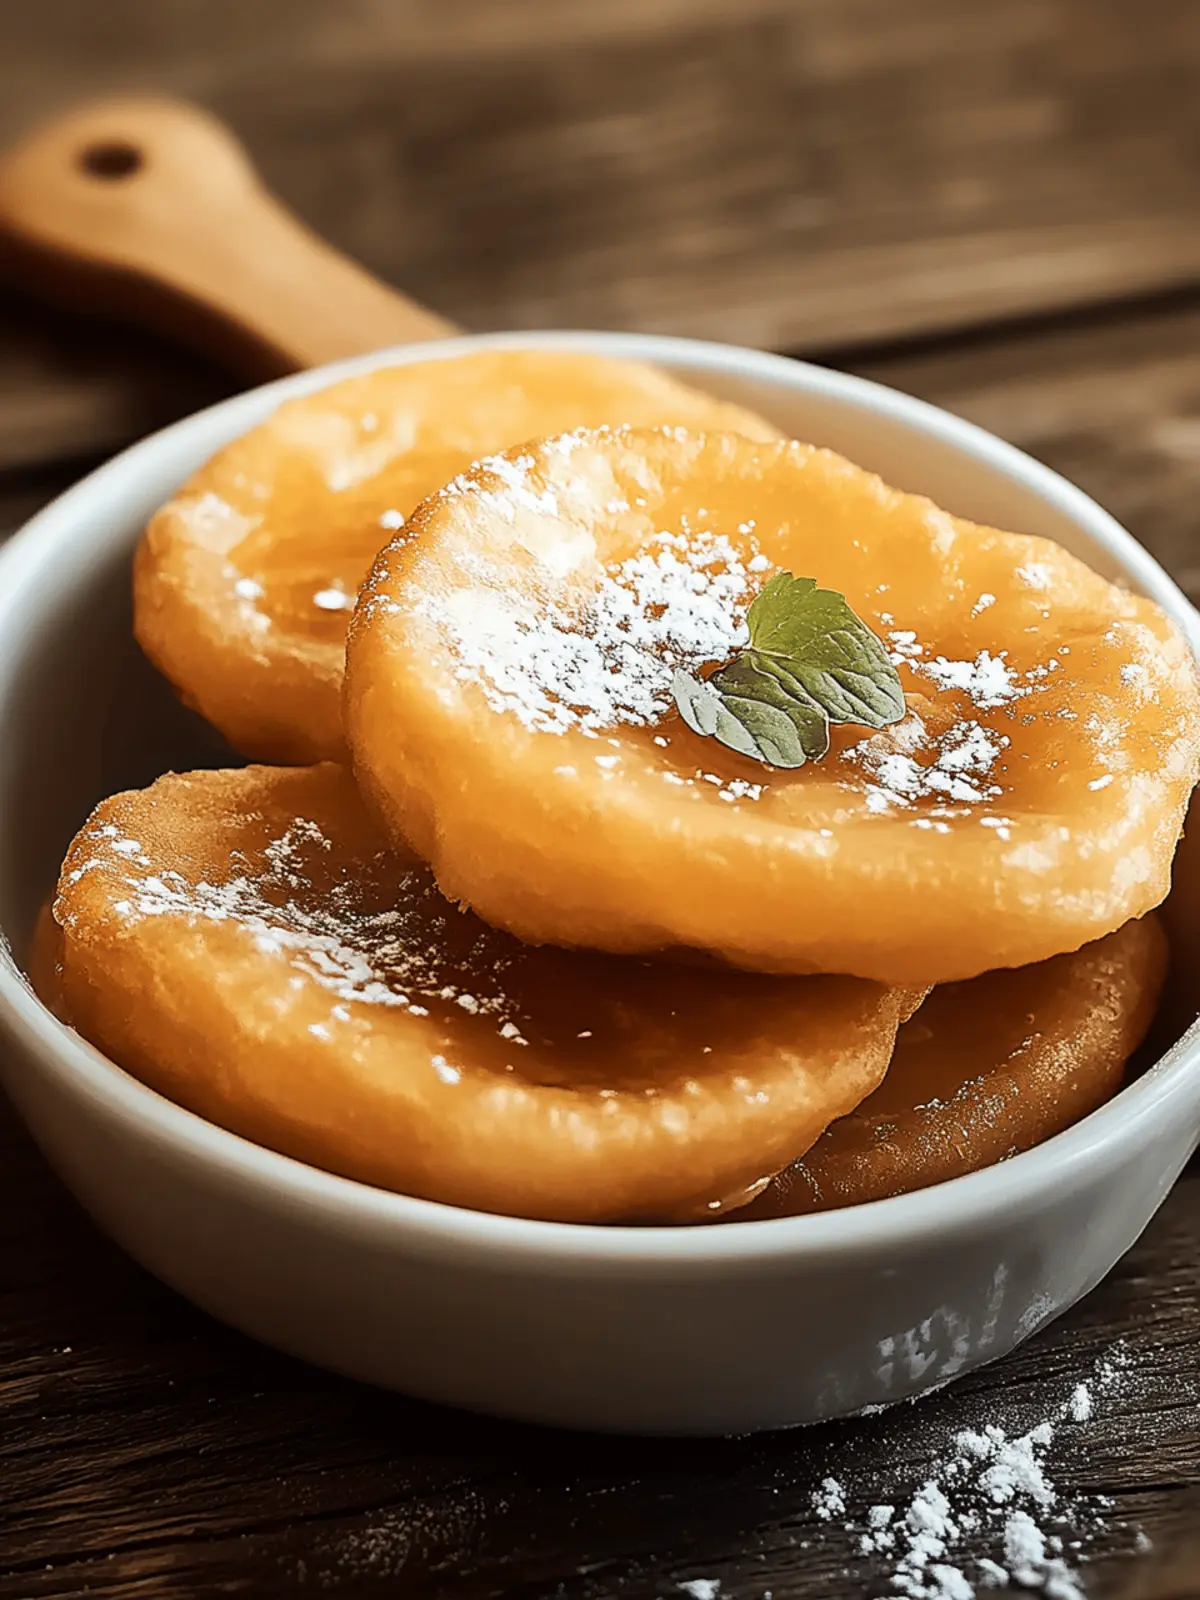
As the leaves begin to change and a cozy chill fills the air, there’s a universal craving that stirs within me—a desire for pockets of warmth and comfort. One of my favorite ways to embrace this feeling is by whipping up a batch of traditional Chilean sopaipillas. These delightful little puffs are not just a treat for the taste buds; they envelop you in nostalgia with every crispy, golden bite. When I first tried them during a festive family gathering, I was captivated by their airy interior and the way they soaked up a drizzle of sweet chancaca syrup.
What I adore most about sopaipillas is their remarkable versatility. Whether dusted with powdered sugar for an indulgent snack or filled with savory delights, they effortlessly transition from dessert to appetizer. In mere minutes, you can create the perfect companion for a warm cup of tea or coffee, making these golden dough puffs an irresistible addition to any occasion. Ready to dive into an experience of flavor and fond memories? Let’s roll up our sleeves and make some sopaipillas!
Why are Sopaipillas the Ultimate Comfort Food?
Simplicity makes this recipe approachable for everyone, needing just a handful of ingredients. Versatile toppings like powdered sugar or spicy fillings let you customize your sopaipillas for any occasion. Crowd-pleaser alert! These golden delights will impress guests and family alike with their irresistible texture and flavor. Time-saving and quick to fry, they can easily be made on a busy weeknight. Embrace the rich cultural heritage of these treats by celebrating with family; why not explore more traditional Latin American recipes to pair with your sopaipillas?
Delicious Sopaipillas Ingredients
For the Dough
- All-Purpose Flour – Provides the perfect structure; feel free to substitute with gluten-free flour if needed.
- Baking Powder – Essential for leavening, ensuring your sopaipillas rise to delightful puffs.
- Salt – Enhances the overall flavor; a pinch goes a long way!
- Butter – Adds richness and a wonderful taste; can be swapped with vegetable shortening for a dairy-free option.
- Warm Water – Helps bring the dough together; adjust the amount for a smooth consistency.
For Frying
- Vegetable Oil – Necessary for frying your sopaipillas; any neutral oil will do just fine.
For Serving Toppings
- Powdered Sugar – A classic sweet topping that amplifies the dessert experience.
- Chancaca Syrup – This sweet drizzle adds a traditional touch; perfect for soaking into the warm puffs!
How to Make Sopaipillas
-
Combine Ingredients: In a large bowl, mix together the all-purpose flour, baking powder, and salt. Add the softened butter, mixing well until the mixture resembles coarse crumbs.
-
Knead Dough: Gradually pour in the warm water while kneading the dough. Continue until it becomes smooth and elastic, which should take about 5 minutes.
-
Rest Dough: Cover the dough with a clean towel and let it rest for 30 minutes. This step is essential for creating that perfect puff when fried!
-
Heat Oil: In a deep frying pan over medium heat, warm the vegetable oil until it’s hot but not smoking—this is crucial for achieving golden-brown sopaipillas.
-
Roll Out Dough: Roll the rested dough out to a thickness of about 1/4 inch. Then, cut it into squares or circles, each measuring around 3-4 inches.
-
Fry Sopaipillas: Carefully place the dough pieces into the hot oil. Fry each side until they are golden brown and puffed—this should take around 2-3 minutes per side. Drain them on paper towels afterward.
-
Serve Warm: Serve the sopaipillas warm, generously dusted with powdered sugar or drizzled with sweet chancaca syrup for that extra touch of indulgence!
Optional: Sprinkle with cinnamon sugar for a delightful twist.
Exact quantities are listed in the recipe card below.
What to Serve with Sopaipillas?
Warm, crunchy bites of deliciousness call for delightful companions to create a memorable meal experience.
-
Coffee or Tea: Pairing your sopaipillas with a cup of rich coffee or soothing tea creates a comforting ritual, perfect for any time of day. The warm beverages enhance the sweetness of the puffs beautifully.
-
Chancaca Syrup: Drizzle this sweet, caramel-like syrup over your sopaipillas for a traditional treat that perfectly complements their airy texture. Its rich flavor will transport you to Chile with every bite!
-
Ice Cream: A scoop of vanilla or dulce de leche ice cream adds a delightful creaminess to the crispy sopaipillas, making for a heavenly dessert combination that balances textures and flavors.
-
Fresh Fruit Salad: Combining sopaipillas with a vibrant fruit salad introduces freshness and acidity, cutting through the sweetness while complementing their warm, puffed nature.
-
Savory Salsas: For a unique twist, serve sopaipillas with spicy or zesty salsas. The contrasting flavors will surprise your palate and make for an adventurous appetizer that’s sure to impress.
-
Cinnamon Sugar Sprinkling: Elevate your sopaipillas by tossing them in a mixture of cinnamon and sugar. This adds warmth and a delightful crunchy texture, perfect for those who enjoy a sweet and spiced finish.
Make Ahead Options
These sopaipillas are ideal for meal prep enthusiasts! You can prepare the dough up to 24 hours in advance by mixing it, then wrap it tightly in plastic wrap and refrigerate. This way, the flavors have time to meld and improve. When you’re ready to enjoy your delicious sopaipillas, simply roll out the dough, cut it into your desired shapes, and fry them as instructed. To maintain their quality, ensure the oil is hot enough before frying, as this will help them puff up perfectly. With this make-ahead strategy, you’ll have warm, crispy treats at your fingertips, ready to impress at your next gathering!
Sopaipillas Variations & Substitutions
Feel free to get creative and tailor your sopaipillas to suit your taste or dietary needs!
-
Gluten-Free: Swap all-purpose flour with your favorite gluten-free blend to make this treat suitable for gluten-sensitive friends. Be sure to find a blend with xanthan gum for the best texture!
-
Dairy-Free: Replace butter with vegetable shortening or coconut oil for a delightful dairy-free version. This will keep the richness while accommodating dietary restrictions.
-
Sweet Twist: Drizzle with caramel sauce or chocolate syrup for a decadent dessert experience. The added sweetness creates an irresistible indulgence that takes these puffs to the next level.
-
Savory Filling: Stuff with a mix of sautéed vegetables, cheese, or spicy meats before frying for a delicious savory twist. This could easily become the star of any meal!
-
Herb-Infused: Add dried herbs like oregano or basil into the dough for a unique flavor. The infusion enhances the overall taste and adds a delightful aroma while frying.
-
Cinnamon Sugar: Experiment by rolling finished sopaipillas in cinnamon sugar for a sweet and aromatic coating. It creates a cozy, comforting treat that’s absolutely heavenly.
-
Extra Crispiness: Double-fry them for an added crunch! Fry once until golden, remove to drain, and then return to the oil for a second fry until crisp and puffed.
-
Spicy Afterburn: Serve with a side of spicy salsa or even a fiery chili sauce to satisfy those who crave heat along with their sweet treats. It’s an adventurous twist that adds excitement!
How to Store and Freeze Sopaipillas
- Room Temperature: Keep sopaipillas stored in an airtight container for up to 2 days at room temperature to maintain their crispy texture.
- Fridge: For extended freshness, you can refrigerate sopaipillas, but they may lose some crispiness; consume within 3 days.
- Freezer: Freeze individually wrapped sopaipillas in plastic wrap or an airtight container for up to 2 months. Thaw in the fridge before reheating.
- Reheating: To bring back the crunch, reheat in an oven at 350°F (175°C) for about 5–7 minutes until warmed through and crispy again.
Expert Tips for Sopaipillas
- Right Temperature: Ensure your oil is hot enough before frying by testing with a small piece of dough; it should sizzle immediately.
- Avoid Overcrowding: Fry in small batches to maintain oil temperature for crispy, perfectly puffed sopaipillas.
- Knead Well: Knead the dough thoroughly until it’s smooth and elastic to ensure a delightful texture.
- Resting Time: Let the dough rest for 30 minutes; this is key for achieving that airy, fluffy interior when fried.
- Serving Suggestions: For a fun twist, try different toppings like cinnamon sugar or savory fillings to elevate your sopaipillas!
Sopaipillas Recipe FAQs
How do I select the best ingredients for my sopaipillas?
Absolutely! For the best sopaipillas, choose all-purpose flour that’s fresh and finely milled. Look for baking powder that is within its expiration date to ensure proper leavening. When selecting butter, opt for unsalted for better control over the flavors—unless you enjoy a bit of extra saltiness.
How should I store leftover sopaipillas?
Very good question! Store any leftover sopaipillas in an airtight container at room temperature for up to 1-2 days. This will help keep them crispy, although they are best enjoyed fresh. For longer storage, refrigerate them for up to 3 days, but be wary, as refrigeration may affect their texture.
Can I freeze sopaipillas for later enjoyment?
Absolutely! To freeze sopaipillas, let them cool completely after frying. Then, wrap each one tightly in plastic wrap or place them in an airtight container. They can be frozen for up to 2 months. When you’re ready to enjoy, thaw them in the fridge overnight and reheat in the oven at 350°F (175°C) for about 5-7 minutes to regain that crispy exterior!
What should I do if my sopaipillas don’t puff up?
This can happen, but don’t worry! If your sopaipillas don’t puff, it may be due to the oil not being hot enough. Ensure that it reaches the right temperature by testing with a small piece of dough before frying. Another factor could be insufficient resting time for the dough—remember that 30 minutes is key for letting the gluten relax. Lastly, ensure you’re kneading the dough thoroughly; a smooth, elastic dough is essential for the perfect puff!
Are sopaipillas safe for people with dietary restrictions?
Indeed! Sopaipillas can be made to accommodate various dietary needs. For gluten-free options, substitute all-purpose flour with a gluten-free blend, ensuring the blend has a binding agent such as xanthan gum. If you’re looking for a dairy-free version, you can use vegetable shortening in place of butter. However, always check ingredient labels for allergens if serving to someone with food sensitivities.
Can my pets enjoy sopaipillas too?
It’s best to keep sopaipillas away from pets. While the ingredients themselves aren’t toxic, the high-fat frying oil can upset their stomachs, and sugary toppings lie outside their recommended diet. Stick to pet-safe treats for your furry friends!
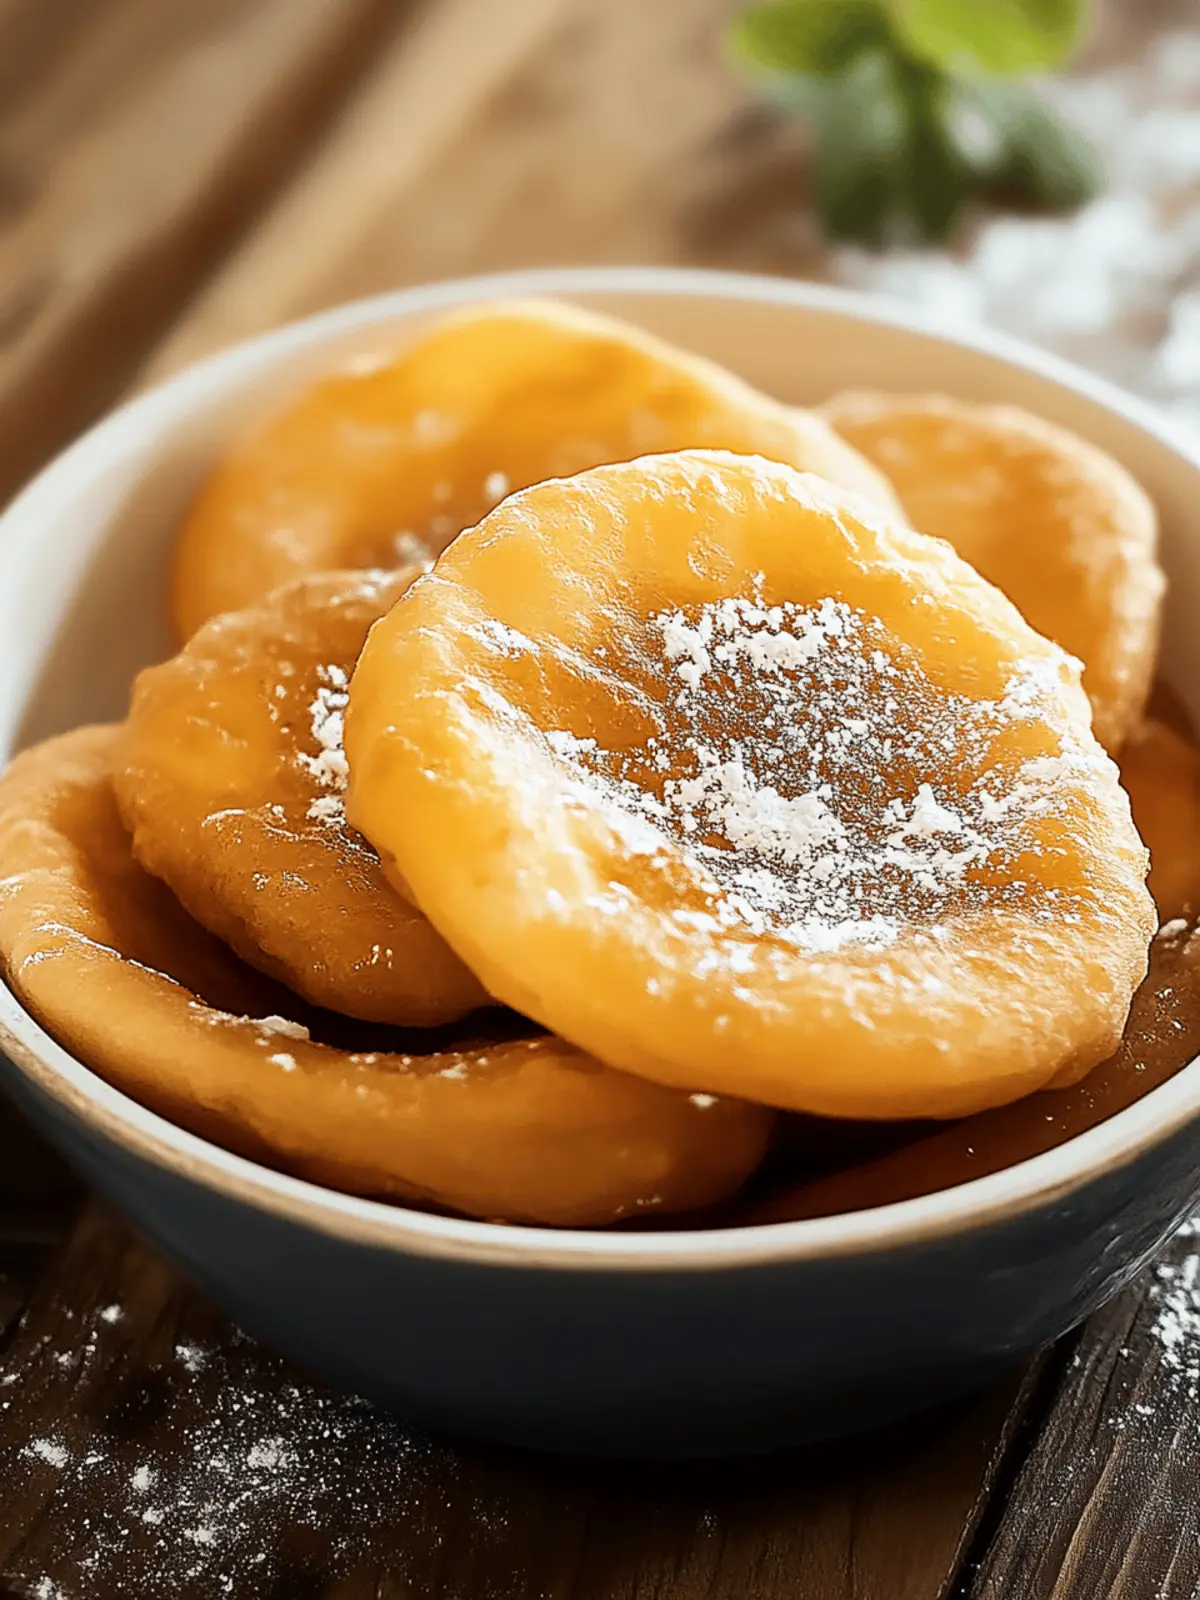
Delicious Sopaipillas: Perfectly Puff Up Your Dessert Game
Ingredients
Equipment
Method
- In a large bowl, mix together the all-purpose flour, baking powder, and salt. Add the softened butter, mixing well until the mixture resembles coarse crumbs.
- Gradually pour in the warm water while kneading the dough. Continue until it becomes smooth and elastic, which should take about 5 minutes.
- Cover the dough with a clean towel and let it rest for 30 minutes.
- In a deep frying pan over medium heat, warm the vegetable oil until it’s hot but not smoking.
- Roll the rested dough out to a thickness of about 1/4 inch. Then, cut it into squares or circles, each measuring around 3-4 inches.
- Carefully place the dough pieces into the hot oil. Fry each side until they are golden brown and puffed, about 2-3 minutes per side. Drain on paper towels.
- Serve the sopaipillas warm, dusted with powdered sugar or drizzled with sweet chancaca syrup.

