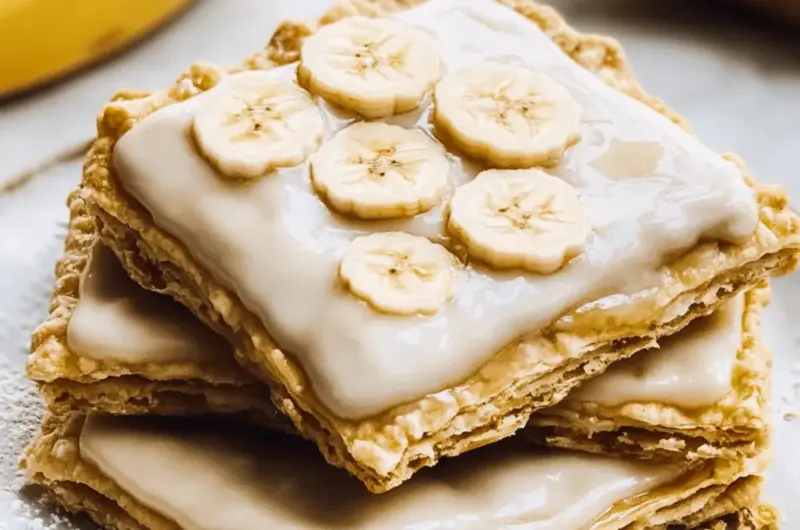
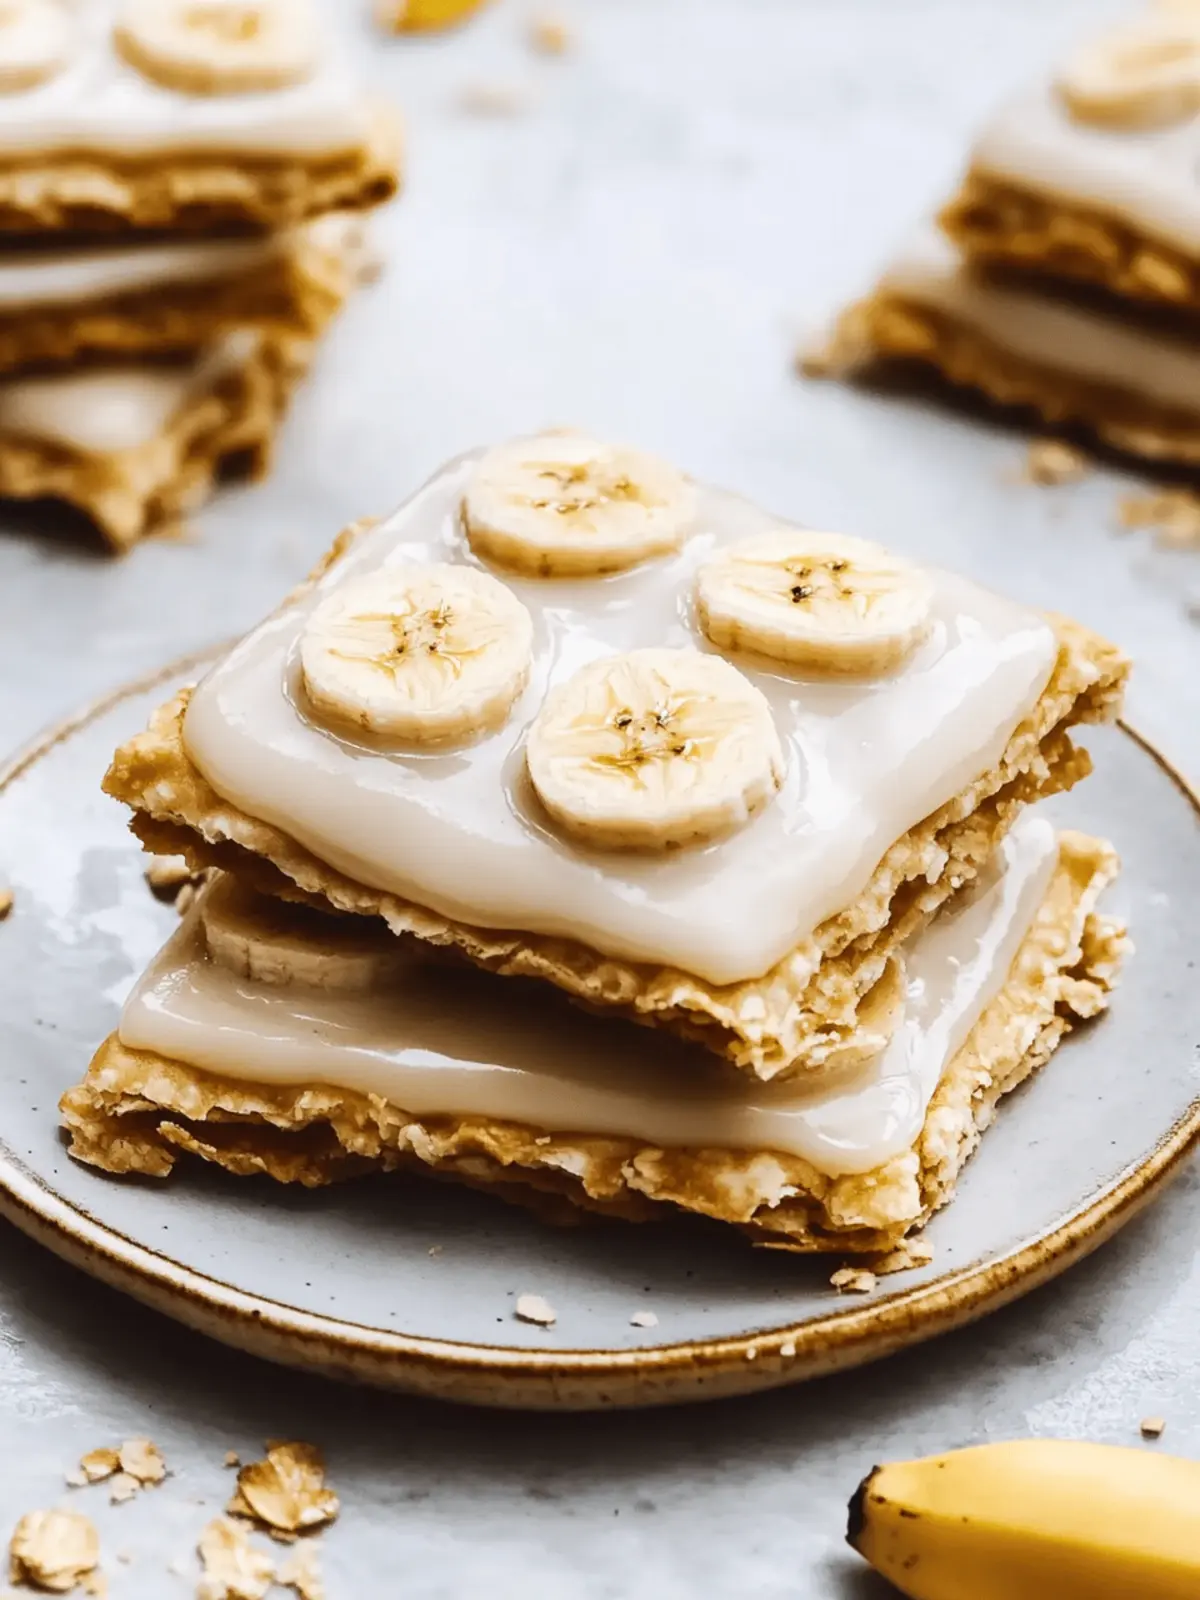
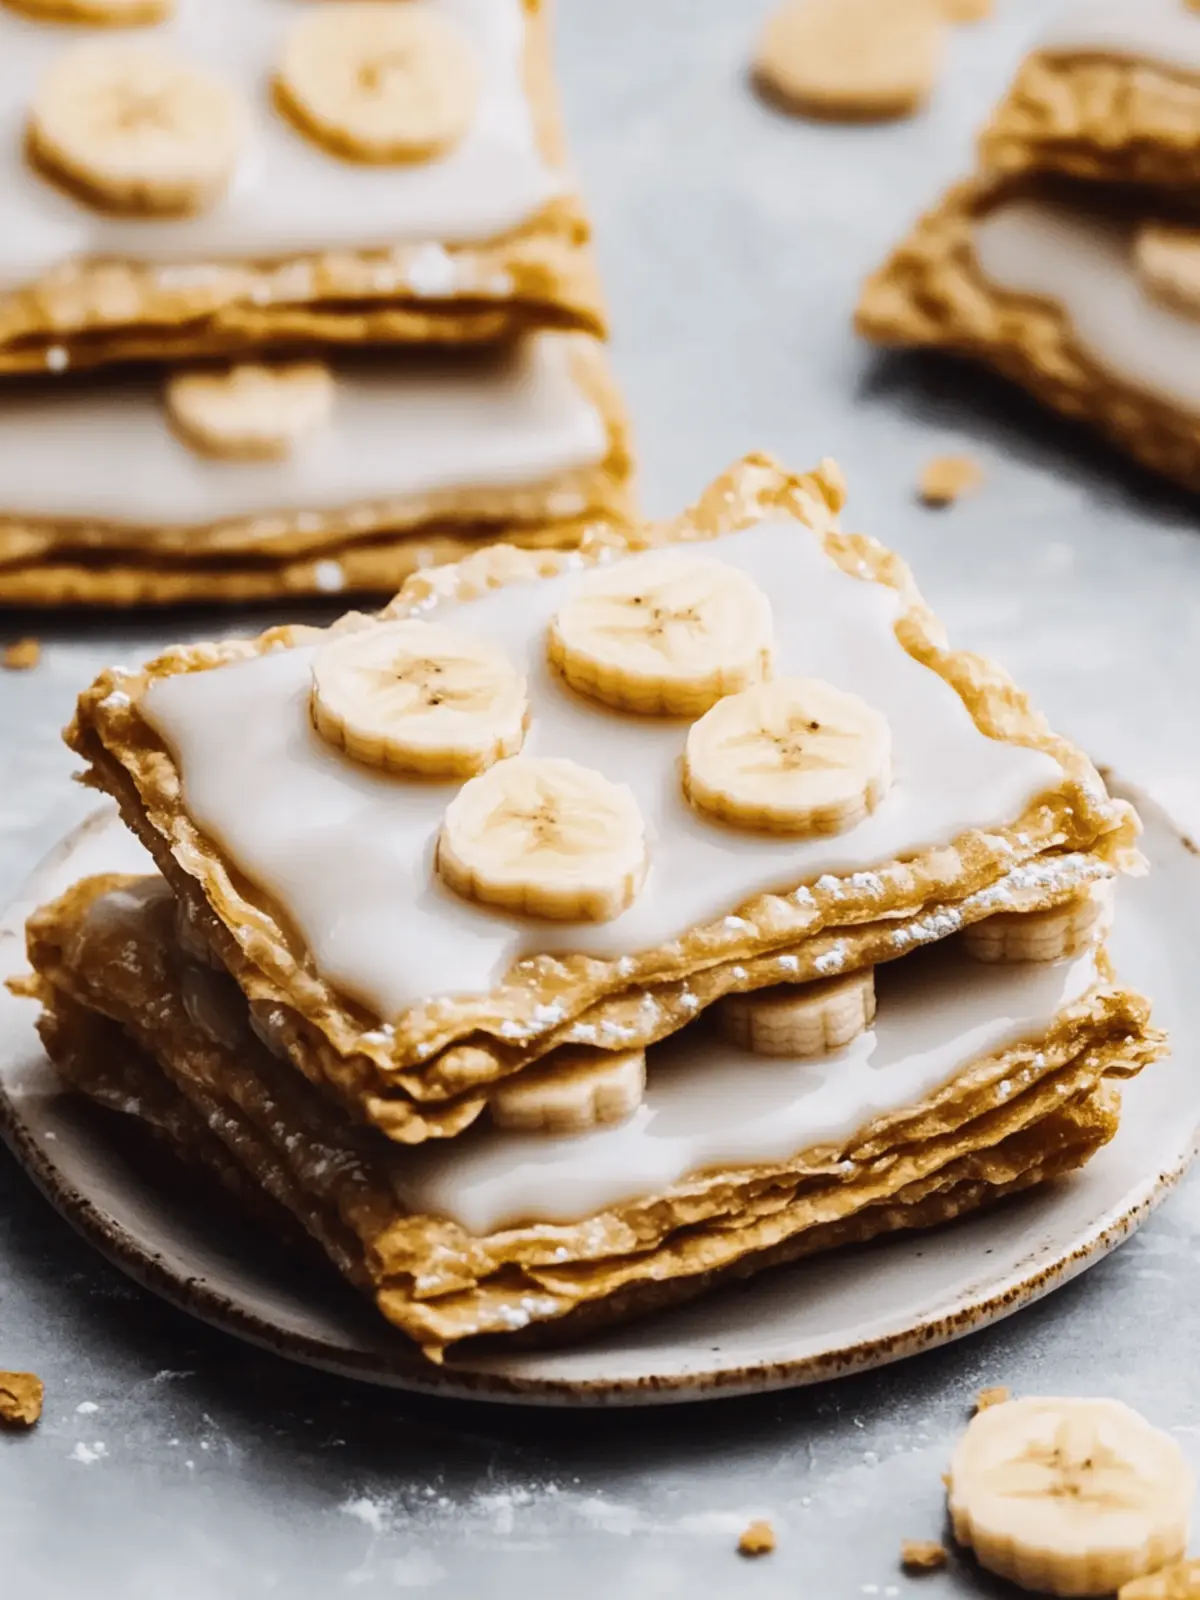
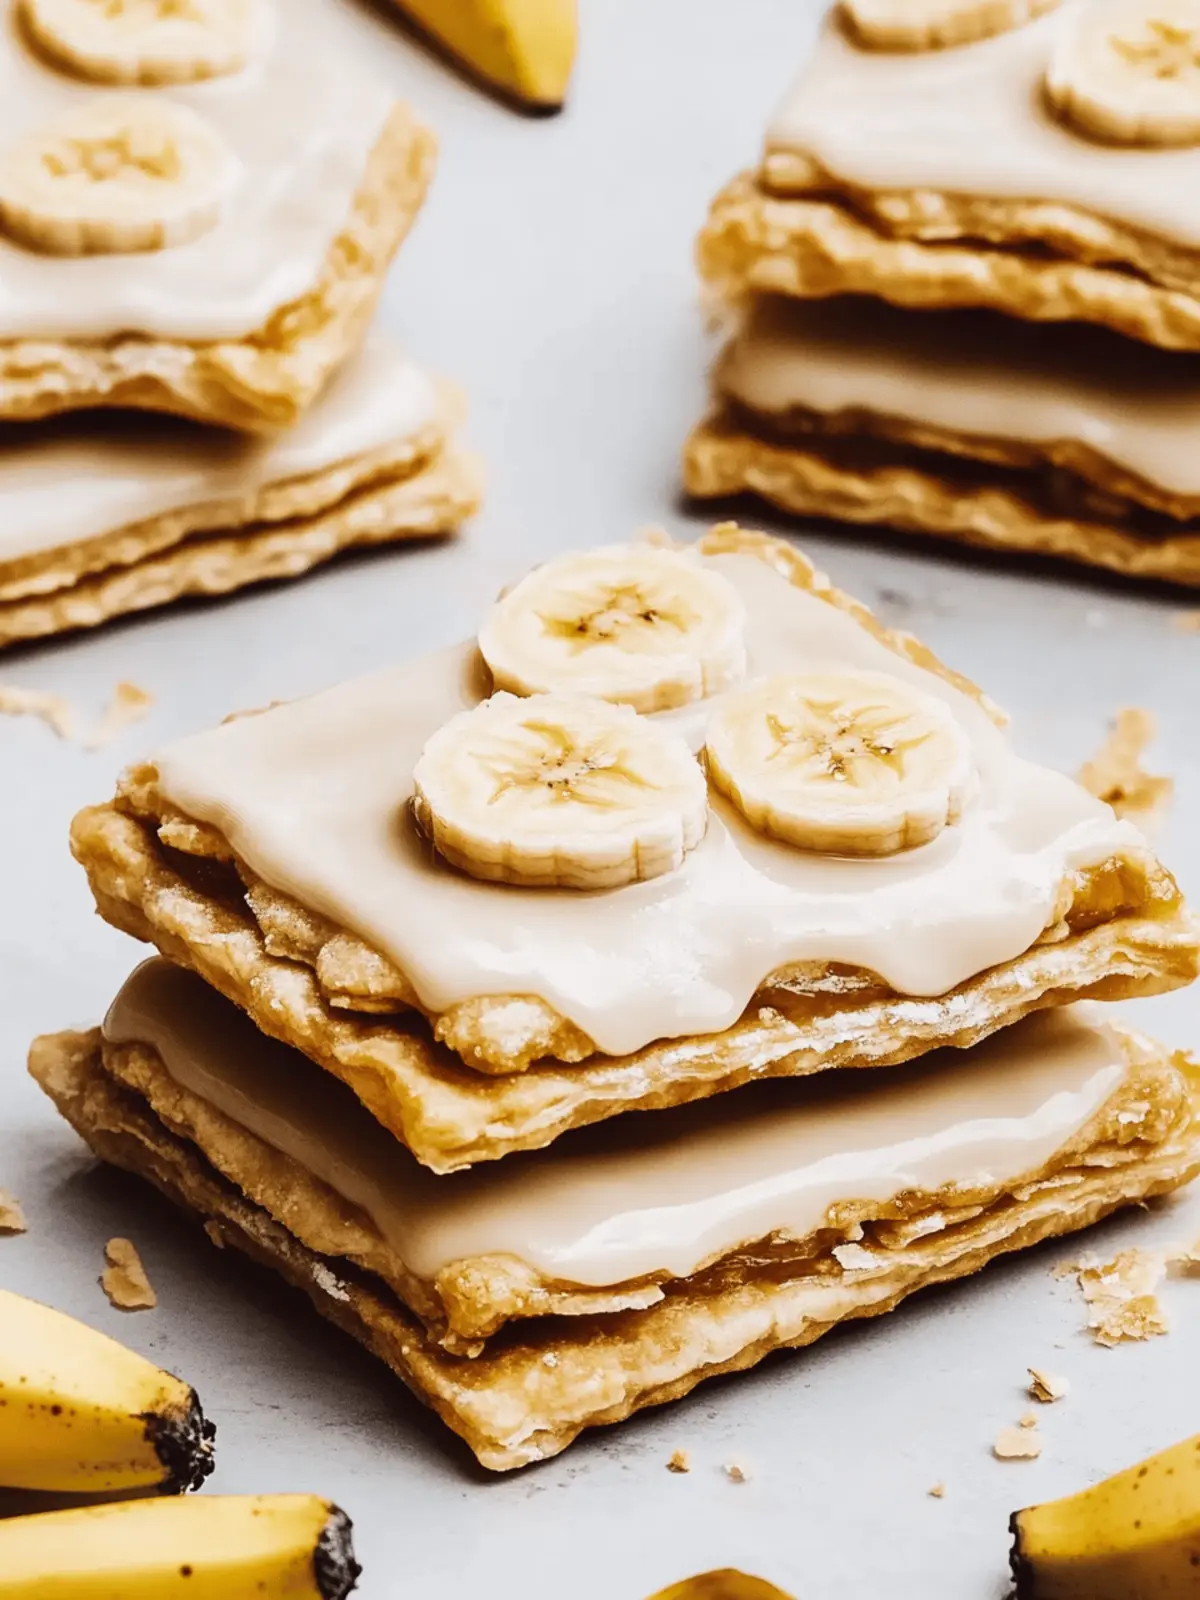
There’s a certain joy that fills the air when the warm, sweet aroma of baking wafts through the kitchen. Recently, I decided to revisit the days of my childhood with a twist, crafting gluten-free Banana Pop Tarts that resonate with the comforting breakfasts I loved as a kid. These homemade treats, bursting with ripe bananas and draped in creamy peanut butter frosting, not only satisfy cravings but also cater to those seeking a healthier option for their morning routine.
What’s even more delightful is the simplicity of this recipe. With just a few key ingredients, you can whip up these flaky pastries in no time, making them perfect for busy weekdays or leisurely brunches with friends. And let’s not forget, they’re versatile enough to incorporate a variety of fillings or toppings, meaning you can customize them to your heart’s content! So grab those ripe bananas, and let’s dive into the magic of baking your own deliciously nostalgic banana pop tarts.
Why Are Banana Pop Tarts a Must-Make?
Nostalgic Comfort: These homemade Banana Pop Tarts bring back the joy of childhood breakfasts while offering a healthier, gluten-free twist.
Simple Preparation: With just a handful of ingredients, this recipe is approachable for bakers of any skill level.
Customizable Flavors: Feel free to experiment with various fillings like nut butters or fruits, making each batch unique.
Perfect for Any Time: Enjoy them as a quick breakfast or a delightful snack that impresses friends and family.
Time-Saving: Whip them up in under an hour, perfect for busy mornings or brunch plans.
Deliciously Satisfying: The combination of sweet bananas and creamy peanut butter frosting ensures each bite is packed with flavor.
Banana Pop Tarts Ingredients
For the Dough
- Gluten-Free Flour – Serves as the base for these Banana Pop Tarts, ensuring a delicious structure; you can substitute with almond flour for a nutty touch.
- Ripe Bananas – Provides natural sweetness and moisture; remember, the riper the bananas, the better!
- Butter – Adds a rich flavor and flaky texture; swap with coconut oil for a vegan friendly option.
For the Frosting
- Peanut Butter – Creates a creamy, rich frosting that pairs beautifully with the bananas; enjoy almond butter as an alternative for added flavor.
- Powdered Sugar – Sweetens the frosting nicely; feel free to adjust the sweetness according to your taste.
- Vanilla Extract – Elevates the frosting’s flavor; for the best results, choose pure extract.
Optional Ingredients
- Chocolate Chips – Add a touch of sweetness and richness; sprinkle in the filling or drizzle them on top if desired.
- Sliced Bananas – Perfect as a topping for additional fresh flavor and a decorative touch; they can also enhance your frosting experience.
How to Make Banana Pop Tarts
- Prepare Dough: Mix 1 cup of gluten-free flour, 1 mashed ripe banana, and 4 tablespoons softened butter in a bowl until a cohesive dough forms, which should take about 3-5 minutes.
- Chill Dough: Wrap the dough in plastic wrap, and place it in the refrigerator for about 30 minutes to firm up nicely.
- Roll Out Dough: After chilling, roll the dough on a lightly floured surface to about 1/4 inch thickness, making it easier to cut shapes.
- Cut Shapes: Use a pastry cutter or knife to slice the dough into rectangles that will become your pop tarts.
- Bake: Arrange the rectangles on a parchment-lined baking sheet and bake at 350°F (175°C) for about 15-20 minutes, or until lightly golden on the edges.
- Make Frosting: While the tarts cool, mix 1/2 cup peanut butter, 1 cup powdered sugar, and 1 teaspoon vanilla extract until smooth, which should take around 2-3 minutes.
- Decorate: Once the tarts are completely cooled, spread or pipe the peanut butter frosting on top; for an extra treat, drizzle with melted chocolate if desired.
Optional: Top with sliced bananas or sprinkle chocolate chips for added sweetness and flavor.
Exact quantities are listed in the recipe card below.
Banana Pop Tarts Variations & Substitutions
Feel free to get creative with this recipe and tailor it to your taste; the possibilities are delightful!
-
Nut-Free: Substitute almond flour with sunflower seed flour to keep it nut-free while maintaining a great texture.
-
Vegan: Replace butter with coconut oil and use maple syrup instead of powdered sugar for a delicious plant-based frosting.
-
Chocolate Lovers: Add cocoa powder to the dough for a rich chocolate twist, pairing beautifully with the banana filling.
-
Berry Filling: Swap bananas for fresh berries like strawberries or blueberries for a fruity explosion of flavor.
-
Savory Option: Incorporate shredded cheese and herbs in the dough for a savory take, perfect for brunch alongside a fresh salad.
-
Extra Crunch: Mix in some finely chopped nuts like walnuts or pecans into the dough for added texture and nutty flavor.
-
Spicy Kick: Add a pinch of cayenne or chili powder to the frosting for an unexpected, delightful heat that contrasts with the sweetness.
-
Maple Glaze: Instead of peanut butter frosting, drizzle a simple maple glaze made with powdered sugar and maple syrup for a different sweet finish.
What to Serve with Banana Pop Tarts?
Pair your nostalgic pastry with delightful sides and drinks that elevate your breakfast or snack experience. Each addition will complement the sweet and comforting nature of these delicious treats.
- Fresh Berries: Juicy strawberries and blueberries add a burst of freshness that balances the sweetness of the pop tarts. Their vibrant colors also make your plate pop!
- Greek Yogurt: A dollop of creamy Greek yogurt adds creaminess and a tangy flavor that beautifully contrasts the sweet banana filling. It’s the perfect way to add some protein into your meal.
- Honey Drizzle: A light drizzle of honey provides a touch of natural sweetness, enhancing the overall flavor of your banana pop tarts while keeping your breakfast simple and elegant.
- Coffee: A warm cup of coffee pairs wonderfully, providing a comforting, aromatic balance to your sweet pop tarts that will kickstart your day.
- Tea Selection: Choose a herbal or chai tea for a soothing beverage that complements the flavors of banana and peanut butter, offering a calming effect with every sip.
- Maple Syrup: Drizzling pure maple syrup over your pop tarts adds an indulgent twist and a classic breakfast vibe that takes you back to the good old days.
- Chocolate Milkshake: For a playful take, serve with a thick chocolate milkshake for a nostalgic treat that will satisfy your sweet tooth while feeling like a special occasion.
- Coconut Chia Pudding: This light and healthy side introduces a different texture and flavor, enhancing your breakfast experience while being packed with nutrients.
- Peanut Butter Smoothie: Blend up a quick smoothie with banana, peanut butter, and a splash of almond milk for a drink that mirrors the flavors of your pop tarts.
These pairings ensure that your banana pop tarts shine as the star of your meal while adding depth and variety to your dining experience. Enjoy!
How to Store and Freeze Banana Pop Tarts
- Room Temperature: Store banana pop tarts in an airtight container at room temperature for up to 3 days to maintain their delightful texture.
- Fridge: For longer freshness, refrigerate them for up to 5 days. Just ensure they are well-wrapped to prevent drying out.
- Freezer: Freeze banana pop tarts individually by wrapping them in plastic wrap and then placing them in a freezer bag; they can last up to 2 months.
- Reheating: To enjoy frozen pop tarts, thaw in the fridge overnight, then a quick warm-up in the toaster oven for a few minutes will restore their fresh-baked goodness.
Make Ahead Options
These Banana Pop Tarts are perfect for busy home cooks looking to save time without sacrificing flavor! You can prepare the dough up to 24 hours in advance; simply wrap it tightly in plastic wrap and refrigerate. The delicious peanut butter frosting can also be made ahead and stored in the fridge for up to 3 days. When you’re ready to enjoy the pop tarts, simply roll out the chilled dough, cut into shapes, and bake. For the frosting, stir it to regain its smooth texture before spreading it over the cooled pastries. This way, you’ll have delightful homemade treats ready with minimal effort on busy mornings!
Expert Tips for Banana Pop Tarts
- Chill for Ease: Make sure your dough is well-chilled for easier rolling. If it becomes sticky, sprinkle with additional gluten-free flour.
- Choose Ripe Bananas: The sweeter and riper your bananas, the better the filling will be. Avoid using firm bananas for optimal flavor.
- Vegan Option: For a dairy-free version, substitute butter with coconut oil; it retains the delicious texture and flavor.
- Experiment with Fillings: Don’t hesitate to try different fillings like nut butters or fruits. This will keep your banana pop tarts exciting and new!
- Storage Tips: Keep leftovers in an airtight container at room temperature for up to 3 days, or refrigerate for up to 5 days.
- Watch Baking Time: Keep an eye on your tarts while baking. They are done when they turn lightly golden; overbaking can lead to a dry texture.
Banana Pop Tarts Recipe FAQs
What type of bananas should I use for the filling?
Absolutely, you’ll want to choose ripe bananas for this recipe! The riper the bananas, the sweeter and more flavorful they will be, enhancing the overall taste of your Banana Pop Tarts. Look for bananas with plenty of brown spots or that are just starting to turn brown, as this indicates peak ripeness.
How should I store leftover Banana Pop Tarts?
To keep your Banana Pop Tarts fresh, store them in an airtight container at room temperature for up to 3 days. If you’d like to extend their freshness, you can refrigerate them for up to 5 days. Just make sure they are well-sealed to prevent them from drying out.
Can I freeze Banana Pop Tarts?
Yes! To freeze your Banana Pop Tarts, wrap each one individually in plastic wrap, then place them in a freezer-safe bag. They will last up to 2 months in the freezer. When you’re ready to enjoy them, simply thaw them in the fridge overnight and warm them up in a toaster oven for that fresh-baked flavor!
What if my dough is too sticky?
Very often, if the dough is too sticky, it may need a little extra gluten-free flour. As you’re working with it, sprinkle small amounts of flour onto the surface where you’re rolling the dough. If you keep the dough chilled, it should remain manageable. If you find it continues to stick, pop it back in the fridge for a few more minutes.
Are these Banana Pop Tarts suitable for pets or people with allergies?
While these Banana Pop Tarts are gluten-free, they still contain common allergens like butter and peanut butter. If you or your loved ones have allergies, consider swapping butter with coconut oil for a vegan option and using allergy-friendly nut butter, such as sunflower seed butter, instead of peanut butter. Always check individual ingredient labels for any hidden allergens.
Any tips for achieving the perfect flaky texture?
For that delightful flaky texture, it’s essential to chill your dough adequately before rolling it out. Aim for about 30 minutes in the fridge, as this helps to solidify the butter and creates layers as you roll. If you’re rolling out the dough and it becomes sticky, don’t hesitate to sprinkle in a bit more gluten-free flour. This step could make all the difference in the texture of your gluten-free Banana Pop Tarts!
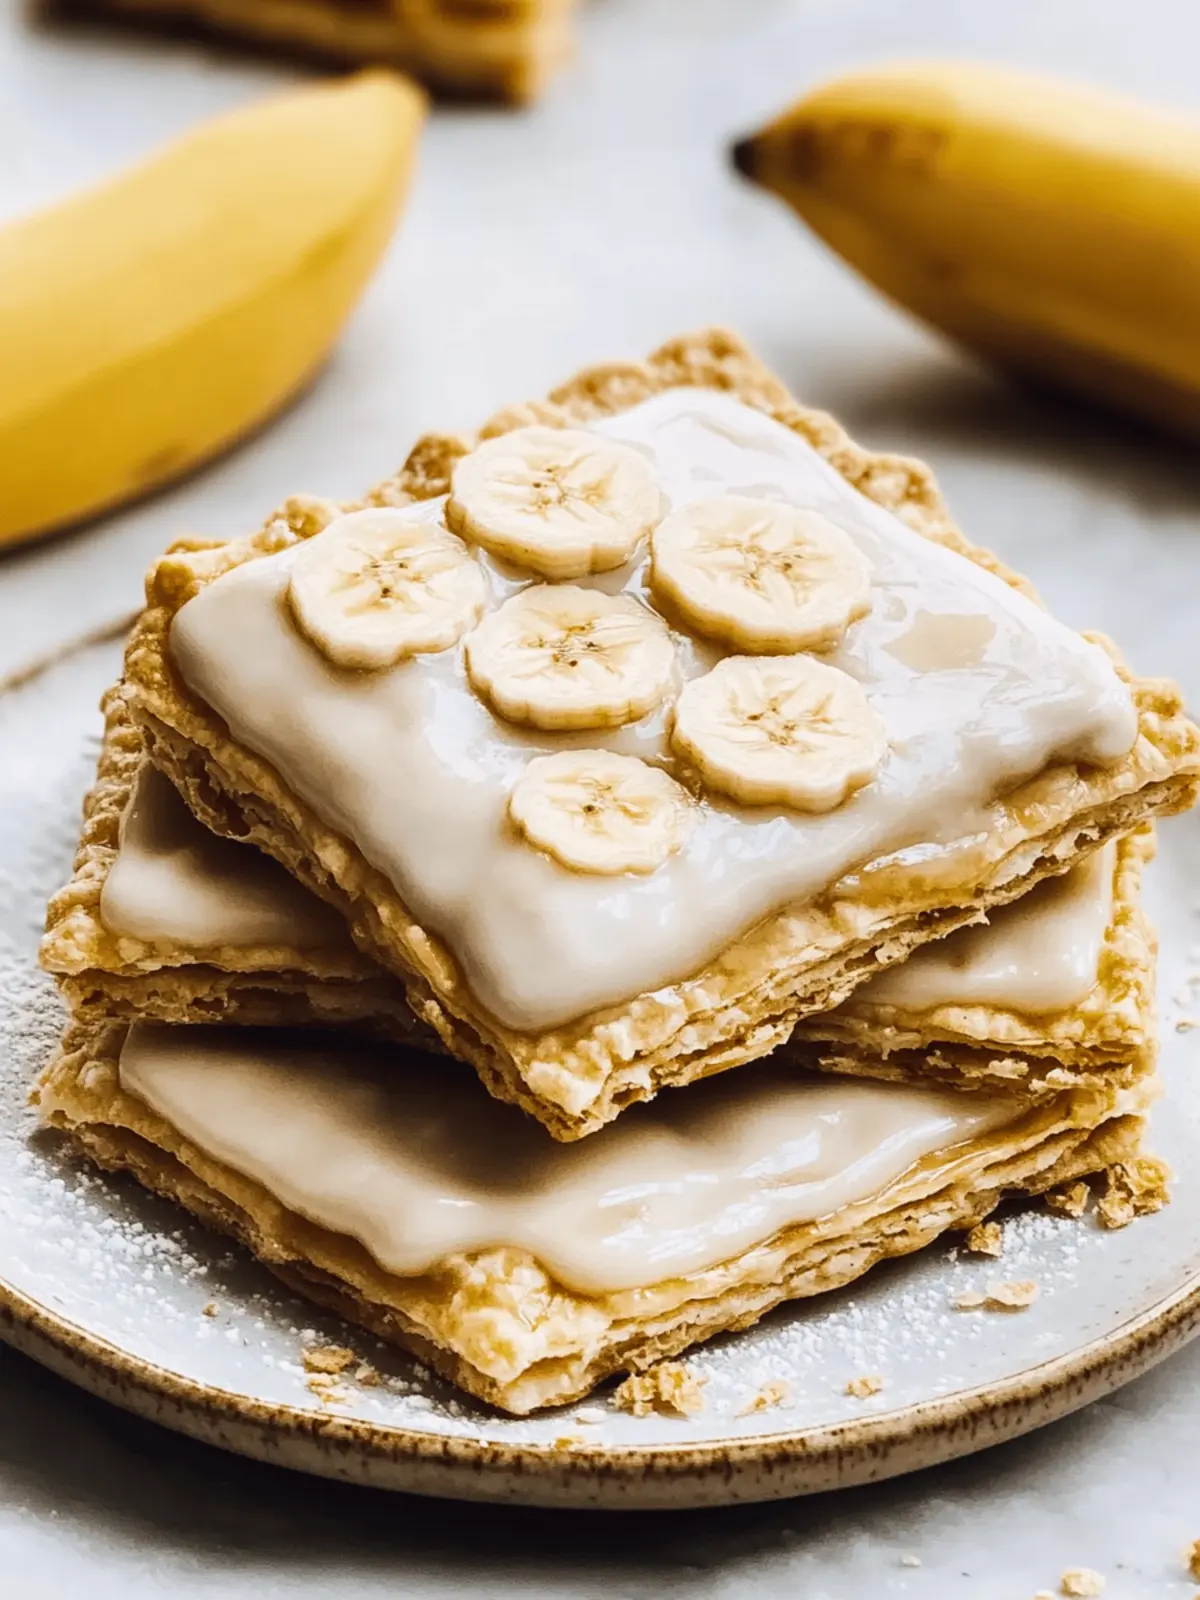
Gluten-Free Banana Pop Tarts with Creamy Peanut Butter Frosting
Ingredients
Equipment
Method
- Mix 1 cup of gluten-free flour, 1 mashed ripe banana, and 4 tablespoons softened butter in a bowl until a cohesive dough forms, which should take about 3-5 minutes.
- Wrap the dough in plastic wrap, and place it in the refrigerator for about 30 minutes to firm up nicely.
- After chilling, roll the dough on a lightly floured surface to about 1/4 inch thickness, making it easier to cut shapes.
- Use a pastry cutter or knife to slice the dough into rectangles that will become your pop tarts.
- Arrange the rectangles on a parchment-lined baking sheet and bake at 350°F (175°C) for about 15-20 minutes, or until lightly golden on the edges.
- While the tarts cool, mix 1/2 cup peanut butter, 1 cup powdered sugar, and 1 teaspoon vanilla extract until smooth, which should take around 2-3 minutes.
- Once the tarts are completely cooled, spread or pipe the peanut butter frosting on top; drizzle with melted chocolate if desired.

