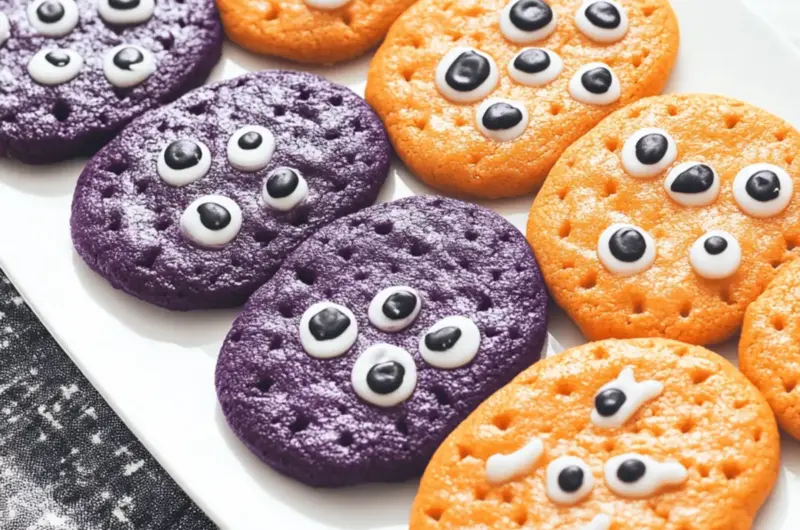
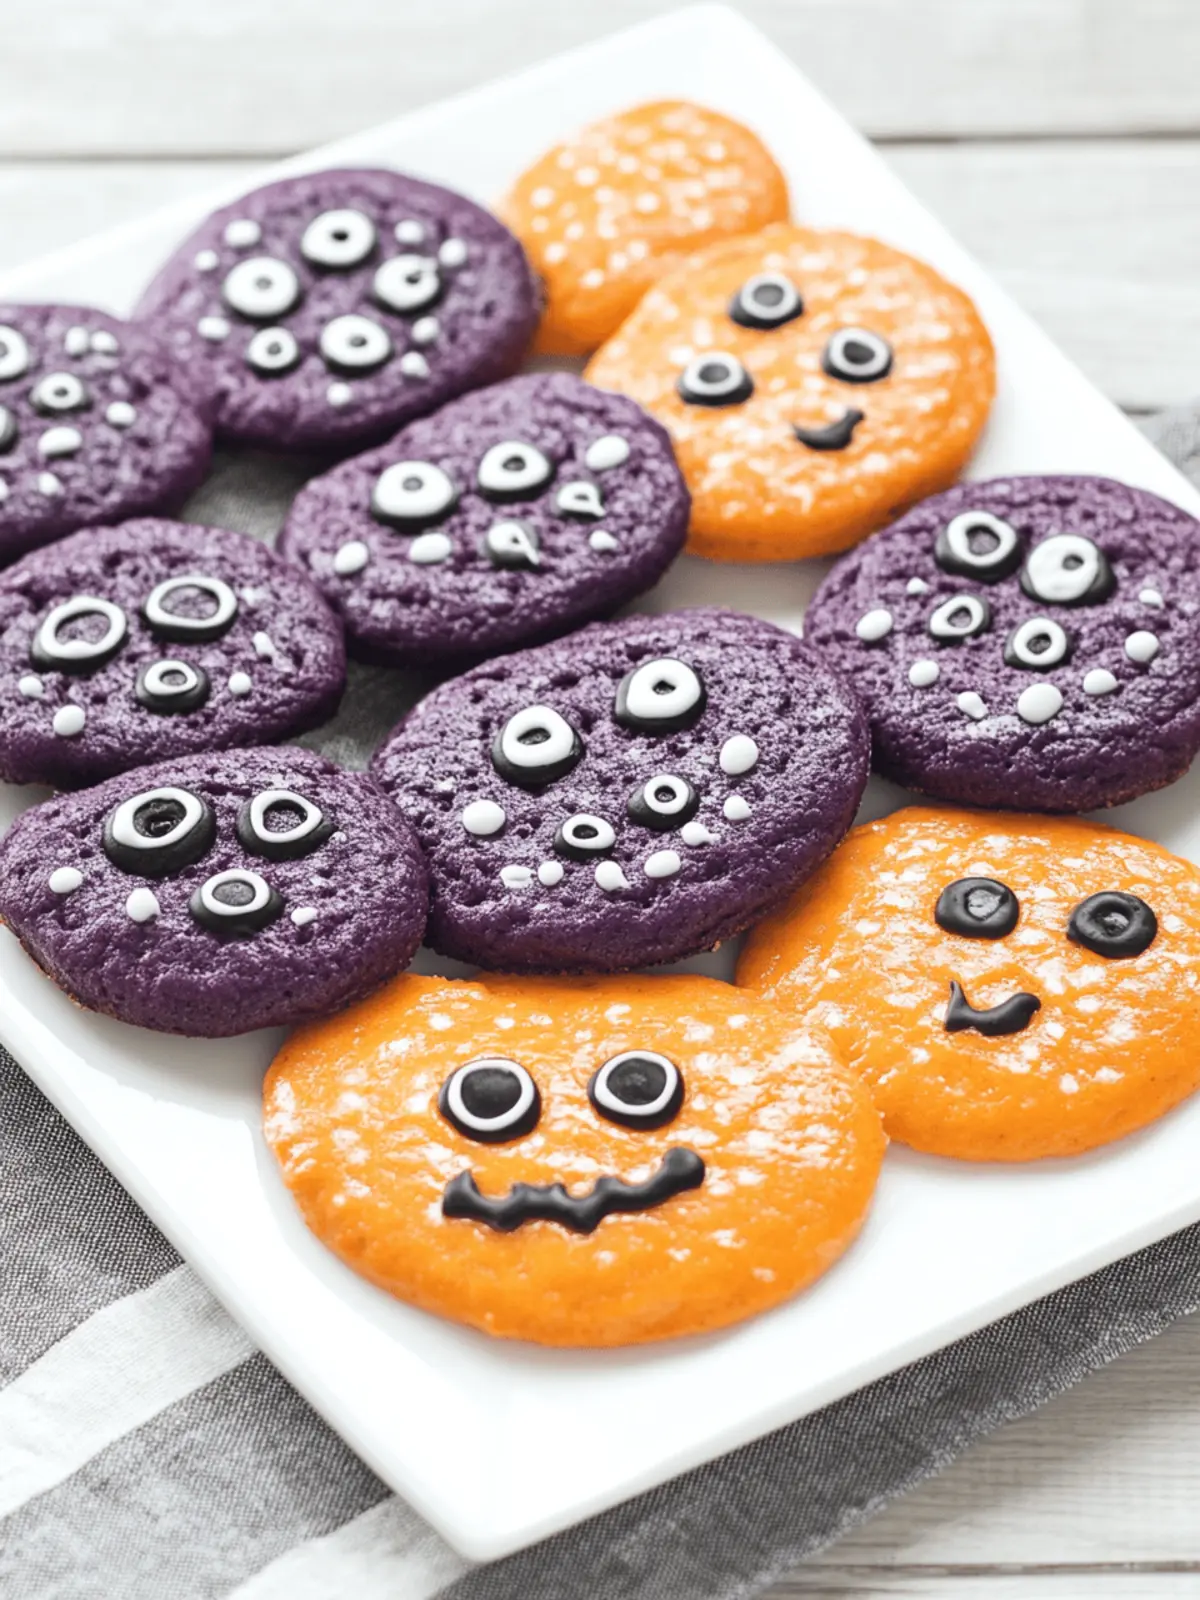
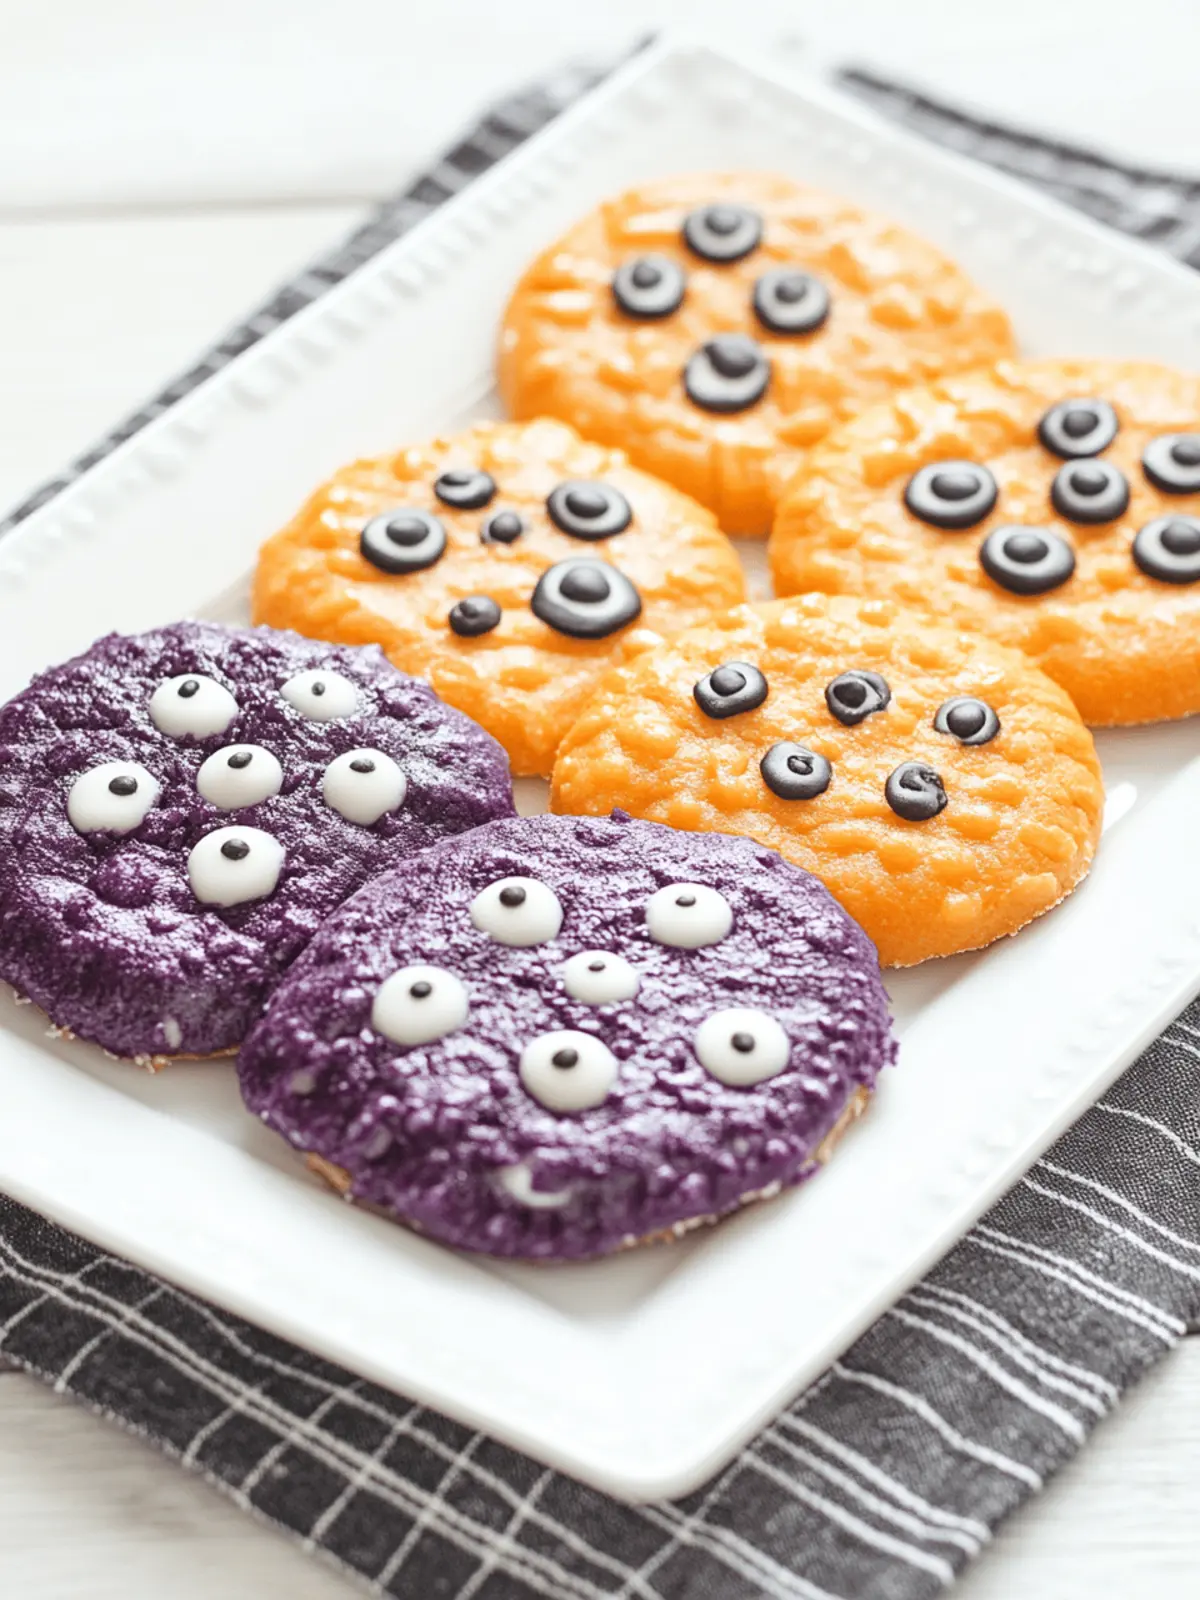
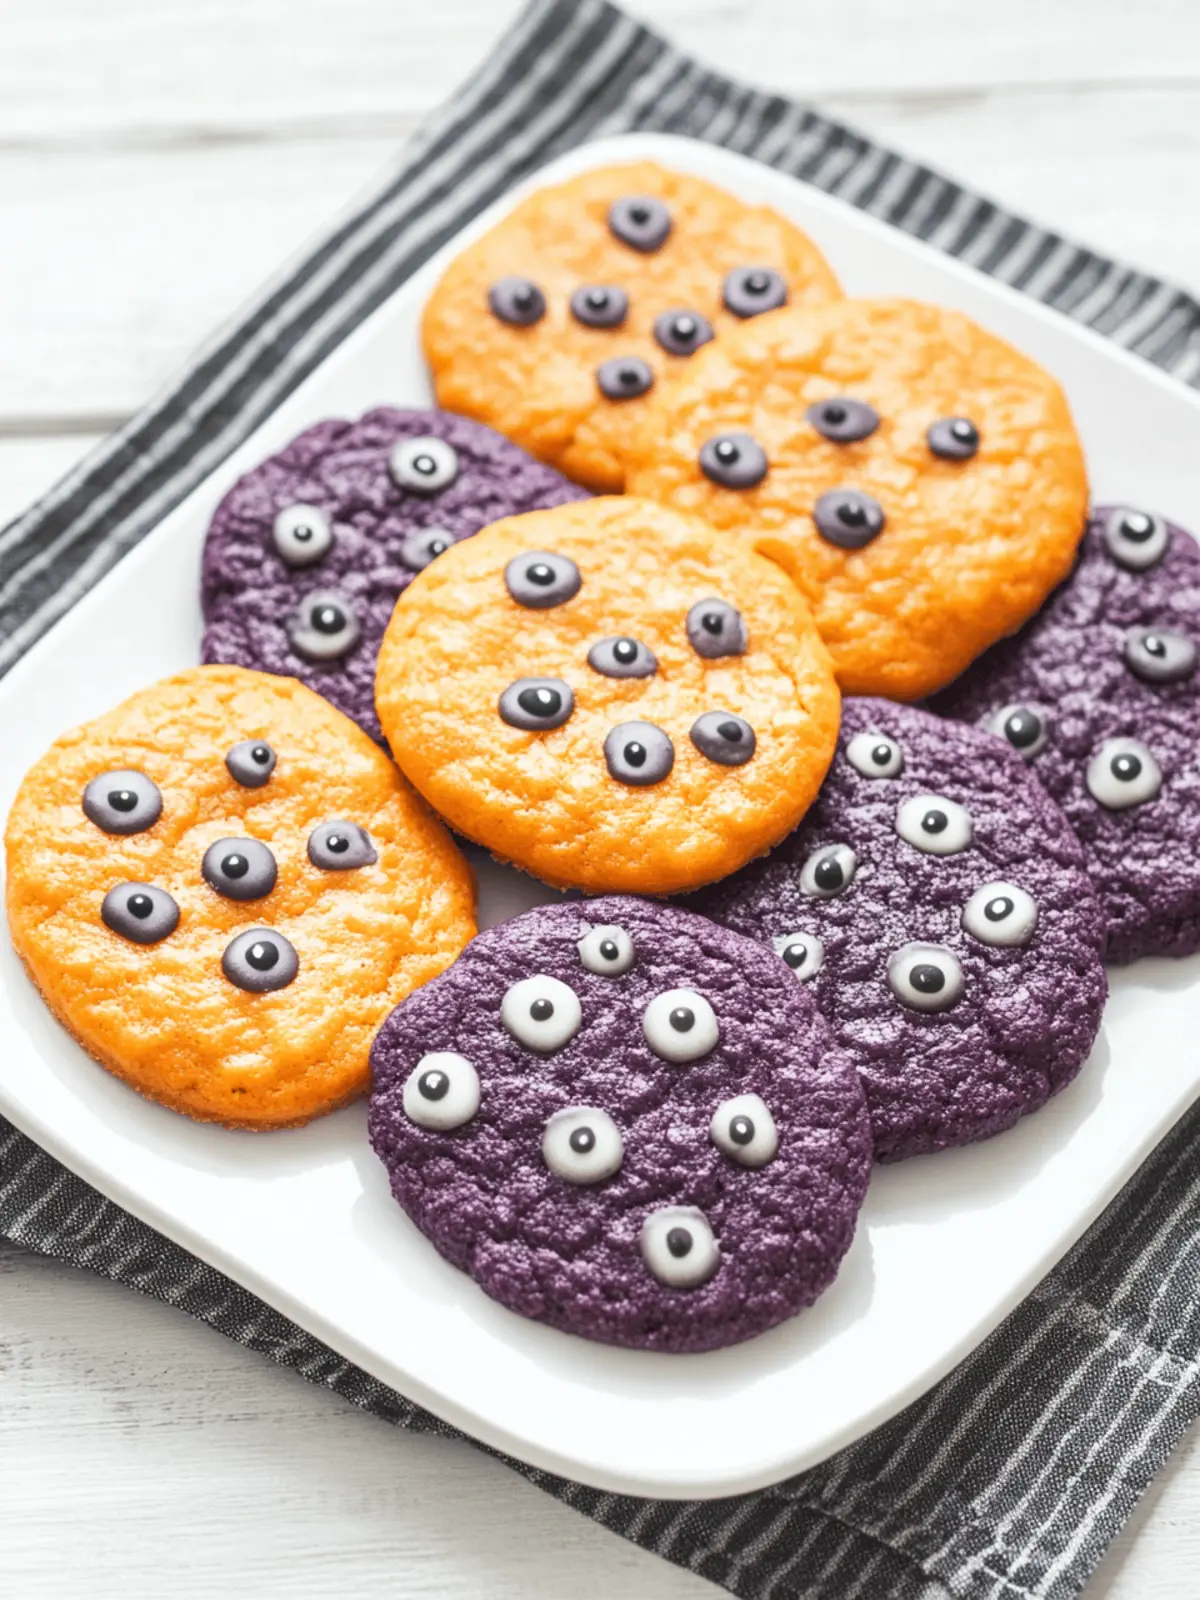
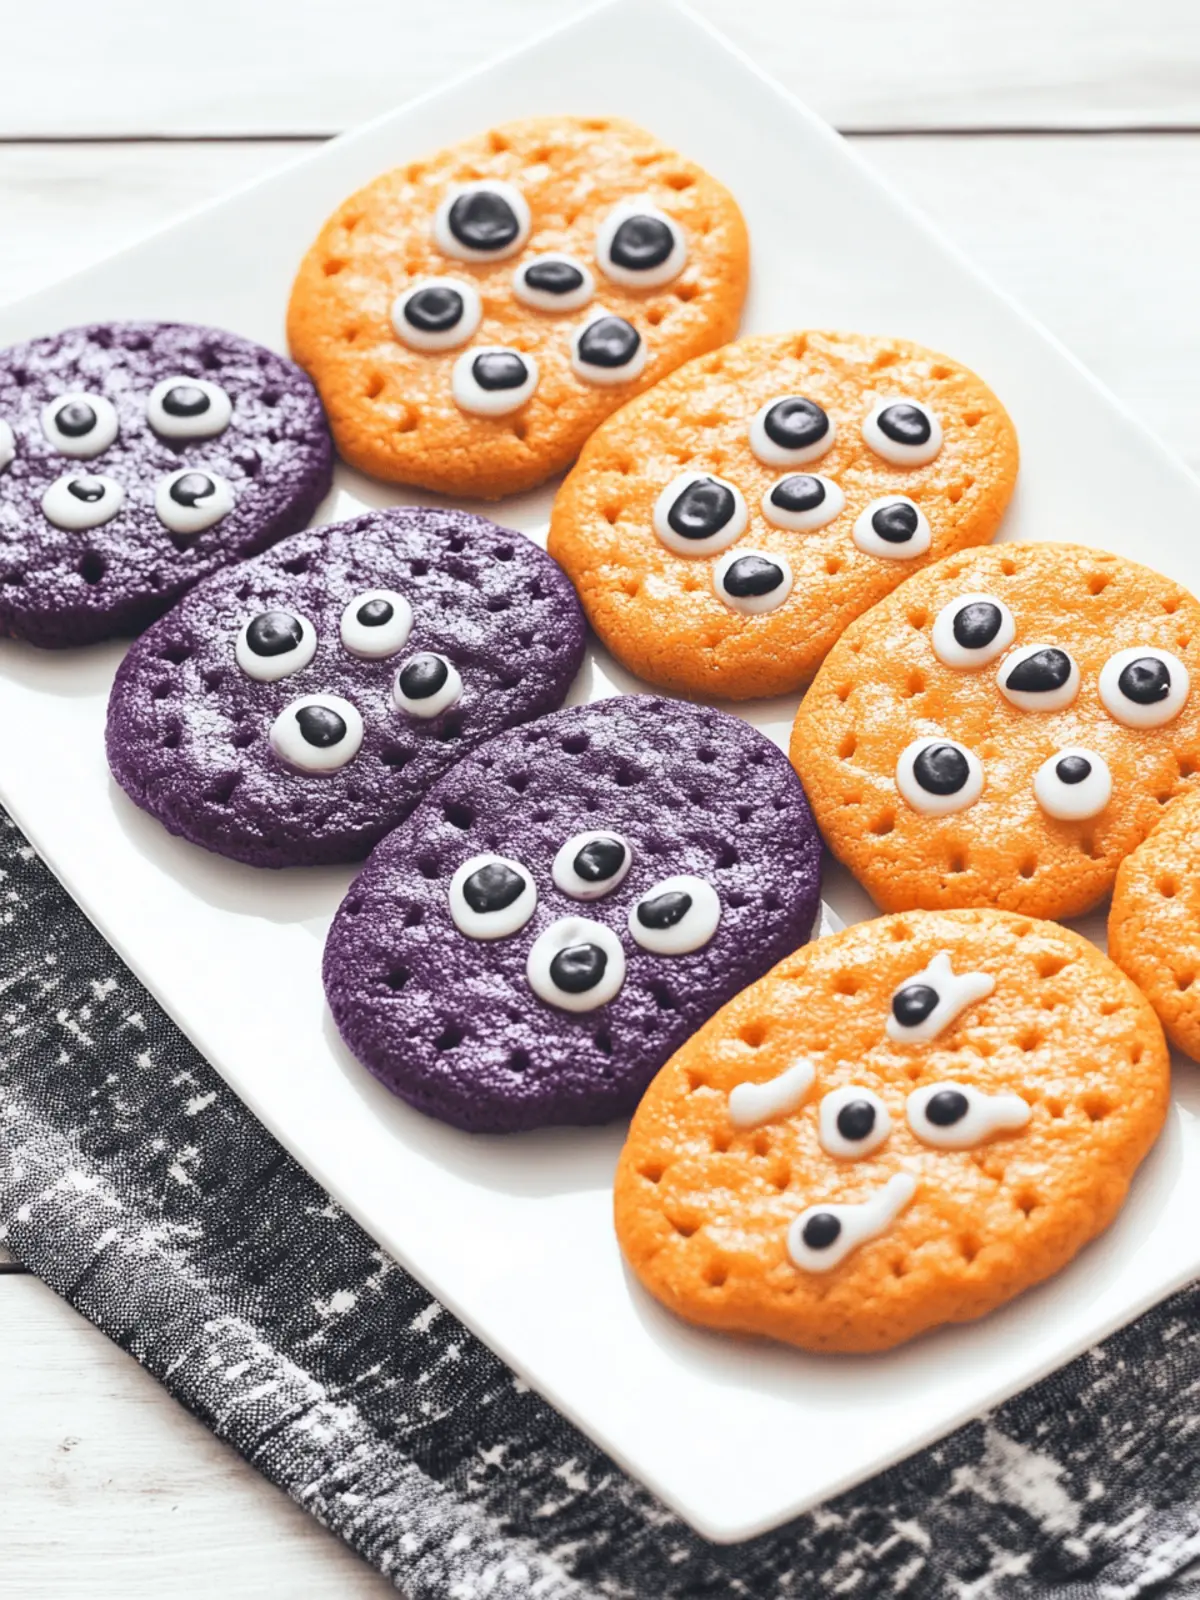
As the air turns crisp and the leaves begin their colorful descent, the excitement of Halloween fills the atmosphere. I found myself in the kitchen one October afternoon, gazing at the remnants of last year’s candy stash, when inspiration struck—why not blend that nostalgic sweetness into delightful cookies? Enter my Halloween Pudding Cookies, a treat that brings together a soft, cakey texture and playful decorations that make them a hit for all ages. With their festive colors and adorable candy eyes, these cookies are not only a breeze to whip up but also perfect for sharing at haunted gatherings. Whether you’re hosting a spooky soirée or simply looking to indulge in some homemade goodness, these cookies will surely be a delightful addition to your autumn festivities! Let’s get started on baking these sweet treats that capture the very essence of Halloween!
Why are Halloween Pudding Cookies a must-try?
Festive Fun: These cookies not only capture the spirit of Halloween but also add a splash of color to your gatherings, making them a feast for the eyes.
Easy to Make: Featuring simple ingredients like cake mix and pudding, they come together in no time, ensuring you can enjoy the fun without fuss.
Soft and Chewy: The unique pudding addition creates a moist, cake-like cookie with a delightful texture that will leave your taste buds dancing.
Adaptable for Any Occasion: Whether you decorate them for Halloween or customize with different themes, these cookies are versatile enough to celebrate year-round.
Perfect for Sharing: With a yield of 36-48 cookies, you’ll have plenty to share at parties or with family, making it a crowd-pleasing treat.
Don’t forget to check out my tips for making delicious treats in less time with minimal mess!
Halloween Pudding Cookies Ingredients
For the Cookie Base
- Cake Mix – Use either yellow or white boxed cake mix for a delightful flavor base.
- Instant Pumpkin Pudding – Adds moisture and enhances flavor; a vanilla option works just as well!
- Large Eggs – Binds the mixture and contributes to a soft texture; substitute with flaxseed meal for a vegan option.
- Vegetable Oil – Keeps your cookies moist; melted coconut oil or unsweetened applesauce are good alternatives.
- Heavy Cream – Enhances richness; whole milk can be used for a lighter alternative.
- Clear Vanilla – Imparts flavor without altering color; regular vanilla extract is a fine substitute, just expect a slight hue change.
For the Colorful Touch
- Gel Food Coloring – Perfect for achieving festive Halloween colors; feel free to skip for classic dough.
For Decoration
- Candy Eye Decorations – Add a spooky touch with these fun eyes; alternative choices include sprinkles or chocolate chips for variety.
These easy Halloween pudding cookies are sure to be a hit, mixing deliciousness with festive flair!
How to Make Halloween Pudding Cookies
-
Preheat the oven to 350°F (175°C) and line a large cookie sheet with parchment paper. This ensures your cookies won’t stick and come out perfectly shaped!
-
Whisk together the cake mix and instant pumpkin pudding in a medium bowl. Ensure they are well-combined to enhance the flavor and moisture of your cookies.
-
Add the large eggs, vegetable oil, and heavy cream to the dry mix. Use an electric mixer to mix until the batter is smooth and well-combined, about 2-3 minutes.
-
Divide the batter into two bowls. Stir in gel food coloring to each bowl to create festive shades. Mix well until the colors are vibrant and evenly distributed.
-
Cover the bowls and refrigerate the batter for at least 1 hour. This chilling step will help prevent spreading during baking, keeping your cookies thicker and fluffier.
-
Scoop the dough using a 1” ice cream scoop, placing the dough balls about 2 inches apart on the prepared baking sheet. This spacing allows them to spread without touching each other.
-
Bake in the preheated oven for 8-10 minutes or until the edges turn golden brown. The centers may look soft but will firm up as they cool.
-
Remove from the oven and place on a wire rack. While still warm, add candy eye decorations for a festive touch. Allow cookies to cool completely before serving.
-
Yield is approximately 36-48 cookies, depending on how generous your scoops are!
Optional: For an extra festive touch, drizzle white chocolate over the cooled cookies.
Exact quantities are listed in the recipe card below.
How to Store and Freeze Halloween Pudding Cookies
Room Temperature: Keep cookies in an airtight container at room temperature for up to 3 days to maintain their delightful softness.
Fridge: For longer freshness, store the cookies in the refrigerator in a sealed container for up to 1 week, ensuring they stay moist.
Freezer: Freeze cooled cookies individually in freezer-safe bags or containers for up to 3 months. Thaw at room temperature before enjoying your Halloween pudding cookies again!
Reheating: To revive freshness, microwave cookies for 10-15 seconds or warm in a 300°F oven for about 5 minutes—enjoy the soft, cakey texture!
Make Ahead Options
These Halloween Pudding Cookies are perfect for busy home cooks looking to save time during the hectic holiday season! You can prepare the cookie dough up to 24 hours in advance; simply mix all the ingredients as instructed, then cover and refrigerate the batter. This chilling not only allows the flavors to meld but also helps maintain the moisture, ensuring they bake up just as delicious. When you’re ready to bake, scoop the dough onto a baking sheet and proceed with the baking instructions. You’ll have freshly baked cookies with minimal effort, making your spooky celebrations a breeze!
Expert Tips for Halloween Pudding Cookies
-
Chill the Dough: Refrigerating the batter for an hour is key to achieving thick and fluffy cookies, preventing them from spreading too much.
-
Use Quality Ingredients: Opt for high-quality cake mix and pudding for the best flavor and texture in your Halloween pudding cookies.
-
Watch the Bake Time: Keep a close eye on your cookies while baking; overbaking can result in dry cookies. Aim for soft centers that firm up as they cool.
-
Experiment with Colors: Don’t hesitate to get creative with gel food coloring; mix combinations for unique, festive looks that impress.
-
Personalize Decorations: Instead of candy eyes, consider using festive sprinkles or chocolate chips; this adds a fun twist to your Halloween pudding cookies.
What to Serve with Halloween Pudding Cookies?
These charming treats deserve a full spread to make your spooky celebration even more delightful.
-
Pumpkin Spice Latte: A warm, cozy drink filled with autumn flavors that pairs wonderfully with the sweetness of the cookies. Perfect for sipping while enjoying the festive atmosphere.
-
Caramel Apples: These classic Halloween treats provide a crunchy contrast to the soft pudding cookies, making them a fun and interactive dessert option for guests.
-
Halloween-Themed Fruit Platter: Fill a tray with orange and black fruits like mandarin slices and blackberries. This adds freshness to your dessert table and caters to health-conscious guests.
-
Hot Cider: The fragrant spices and warm notes of cinnamon create a comforting backdrop for enjoying cookies on a chilly fall evening.
-
Chocolate Fudge Brownies: Rich and fudgy, these brownies provide a delightful texture contrast to the light, airy pudding cookies, creating an indulgent dessert destination!
-
Ghostly Marshmallow Treats: Whip up some fun ghost-shaped marshmallow treats for an additional festive flair that both kids and adults can enjoy together.
-
Witch’s Brew Punch: A colorful, bubbly punch made with fruit juices and soda adds festive fun to your gathering, perfectly complementing the sweet treats.
-
Gingerbread Cookies: If you’re feeling adventurous, these spiced cookies can offer a different flavor profile that complements the pumpkin in the pudding cookies beautifully.
With this delightful variety, you’ll create a well-rounded spread that makes your Halloween gathering unforgettable!
Halloween Pudding Cookies Variations
Customize your cookies with these fun twists and substitutes that will make your Halloween treats stand out even more!
- Different Pudding Flavor: Swap pumpkin pudding for chocolate, vanilla, or butterscotch to create a unique taste profile. Each pudding brings its charm!
- Nutty Surprise: Add chopped nuts like walnuts or pecans for a delightful crunch that complements the soft cookie base beautifully. The contrast is both tasty and engaging.
- Festive Sprinkles: Instead of candy eyes, sprinkle edible Halloween-themed decorations on top before baking to entice both kids and adults alike. You’ll love the added flair!
- Spicy Twist: Incorporate a dash of cinnamon or nutmeg into the batter for a warm, spiced flavor that perfectly embodies the fall season. It adds warmth to your Halloween festivities.
- Chocolate Drizzle: After cooling, drizzle melted chocolate over your cookies for an indulgent touch that elevates the entire experience. It’s a delightful surprise in each bite!
- Vegan Version: Use flaxseed meal for eggs, coconut oil for vegetable oil, and almond milk for cream to create a vegan-friendly treat while keeping the flavor intact. Who said vegan desserts can’t be delicious?
- Reduced Sugar: Substitute sugar-needing ingredients with low-calorie sweeteners or natural alternatives to make a healthier batch without sacrificing taste. Enjoy your treats guilt-free!
- Marshmallow Filling: Stuff the raw dough balls with a small piece of marshmallow before baking for an ooey-gooey surprise in the center. The mellow sweetness will keep everyone coming back for more!
Halloween Pudding Cookies Recipe FAQs
What type of cake mix should I use?
Absolutely! You can use either yellow or white boxed cake mix for the flavor base of your Halloween pudding cookies. Both options provide a sweet, moist structure that pairs perfectly with the pudding mix. If you’re feeling adventurous, try lemon or even chocolate cake mix for a twist!
How should I store my Halloween pudding cookies?
To keep your cookies fresh, store them in an airtight container at room temperature for up to 3 days. If you want them to last even longer, they can be refrigerated for up to 1 week. Just ensure that the container is sealed tightly to maintain their moistness.
Can I freeze Halloween pudding cookies and how?
Definitely! To freeze your cooled Halloween pudding cookies, place them in a single layer on a baking sheet for about an hour to firm up. Once they’re firm, transfer them to freezer-safe bags or containers, separating layers with parchment paper. They’ll keep well for up to 3 months. When you’re ready to enjoy, simply thaw them at room temperature, and they’ll taste as good as fresh-baked!
What if my dough is too sticky?
If you notice your dough is too sticky, don’t worry! This can happen with moisture-rich ingredients. I recommend chilling the dough for an additional 15-30 minutes. This will help it firm up and make it easier to scoop. Another option is to lightly dust your hands and the scoop with a bit of flour to help with the stickiness.
Are there any allergy considerations for these cookies?
Very! Since these Halloween pudding cookies contain eggs and may be made with dairy, it’s essential to account for any allergies. You can substitute large eggs with flaxseed meal mixed with water for a vegan option. Additionally, ensure your cake mix and pudding are free from common allergens if you’re serving guests with dietary restrictions.
How can I customize my Halloween pudding cookies?
Absolutely! These cookies are incredibly versatile. You can experiment with different pudding flavors—think chocolate or butterscotch for unique tastes. Additionally, try adding chocolate chips, nuts, or seasonal sprinkles to the batter! Enjoy getting creative with decorations for any holiday theme beyond Halloween too—red and green for Christmas or pastels for Easter!
Easy Halloween Pudding Cookies for Spooky Fun Treats
Ingredients
Equipment
Method
- Preheat the oven to 350°F (175°C) and line a large cookie sheet with parchment paper.
- Whisk together the cake mix and instant pumpkin pudding in a medium bowl.
- Add the large eggs, vegetable oil, and heavy cream to the dry mix and mix until smooth.
- Divide the batter into two bowls and stir in gel food coloring to each bowl.
- Cover the bowls and refrigerate the batter for at least 1 hour.
- Scoop the dough using a 1” ice cream scoop, placing the dough balls 2 inches apart on the baking sheet.
- Bake in the preheated oven for 8-10 minutes or until the edges turn golden brown.
- Remove from the oven and place on a wire rack; add candy eye decorations while still warm.
- Allow cookies to cool completely before serving.

