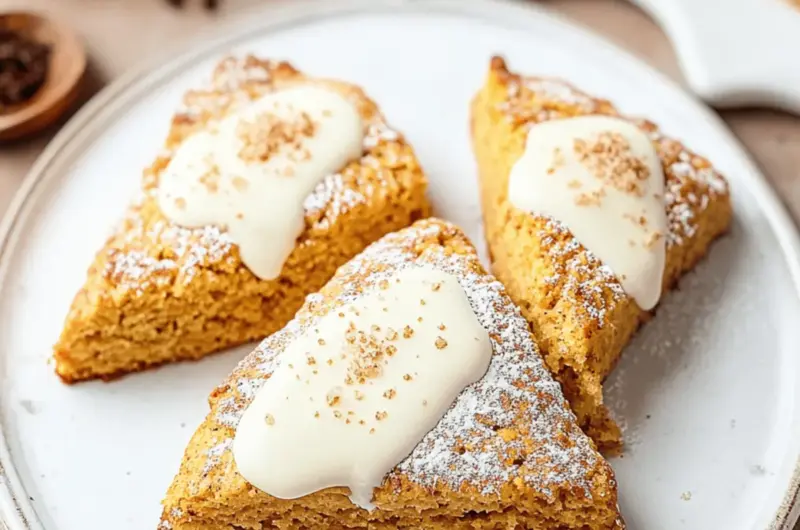
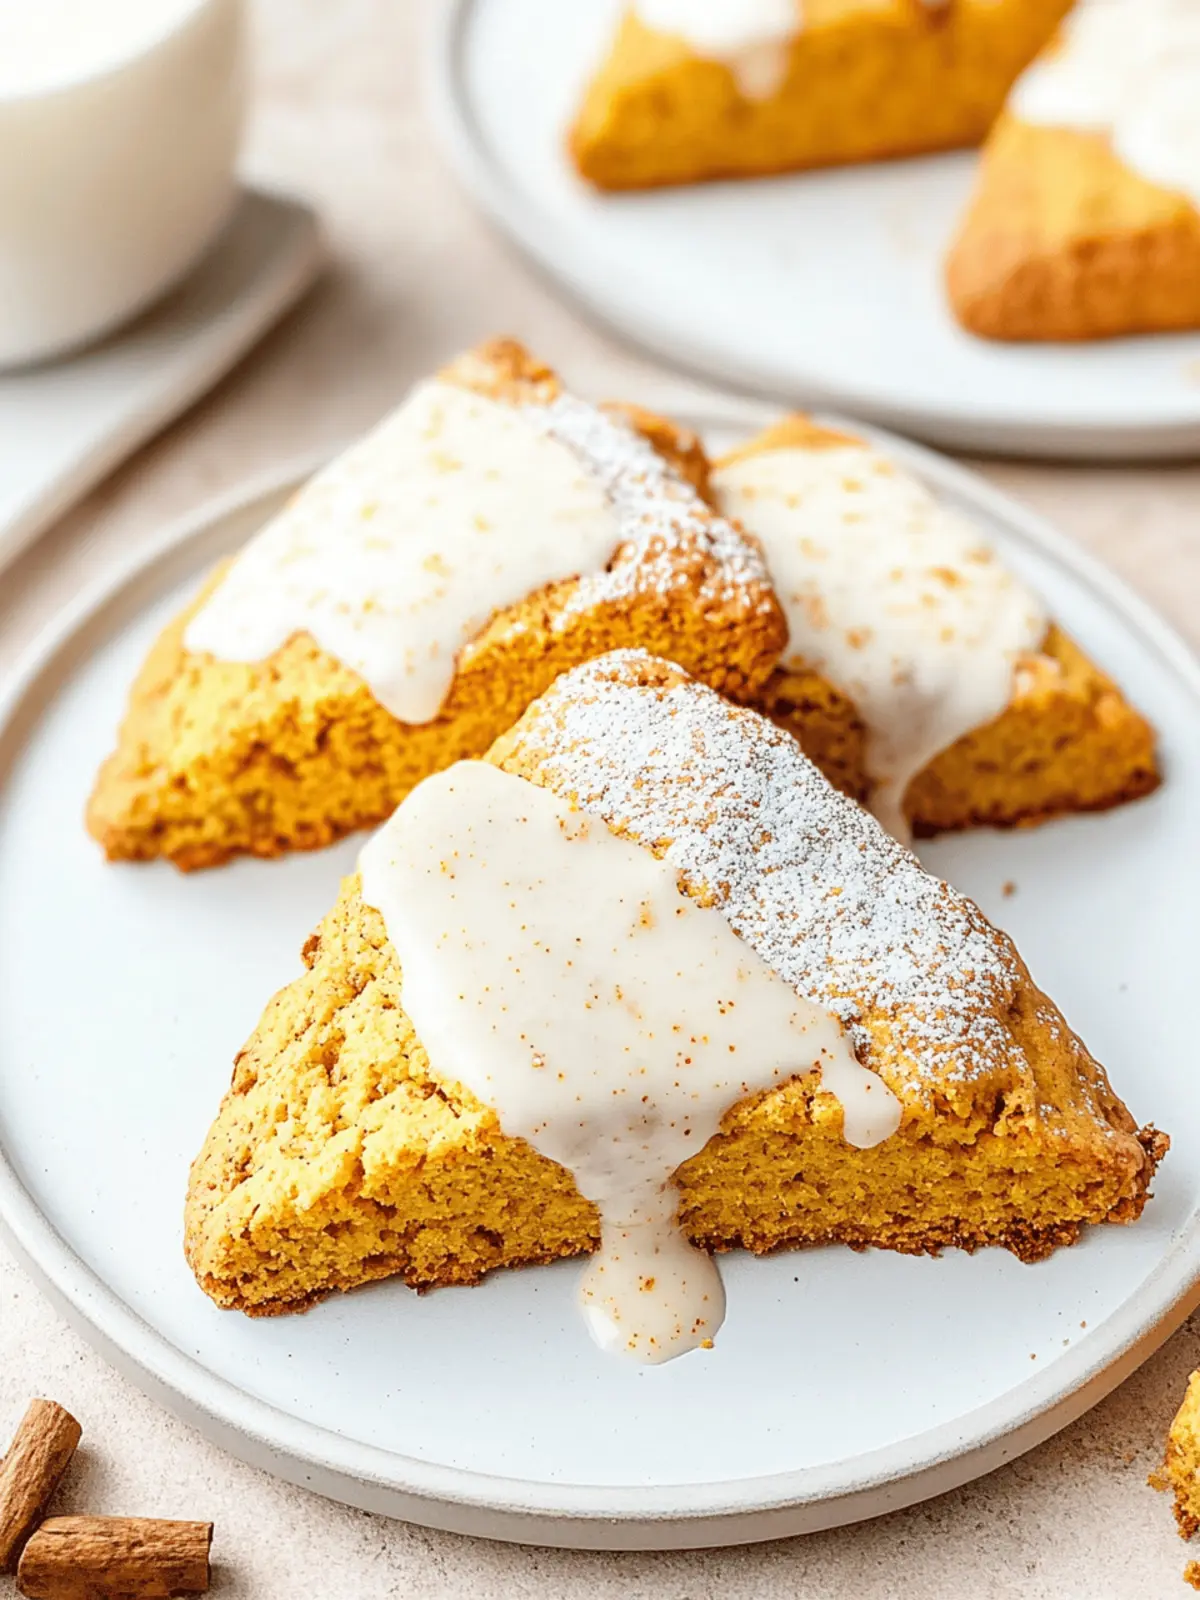
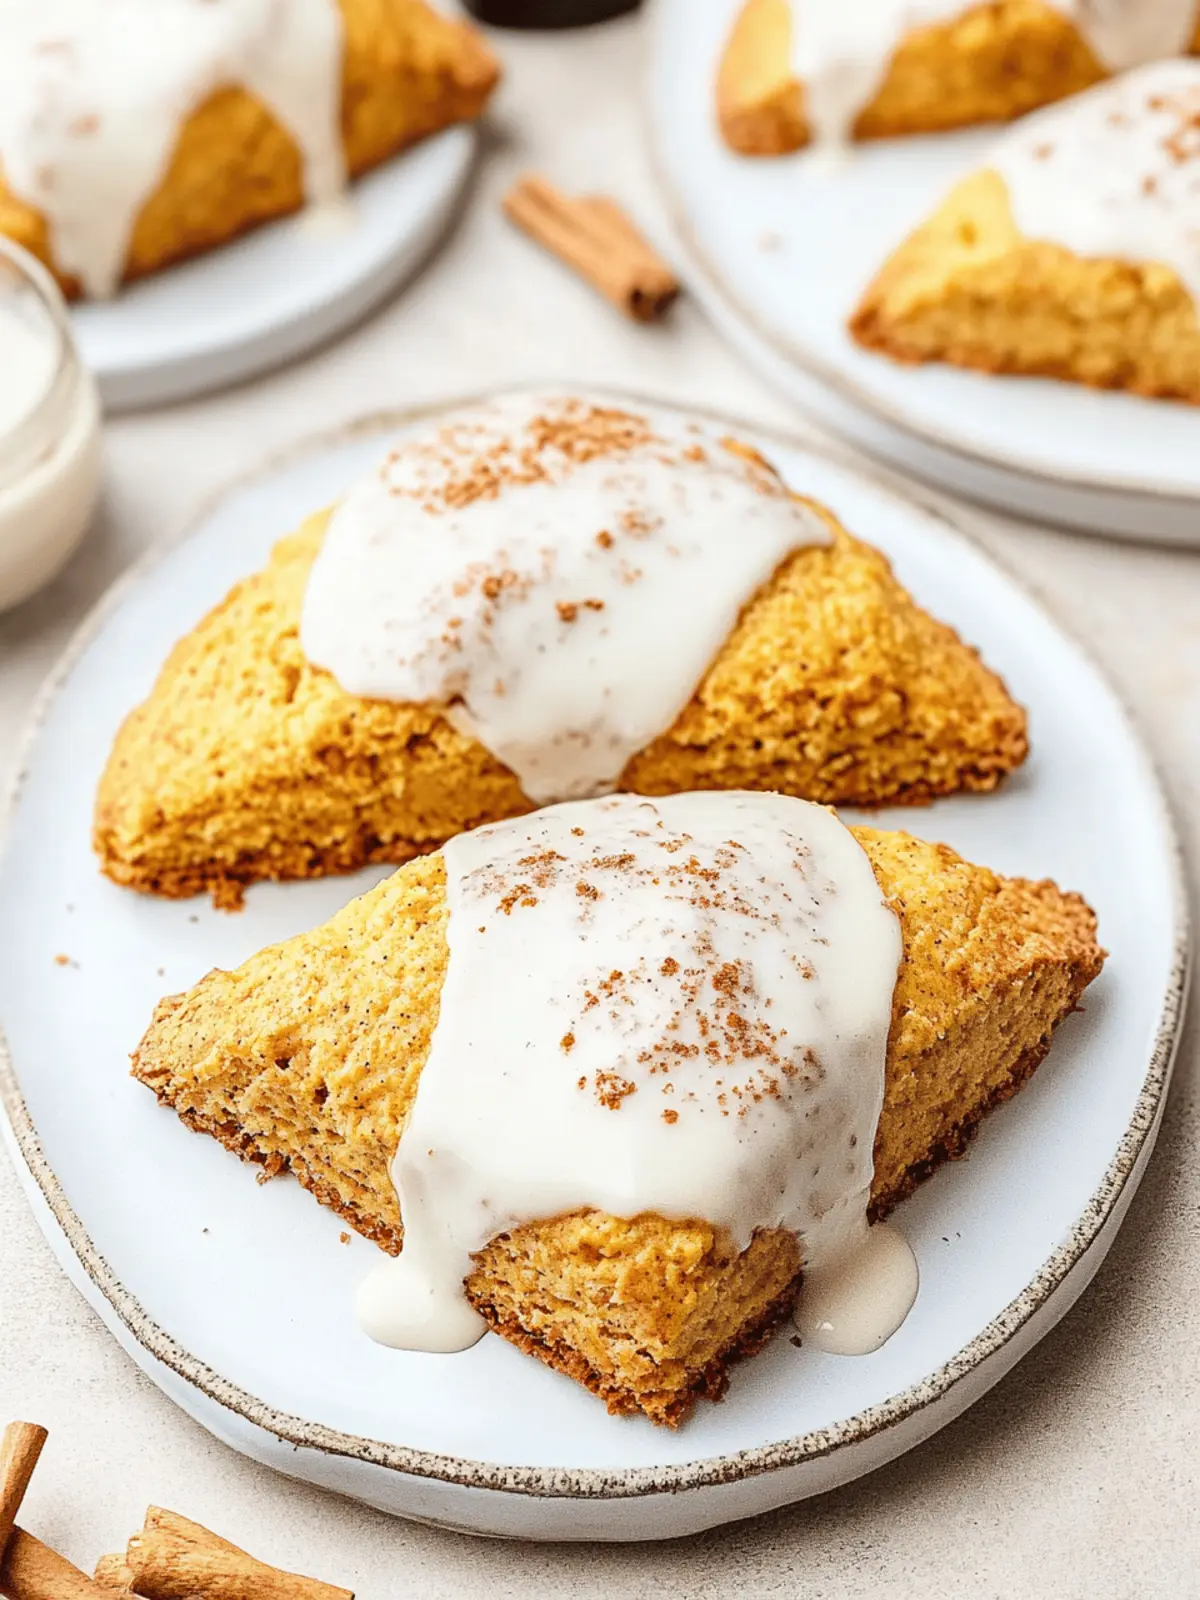
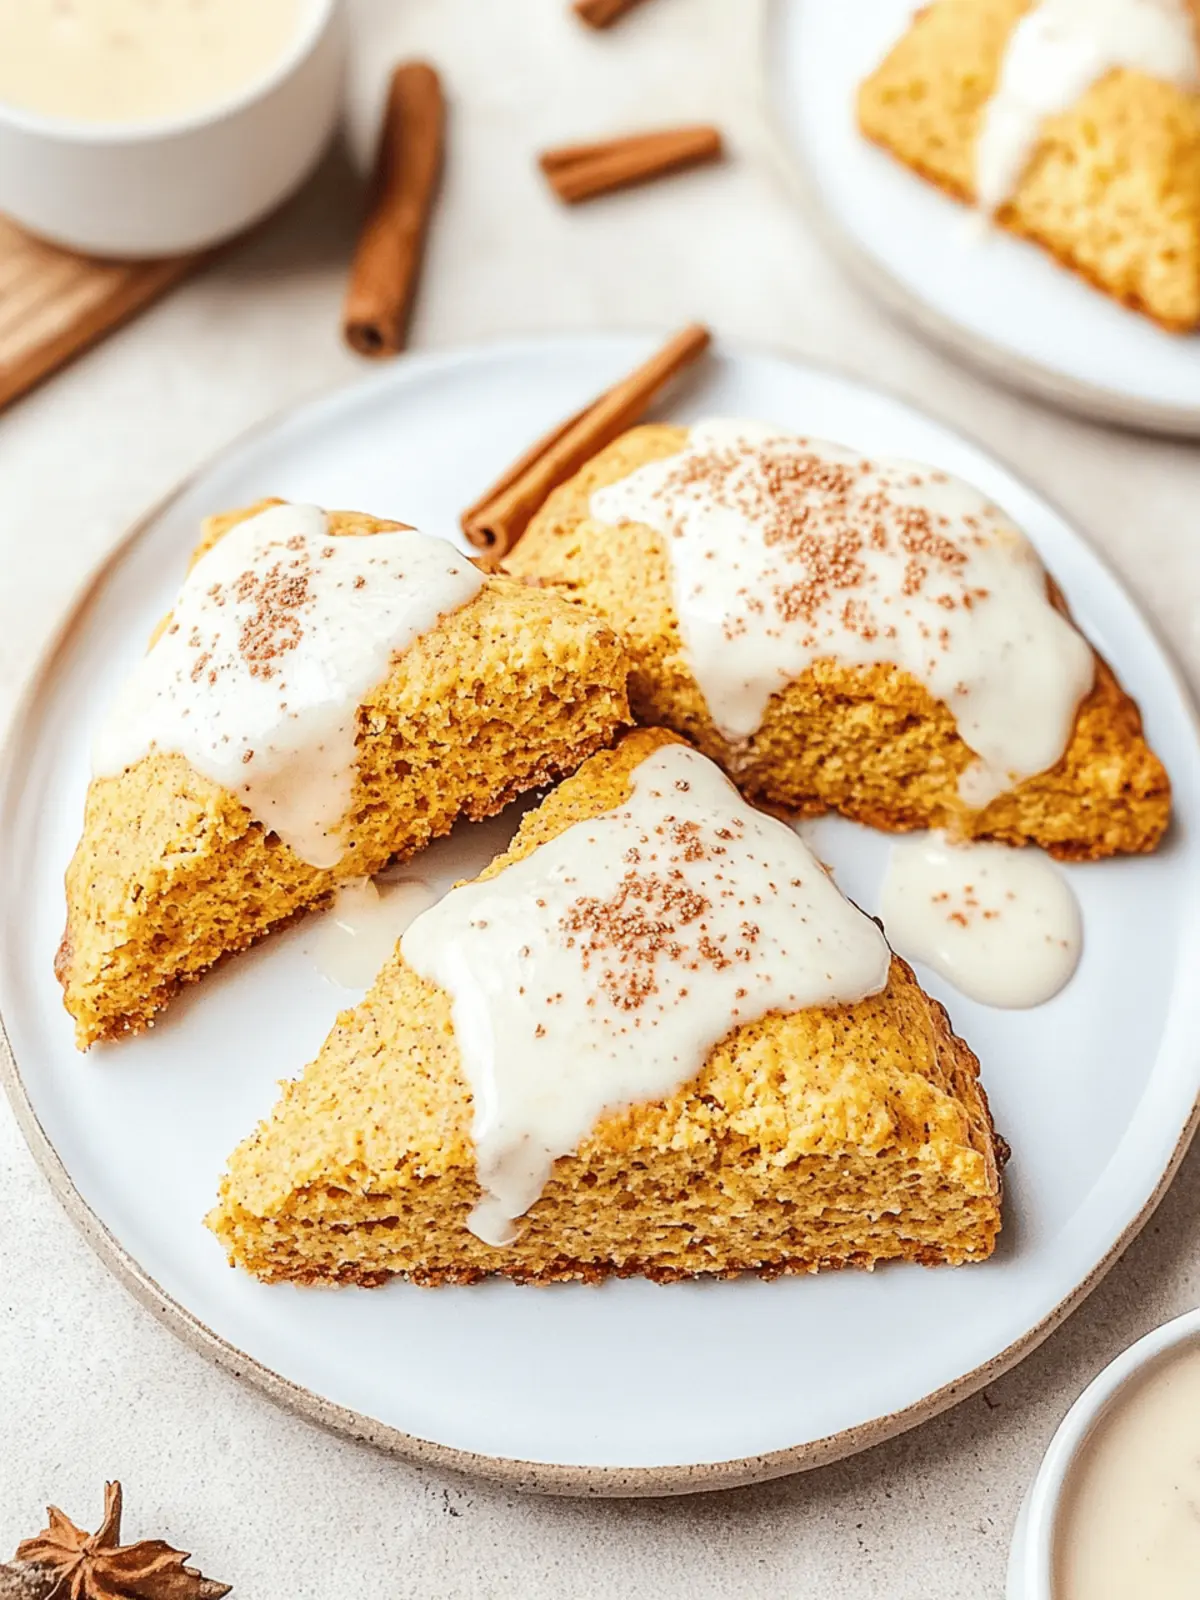
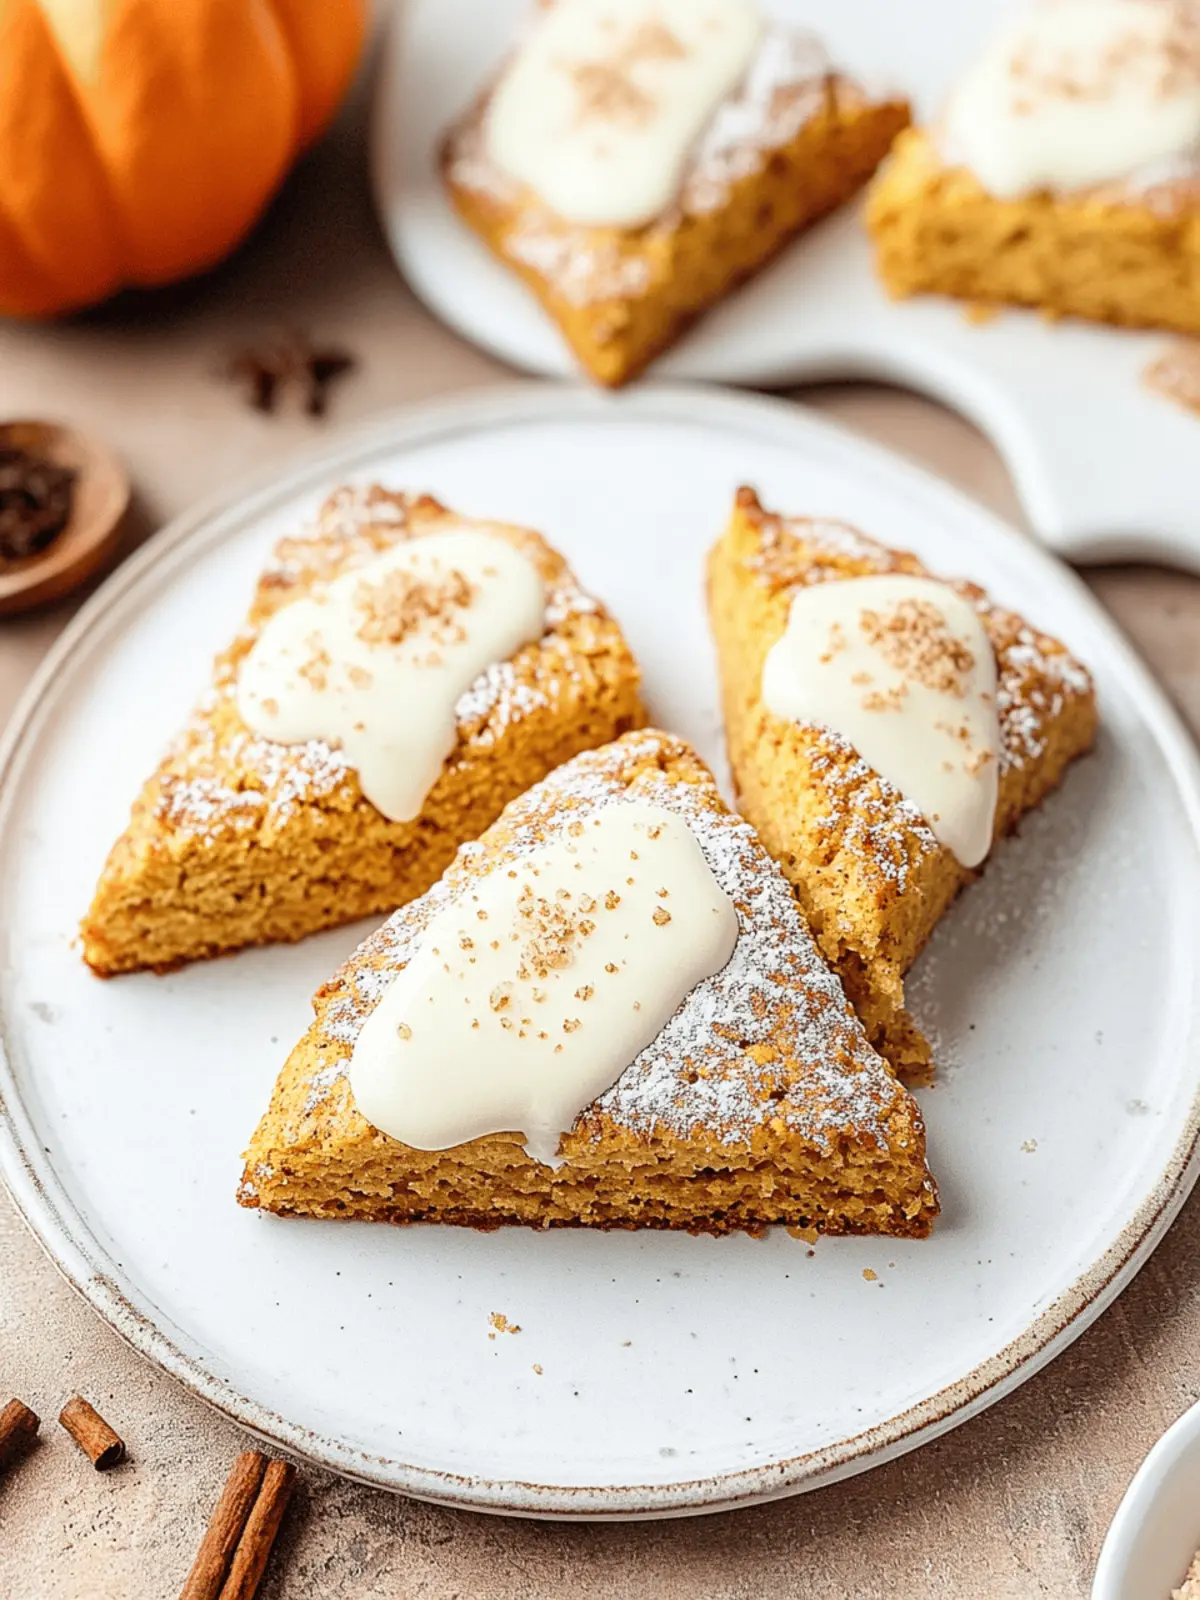
The crisp air of fall brings a world of flavors, and nothing embodies the season quite like a basket of warm pumpkin scones. Just thinking about the harmonious blend of soft, flaky goodness with the sweet aroma of pumpkin spice fills my kitchen with a sense of coziness. On a chilly morning or during a relaxed brunch with friends, these scones become the heart of the table, inviting everyone to indulge in a little seasonal treat.
Thanks to a simple combination of staples like pumpkin puree, butter, and a hint of maple for drizzling, you can easily whip up these delicious scones in no time. Whether you enjoy them plain or crowned with a glossy maple glaze, each bite melts in your mouth, reminding us that homemade cooking doesn’t need to be complicated to be utterly delightful. Let’s dive into the recipe that will make your mornings extra special this fall!
Why Are Pumpkin Scones So Irresistible?
Soft, Flaky Texture: These pumpkin scones feature a tender interior that practically melts in your mouth, making each bite a delight.
Autumnal Aroma: The warm scents of pumpkin spice fill your kitchen, creating a cozy atmosphere that’s perfect for fall gatherings.
Easy to Make: With simple ingredients and straightforward steps, even novice bakers can easily whip up these tasty treats.
Customize Your Glaze: The optional maple glaze adds an extra layer of sweetness, allowing you to tailor the scones to your taste.
Perfect for Sharing: Whether at brunch or as an afternoon snack, these scones are crowd-pleasers that everyone will love.
Pair them with a hot cup of coffee, and you have a perfect morning ready to enjoy!
Pumpkin Scones Ingredients
•
For the Scones
- Unsalted Butter – Provides richness and flakiness. Note: Use cold butter for the best texture; frozen butter can be grated for easier incorporation.
- Heavy Cream – Adds moisture and tenderness. Substitution: Buttermilk can be used in place of heavy cream for a tangier flavor.
- Pumpkin Puree – Main flavor base for the scones. Recommendation: Libby’s Pumpkin is highly favored for its quality.
- Large Egg – Binds the ingredients and adds richness.
- Vanilla Extract – Enhances flavor complexity.
- Maple Extract (Optional) – Adds a hint of maple flavor.
- Pastry Flour – Essential for a light, tender scone texture. Substitution: All-purpose flour can be used if pastry flour is unavailable.
- Granulated Sugar – Sweetens the dough.
- Baking Powder – Leavening agent for rise.
- Pumpkin Pie Spice – Provides autumnal flavor.
- Kosher Salt – Balances sweetness and enhances flavor.
For the Maple Glaze
- Unsalted Butter (melted) – Adds depth to the glaze.
- Powdered Sugar – Sweetens and thickens the glaze.
- Maple Syrup – Infuses natural maple flavor.
- Pinch of Kosher Salt – Helps balance sweetness.
- Heavy Cream (as needed) – Adjusts consistency of the glaze.
How to Make Pumpkin Scones
-
Chill Butter: Start by placing your butter in the freezer for 30 minutes. Once chilled, grate it to ensure your scones have the perfect flaky texture.
-
Mix Wet Ingredients: In a small bowl, whisk together the heavy cream, pumpkin puree, egg, vanilla extract, and maple extract until smooth and well combined.
-
Combine Dry Ingredients: In a large mixing bowl, whisk together the pastry flour, granulated sugar, baking powder, pumpkin pie spice, and kosher salt.
-
Incorporate Butter: Add the grated cold butter to the dry mixture, then mix until crumbly. You should see distinct pieces of butter for maximum flakiness!
-
Combine Mixtures: Gently drizzle the wet ingredients into the dry mixture while mixing with a spatula until just combined; your dough should be slightly sticky but not overly wet.
-
Shape Scones: Turn your dough onto a lightly floured surface and form it into an 8-inch round disc. Cut into 8 triangles or press into a scone pan for uniform shapes.
-
Chill Before Baking: Place the cut scones on a parchment-lined baking sheet and refrigerate for 20-30 minutes to help them rise beautifully while baking.
-
Preheat Oven: While the scones chill, preheat your oven to 400°F. This ensures they’re perfectly baked and golden brown.
-
Bake: Once chilled, place the scones in the oven and bake for 18-24 minutes until they turn golden brown on top and become fragrant.
-
Prepare Glaze: For the maple glaze, whisk together the powdered sugar, melted butter, maple syrup, and heavy cream until you reach your desired consistency.
-
Glaze Scones: Drizzle the warm maple glaze over your baked pumpkin scones and allow it to set before indulging in their delightful flavors.
Optional: Serve them warm with a pat of butter for an extra touch of joy.
Exact quantities are listed in the recipe card below.
Expert Tips for Pumpkin Scones
-
Use Cold Ingredients: Ensure your butter, cream, and eggs are very cold for the best rise and texture in your pumpkin scones.
-
Avoid Overmixing: Mix the dough just until combined to keep the scones light and flaky; visible chunks of butter will help achieve this.
-
Measure Flour Accurately: Spoon and level your flour for best results, or use a kitchen scale to avoid dense, heavy scones.
-
Chill Before Baking: Remember to refrigerate your cut scones for 20-30 minutes before baking; this helps them maintain their shape and rise perfectly.
-
Store Properly: For the best flavor, enjoy your pumpkin scones fresh on the same day; however, they can be stored in an airtight container for up to 3 days or frozen for 3 months.
What to Serve with Pumpkin Scones?
There’s nothing quite like the comforting embrace of warm pumpkin scones alongside delightful accompaniments that elevate your breakfast or brunch experience.
-
Coffee: The rich, dark flavors of coffee balance the sweet pumpkin scones perfectly, making for a cozy morning ritual.
-
Chai Tea: A cup of spiced chai brings warmth and complements the pumpkin spice in your scones, creating a deliciously aromatic pairing.
-
Cream Cheese Spread: A tangy cream cheese spread adds a delightful contrast to the sweetness of the scones; you can even mix in some maple syrup for extra flavor.
-
Apple Butter: The fruity, spiced notes of apple butter provide a deliciously sweet spread that harmonizes beautifully with pumpkin flavors.
-
Fresh Fruit Salad: Bright and refreshing, a mix of seasonal fruits like apples, pears, and pomegranate adds a burst of color and nutrition to your brunch spread.
For a delightful fall experience, serve these scones with a warm beverage and a variety of spreads; it’s the perfect way to savor the season!
Make Ahead Options
These delicious pumpkin scones are perfect for busy home cooks looking to save time! You can prepare the dough up to 24 hours in advance; simply follow the shaping instructions, then cover the unbaked scones and refrigerate. To maintain their delightful texture, ensure they are tightly wrapped or in an airtight container. When you’re ready to bake, just pop them in the oven straight from the fridge, adding an extra minute or two to the baking time if needed. If you’d like even more convenience, shape and freeze the scones for up to 3 months; just bake them directly from the freezer, allowing a little extra time. Your family will enjoy fresh, warm pumpkin scones in no time!
Pumpkin Scones Variations & Substitutions
Feel free to customize your pumpkin scones with these delightful twists that enhance flavor and texture!
-
Nut Additions: Mix in chopped toasted pecans or walnuts for a crunchy surprise. Nuts add a lovely rustic touch that complements the scones’ soft interior.
-
Mini Scones: Divide the dough to create smaller scones, adjusting the baking time to 12-15 minutes. These bite-sized treats are perfect for sharing at brunch gatherings!
-
Dough Freezing: After cutting, flash freeze the shaped scones for easy baking later. Simply pop them in the oven straight from the freezer for a quick morning treat.
-
Gluten-Free: Substitute pastry flour with a gluten-free flour blend to adapt the recipe for gluten-sensitive friends. Just ensure your baking powder is also gluten-free!
-
Flavor Boost: Add a teaspoon of orange zest to the dough for a citrusy zing that brightens each bite. The vibrant note of orange pairs beautifully with pumpkin!
-
Spicy Kick: Incorporate finely chopped crystallized ginger for a spicy sweetness. This will elevate the autumn flavors, making the scones even more aromatic.
-
Savory Twist: Replace some pumpkin puree with grated cheese (like sharp cheddar) and a sprinkle of rosemary. This savory take on traditional scones makes them a perfect companion for a warm bowl of soup.
-
Apple Cinnamon: Fold in small diced apples and a sprinkle of cinnamon for a fruity, cozy vibe. The combination of pumpkin and apples provides a uniquely delicious autumn experience.
How to Store and Freeze Pumpkin Scones
Fridge: Keep the scones in an airtight container for up to 3 days. Reheat in a warm oven for a few minutes to restore freshness.
Freezer: For longer storage, freeze the scones individually wrapped in plastic wrap, then place them in a freezer bag. They’ll remain fresh for up to 3 months.
Reheating: To enjoy scones after freezing, no need to thaw! Just bake them directly from frozen at 350°F until warmed through, about 15-20 minutes.
Serving Tip: The glaze can be made fresh just before serving; this keeps it deliciously sweet for your pumpkin scones!
Pumpkin Scones Recipe FAQs
How do I choose the best pumpkin puree for my scones?
Absolutely! For the best flavor, I recommend using Libby’s Pumpkin, as it’s a popular choice for its rich taste and quality. Look for 100% pumpkin puree without added sugars or spices to maintain control over the flavor profile in your scones.
What’s the best way to store my pumpkin scones?
To keep your pumpkin scones fresh, store them in an airtight container in the fridge for up to 3 days. When ready to enjoy, simply reheat them in a warm oven for a few minutes until they feel fresh and warm again. This method preserves their lovely texture!
Can I freeze my pumpkin scones for later?
Yes, you can! To freeze your pumpkin scones, first let them cool completely. Then, wrap each scone individually in plastic wrap and place them in a freezer bag, eliminating as much air as possible. They’ll stay fresh for up to 3 months. When you’re ready to enjoy, bake them straight from frozen at 350°F for 15-20 minutes until heated through.
Why didn’t my pumpkin scones rise as expected?
The most common reason for scones not rising well is overmixing the dough. Make sure to combine the wet and dry ingredients just until they’re incorporated, leaving visible chunks of butter for that lovely flakiness! Also, ensure your baking powder is fresh; if it’s been sitting in the pantry for a while, it might lose its potency.
Are pumpkin scones safe for my pets?
While pumpkin itself is generally safe for dogs in small amounts, it’s best to keep these scones away from your pets. Ingredients like sugar, butter, and spices such as nutmeg can upset their stomachs or pose other health risks. Stick with plain pumpkin puree for your furry friends!
What can I do if my scones turn out too dry?
If your scones end up dry, it could be due to too much flour or overbaking. In the future, ensure you spoon and level your flour instead of scooping directly from the bag, which can pack it down. If your scones are already baked, consider serving them with a side of cream cheese or butter to add moisture and flavor!
Pumpkin Scones That Melt in Your Mouth with Maple Glaze
Ingredients
Equipment
Method
- Chill Butter: Start by placing your butter in the freezer for 30 minutes. Once chilled, grate it to ensure your scones have the perfect flaky texture.
- Mix Wet Ingredients: In a small bowl, whisk together the heavy cream, pumpkin puree, egg, vanilla extract, and maple extract until smooth and well combined.
- Combine Dry Ingredients: In a large mixing bowl, whisk together the pastry flour, granulated sugar, baking powder, pumpkin pie spice, and kosher salt.
- Incorporate Butter: Add the grated cold butter to the dry mixture, then mix until crumbly.
- Combine Mixtures: Gently drizzle the wet ingredients into the dry mixture while mixing with a spatula until just combined.
- Shape Scones: Turn your dough onto a lightly floured surface and form it into an 8-inch round disc. Cut into 8 triangles or press into a scone pan.
- Chill Before Baking: Place the cut scones on a parchment-lined baking sheet and refrigerate for 20-30 minutes.
- Preheat Oven: While the scones chill, preheat your oven to 400°F.
- Bake: Once chilled, place the scones in the oven and bake for 18-24 minutes until they turn golden brown on top.
- Prepare Glaze: For the maple glaze, whisk together the powdered sugar, melted butter, maple syrup, and heavy cream until you reach your desired consistency.
- Glaze Scones: Drizzle the warm maple glaze over your baked pumpkin scones and allow it to set before serving.

