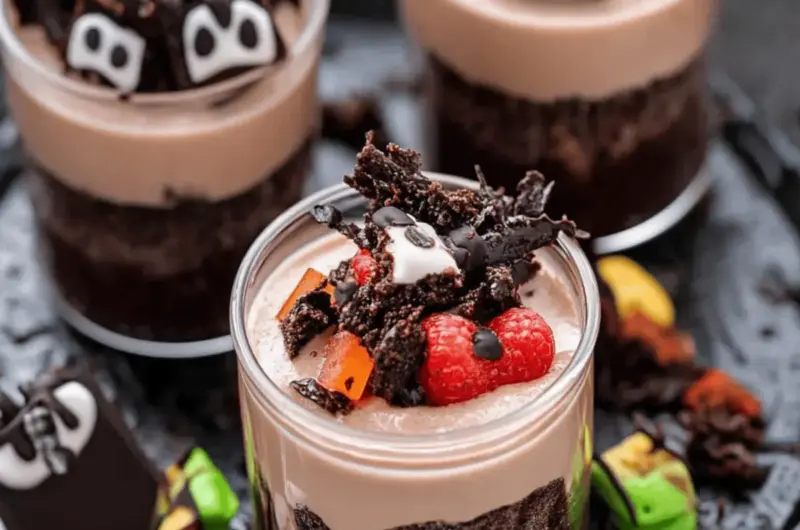
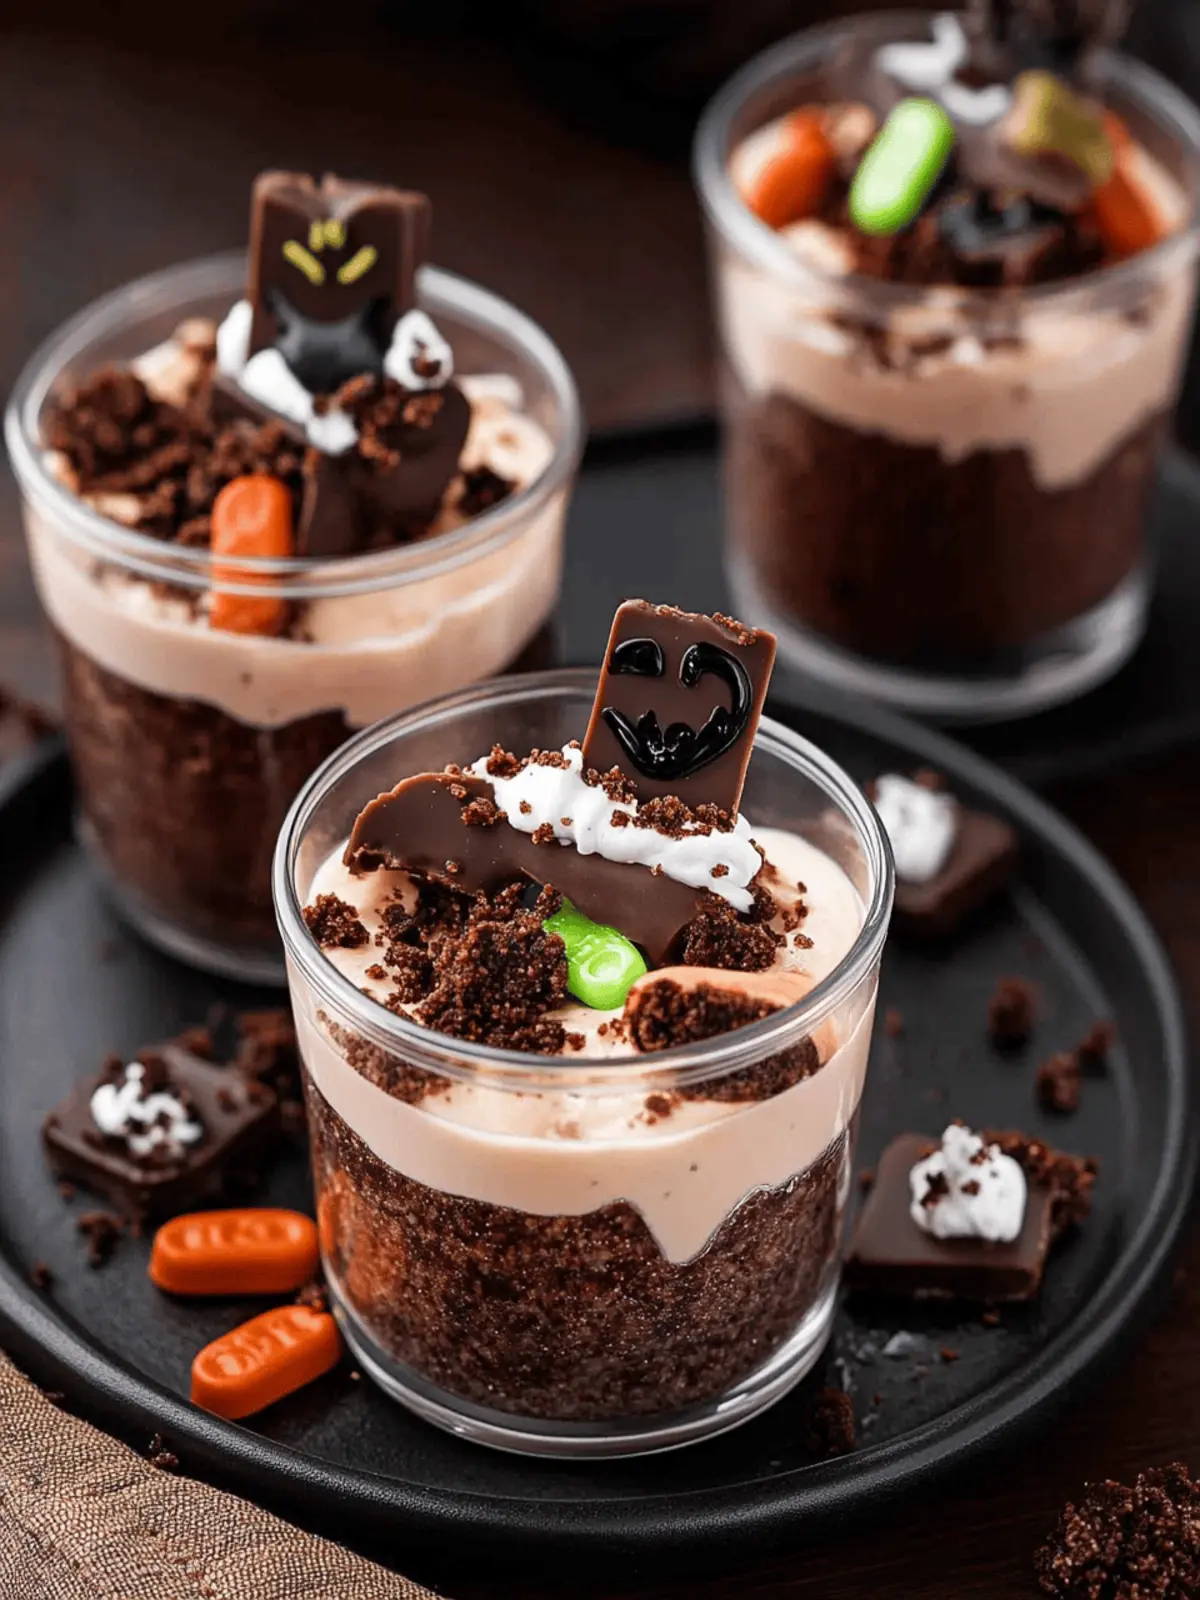
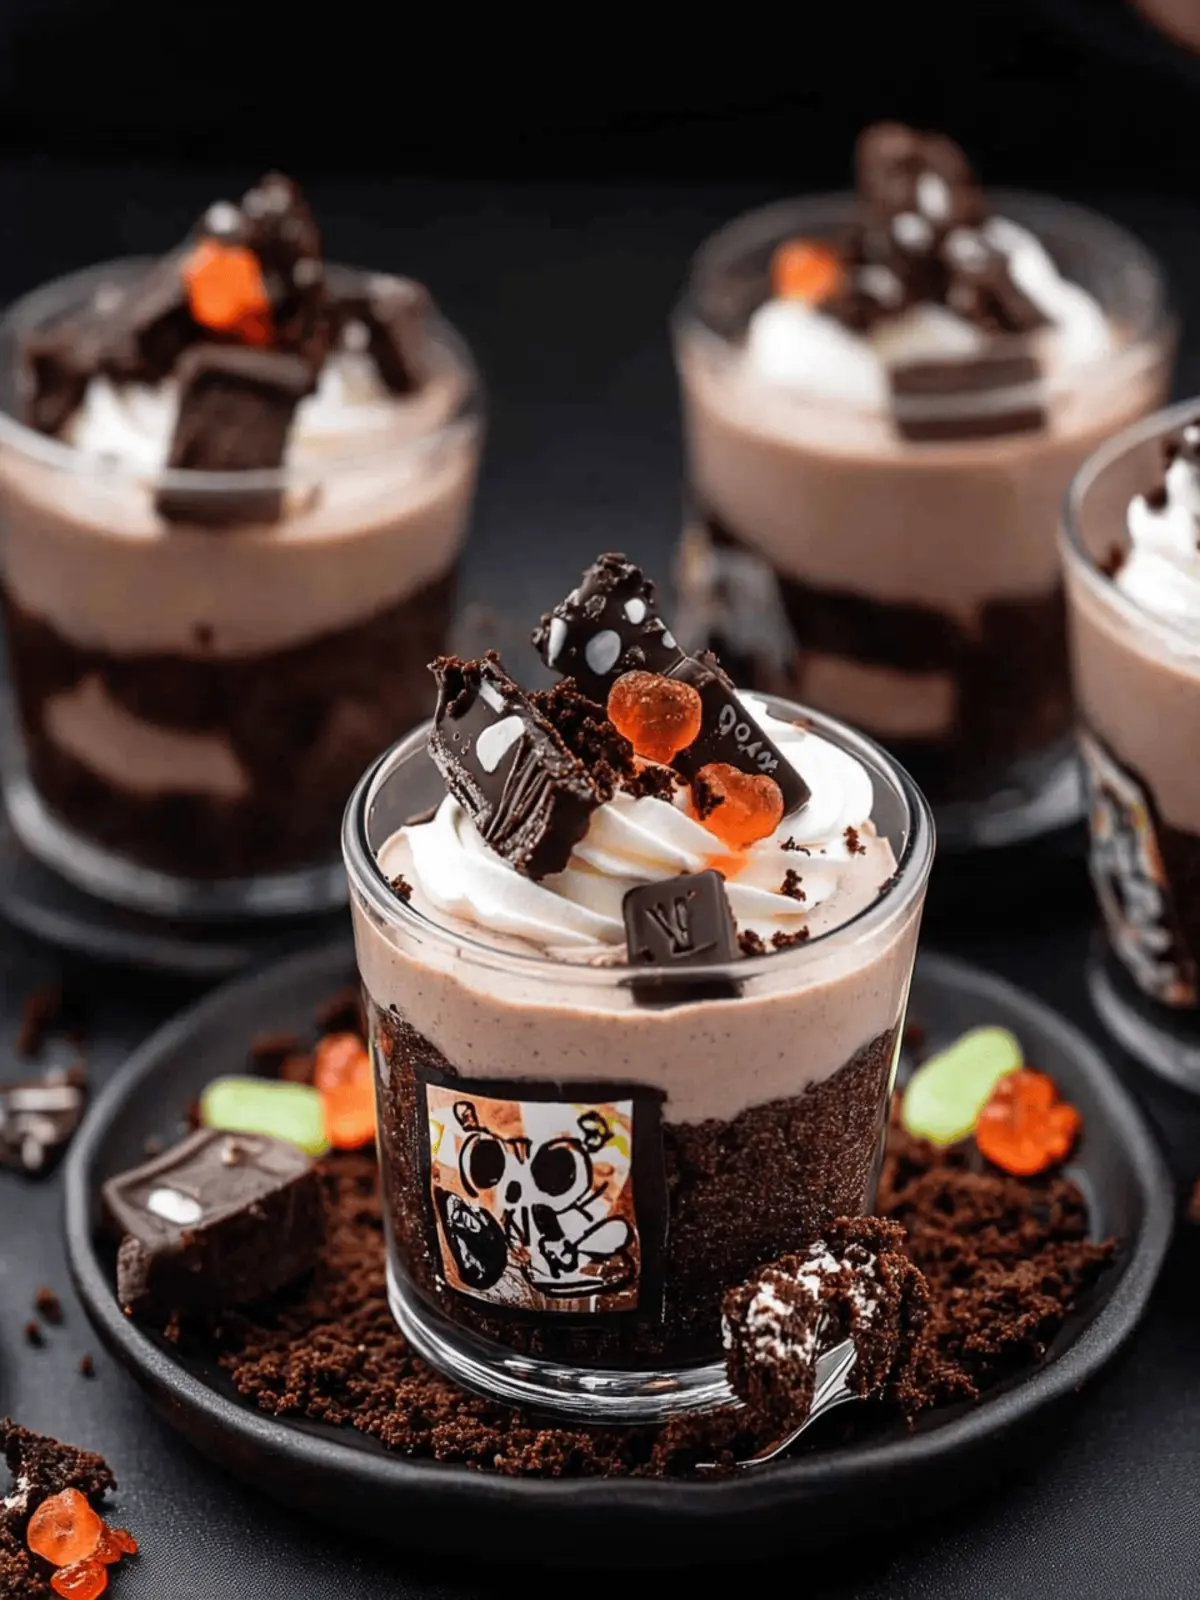
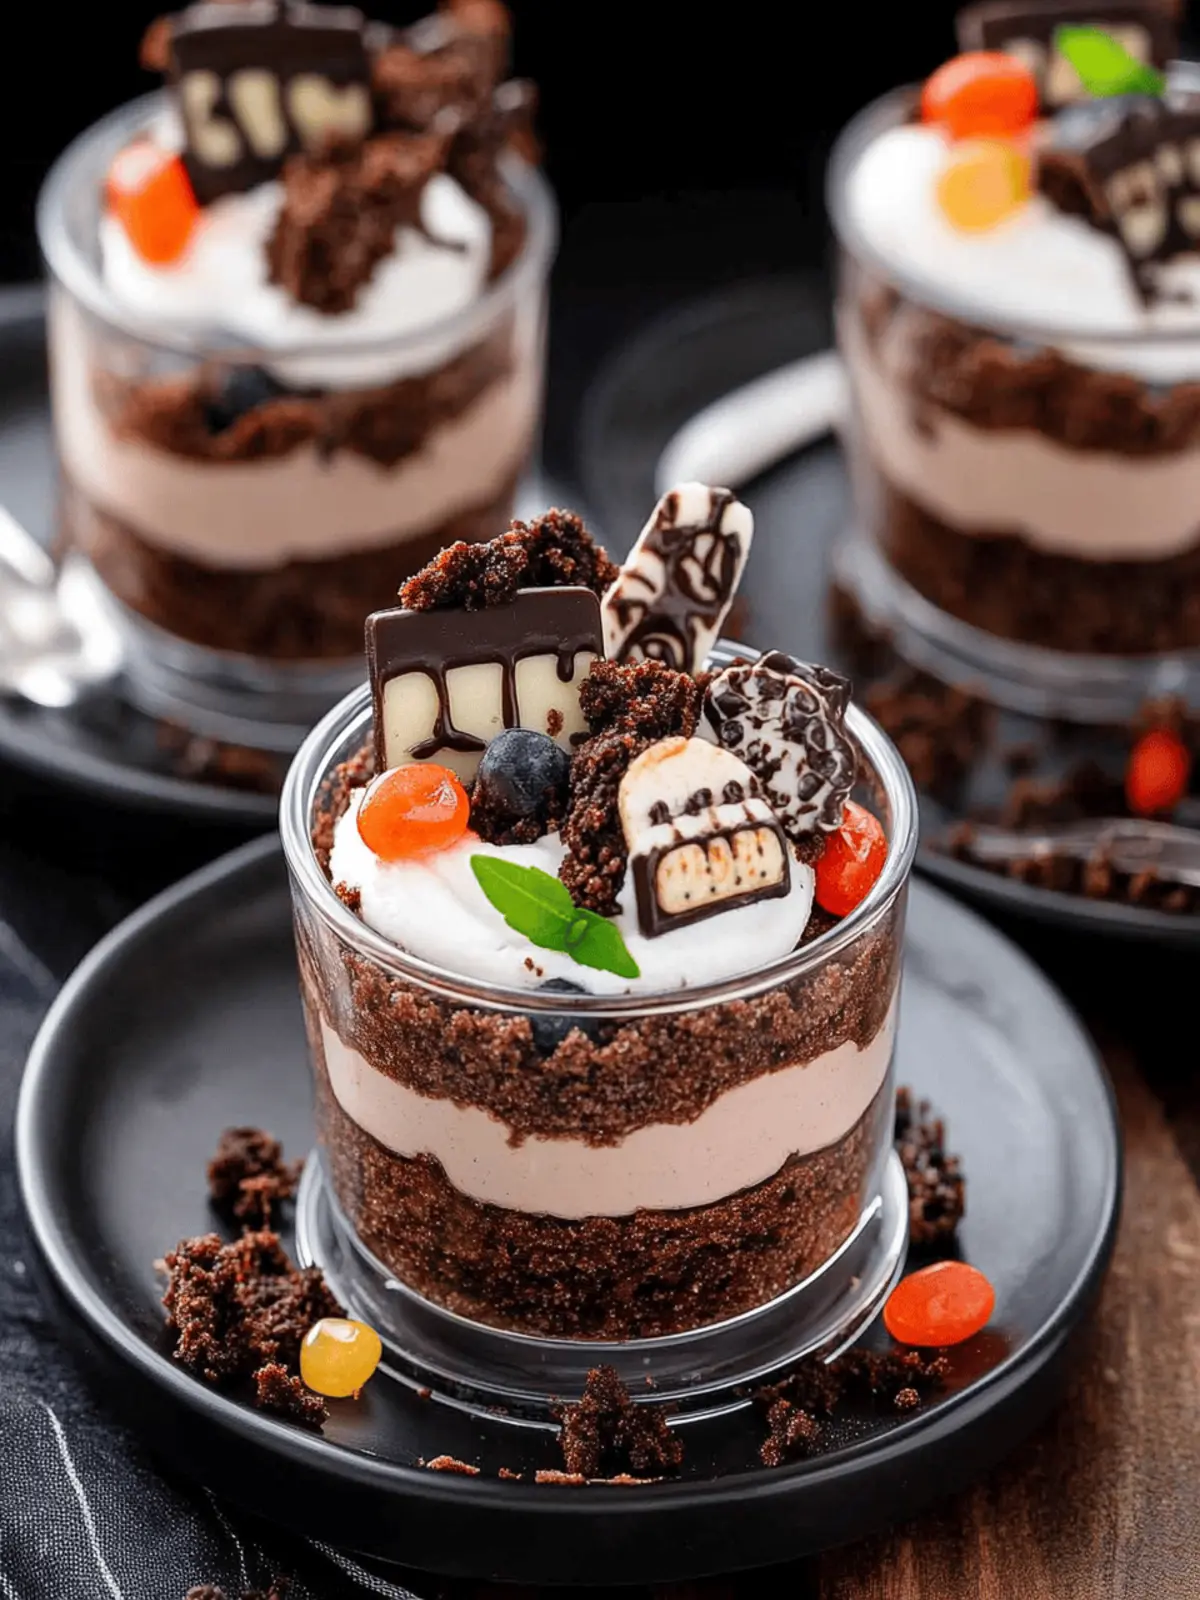
There’s a certain joy that comes from creating something delightfully spooky in the kitchen, especially as Halloween creeps closer. This Brownie Dirt Pudding recipe captures that excitement with its playful layers and decadent flavors. The moment I first served it at a Halloween gathering, the children went wild, marveling at the playful surprise hidden beneath the crushed Oreo “dirt.”
Fast, simple, and crowd-pleasing, this dessert marries the richness of fudgy brownies with a creamy chocolate pudding filling, all topped off with a whimsical touch. Perfect for impressing guests or making special memories with loved ones, each bite is a delicious reminder that homemade treats are unbeatable. Let’s dig in and create a spooky masterpiece that will charm everyone at your table!
Why will you love this Brownie Dirt Pudding?
Indulgent Layers: Imagine sinking your spoon into layers of fudgy brownie, rich chocolate pudding, and airy Cool Whip—it’s a dessert dream come true!
Spooky Fun: Perfectly themed for Halloween, this dessert adds a playful twist to your gatherings, making it a hit for kids and adults alike.
Quick & Easy: With minimal prep time and no baking required, you’ll have more time to enjoy the festivities.
Crowd-Pleasing Appeal: Whether it’s a holiday party or a family dinner, this showstopper will wow your guests and spark conversations. Try it out and experience the ultimate homemade comfort treat!
Brownie Dirt Pudding Ingredients
For the Brownies
• 1 9×9-inch pan brownie – Use your favorite homemade or store-bought brownie recipe for a fudgy base.
For the Pudding Layer
• 1 (3.9-ounce) box instant chocolate pudding – This brings creamy richness and easy preparation to your Brownie Dirt Pudding.
• ½ cup cold milk – Helps the pudding mix come together smoothly.
• 1 (14-ounce) can sweetened condensed milk – Adds an indulgent sweetness and a creamy texture to the pudding layer.
• 8 ounces Cool Whip, thawed – Lightens the mixture, making it fluffy and easy to spread.
For the Topping
• 8 crushed Oreos – Provides a delightful “dirt” finish that both children and adults adore.
• Edible Halloween-themed candy and headstone toppers – These fun decorations turn your dessert into a spooky masterpiece!
How to Make Brownie Dirt Pudding
-
Prepare the Brownies: Begin by baking your favorite brownie recipe in a 9×9-inch pan. Allow them to cool completely to create a solid base for your dessert.
-
Combine Pudding: In a mixing bowl, whisk together the instant chocolate pudding and cold milk until it’s smooth and free of lumps. This should only take a minute or two!
-
Mix in Sweetened Condensed Milk: Add the entire can of sweetened condensed milk to the pudding mixture. Stir until well-combined for an extra creamy texture that rivals the best pudding.
-
Fold in Cool Whip: Gently fold in the thawed Cool Whip until everything is beautifully blended. This step adds lightness to your pudding and creates a lovely, airy texture.
-
Layer the Brownies: Crumble or cut the cooled brownies into bite-sized pieces and layer them in the bottom of a serving dish. This gives your dessert the perfect foundation.
-
Spread the Pudding Mixture: Carefully pour the pudding mixture over the brownie layer, spreading it evenly to ensure every bite is deliciously rich.
-
Top It Off: Sprinkle the crushed Oreos generously over the pudding layer to create the “dirt.” Finish by decorating with Halloween-themed candy and headstone toppers for that spooky flair!
Optional: Add gummy worms for an extra creepy touch!
Exact quantities are listed in the recipe card below.
How to Store and Freeze Brownie Dirt Pudding
Fridge: Store uneaten Brownie Dirt Pudding in an airtight container in the fridge for up to 3 days. This keeps it fresh and maintains its creamy texture.
Freezer: For long-term storage, you can freeze the Brownie Dirt Pudding for up to 1 month. Just be sure to cover it tightly with plastic wrap before placing it in an airtight container.
Reheating: If frozen, thaw the pudding in the refrigerator overnight before serving. Avoid microwaving, as it can change the texture of the creamy pudding layer.
Toppings: Wait to add the crushed Oreos and Halloween decorations until just before serving to keep them crisp and appealing!
What to Serve with Brownie Dirt Pudding?
Looking to create a complete experience that delights every palate?
- Vanilla Ice Cream: The classic combination of warm and cold creates delightful contrast, enhancing the chocolate richness of the pudding.
- Chocolate Sauce: A drizzle of warm chocolate sauce adds extra richness and indulgence, making each bite feel even more luxurious.
- Fresh Berries: Juicy strawberries or raspberries provide a vibrant contrast, cutting through the sweetness with their natural tartness.
- Whipped Cream: Lightly sweetened whipped cream on top adds a fluffy texture that beautifully complements the creaminess of the pudding.
- Coconut Macaroons: These chewy treats introduce a tropical flavor, balancing the deep chocolate while adding a delightful chew.
- Mint Tea: A refreshing mint tea offers a cooling, herbal finish that beautifully clears the palate after indulging in the sweet layers.
Pairing these delightful additions with your Brownie Dirt Pudding promises to create a wonderfully immersive dessert experience!
Tips for the Best Brownie Dirt Pudding
- Brownie Choices: Use a rich, fudgy brownie recipe for the best base. Avoid cake-like brownies; they may crumble too easily.
- Mixing Technique: When combining the instant chocolate pudding with cold milk, ensure it’s lump-free. Whisk vigorously for a silky texture.
- Cool Whip Folding: Be gentle when folding in the Cool Whip to maintain its airy texture. This step is crucial for that light dessert feel.
- Layering Perfection: Cut the brownies into even pieces to create a stable base. This prevents sinking and keeps your layers beautifully distinct.
- Decoration Delight: Use a variety of Halloween-themed candies and toppings for visual appeal. Encourage creativity—let the kids help with this part!
- Serving Tip: Serve immediately for the freshest taste, but it can also chill in the fridge for a couple of hours to set. Enjoy your delicious homemade Brownie Dirt Pudding!
Brownie Dirt Pudding Variations
Let your creativity shine with these delightful tweaks that will make your Brownie Dirt Pudding even more special!
-
Nutty Delight: Add 1/2 cup of chopped nuts, like walnuts or pecans, to the brownie layer for a satisfying crunch. The earthy flavor blends beautifully with the chocolate.
-
Minty Fresh: Incorporate 1 teaspoon of peppermint extract into the pudding mixture for a refreshing twist. This subtle hint of mint will awaken your taste buds!
-
Flavorful Fruit: Layer in some sliced bananas or strawberries between the brownie and pudding layers. The sweet fruit adds a burst of freshness in every bite.
-
Different Cookies: Swap crushed Oreos for other cookies like chocolate chip or ginger snaps. Each variety gives a unique flavor and texture to the “dirt” topping.
-
Spooky Additions: For a more festive look, add gummy worms on top for a fun, creepy surprise. Kids will love this playful touch!
-
Gluten-Free: Use gluten-free brownies and make sure your cookie crumb topping is also gluten-free. Everyone deserves to enjoy this dessert!
-
Extra Creamy: For a richer dessert, substitute heavy cream for the Cool Whip. Whip it until stiff peaks form before folding it in for an even creamier finish.
-
Spice It Up: Add a pinch of cayenne pepper to the brownie batter for a gentle heat that contrasts perfectly with the sweetness. Delightfully unexpected!
Make Ahead Options
These Brownie Dirt Pudding layers are perfect for those busy days when you want to enjoy a delightful dessert without last-minute fuss! You can prepare the brownie base and pudding mixture up to 24 hours in advance. Just bake and cool the brownies, then whisk together the instant chocolate pudding with cold milk and sweetened condensed milk. Fold in the Cool Whip, and store the pudding mixture in an airtight container in the refrigerator. When you’re ready to serve, layer the brownies and pudding, top with crushed Oreos, and add the Halloween decorations. This method ensures each bite remains just as delicious while saving you precious time!
Brownie Dirt Pudding Recipe FAQs
What kind of brownies should I use?
Absolutely! I recommend using a rich, fudgy brownie recipe as your base. Avoid cake-like brownies, as they tend to crumble, which could lead to a less stable dessert. If you’re pressed for time, a box mix works great too; just be sure to choose a brownie that’s been labeled as “fudgy.”
How long can I store Brownie Dirt Pudding in the fridge?
You can keep uneaten Brownie Dirt Pudding in an airtight container in the fridge for up to 3 days. This will help maintain its creamy texture and delicious flavor. Remember, the longer it’s stored, the softer the brownies might get.
Can I freeze Brownie Dirt Pudding?
Yes, you can! To freeze, cover the dessert tightly with plastic wrap and then place it in an airtight container. It can be frozen for up to 1 month. When you’re ready to serve, thaw it overnight in the refrigerator to preserve its creamy consistency. Just remember to add the toppings before serving for that crispy finish!
How do I know if my pudding mixture is ready?
Very! The pudding mixture should be smooth and free of lumps after mixing the instant chocolate pudding with cold milk. It typically takes only about 1-2 minutes of vigorous whisking. Don’t forget to fold in the Cool Whip gently to maintain its lightness; this gives your dessert that fluffy texture everyone loves!
Are there any allergy considerations I should be aware of?
Absolutely! Be mindful that this dessert contains gluten from the brownies and Oreos, dairy from the pudding and Cool Whip, and may include allergens like nuts if you choose certain store-bought products. If you’re making it for a crowd, consider using gluten-free brownies and dairy-free alternatives to keep it inclusive for everyone.
When is the best time to add toppings?
I often recommend adding crushed Oreos and Halloween decorations right before serving. This keeps them crisp and appealing, enhancing both the look and taste of your Brownie Dirt Pudding. Plus, it’s a fun activity that lets the kids get involved in creating the spooky masterpiece!
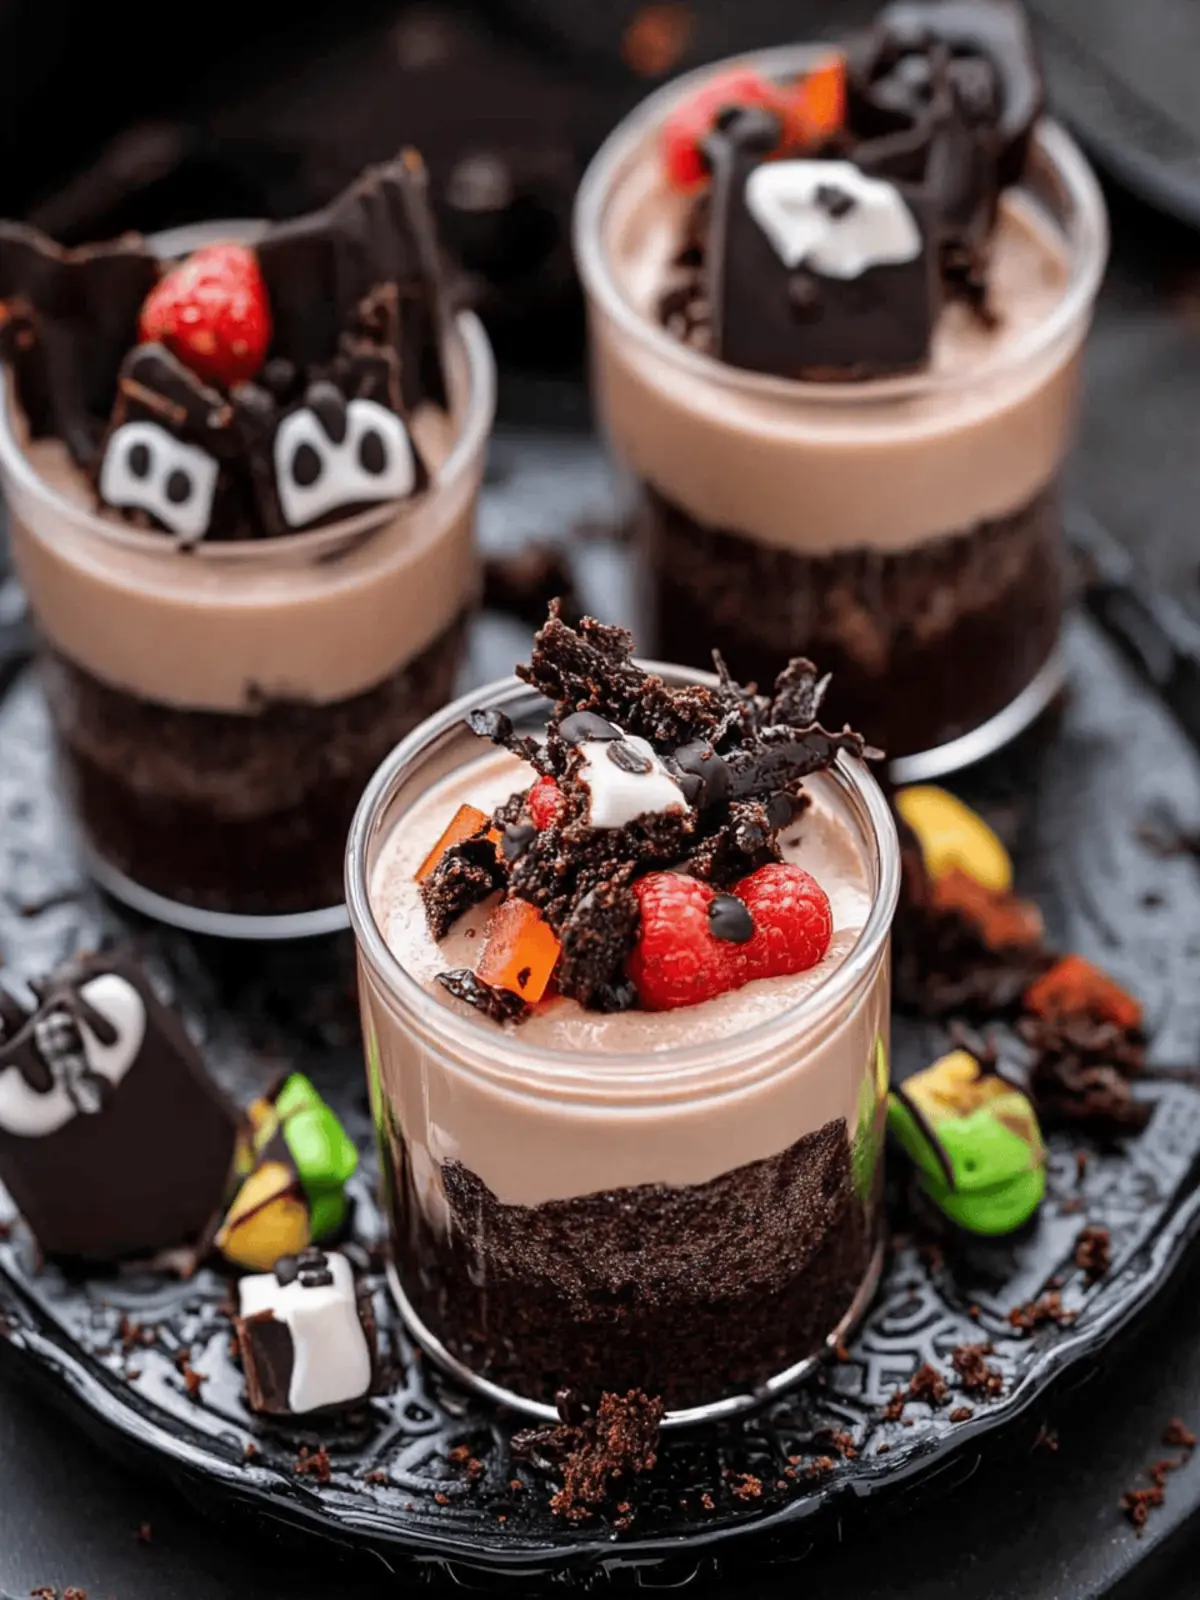
Delicious Brownie Dirt Pudding with Creepy Halloween Twist
Ingredients
Equipment
Method
- Bake your favorite brownie recipe in a 9×9-inch pan and allow to cool completely.
- In a mixing bowl, whisk together the instant chocolate pudding and cold milk until smooth.
- Add the sweetened condensed milk to the pudding mixture and stir until well-combined.
- Gently fold in the thawed Cool Whip until everything is beautifully blended.
- Crumble or cut the cooled brownies into bite-sized pieces and layer them in the bottom of a serving dish.
- Pour the pudding mixture over the brownie layer, spreading it evenly.
- Sprinkle the crushed Oreos over the pudding layer and decorate with Halloween-themed candy.

