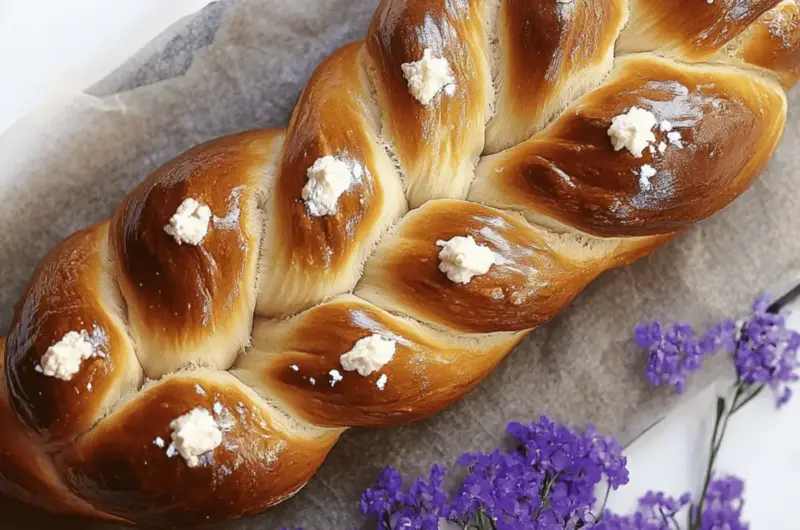
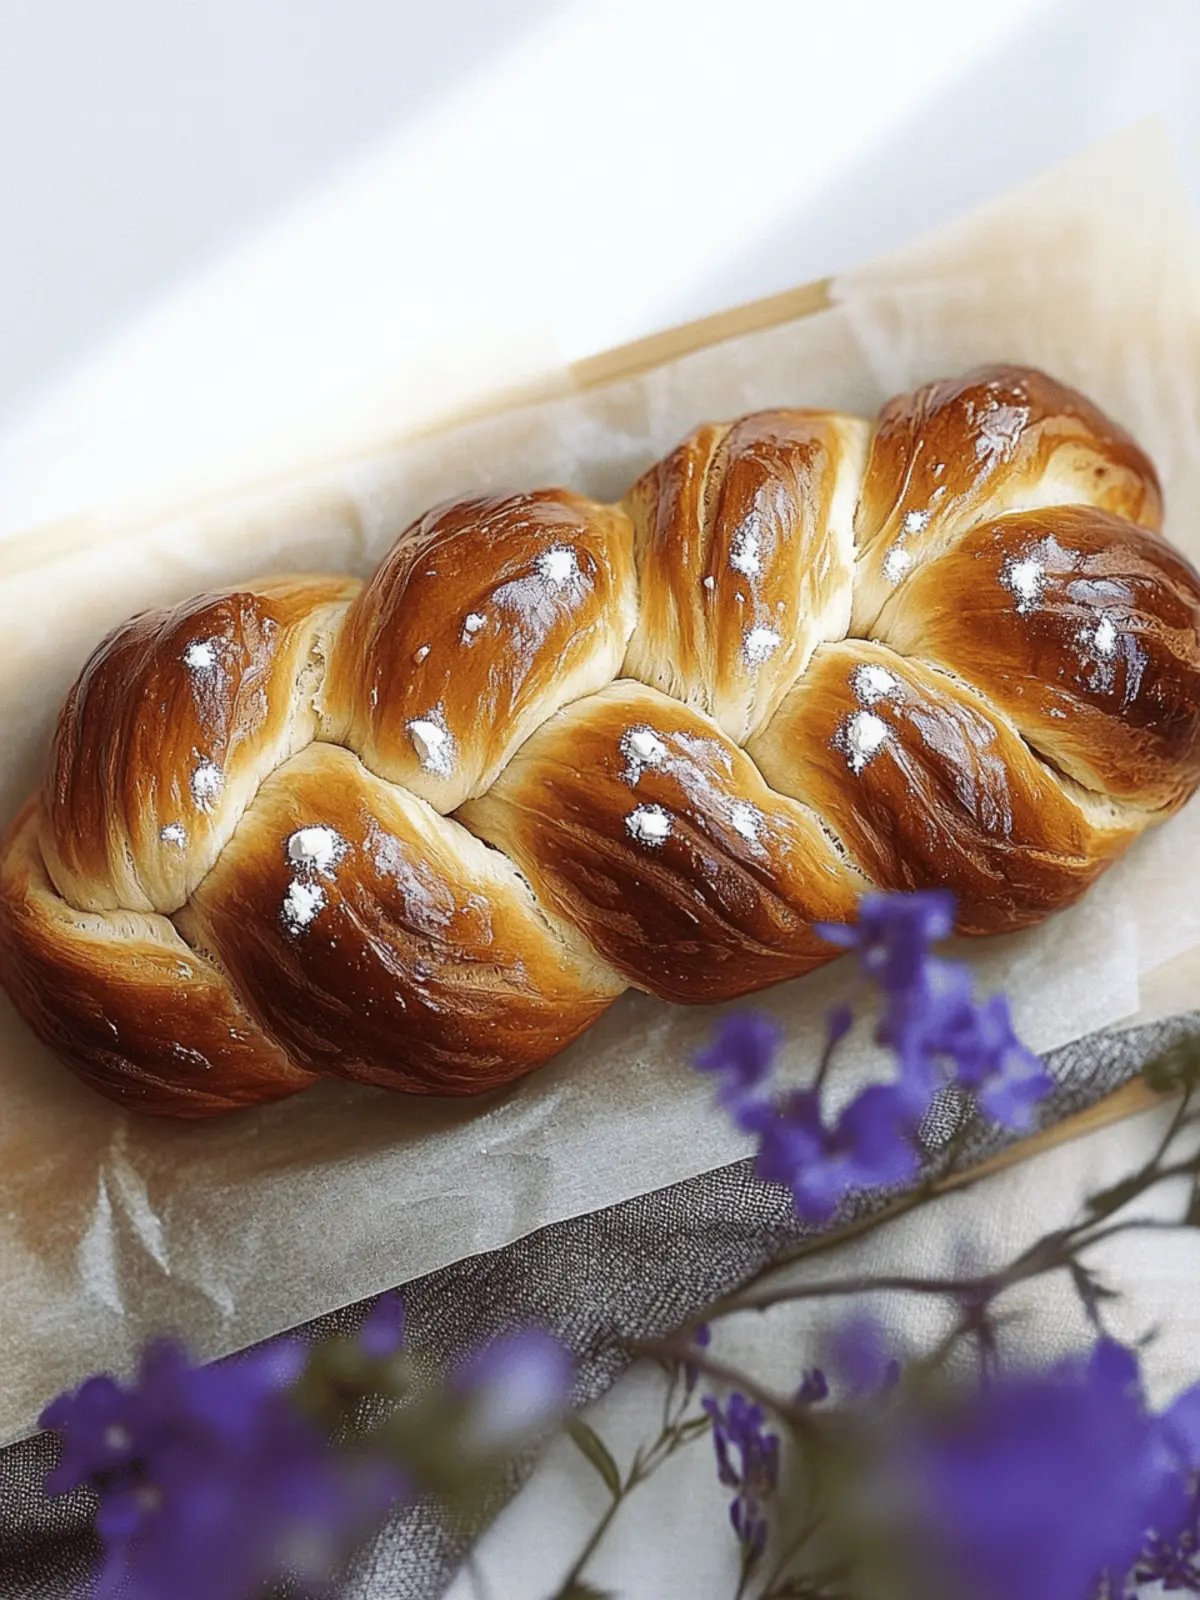
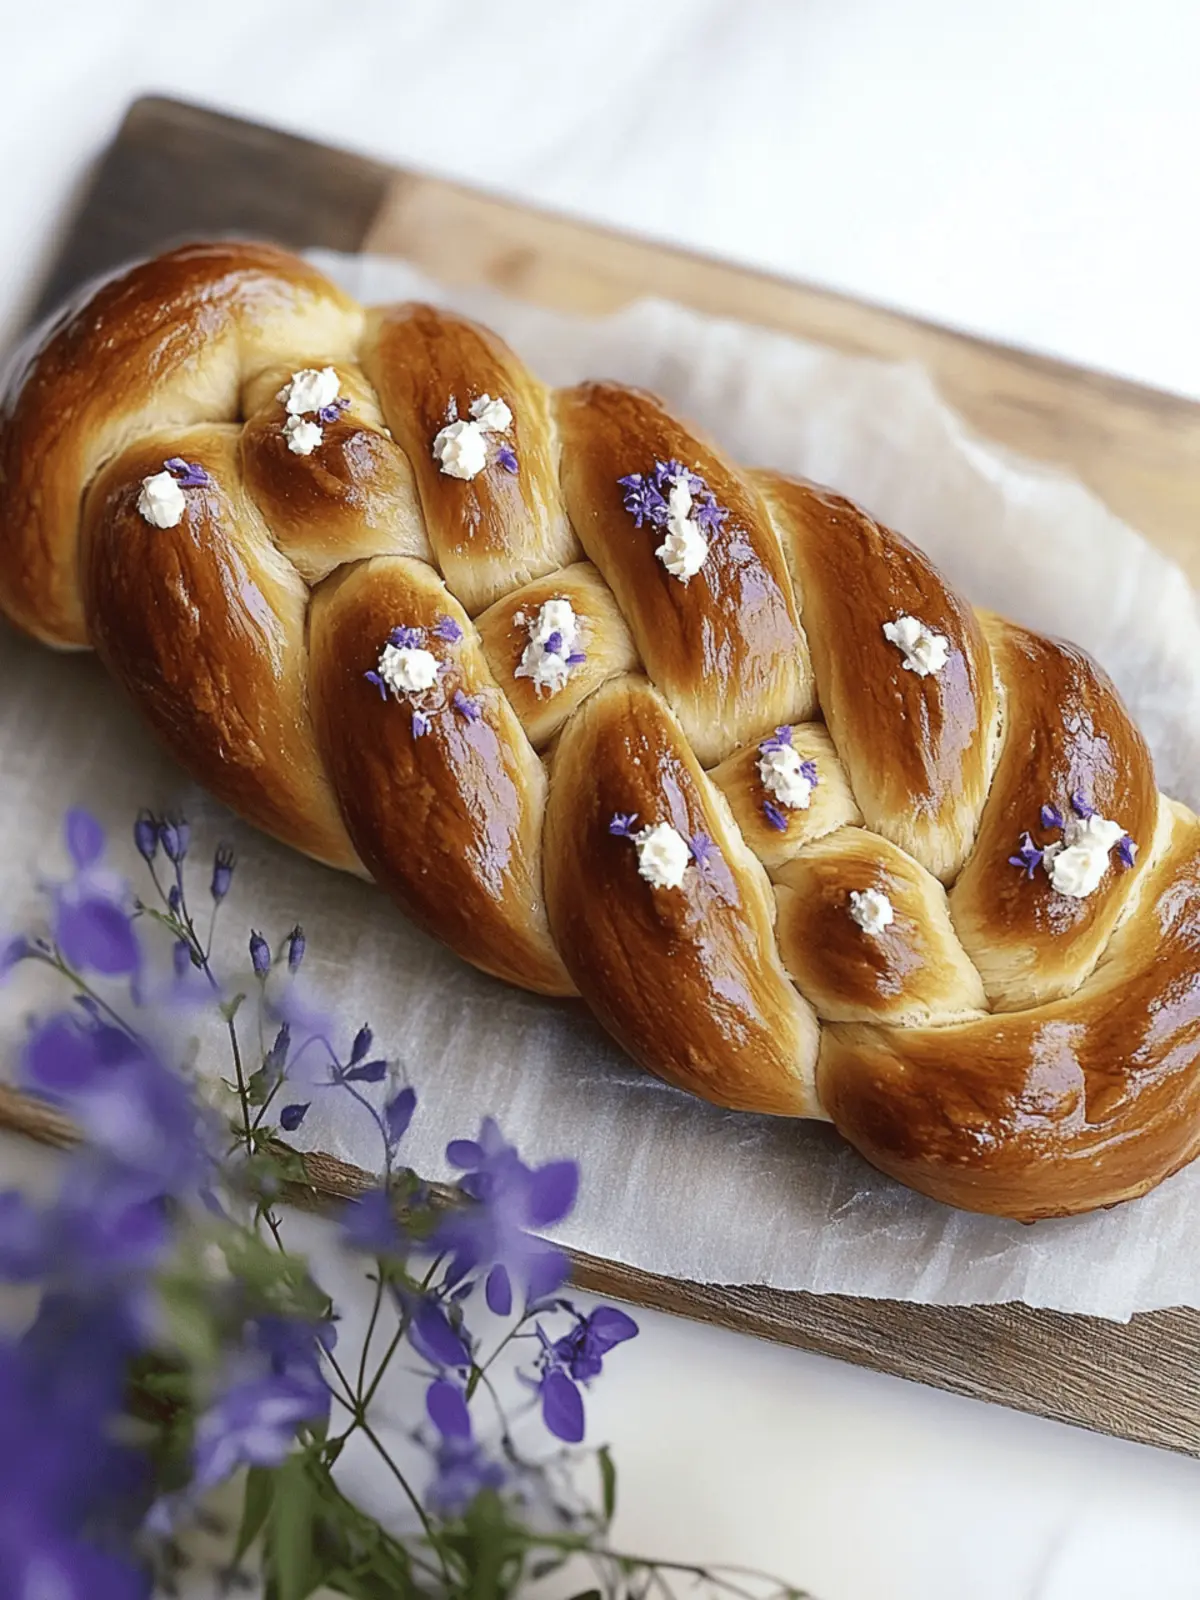
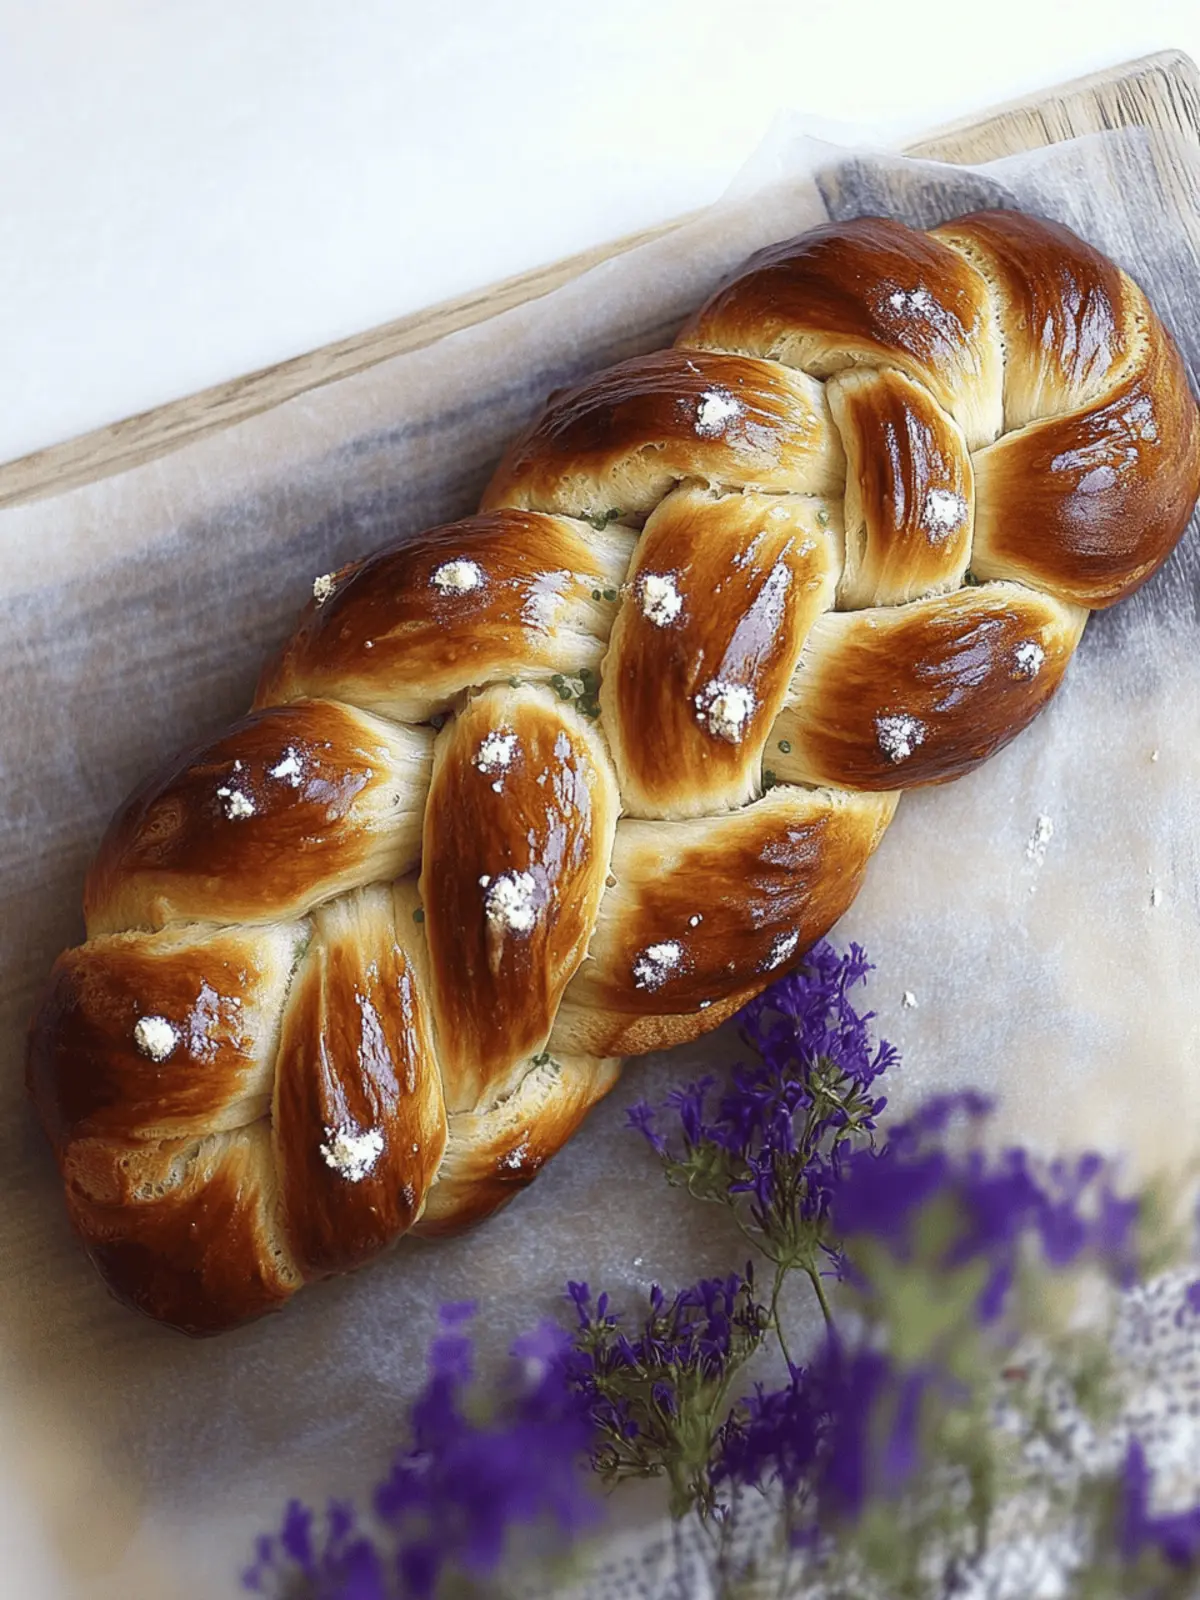
When the sun sets and the soft glow of kitchen lights fills my home, there’s a special kind of magic that happens with flour, yeast, and a dash of love. Enter Challah, a beautifully braided bread that turns any meal into a celebration. The very first time I whipped this up, my kitchen was filled with the sweet aroma of honey and the gentle sound of dough being kneaded—it felt like a warm embrace on a chilly evening.
This recipe is more than just a list of ingredients; it’s about simplicity and satisfaction. You don’t need to be a master baker to create this stunning loaf—just a willingness to dive into the process. Each braid is a symbol of togetherness, making it perfect for family gatherings or festive occasions. Best of all, it’s incredibly versatile, whether you enjoy it fresh out of the oven, with a smear of butter, or transformed into delightful French toast the next morning. Let’s get started on crafting your very own Challah, and trust me, your kitchen will never smell the same!
Why is Challah the ultimate homemade bread?
Aromatic Experience: The moment you mix the ingredients and let them rise, your kitchen fills with an inviting scent that’s pure bliss.
Family Tradition: This beautifully braided bread often becomes a centerpiece for gatherings, enhancing both meals and memories.
Simple to Master: With just a few essential ingredients, even novice bakers can create something exceptional and delicious.
Versatile Delight: Challah shines in any form—enjoy it fresh, toasted, or as a delightful French toast in the morning.
Heartwarming Experience: Kneading the dough is not just a task; it’s a therapeutic process that connects you to your food.
Challah Ingredients
For the Dough
• Active dry yeast – essential for that perfect rise and fluffy texture.
• Granulated sugar – helps to activate the yeast for a successful rise.
• Warm water – the perfect temperature to awaken the yeast, around 110°F.
• All-purpose flour – this gives the bread its structure and chewiness.
• Bread flour – adds extra strength to the dough for a delightful texture.
• Large eggs – contribute richness and moisture, making the bread deliciously tender.
• Neutral oil – keeps the dough moist and adds a light texture.
• Honey – not just for sweetness, but it enhances the flavor of your Challah.
• Diamond Crystal kosher salt – balances the sweetness and elevates the overall flavor.
For the Work Surface
• All-purpose flour – to dust your surface, preventing the dough from sticking.
With these ingredients in your kitchen, you’re all set to embark on a delightful baking adventure. Happy baking!
How to Make Challah
-
Activate the Yeast: In a bowl, combine the active dry yeast with warm water and granulated sugar. Let it sit for about 5-10 minutes, or until it becomes frothy. This ensures the yeast is alive and ready to work its magic.
-
Mix the Dry Ingredients: In a large mixing bowl, combine 2 1/2 cups of all-purpose flour, bread flour, and kosher salt. Stir the mixture gently to blend, creating the base for your dough.
-
Combine Wet Ingredients: Add the frothy yeast mixture, room temperature eggs, neutral oil, and honey to the flour mixture. Stir until the ingredients start to come together into a dough.
-
Knead the Dough: Transfer the dough to a floured surface. Knead it for about 10 minutes, or until it becomes smooth and elastic. It should be soft and slightly tacky but not sticky.
-
Let it Rise: Place the kneaded dough in a greased bowl, cover it with a clean cloth, and allow it to rise in a warm place for about 1-1.5 hours, or until it has doubled in size. You’ll notice the dough becomes puffy and airy.
-
Shape the Dough: Once risen, punch down the dough gently to release air. Divide it into three equal pieces to start braiding, shaping each piece into a long strand.
-
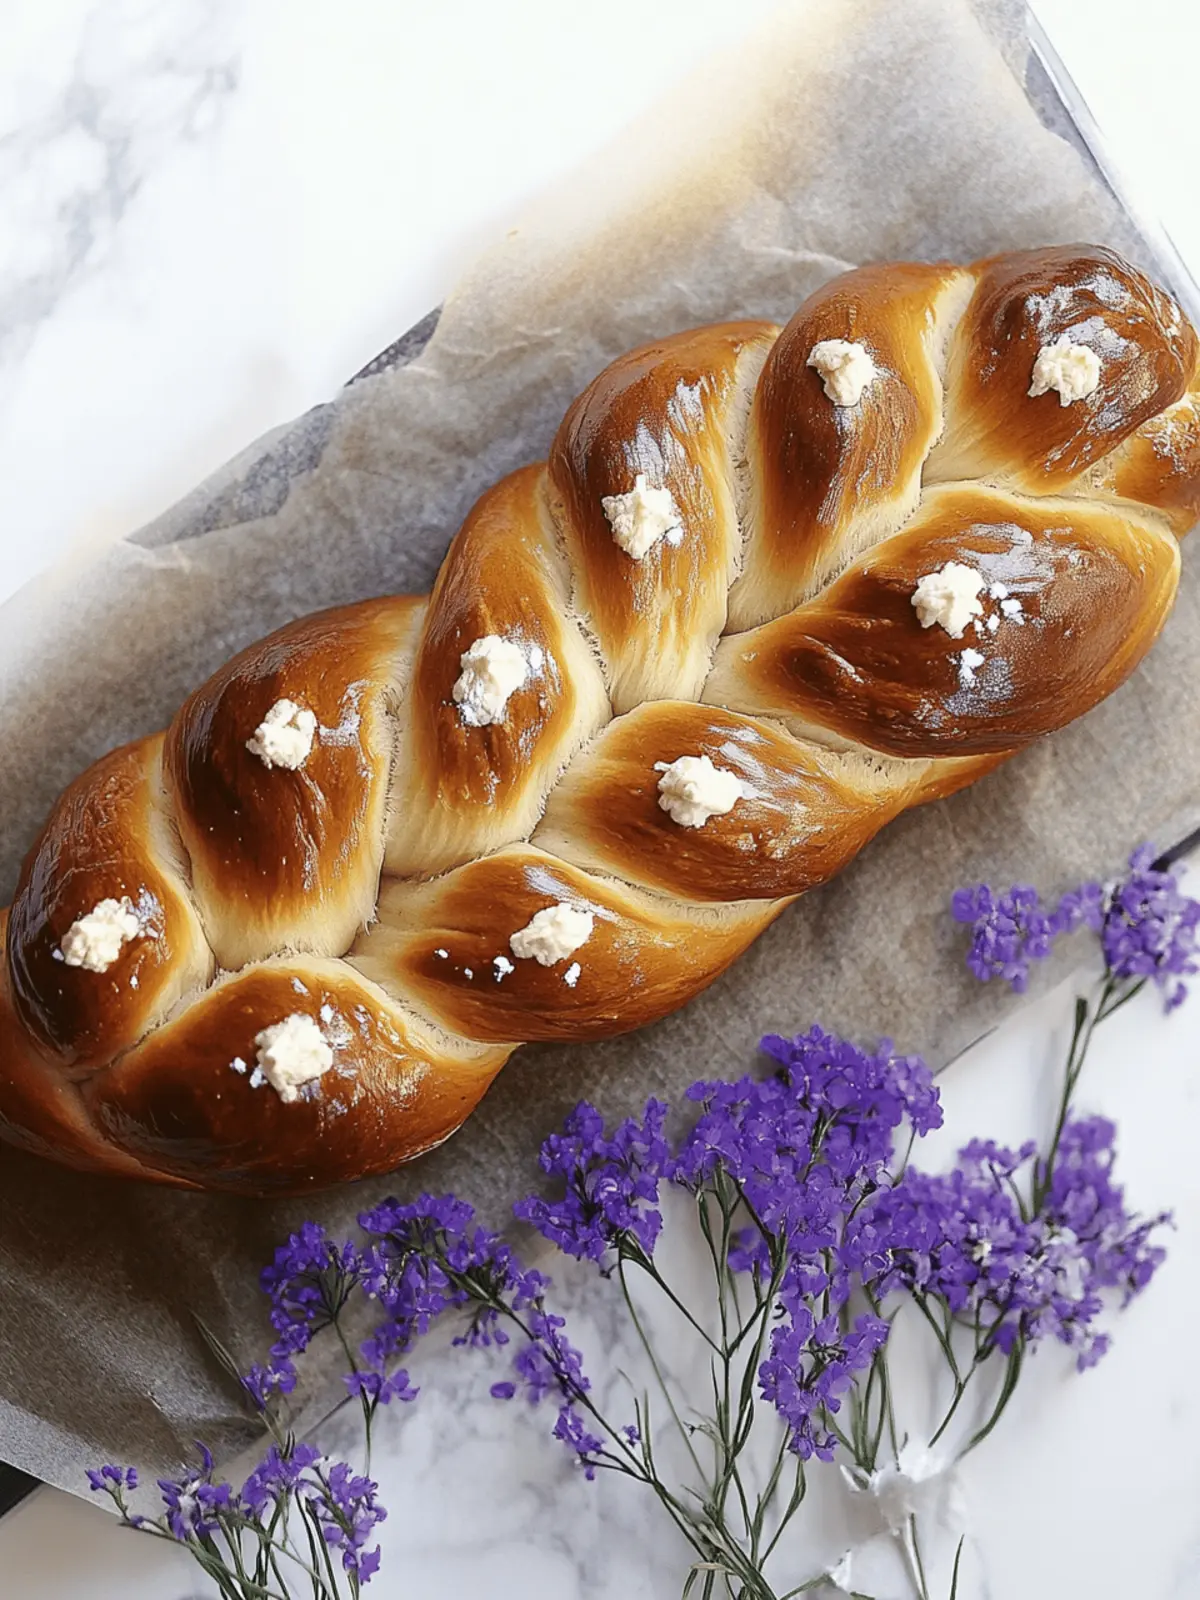
Braid the Challah: Carefully braid the three strands together, tucking the ends under for a neat finish. Place the braided dough on a baking sheet lined with parchment paper.
-
Second Rise: Cover the braided dough with a cloth and let it rise again for about 30-45 minutes, until it appears puffy and has grown in size.
-
Bake Until Golden Brown: Preheat your oven to 350°F (175°C). Bake the challah for 25-30 minutes or until it turns a lovely golden brown color and sounds hollow when tapped on the bottom.
Optional: Brush the top with an egg wash for a shiny finish.
Exact quantities are listed in the recipe card below.
How to Store and Freeze Challah
Room Temperature: Enjoy your fresh Challah at room temperature for up to 3 days. Keep it wrapped in a clean kitchen towel or in an airtight container to maintain its softness.
Fridge: If you need to store it longer, refrigerate in an airtight container for up to a week. This may slightly affect the texture but will preserve its flavor.
Freezer: For extended storage, wrap slices or the whole loaf tightly in plastic wrap, then aluminum foil, and freeze for up to 3 months. Thaw at room temperature when ready to enjoy.
Reheating: To revive its heavenly taste, warm slices in the toaster or the oven at 350°F (175°C) for about 10 minutes for that freshly baked experience.
What to Serve with Challah?
There’s nothing quite like a comforting, homemade loaf to elevate your mealtime experience.
-
Creamy Butter: A simple pat enhances the flavor, bringing richness that complements the bread’s subtle sweetness beautifully.
-
Honey Butter Spread: Whip together softened butter and honey for a sweet, luscious topping that melts perfectly on warm Challah.
-
Savory Soups: Pair with a bowl of hearty soup, like butternut squash or creamy tomato, allowing the bread to soak up those delicious flavors.
-
Fresh Salads: A light, zesty salad brightens the meal and balances the rich, comforting texture of the Challah.
-
Roast Chicken: Serve alongside a juicy roast chicken. The flavor of the chicken and the bread create a heartwarming duo perfect for family gatherings.
-
Fruit Compote: A dollop of berry or apple compote adds a fresh, sweet touch that pairs nicely with the slightly nutty notes of your Challah.
-
Red Wine: A glass of full-bodied red wine elevates the dinner experience, bringing warmth and richness that echoes the bread’s deliciousness.
-
Chocolate Chip Cookies: For dessert, try a warm chocolate chip cookie alongside your Challah. The combination of flavors creates a wonderful sweet treat to end your meal!
Challah Variations & Substitutions
Feel free to get creative and infuse your own flair into this classic bread recipe!
- Whole Wheat: Swap half of the all-purpose flour with whole wheat flour for a nuttier flavor and added nutrition.
- Vegan: Use flaxseed meal mixed with water instead of eggs and maple syrup instead of honey for a plant-based delight.
- Spiced Delight: Add ground cinnamon or nutmeg to the dough for a warm, spiced flavor perfect for cozy evenings.
- Sweet Twist: Mix in chocolate chips or dried fruit like raisins or cranberries for a sweeter loaf that’s wonderfully festive.
- Savory Options: Incorporate fresh herbs or garlic into the dough for a savory version that pairs beautifully with soups or stews.
- Stuffed Challah: Roll the dough around a filling of your choice, like pesto or cream cheese, before braiding for a delicious surprise in every slice.
- Challah Rolls: Instead of braiding, divide the dough into small balls and shape them into rolls for easy serving at gatherings.
- Cheesy Touch: Fold in shredded cheese, such as mozzarella or cheddar, for a cheesy version that’s great for sandwiches or snacking.
With these variations, your Challah will never be boring, and you’ll find new favorite twists to share with family and friends!
Tips for the Best Challah
-
Knead it Right: Ensure the dough is smooth and elastic. Under-kneading can result in a dense loaf, so take your time!
-
Perfect Rising: Allow the dough to rise in a warm place, covered. This helps develop that fluffy texture; cool drafts can hinder the process.
-
Braid with Care: Aim for even strands while braiding. Uneven strands can lead to an uneven bake, so take a moment to shape them nicely.
-
Check the Oven: Ovens can vary in temperature. Check your Challah a few minutes before the recipe states for perfect browning.
-
Egg Wash Bonus: For a glossy finish, brush the braided dough with an egg wash before baking. It enhances visual appeal and creates a lovely crust.
Make Ahead Options
Making Challah ahead of time is a fantastic strategy for busy cooks! You can prepare the dough up to 24 hours in advance. Simply follow the initial steps until the dough has risen for the first time, then punch it down and refrigerate it in a tightly sealed container. This helps develop the flavors while keeping the dough quality intact. When you’re ready to bake, allow the dough to come to room temperature (about 30 minutes), then shape and braid it as directed. Let it rise until puffy before popping it in the oven. With this make-ahead method, you’ll enjoy freshly baked Challah with minimal effort on busy days!
Challah Recipe FAQs
What should I look for when selecting the yeast?
Absolutely! When choosing active dry yeast, look for a date on the package. It should be within its expiration date, and the granules should be dry and crumbly. If it forms bubbles when mixed with warm water and sugar, it’s alive and ready for use!
How should I store my Challah, and how long will it last?
You can enjoy your fresh Challah at room temperature for up to 3 days! Just wrap it in a clean kitchen towel or store it in an airtight container to keep it soft. If you want to preserve it longer, refrigerate it in an airtight container for up to a week—though this may slightly alter its texture.
Can I freeze Challah? If so, how?
Very much! To freeze Challah, tightly wrap the whole loaf or individual slices in plastic wrap, followed by aluminum foil to prevent freezer burn. It’ll keep nicely for up to 3 months. When you’re ready to enjoy it, thaw at room temperature or warm slices in the toaster or oven at 350°F (175°C) for about 10 minutes.
What can I do if my bread doesn’t rise well?
If your Challah hasn’t risen as expected, check that your yeast is fresh and that your warm water was the right temperature—about 110°F. If it’s too hot or cold, it can affect yeast activity. Also, ensure you let the dough rise in a warm environment, free from drafts. Sometimes, a second rise helps too!
Is there a gluten-free option for this recipe?
Certainly! You can create a gluten-free Challah using gluten-free flour blends specifically designed for baking. Just make sure to include a binding agent like xanthan gum for the right texture. Keep in mind, the flavor and texture will differ slightly, but it can still be delicious!
Can my pets eat Challah?
While that soft, fluffy bread may seem appealing, it’s best to avoid letting pets indulge in Challah. The dough contains ingredients such as sugar and salt that can be harmful in large quantities to pets, especially dogs. Stick to pet-friendly treats to keep your furry friends safe!
Heavenly Homemade Challah Recipe for Pure Comfort Food
Ingredients
Equipment
Method
- In a bowl, combine the active dry yeast with warm water and granulated sugar. Let it sit for about 5-10 minutes, or until it becomes frothy.
- In a large mixing bowl, combine 2 1/2 cups of all-purpose flour, bread flour, and kosher salt. Stir the mixture gently to blend.
- Add the frothy yeast mixture, room temperature eggs, neutral oil, and honey to the flour mixture. Stir until the ingredients start to come together into a dough.
- Transfer the dough to a floured surface. Knead it for about 10 minutes, until it becomes smooth and elastic.
- Place the kneaded dough in a greased bowl, cover it with a clean cloth, and allow it to rise in a warm place for about 1-1.5 hours.
- Once risen, punch down the dough gently to release air. Divide it into three equal pieces.
- Carefully braid the three strands together, tucking the ends under for a neat finish.
- Cover the braided dough with a cloth and let it rise again for about 30-45 minutes.
- Preheat your oven to 350°F (175°C). Bake the challah for 25-30 minutes or until it turns golden brown.
- Optional: Brush the top with an egg wash for a shiny finish.
