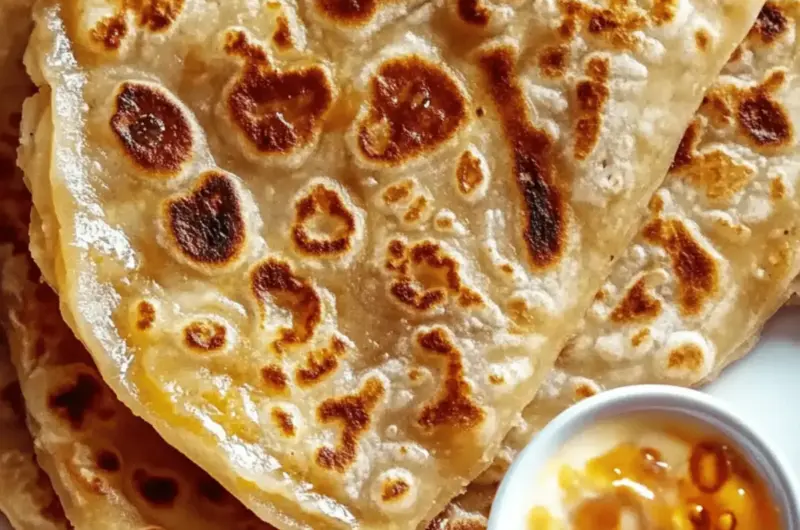
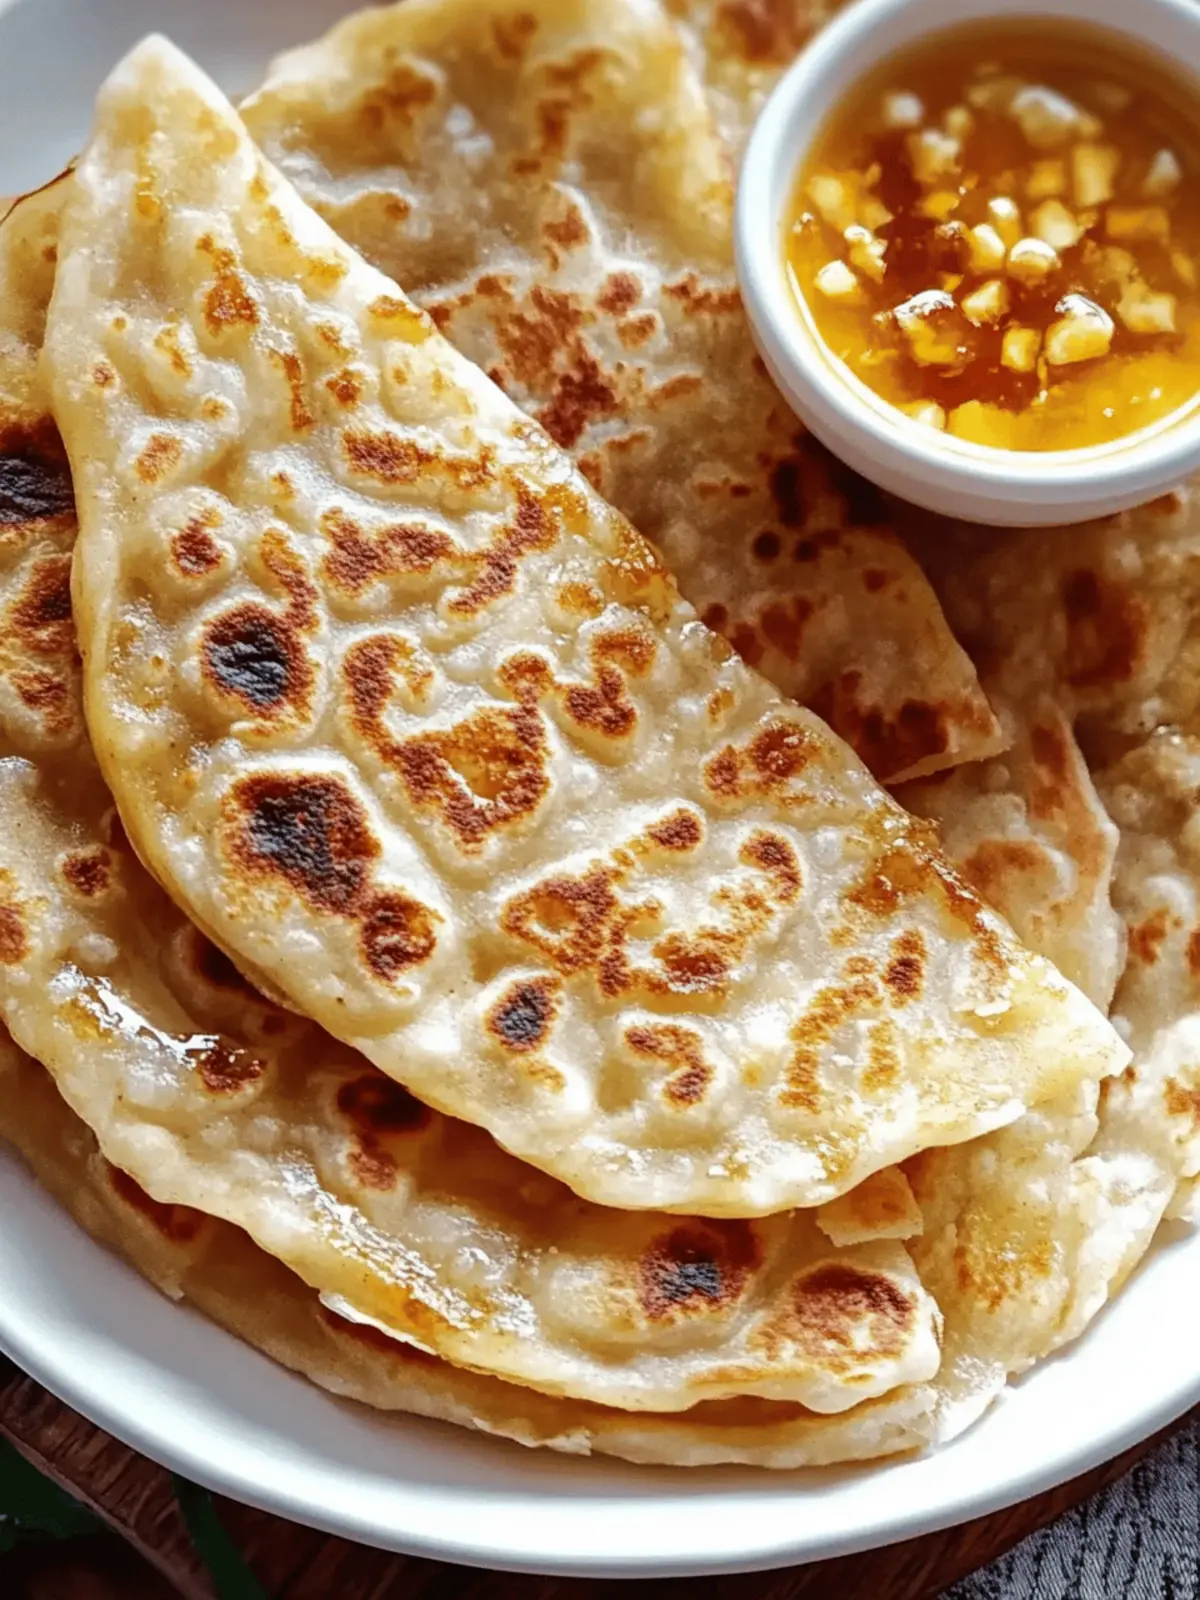
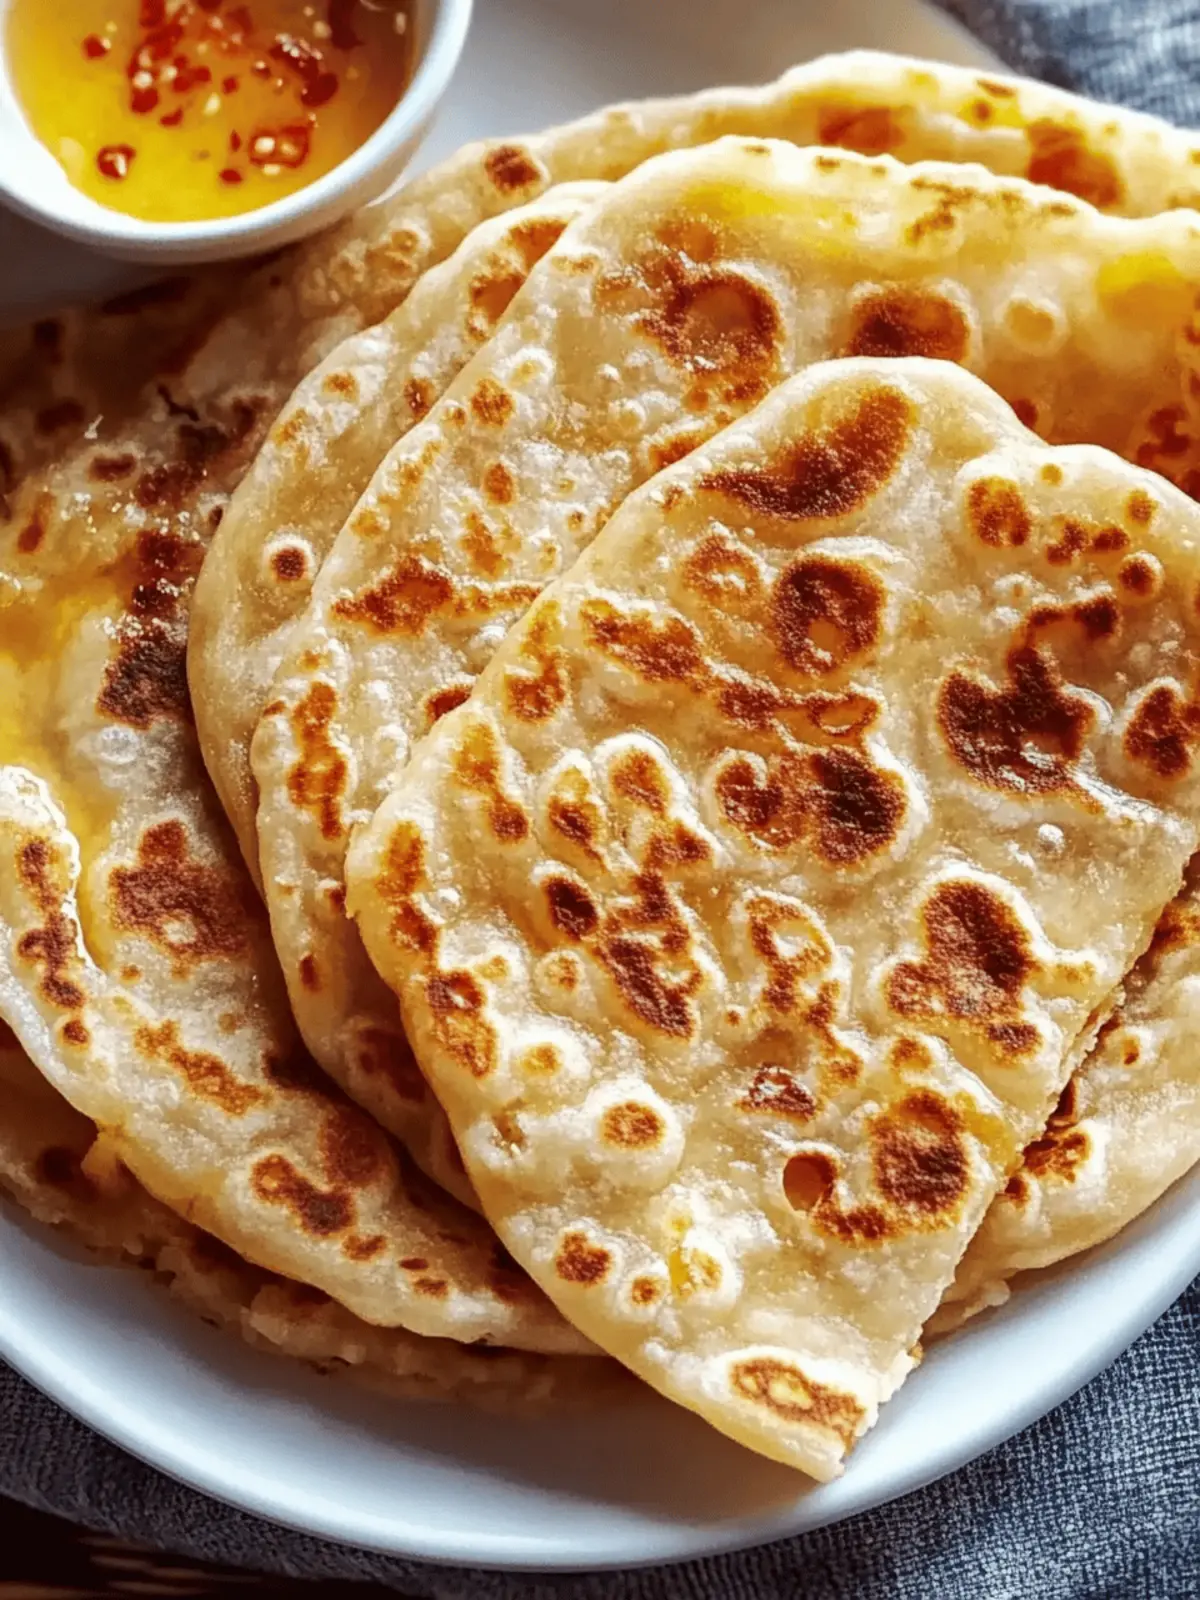
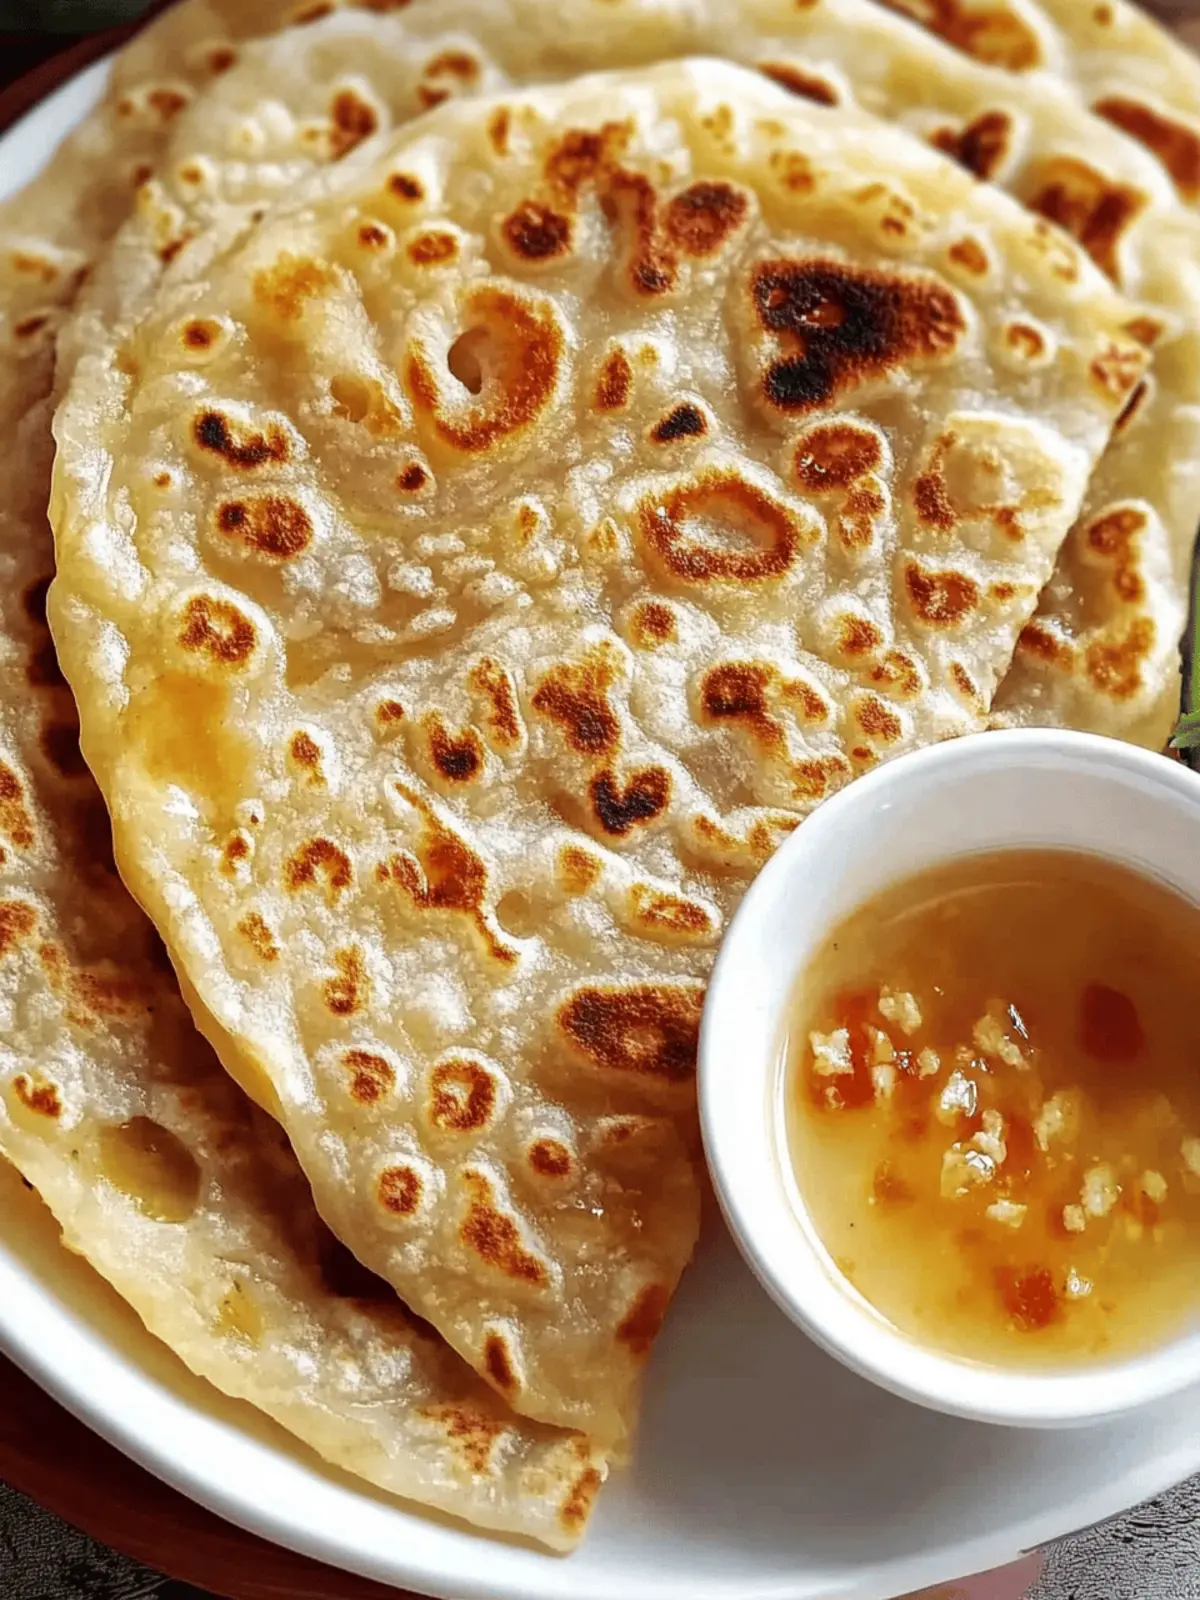
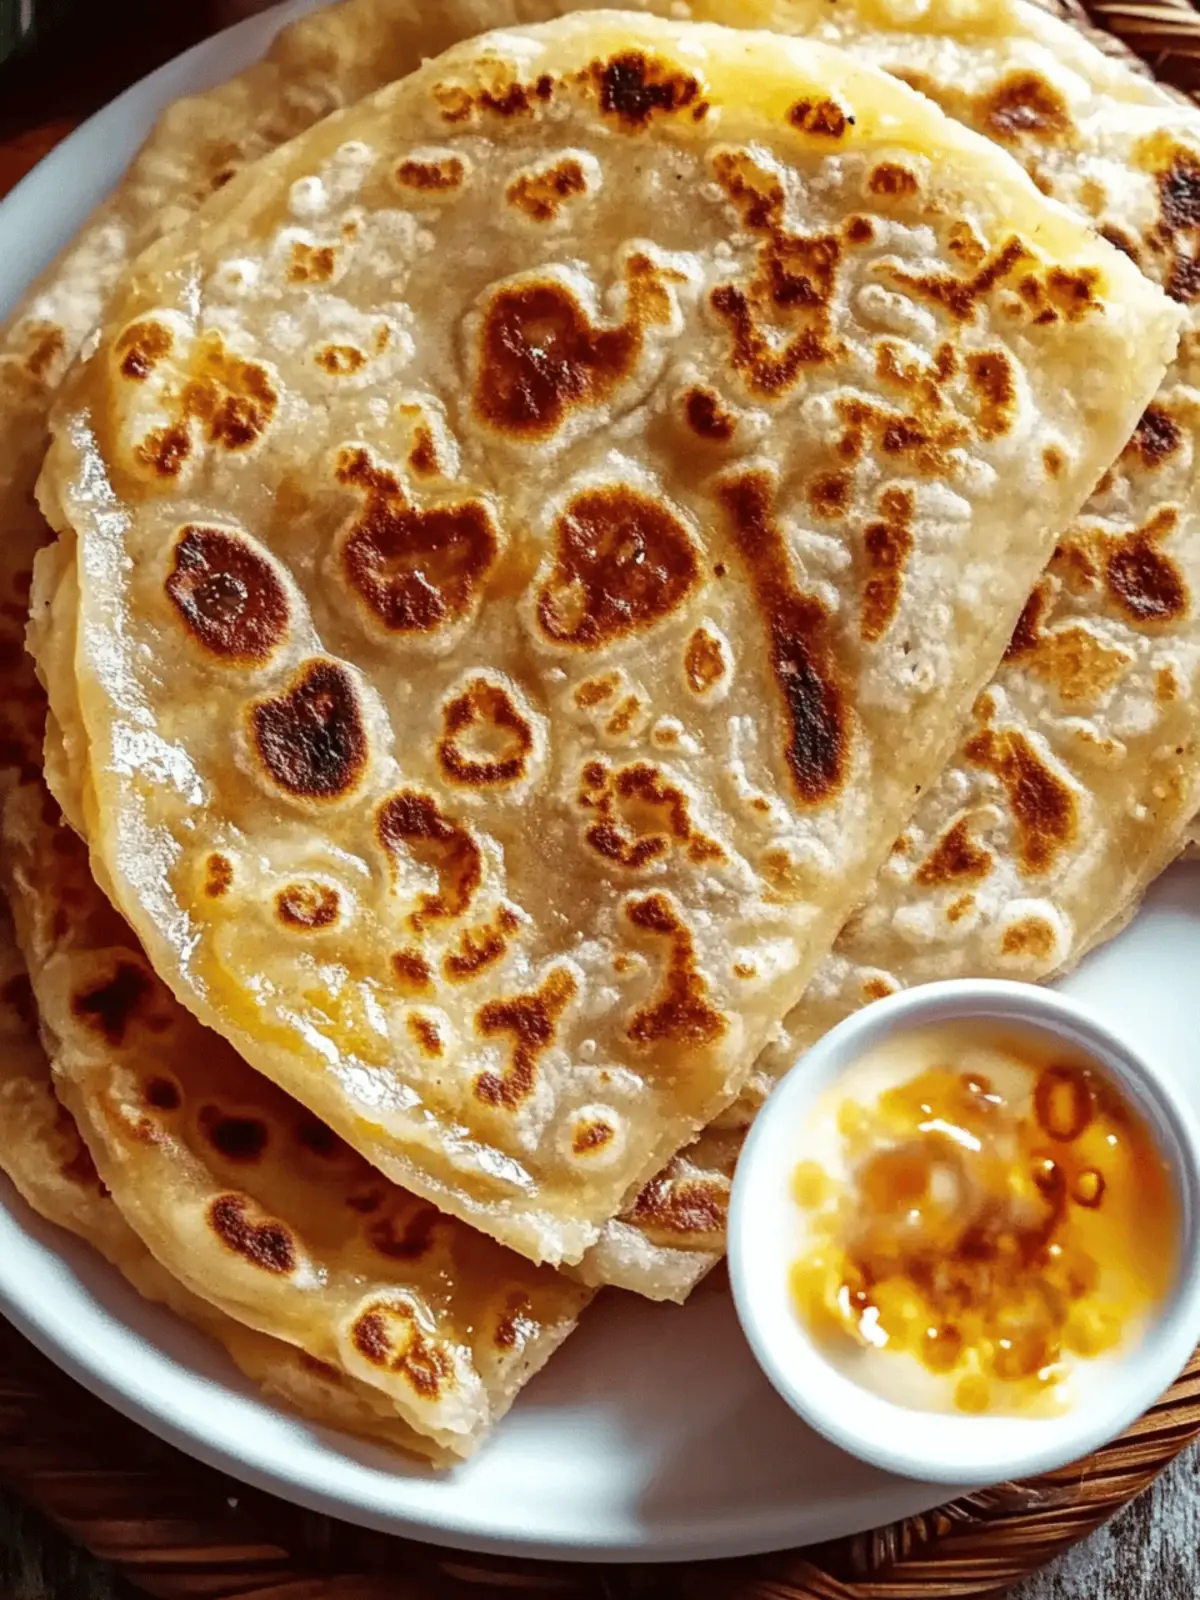
When the cravings for comfort food kick in, nothing beats the indulgence of a warm, flaky Cheese Paratha. Picture it: the moment you sink your teeth into a perfectly golden-brown pocket, the gooey cheddar cheese stretching with each delightful pull. I’ll never forget the first time I made these beauties on a chilly evening—it instantly became one of my go-to recipes. This dish is not just about taste; it transforms simple pantry staples into a family-friendly feast that charms everyone at the dinner table. Plus, if you’re looking for a way to shake off the boredom of fast food, this quick and easy recipe is your answer! Whether you enjoy them for breakfast, lunch, or dinner, these Cheese Parathas promise to deliver warmth and satisfaction in every bite. And guess what? With variations like Vegan Cheese Paratha and Herb-Infused delights, there’s something for everyone. Let’s roll up our sleeves and dive into this cheesy goodness!
Why Love Cheese Paratha For Your Table?
Comforting Delight: Each bite of these parathas offers a heavenly blend of crispy texture and gooey cheese that will have your family smiling.
Family-Friendly: Perfect for picky eaters, this dish appeals to all ages, making mealtime stress-free and enjoyable.
Versatile Options: With variations like Vegan Cheese Paratha and herb-infused delights, there’s a version suited for everyone’s taste!
Quick Preparation: Ready in under 30 minutes, these cheese-filled wonders save you time without sacrificing flavor.
Perfect for Any Occasion: Whether it’s a cozy family gathering or a quick lunch, these Cheese Parathas are ideal for turning any meal into a celebration!
Freezer-Friendly: Make a batch to freeze for busy days—just reheat and enjoy a simple, satisfying meal.
Cheese Paratha Ingredients
For the Dough
• Wheat Flour – This forms the base of your delicious parathas; consider whole wheat for a healthier option.
• Water – Use warm water for kneading to achieve a softer, pliable dough.
• Salt – A pinch enhances flavor and balances the dish.
For the Filling
• Cheddar Cheese – The star of the show, offering a melty and rich flavor; can be swapped with vegan cheese for a dairy-free Cheese Paratha.
• Chili Flakes – Adds a delightful spicy kick; adjust according to your spice preference or omit for a milder taste.
For Cooking
• Oil or Ghee – Essential for frying, use ghee for traditional flavor or olive oil for a healthier approach.
Optional Add-ins
• Chopped Herbs – Fresh herbs like cilantro or mint can be added for an aromatic twist.
• Vegetables – Experiment with sautéed veggies or mashed potatoes in your filling for extra heartiness.
How to Make Cheese Paratha
-
Mix Ingredients: In a large bowl, combine wheat flour and salt. Gradually add warm water, stirring until a soft dough begins to form. Ensure it’s pliable but not sticky.
-
Knead the Dough: Transfer the dough to a floured surface and knead for about 5-7 minutes until smooth and elastic. This step is crucial for a perfect texture.
-
Divide and Rest: Divide the dough into golf ball-sized portions, roughly the size of a tennis ball. Let them rest under a damp cloth for about 10-15 minutes.
-
Roll the Parathas: Dust your working surface with flour. Take one ball and roll it out into a 6-inch circle, keeping it even. Repeat with the remaining dough.
-
Fill with Cheese: Place a generous amount of cheddar cheese and a sprinkle of chili flakes in the center of each rolled-out circle, leaving space at the edges.
-
Seal the Filling: Fold the edges over the filling, pinching to seal securely. Gently roll out the stuffed paratha again to maintain its round shape while ensuring the filling stays inside.
-
Fry to Perfection: Heat oil or ghee in a skillet over medium heat. Cook each paratha for 2-3 minutes on each side until golden brown and crispy. Keep them warm in a clean kitchen towel.
Optional: Serve with yogurt or a spicy chutney for an added zing.
Exact quantities are listed in the recipe card below.
How to Store and Freeze Cheese Paratha
Fridge: Store leftover Cheese Parathas in an airtight container for up to 3 days. Reheat them in a skillet for a crispy texture that brings back the original flavor.
Freezer: Uncooked Cheese Parathas can be frozen for up to 2 months. Place them in a single layer on a baking sheet to freeze, then transfer to a freezer bag.
Reheating: For best results, cook frozen parathas directly in a skillet over medium heat, adding a few extra minutes to ensure they are heated all the way through.
Room Temperature: Avoid leaving Cheese Parathas at room temperature for more than 2 hours to maintain their freshness and safety.
Variations & Substitutions for Cheese Paratha
Feel free to get creative and customize your Cheese Paratha to suit your taste buds!
-
Vegan: Substitute cheddar cheese with vegan cheese or nutritional yeast to make a delicious plant-based version. It’s fantastic for those who are dairy-free but still crave that cheesy goodness!
-
Spicy Kick: Add diced jalapeños or green chilies to the cheese filling for an extra punch of heat. This delightful variation is perfect for those who love a little spice in their lives.
-
Herb Infusion: Mix in fresh chopped herbs like cilantro, mint, or parsley into the cheese for a burst of freshness. Not only does this elevate the flavor, but it also adds a lovely pop of color.
-
Stuffed Options: Get adventurous by filling your parathas with mashed potatoes, sautéed spinach, or roasted vegetables for a hearty meal. These options are nourishing and fill your tummy with delightful surprises.
-
Cheesy Blend: Experiment with a blend of cheeses—try mozzarella, gouda, or feta mixed with cheddar for a deliciously gooey and complex filling. Each bite will offer a unique flavor that your family will adore.
-
Gluten-Free: Replace wheat flour with a gluten-free flour blend to cater to those with gluten sensitivities. Pair it with tapioca starch for added elasticity and a soft texture.
-
Breakfast Style: Add cooked eggs or paneer with a sprinkle of cumin for a breakfast-inspired twist. This hearty rendition will make your mornings exciting and delicious!
-
Savory Sweet: Fold in finely diced apples or caramelized onions with cheese for an unconventional yet amazing sweet and savory experience. This twist will surprise and delight anyone at your dining table.
Make Ahead Options
These Cheese Parathas are a fantastic choice for meal prep enthusiasts! You can prepare the dough and keep it in the refrigerator for up to 24 hours; just make sure it’s wrapped tightly to prevent drying out. Additionally, you can assemble the parathas and refrigerate them for up to 3 days before cooking. To maintain their quality, place a layer of parchment paper between each paratha to avoid sticking. When you’re ready to enjoy your Cheese Paratha creations, simply heat oil in a skillet and fry them for 2-3 minutes on each side until golden brown. This way, you’ll have a delicious meal ready with minimal effort, perfect for busy weeknights!
What to Serve with Cheese Paratha?
Elevate your meal experience by pairing these delightful parathas with mouthwatering sides that enhance their cheesy goodness.
-
Cooling Yogurt: Creamy yogurt provides a cooling contrast to the warm, cheesy filling, making each bite a refreshing delight.
-
Zesty Chutney: A tangy tamarind or mint chutney adds a burst of flavor, perfectly complementing the rich cheese inside.
-
Fresh Salad: A light cucumber and tomato salad offers a refreshing crunch that balances the paratha’s richness. Toss it with lemon juice for a zesty kick!
-
Spiced Chickpeas: Tossed with turmeric and cumin, lightly spiced chickpeas add protein and a satisfying texture, making your meal more filling.
-
Herb-infused Rice: Fluffy rice mixed with fresh herbs enhances the dish and makes for a delicious side that’s easy to prepare alongside the parathas.
-
Sweet Mango Pickle: The sweetness and tang of mango pickle provide a delightful contrast to the savory, cheesy flavor, ensuring every mouthful is exciting.
-
Mint Lemonade: A cool, refreshing drink that pairs perfectly with the warmth of the Cheese Parathas, cleansing the palate between bites.
-
Gulab Jamun: Conclude your meal with this sweet Indian dessert; its syrupy, soft texture perfectly contrasts with the savory paratha experience.
Expert Tips for Cheese Paratha
-
Warm Water Magic: Use warm water for kneading the dough. This makes it softer and easier to roll out, ensuring a perfect Cheese Paratha every time.
-
Ideal Stuffing: Avoid over-stuffing the parathas to prevent bursting while frying; just enough cheese to create a delightful pull is perfect!
-
Heat Control: Fry on medium heat to achieve a crispy crust without burning. Too high, and the outside will cook before the inside melts.
-
Resting Time: Let the dough rest covered for 10-15 minutes. This allows gluten to relax, making the dough easier to roll out and leading to a tender Cheese Paratha.
-
Freezing Tips: Make a double batch and freeze uncooked parathas. Cook straight from frozen, adding a little extra time for perfect results!
Cheese Paratha Recipe FAQs
What type of cheese should I use for Cheese Paratha?
I recommend using cheddar cheese for its rich, melty texture that perfectly complements the dough. If you prefer a vegan option, you can substitute cheddar with vegan cheese or nutritional yeast for a similar flavor.
How can I tell if my cheese is fresh enough for this recipe?
Look for cheese that is free of dark spots or mold. Fresh cheese should have a consistent color and a pleasant, creamy smell. If there’s a strange odor or it feels excessively dry, it’s best to avoid using it.
How should I store leftover Cheese Parathas?
Store your leftover Cheese Parathas in an airtight container in the fridge for up to 3 days. To reheat, gently warm them in a skillet over medium heat for a couple of minutes on each side until they’re crispy again.
Can I freeze uncooked Cheese Parathas?
Absolutely! To freeze uncooked Cheese Parathas, lay them in a single layer on a baking sheet and freeze until solid. Then, transfer them to a freezer bag. They can be stored like this for up to 2 months. When ready to cook, fry them directly from frozen, adding an extra couple of minutes to the cooking time.
What if my parathas burst while frying?
If your Cheese Parathas burst, this usually means they were overstuffed. To prevent this, keep the filling moderate. Additionally, ensure the edges are properly sealed before rolling out, and cook them on medium heat to allow the filling to melt slowly without causing pressure.
Are Cheese Parathas safe for pets?
It’s best to avoid giving Cheese Parathas to pets. The ingredients, especially cheese and spices, can upset their digestive systems. Always stick to pet-friendly treats for your furry friends!
Mouthwatering Cheese Paratha That Will Wow Your Family
Ingredients
Equipment
Method
- In a large bowl, combine wheat flour and salt. Gradually add warm water, stirring until a soft dough begins to form. Ensure it’s pliable but not sticky.
- Transfer the dough to a floured surface and knead for about 5-7 minutes until smooth and elastic.
- Divide the dough into golf ball-sized portions and let them rest under a damp cloth for about 10-15 minutes.
- Dust your working surface with flour, take one ball, and roll it out into a 6-inch circle, keeping it even.
- Place a generous amount of cheddar cheese and a sprinkle of chili flakes in the center of each rolled-out circle.
- Fold the edges over the filling, pinching to seal securely. Gently roll out the stuffed paratha again.
- Heat oil or ghee in a skillet over medium heat. Cook each paratha for 2-3 minutes on each side until golden brown and crispy.

