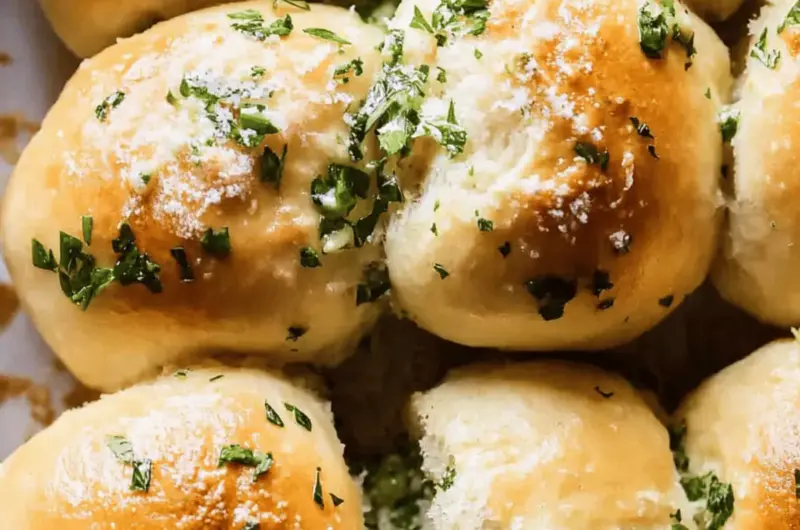
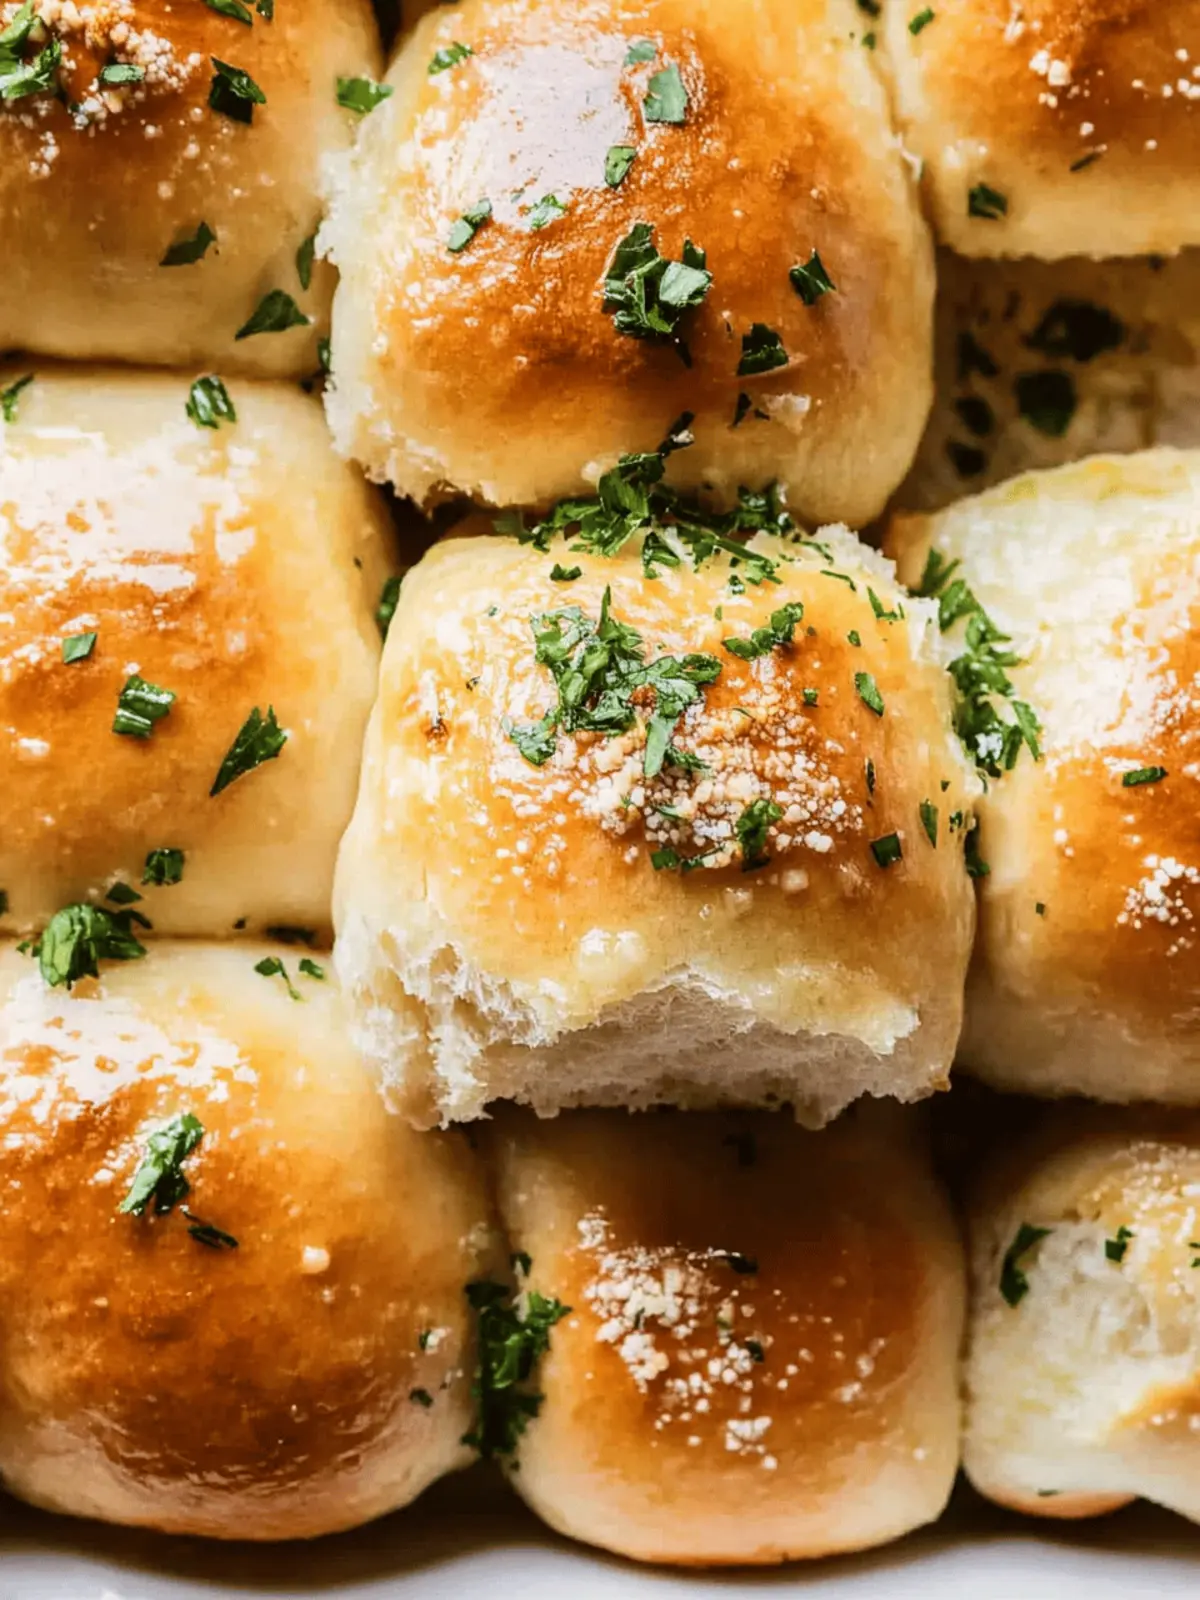
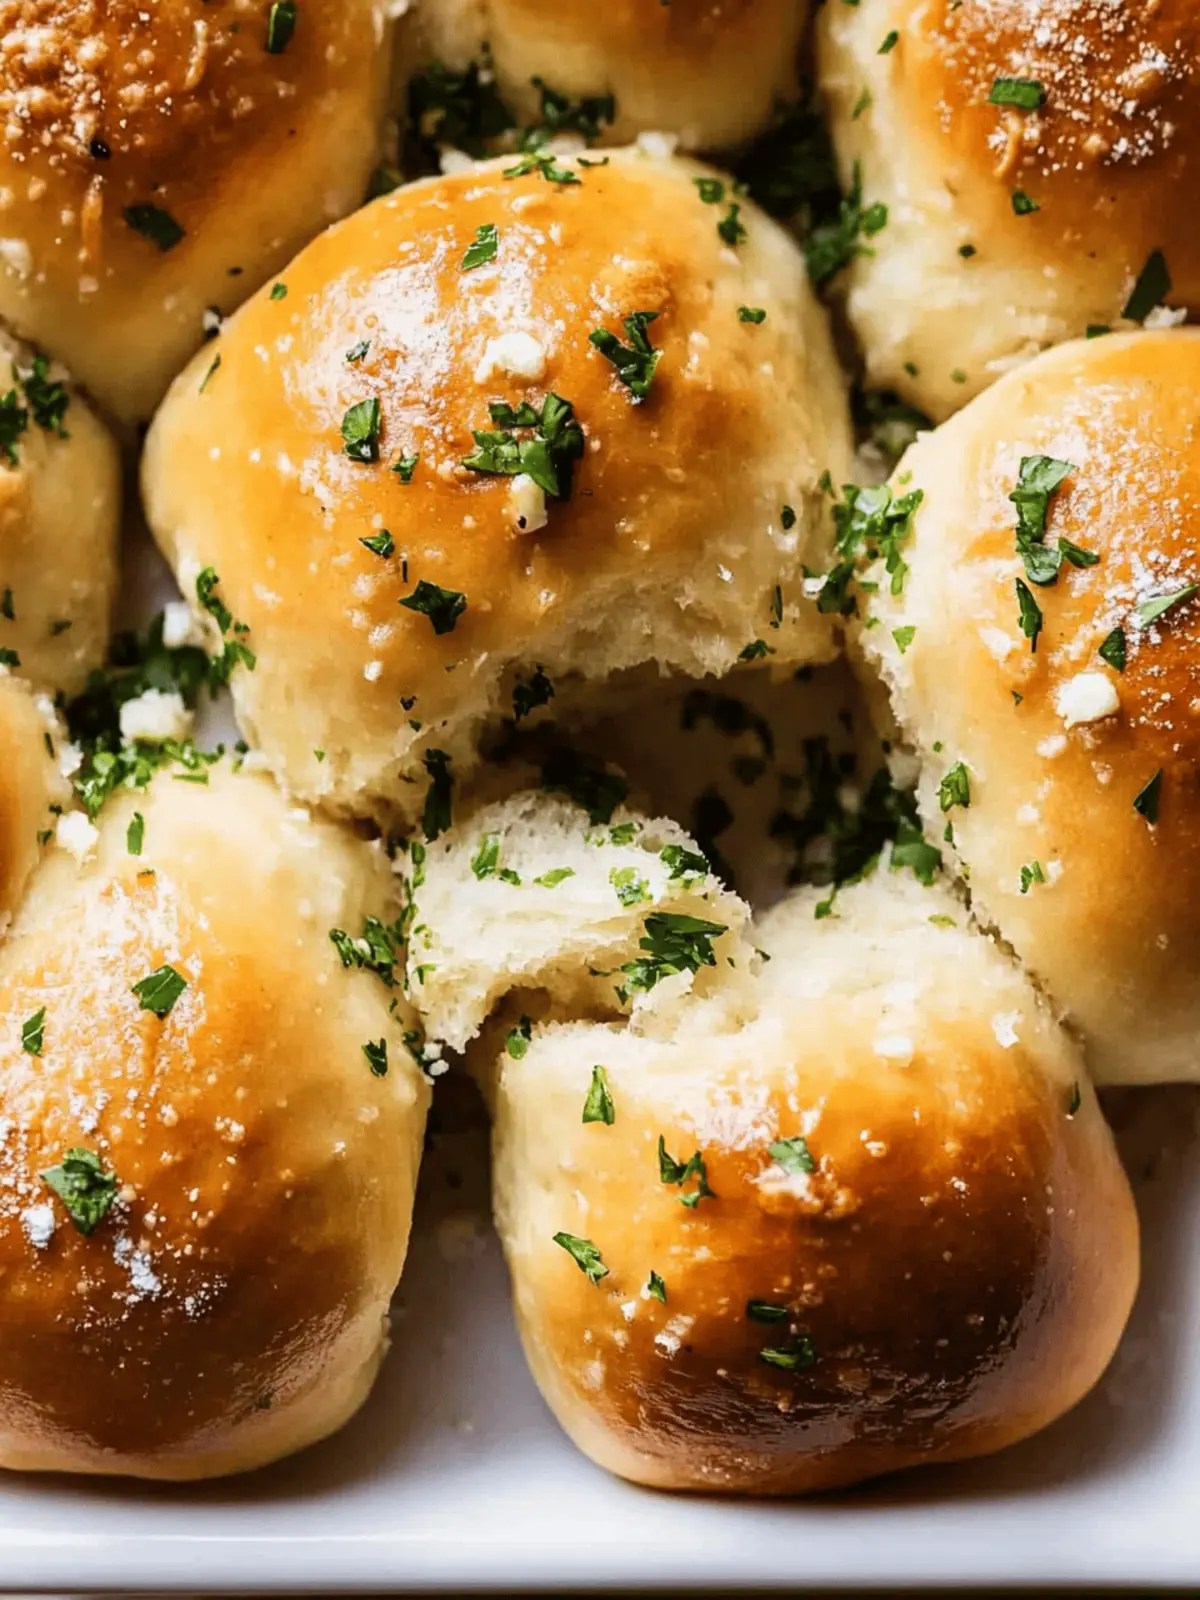
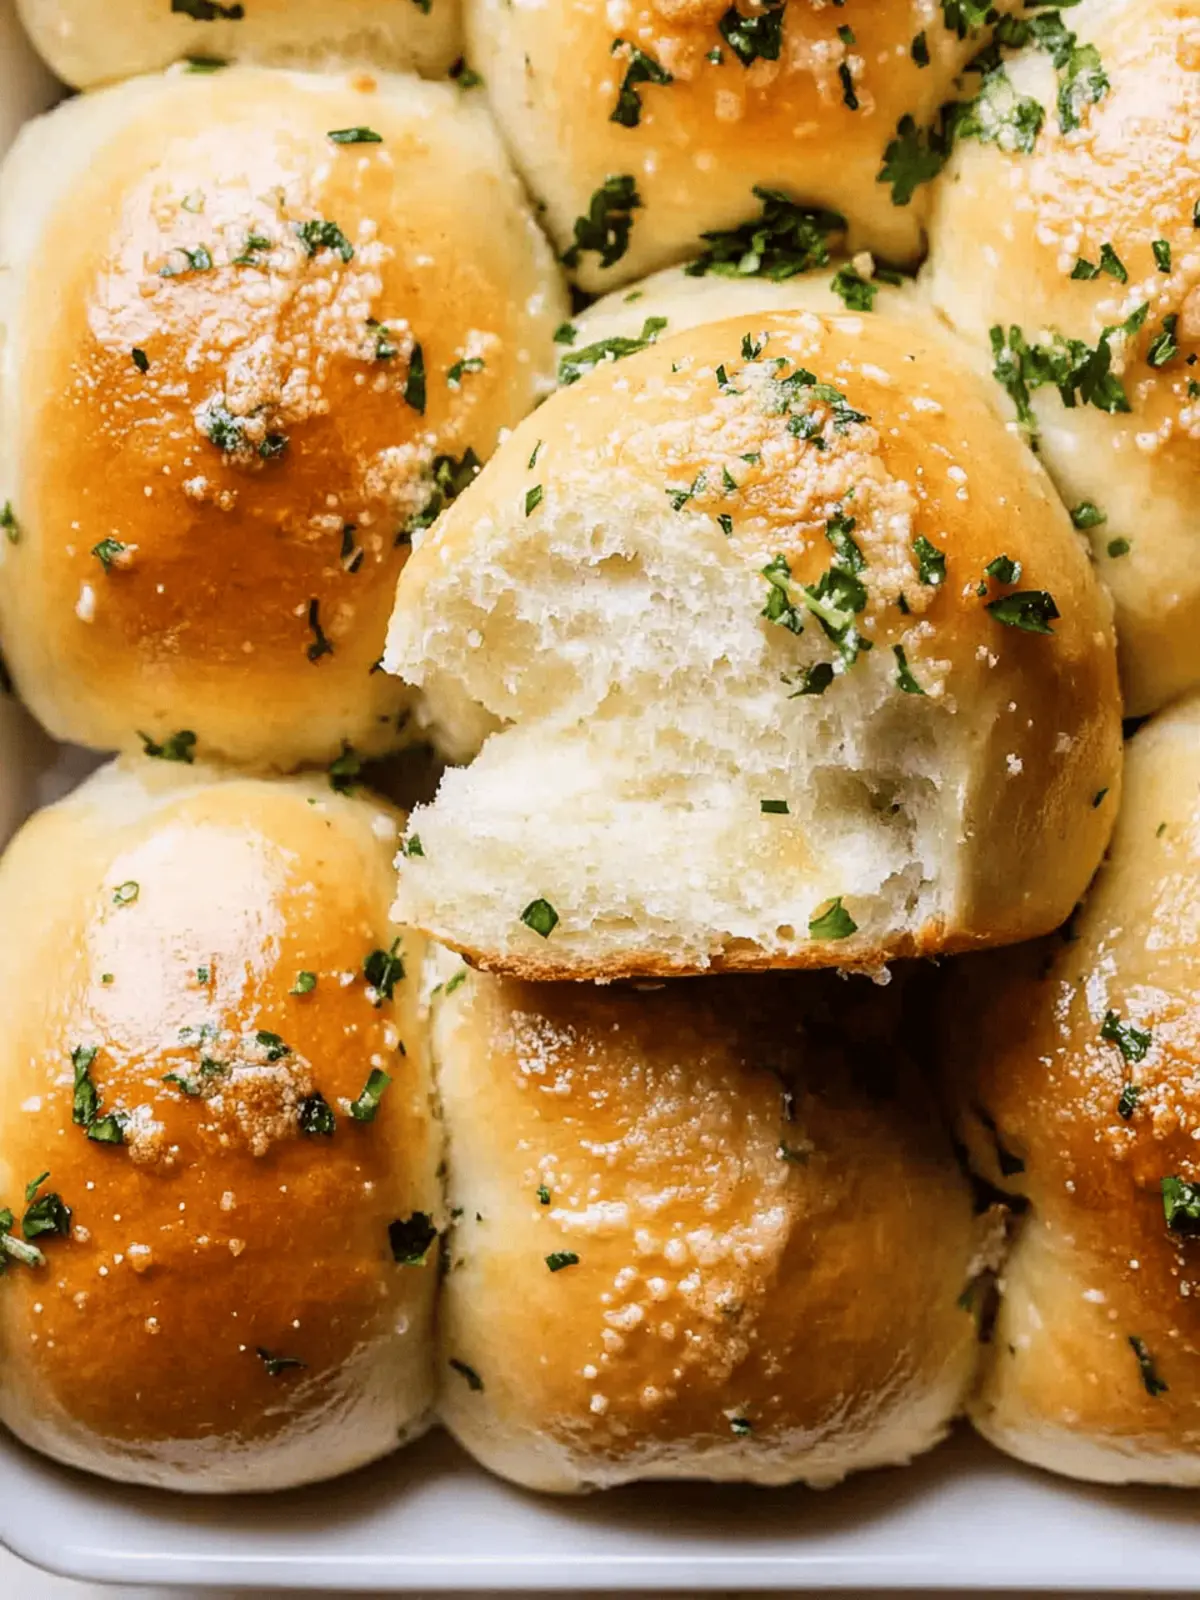
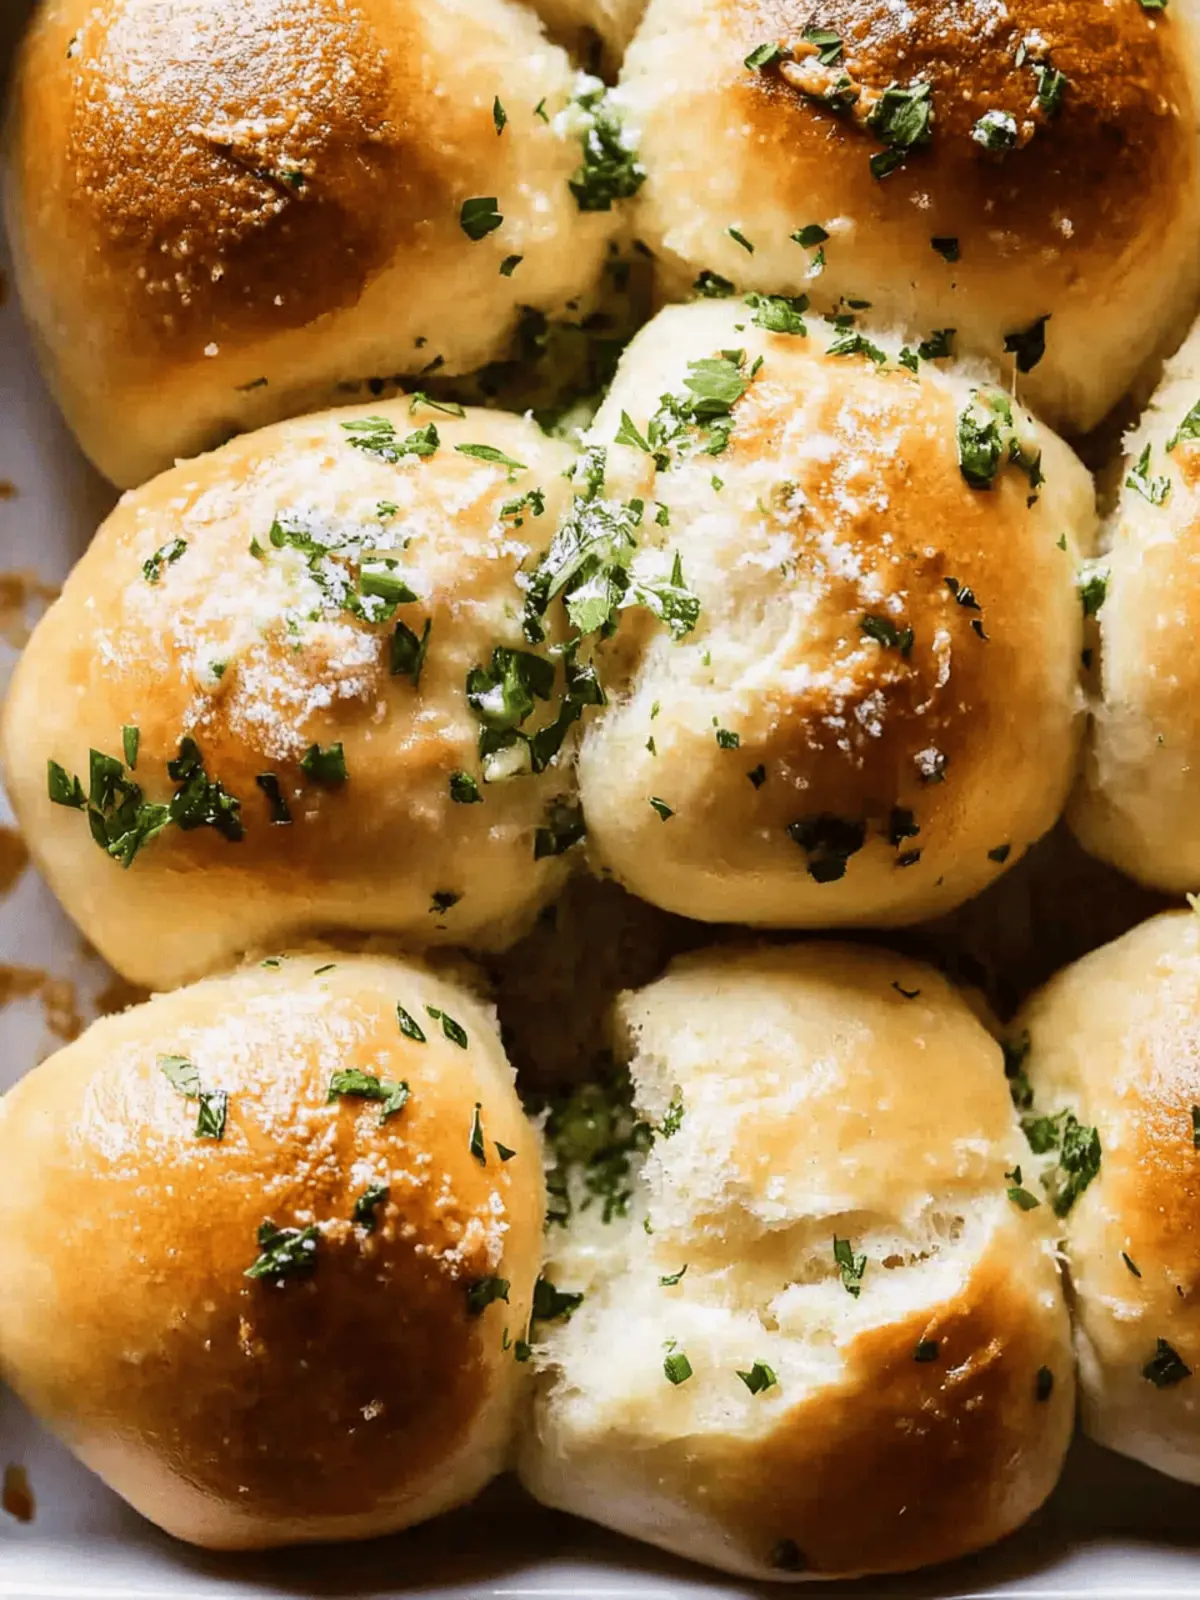
There’s a certain comfort that comes from the smell of freshly baked bread, and nothing quite captures that warmth like my homemade Garlic Bread Rolls. The moment you crack open the oven door and inhale the rich aroma of garlic butter tangling with warm, pillowy dough, you can’t help but feel an instant lift in your spirits. This isn’t just an ordinary side dish; it’s the kind of bread that turns an everyday meal into a memorable feast.
After a hectic week of fast food cravings and takeout fatigue, creating these rolls from scratch felt like an indulgent yet achievable treat. The best part? They require only a handful of simple ingredients that you probably already have in your kitchen. Whether you’re serving them alongside a hearty pasta dish or using them to mop up the last spoonful of your favorite soup, these Garlic Bread Rolls are bound to be a hit. So let’s roll up our sleeves and dive into making these irresistibly flavorful delights that will make your kitchen feel like home!
Why will Garlic Bread Rolls brighten your meal?
Unforgettable aroma: As they bake, the enticing scent of garlic and butter fills your kitchen, instantly uplifting your spirits.
Soft and fluffy: These rolls boast a tender texture that complements any dish beautifully.
Easily customizable: Add your favorite herbs or cheeses for a personalized twist on this classic recipe.
Quick to prepare: With only a handful of simple ingredients, you can whip these up in no time, making them a fantastic option for busy weeknights or special occasions.
Crowd-pleaser: Perfect for serving at family gatherings or dinner parties, these rolls are sure to impress and delight your guests!
Dip-friendly: Whether it’s marinara or a rich soup, these rolls are delicious for sopping up sauces, making mealtime enjoyable and satisfying.
Garlic Bread Rolls Ingredients
• Whip up your own delicious Garlic Bread Rolls with this simple shopping list!
For the Dough
- Unsalted butter – 4 1/2 tablespoons, softened for a rich, buttery flavor in every bite.
- Minced garlic – 2 tablespoons, to infuse the rolls with that perfect garlic punch.
- All-purpose flour – 3 1/2 cups + 1 tablespoon, the foundation for crafting these delightful rolls.
- Chopped fresh parsley – 3 tablespoons, adding a vibrant color and fresh taste.
- Granulated sugar – 1 tablespoon, to balance the flavors and help the dough rise.
- Instant yeast – 2 1/4 teaspoons, ensuring a quick and effective rise for soft rolls.
- Fine sea salt – 1 teaspoon, enhancing all the flavors in your dough.
- Whole or 2% milk – 1 cup, warmed to 110°F for activating the yeast and enriching the dough.
- Large egg – 1, at room temperature, for binding the dough and creating a tender texture.
- Beaten egg – 1, for brushing the tops, giving your rolls a beautiful golden sheen.
For the Garlic Butter
- Unsalted butter – 2 tablespoons, melted, for luscious garlic butter that’s irresistible.
- Minced garlic – 1 tablespoon, enhancing the already glorious garlic flavor in your rolls.
- Chopped fresh parsley – 1 tablespoon, for a pop of color and freshness in the butter.
Finishing Touch
- Flaky sea salt – to sprinkle on top, adding a delightful crunch and savory finish.
How to Make Garlic Bread Rolls
-
Combine ingredients: In a large mixing bowl, blend the softened butter, minced garlic, fresh parsley, sugar, instant yeast, and fine sea salt. This initial mixture lays the foundation of flavor that makes these garlic bread rolls irresistible.
-
Add eggs and milk: Gently pour in the warmed milk (110°F) and one large room temperature egg. Mix everything together until fully combined, creating a rich, flavorful dough.
-
Incorporate flour: Gradually sprinkle in the flour, one cup at a time, mixing thoroughly before adding the next. Keep blending until a soft dough forms that pulls away from the bowl.
-
Knead the dough: Lightly flour a clean surface and knead the dough for about 8-10 minutes, until it becomes smooth and elastic. Give it a gentle stretch and listen for that satisfying “snap.”
-
First rise: Place the kneaded dough in a greased bowl, cover with a towel, and let it rise in a warm spot until doubled in size. This usually takes about 1 to 1.5 hours, depending on your kitchen’s warmth.
-
Preheat oven: While the dough rises, preheat your oven to the temperature outlined in your baking instructions, so it’s ready to go when the dough is prepared.
-
Shape the rolls: Once the dough has risen, punch it down gently to release the air. Divide it into equal portions and shape each into a roll. Place them in a greased baking dish, leaving a little space between each for expansion.
-
Brush with egg: Using a pastry brush, apply the beaten egg over the tops of the rolls. This step ensures a beautiful, golden finish once baked.
-
Make the garlic butter: In a small bowl, melt the additional unsalted butter, then mix in minced garlic and chopped parsley. This buttery mixture will elevate your rolls from delicious to absolutely divine.
-
Bake the rolls: Pop the baking dish into the preheated oven and bake until the rolls are golden brown, usually around 20-25 minutes. Keep an eye on them to ensure they achieve that perfect hue.
-
Final touch: Once baked, brush the warm rolls liberally with the garlic butter mixture and sprinkle flaky sea salt on top. This step adds a delightful crunch and an extra layer of flavor.
Optional: Serve warm for the best flavor and texture experience.
Exact quantities are listed in the recipe card below.
How to Store and Freeze Garlic Bread Rolls
Room Temperature: Store baked rolls in an airtight container for up to 2 days to maintain freshness and softness.
Fridge: If you have leftover Garlic Bread Rolls, wrap them tightly and refrigerate for up to 5 days. Reheat in the oven to restore warmth.
Freezer: For longer storage, freeze the rolls in a single layer on a baking sheet before transferring to a freezer bag. They can stay fresh for up to 3 months.
Reheating: Thaw rolls at room temperature before reheating in the oven at 350°F for about 10 minutes, or until warmed through. Enjoy your delightful garlic bread rolls!
Tips for the Best Garlic Bread Rolls
- Use room temperature ingredients: Make sure your milk and egg are at room temperature to help the dough rise and create a fluffier texture.
- Don’t skip the kneading: Kneading develops the gluten, ensuring that your rolls are soft and can hold their shape. A good 8-10 minutes will do!
- Watch the rising time: Keep an eye on the dough during the first rise. If it doubles in size too quickly, it may lose its flavor, so be patient!
- Brush generously: Apply the garlic butter mixture liberally to the warm rolls after baking for that irresistible flavor burst that makes garlic bread rolls so special.
- Adjust baking time: Every oven is different, so start checking your rolls a few minutes before the recommended baking time to avoid over-baking.
What to Serve with Garlic Bread Rolls?
There’s nothing quite like the delight of pairing soft, buttery bread with your favorite meal, adding comfort and flavor to every bite.
-
Hearty Pasta Dishes: Pair these rolls with a rich spaghetti or fettuccine alfredo for a deliciously satisfying meal that balances textures perfectly. The sauce clings to the bread, making each mouthful even more indulgent.
-
Creamy Soups: Serving Garlic Bread Rolls alongside tomato basil or clam chowder brings a delightful contrast. The rolls soak up every sip, transforming your soup experience into a crunchy, flavorful feast.
-
Grilled Vegetables: The freshness and smokiness of grilled veggies complement the rich, buttery taste of the rolls. Add a hint of lemon juice to your veggies for a delightful burst of brightness.
-
Fresh Salads: A crisp, garden salad with vinaigrette pairs beautifully, providing a refreshing bite that contrasts the warm, soft rolls. The freshness enhances the overall meal, making it feel lighter and satisfying.
-
Savory Dips: Serve with spinach artichoke or cheesy garlic dip for a fun appetizer. The texture of the rolls makes them perfect for scooping, adding a wonderful creamy element to your gathering.
-
Red Wine: A glass of Cabernet Sauvignon or Merlot pairs wonderfully, bringing out the flavors of the garlic and butter. The wine’s boldness complements the bread’s richness without overwhelming it.
-
Decadent Desserts: End on a sweet note with a fruit tart or chocolate mousse. The transition from savory to sweet leaves a memorable finish to your meal, contrasting with the warm rolls in a delightful way.
Garlic Bread Rolls Variations
Feel free to explore these delightful twists that will make your Garlic Bread Rolls uniquely yours!
-
Herb-Infused: Add Italian seasoning or dried oregano to the dough for a fragrant bouquet of flavors. These simple herbs elevate your rolls into an aromatic experience.
-
Cheesy Delight: Incorporate shredded mozzarella or parmesan into the dough or sprinkle on top before baking. The gooey cheese melts perfectly, creating a luxurious surprise in every bite.
-
Spicy Kick: For a touch of heat, add red pepper flakes or finely chopped jalapeños to the garlic butter mixture. This fiery twist is a fun way to awaken your taste buds.
-
Sweet Twist: Mix in a tablespoon of honey or cinnamon into the dough for a subtly sweet flavor. Pairing sweetness with garlic creates an unexpectedly delightful contrast.
-
Whole Wheat Option: Swap half of the all-purpose flour with whole wheat flour for a heartier, nutty flavor. This not only adds textural intrigue but also packs a nutritional punch.
-
Parmesan-Crusted Topping: Before baking, sprinkle freshly grated parmesan and chopped herbs on top for an irresistible crispy layer. This adds both flavor and a visually appealing finish.
-
Garlic Herb Butter: Swap out the traditional garlic butter for an herb-infused compound butter, mixing in rosemary or thyme. It’s a sophisticated touch that elevates your rolls to gourmet status.
-
Gluten-Free Version: Use a 1:1 gluten-free flour blend and adjust the liquid slightly as needed. This allows everyone to enjoy the beloved garlic bread experience, no matter their dietary needs.
Make Ahead Options
These Garlic Bread Rolls are perfect for busy home cooks looking to save time during meal prep! You can make the dough up to 24 hours in advance. Simply prepare the dough until the first rise, then cover it tightly with plastic wrap or place it in an airtight container and refrigerate. When you’re ready to bake, let the dough come to room temperature and proceed with shaping the rolls. Additionally, you can prepare the garlic butter up to 3 days ahead; just store it in the fridge in a sealed container. By prepping ahead, you can enjoy making warm, fresh bread rolls with minimal effort on the day of serving, ensuring they are just as delicious and delightful!
Garlic Bread Rolls Recipe FAQs
What type of garlic is best to use for Garlic Bread Rolls?
I recommend using fresh garlic, as it provides a vibrant, pungent flavor that dried garlic simply can’t match. Look for firm cloves that are free of dark spots or soft spots. You can easily mince it using a garlic press or a sharp knife for that perfect burst of flavor in your rolls.
How long can I store leftover Garlic Bread Rolls?
Baked garlic bread rolls can be stored at room temperature for up to 2 days in an airtight container. For longer freshness, wrap them tightly and place them in the fridge, where they’ll last for up to 5 days. Just reheat them in the oven to bring back their softness!
What’s the best way to freeze Garlic Bread Rolls?
Absolutely! To freeze your garlic bread rolls, first allow them to cool completely. Then, arrange them in a single layer on a baking sheet and freeze until solid. Once frozen, place them in a freezer bag, and they will keep well for up to 3 months. To reheat, simply thaw at room temperature for about 30 minutes before warming them in an oven at 350°F for 10 minutes.
How can I fix over-proofed dough for my Garlic Bread Rolls?
If you find your dough has over-proofed and seems too airy, gently deflate it by pressing it down before shaping it into rolls. I suggest reshaping the dough and allowing it to rest for about 10-15 minutes before giving it a second rise. This will help restore some elasticity and make your rolls fluffier!
Can I make Garlic Bread Rolls gluten-free?
Yes, you can create a gluten-free version of these rolls! I recommend using a 1:1 gluten-free flour blend for a suitable substitute. Just keep in mind that the texture might differ slightly, so you might want to experiment with adding a bit of xanthan gum to help mimic the fluffiness.
Are Garlic Bread Rolls pet-friendly?
While garlic is a wonderful flavor for humans, it’s actually toxic to dogs and some other pets, so it’s best to keep these delicious rolls away from them. When baking, feel free to make a batch just for your furry friends using pet-safe ingredients!
Garlic Bread Rolls: Soft, Buttery Bliss for Your Next Meal
Ingredients
Equipment
Method
- In a large mixing bowl, blend the softened butter, minced garlic, fresh parsley, sugar, instant yeast, and fine sea salt.
- Gently pour in the warmed milk (110°F) and one large room temperature egg. Mix everything together until fully combined.
- Gradually sprinkle in the flour, one cup at a time, mixing thoroughly before adding the next.
- Lightly flour a clean surface and knead the dough for about 8-10 minutes, until it becomes smooth and elastic.
- Place the kneaded dough in a greased bowl, cover with a towel, and let it rise in a warm spot until doubled in size, about 1-1.5 hours.
- While the dough rises, preheat the oven to the temperature outlined in your baking instructions.
- Once the dough has risen, punch it down gently and divide it into equal portions, shaping each into a roll.
- Using a pastry brush, apply the beaten egg over the tops of the rolls.
- In a small bowl, melt the additional unsalted butter, then mix in minced garlic and chopped parsley.
- Pop the baking dish into the preheated oven and bake until the rolls are golden brown, usually around 20-25 minutes.
- Once baked, brush the warm rolls liberally with the garlic butter mixture and sprinkle flaky sea salt on top.

