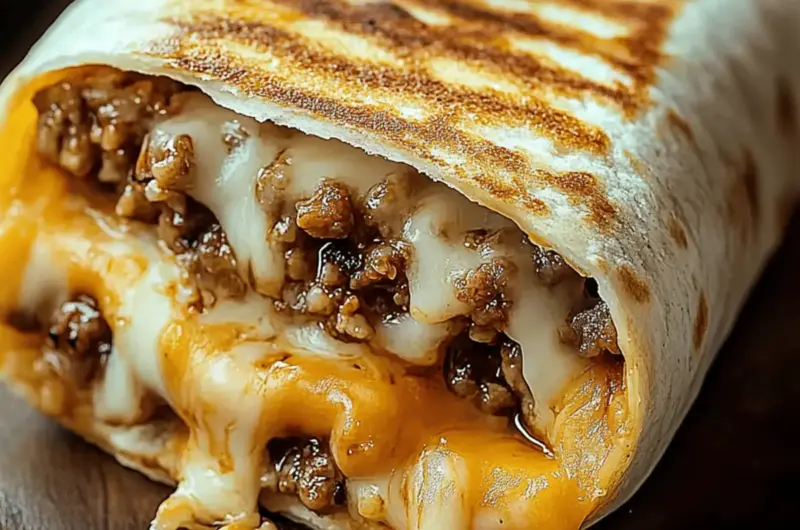
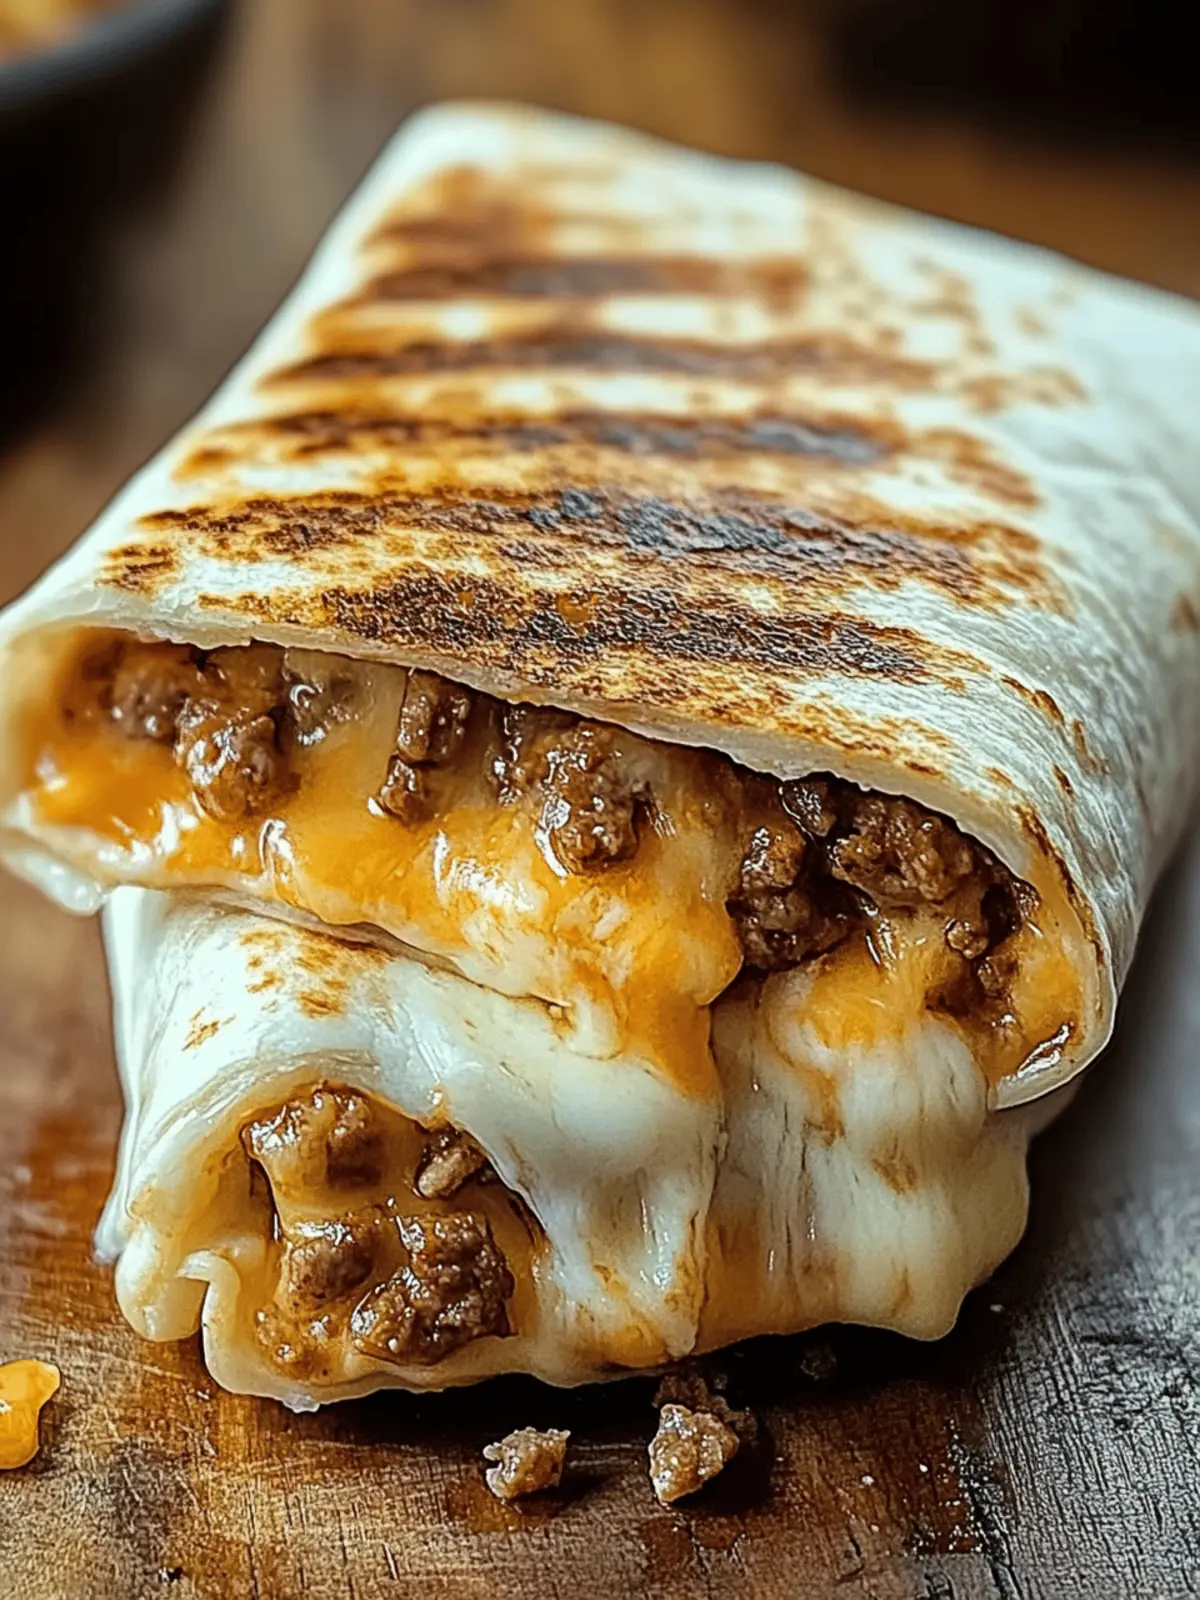
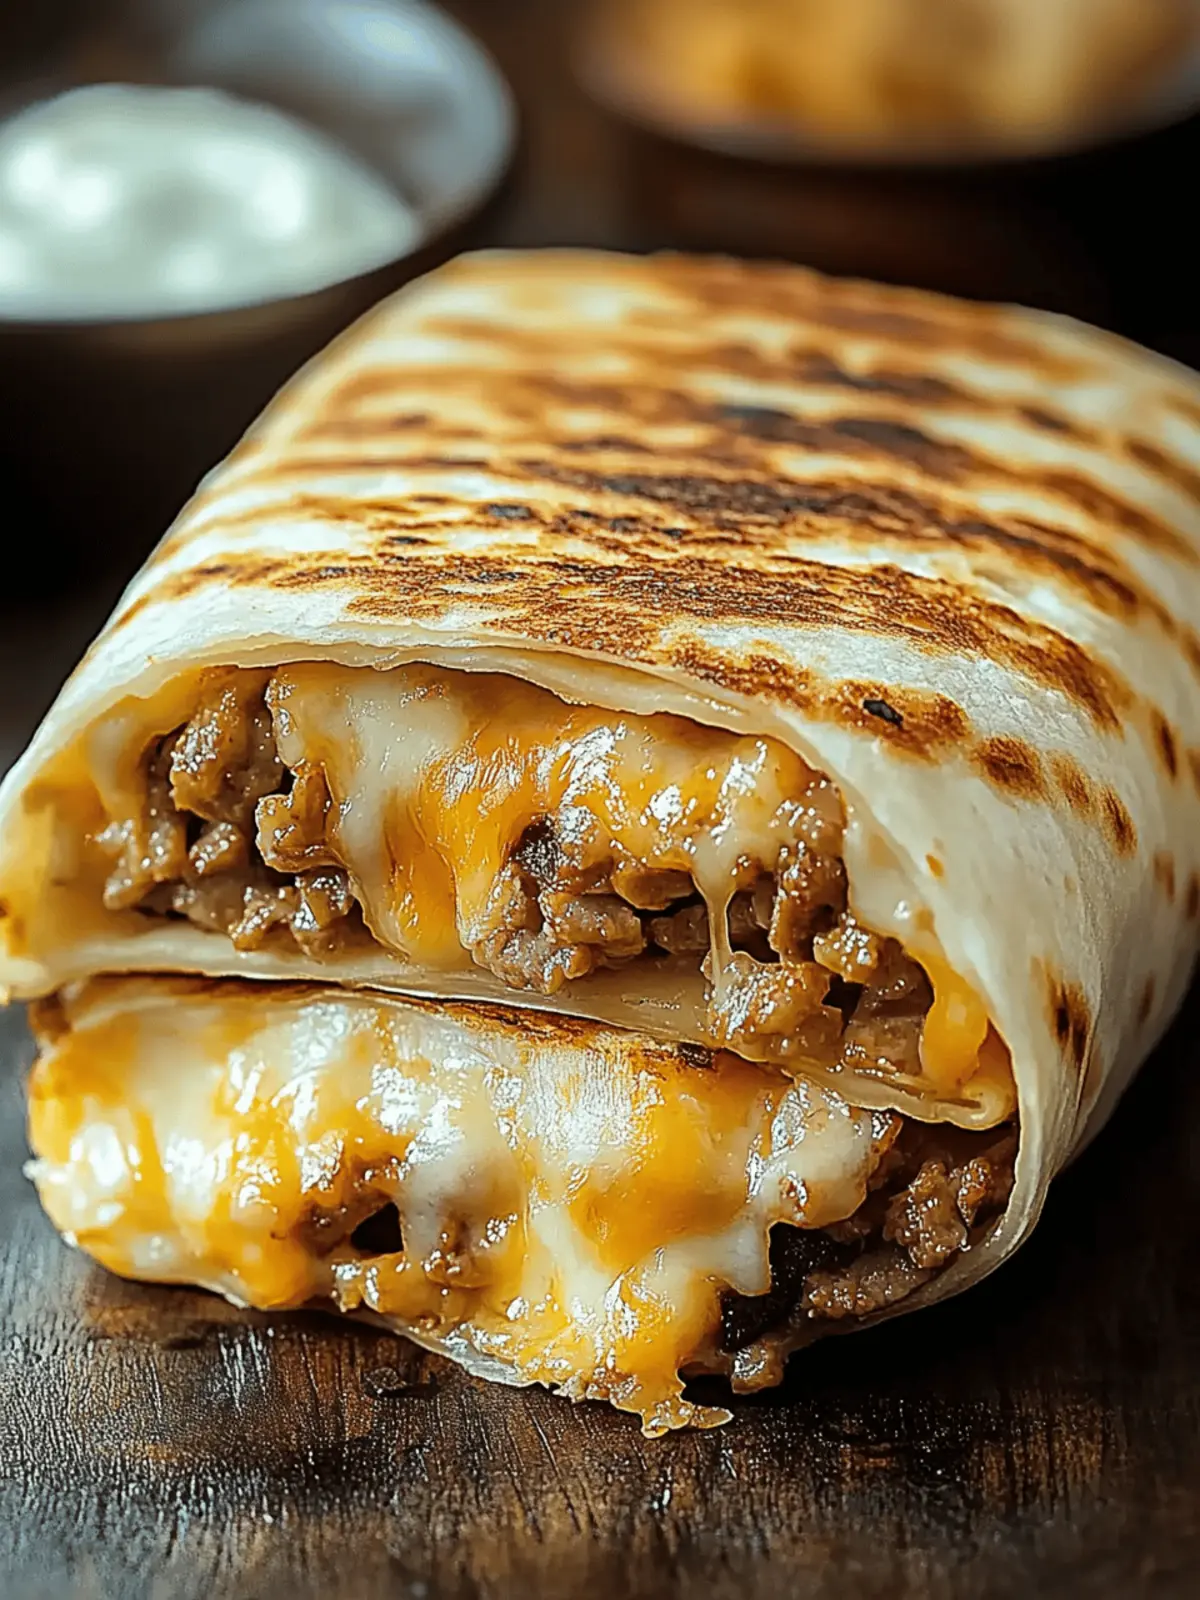
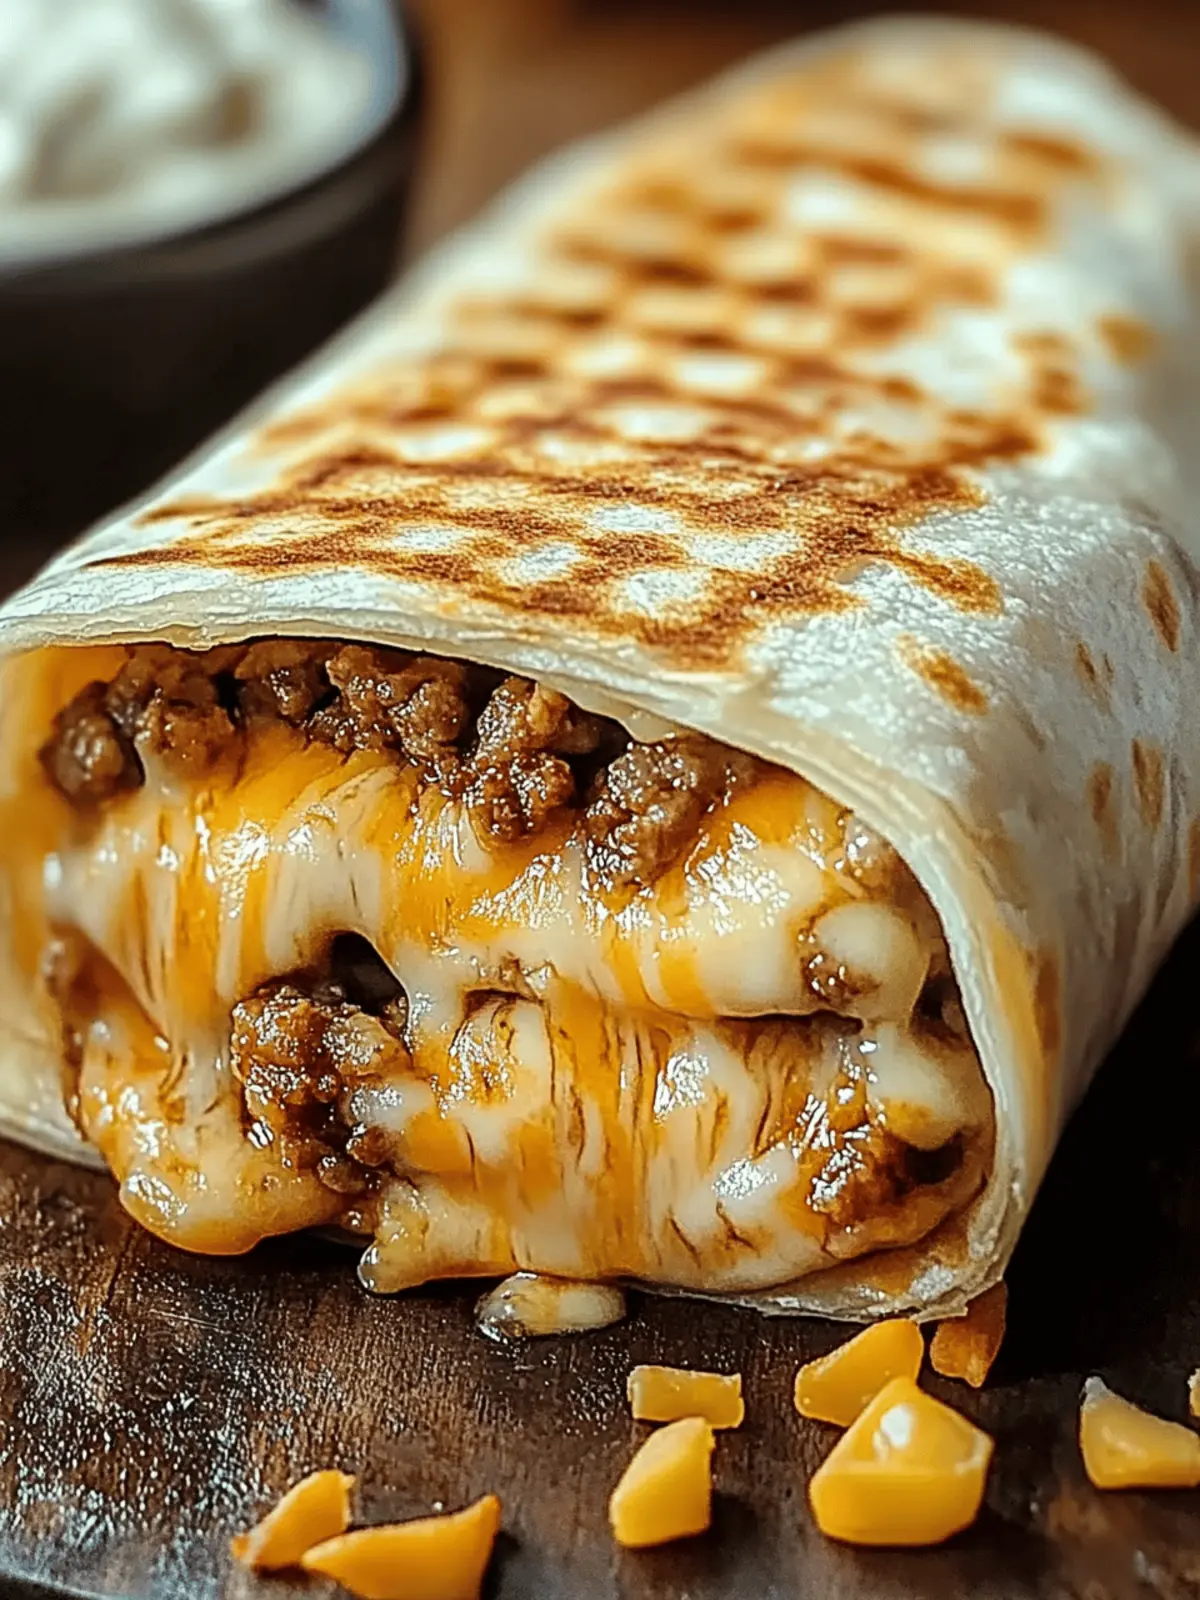
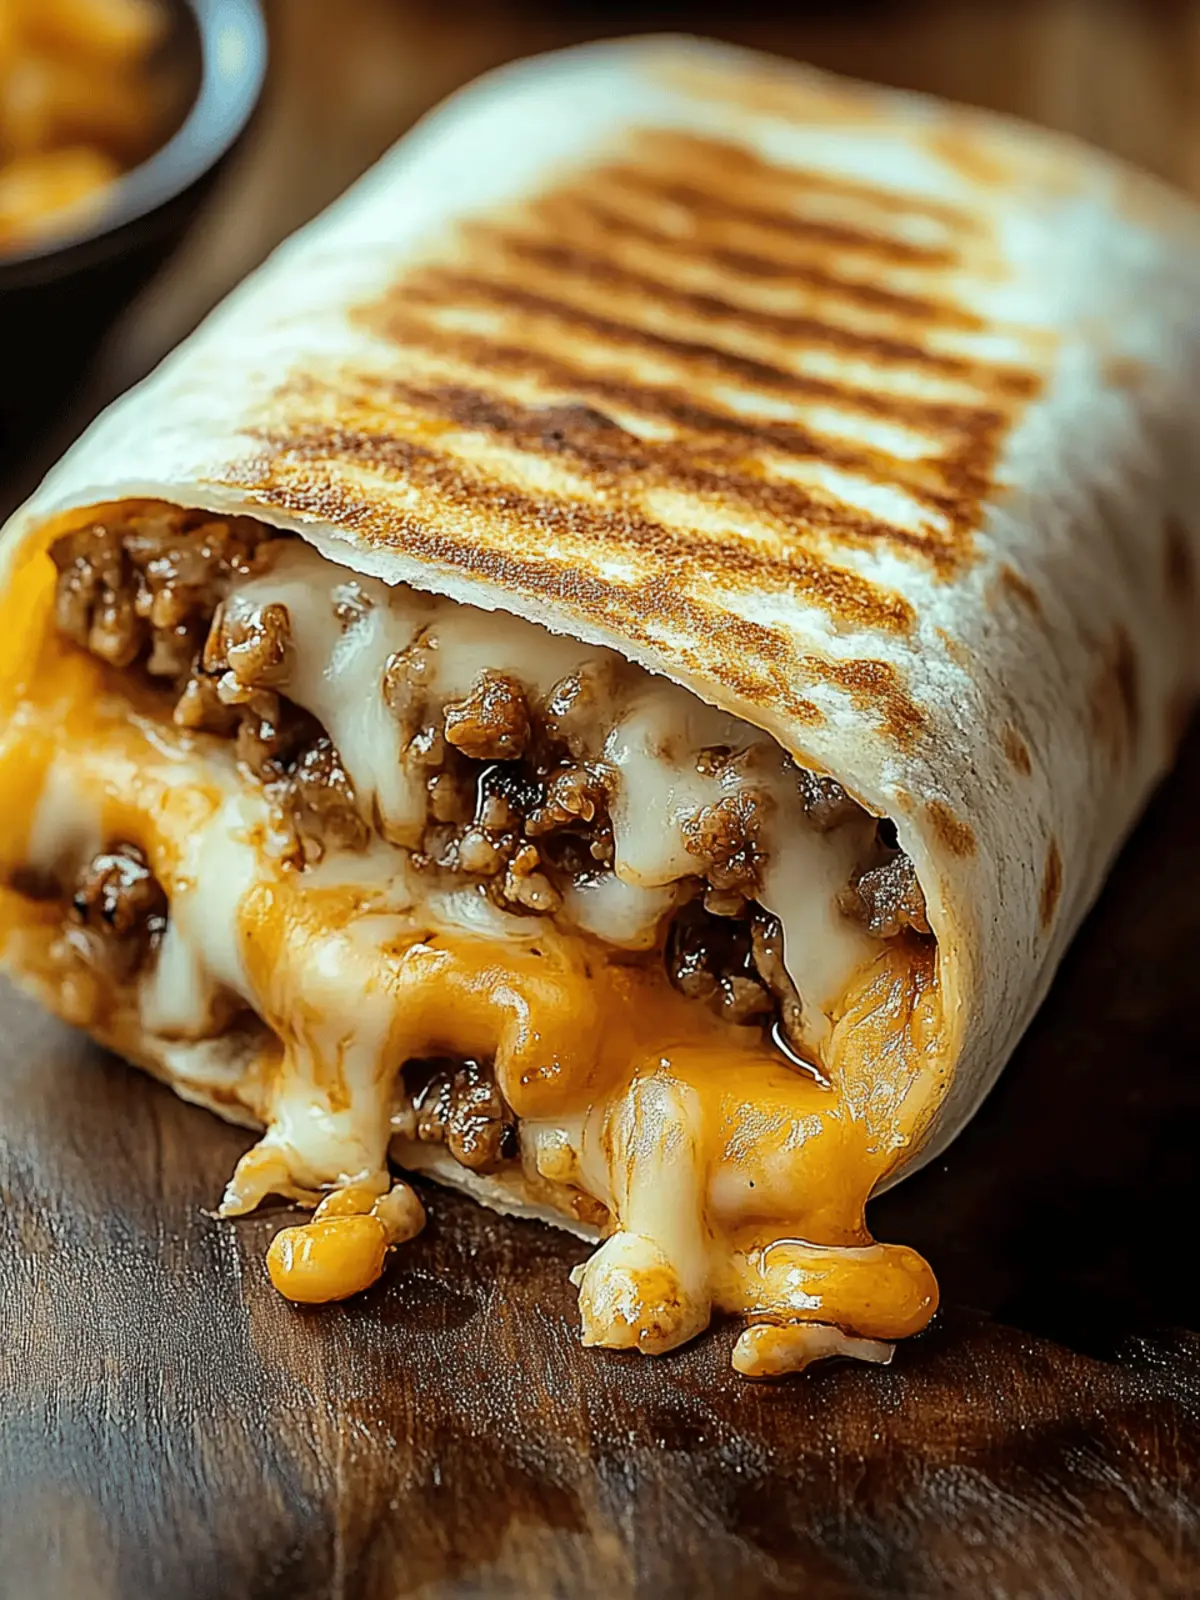
When my cravings for fast food hit, I often find myself reminiscing about the comforting flavors of a Grilled Cheese Burrito from Taco Bell. There’s something utterly delightful about the combination of melted cheese, seasoned beef, and that perfect crunch from grilling—it’s a blissful experience that can transport me back to those late-night drive-thrus. But what if you could create this indulgent treat in your own kitchen, in less than 30 minutes? This homemade Grilled Cheese Burrito captures all the addictive tastes you love while giving you the freedom to customize it to your heart’s content. Whether you’re feeding a hungry family, seeking an easy weeknight dinner, or just wanting a satisfying snack, this recipe is sure to impress. Plus, with options for vegetarian and dairy-free versions, everyone can join in on the fun! Get ready to elevate your burrito game and enjoy a fiesta of flavor in every bite!
Why is this Grilled Cheese Burrito a must-try?
Quick and Easy: Prepare this tasty burrito in under 30 minutes, making it perfect for those busy weeknights when you crave something indulgent.
Customizable Options: Whether you’re a meat lover or prefer a vegetarian twist, this recipe allows you to switch ingredients as you like, including a wonderful dairy-free version.
Family-Friendly: Kids will love the cheesy goodness wrapped in a crispy tortilla, ensuring this meal is a hit at the dinner table.
Bold Flavors: The combination of seasoned beef, spicy chipotle sauce, and gooey nacho cheese bursts with flavor, reminiscent of your favorite fast food treat.
Meal Prep Friendly: Assemble ahead of time and grill just before serving for a satisfying meal that fits seamlessly into your busy schedule.
Grilled Cheese Burrito Ingredients
For the Filling
• Ground Beef – Main protein source for flavor and heartiness; substitute with seasoned beans or tofu for a vegetarian option.
• Taco Seasoning – Provides a blend of spices for added flavor; consider making your own for a fresher taste.
• Cooked White Rice – Adds bulk and texture; any type of cooked rice can serve as a substitute.
• Sour Cream – Offers creaminess; Greek yogurt can be used for a leaner alternative.
• Nacho Cheese Sauce – Contributes melty cheese flavor; opt for plant-based cheese if seeking a dairy-free option.
• Chipotle Sauce – Delivers a smoky, spicy kick; feel free to swap with salsa or your choice of hot sauce.
For the Crunch
• Shredded Cheddar Cheese – Creates a crispy outer layer; any melty cheese like mozzarella works as a substitute.
• Shredded Mozzarella – Enhances stretchiness; consider other cheese varieties that melt well, such as a Mexican blend.
• Flour Tortillas – Encapsulates the filling; experiment with whole wheat or corn tortillas for variety.
For Grilling
• Butter or Oil for Grilling – Ensures a crispy texture and rich flavor; cooking spray reduces calories without compromising crispiness.
With these ingredients in hand, you’re on your way to creating the ultimate Grilled Cheese Burrito that is sure to delight your taste buds!
How to Make Grilled Cheese Burrito
-
Cook the Beef (8-10 mins): Brown your ground beef in a skillet over medium heat until fully cooked. Drain off any excess grease, then stir in taco seasoning and ¼ cup of water. Let it simmer for about 5 minutes for maximum flavor.
-
Warm the Tortillas: Use a dry skillet or microwave to gently heat your tortillas until they are warm and flexible. This step ensures they don’t crack when you’re rolling them up.
-
Assemble the Burrito (5 mins): Place a warm tortilla flat on a clean surface. Layer it with cooked rice, seasoned beef, a generous drizzle of nacho cheese, some chipotle sauce, and a dollop of sour cream. Sprinkle shredded cheddar and mozzarella on top for that extra melty goodness.
-
Grill the Burrito (3-4 mins per side): In a heated skillet, sprinkle 2 tablespoons of shredded cheese onto the pan. Carefully place your assembled burrito seam-side down, grilling until the cheese melts and forms a crispy crust. Flip and repeat on the other side until golden brown.
-
Storage Tips: If you have leftovers, store them in an airtight container in the fridge for up to 3 days. They make for a quick meal reheat!
Optional: Serve with salsa or guacamole for a refreshing contrast.
Exact quantities are listed in the recipe card below.
How to Store and Freeze Grilled Cheese Burrito
Fridge: Store leftovers in an airtight container for up to 3 days to maintain freshness. Reheat in a skillet or microwave until heated through.
Freezer: Wrap assembled burritos tightly in plastic wrap and aluminum foil. Freeze for up to 3 months. Thaw overnight in the fridge before grilling for the best texture.
Reheating: For optimal crispiness, reheat in a skillet over medium heat, flipping once until warmed through and crispy on the outside.
Make-Ahead: Prepare burritos a day ahead and keep them in the fridge. Grill just before serving to enjoy that delightful crunchy exterior.
What to Serve with Grilled Cheese Burrito?
Pair your flavorful burrito with these delicious sides for a complete meal experience.
-
Fresh Salsa: Bursting with tomatoes and onions, salsa adds a refreshing kick that complements the rich flavors of the burrito.
-
Guacamole: Creamy and smooth, guacamole brings a delightful contrast to the crispy grilled cheese, enhancing every bite.
-
Mexican Street Corn: Sweet, charred corn tossed in lime and cheese offers a delightful sweetness that pairs perfectly with the spicy burrito.
-
Crispy Nachos: These crunchy delights can be topped with cheese and jalapeños, creating a fun textural contrast that kids and adults love.
-
Cilantro Lime Rice: Light and zesty, this side balances the richness of the burrito, providing a refreshing element to the meal.
-
Black Bean Salad: Packed with protein and zesty flavors, this salad introduces a hearty yet refreshing complement that enhances the overall dining experience.
-
Chips and Queso: The creamy cheese dip is the perfect side for anyone wanting a bit more indulgence alongside their burrito.
-
Cold Mexican Beer or Horchata: For drinks, a light Mexican beer or a sweet horchata can provide a delightful, refreshing contrast to the warm flavors of the burrito.
Grilled Cheese Burrito Variations
Feel free to get creative and customize your burrito experience! Let your taste buds guide you to delicious new twists.
-
Vegetarian Option: Replace ground beef with seasoned black beans or cooked lentils for a hearty plant-based alternative. This keeps the flavors rich while making it meat-free.
-
Vegan Delight: Use dairy-free cheese and replace sour cream with cashew cream or avocado for a creamy texture. It’s a satisfying twist for those avoiding animal products.
-
Spicy Kick: Add sliced jalapeños or a sprinkle of red pepper flakes to the filling for an extra burst of heat. This will wake up your taste buds!
-
Cheddar Alternative: Experiment with different cheese varieties like pepper jack for added spice or gouda for a smoky flavor. Each cheese brings its own unique charm.
-
Crunchy Add-ins: Toss in some diced bell peppers or corn for an added crunch and sweetness that balances beautifully with the savory ingredients.
-
Grain Swap: Swap out white rice for quinoa or cauliflower rice for a healthier twist. Both options provide different textures and nutritional benefits.
-
Sauce Variations: Change up the chipotle sauce with barbecue sauce or salsa verde for a fresh flavor twist. Each sauce brings a new layer of complexity to the burrito.
-
Whole Wheat Tortilla: Switch to whole wheat or spinach tortillas for a healthy option that adds flavor and is more nutrient-dense. A simple switch that makes a big difference!
Make Ahead Options
These Grilled Cheese Burritos are a perfect solution for meal prep enthusiasts! You can assemble the burritos up to 24 hours in advance, storing them wrapped tightly in plastic wrap or in an airtight container in the refrigerator to prevent browning. When you’re ready to enjoy them, simply grill the burritos for about 3-4 minutes per side until the cheese is melted and the tortillas are crispy. This way, you’ll have a delicious, ready-to-eat meal that’s just as tasty as when freshly made, saving you precious time on busy weeknights or helping you navigate hectic days with ease. Just remember to allow enough time for grilling so you can savor every cheesy bite!
Expert Tips for Grilled Cheese Burrito
-
Perfectly Melty Cheese: Use a mix of sharp cheddar and mozzarella for the best melt. Ensure you add plenty of cheese while grilling to achieve that crisp, cheesy crust.
-
Tortilla Flexibility: Warm the tortillas before assembling to prevent cracking. This simple step keeps your burrito intact and easy to roll.
-
Flavor Boost: Don’t skimp on the taco seasoning! A well-seasoned beef mixture is essential for a delicious Grilled Cheese Burrito that packs a flavorful punch.
-
Grilling Technique: Keep the heat medium to avoid burning the tortillas. Flip gently to preserve the cheesy crust, ensuring an even crispiness on both sides.
-
Make-Ahead Convenience: Assemble your burritos in advance, wrap them tightly in foil, and refrigerate. Grill them fresh when you’re ready to enjoy a quick meal!
Grilled Cheese Burrito Recipe FAQs
How do I choose the right ground beef for my Grilled Cheese Burrito?
Absolutely! For the best flavor and ultimate satisfaction, opt for ground beef with a fat content of around 80/20. This ratio ensures enough juiciness while still providing a deliciously meaty taste. If you’re looking for a healthier option, leaner ground meats or even seasoned beans and tofu work wonderfully as substitutes.
What is the best way to store leftover Grilled Cheese Burrito?
Very! Store any leftover burritos in an airtight container in the fridge for up to 3 days. When you’re ready for round two, simply reheat in a skillet over medium heat for a crispy texture, or pop them in the microwave for a quick meal option.
Can I freeze my Grilled Cheese Burrito, and how do I do that?
You absolutely can freeze them! Wrap each assembled burrito tightly in plastic wrap, then again in aluminum foil to prevent freezer burn. They can be frozen for up to 3 months. When ready to enjoy, thaw them overnight in the fridge before grilling to restore the crispiness.
What should I do if my tortillas crack when rolling the burrito?
Very important! If your tortillas are cracking, it’s likely they need to be warmed more thoroughly. Warm them on a dry skillet for a few seconds on each side or microwave them wrapped in a damp paper towel for about 15 seconds. This flexibility is key to avoiding cracks and ensuring a perfectly rolled burrito!
Are there any dietary considerations I should keep in mind?
Yes! If you or anyone you’re serving has dietary restrictions, you can easily modify this recipe. Use dairy-free cheese and sour cream for a vegan-friendly option. For gluten-free, swap regular tortillas for gluten-free varieties. Always check ingredient labels to avoid potential allergens.
How can I customize my Grilled Cheese Burrito with different flavors?
Absolutely! You can switch out the ground beef for black beans, shredded chicken, or any protein of your choice. For added flair, toss in diced jalapeños or bell peppers for a crunch. Experimenting with different cheese types like pepper jack or smoked gouda will give each burrito a unique twist, making it a fun family cooking night!
Grilled Cheese Burrito: Your New Favorite Comfort Food
Ingredients
Equipment
Method
- Brown your ground beef in a skillet over medium heat until fully cooked. Drain off any excess grease, then stir in taco seasoning and ¼ cup of water. Let it simmer for about 5 minutes for maximum flavor.
- Use a dry skillet or microwave to gently heat your tortillas until they are warm and flexible.
- Place a warm tortilla flat on a clean surface. Layer it with cooked rice, seasoned beef, a generous drizzle of nacho cheese, some chipotle sauce, and a dollop of sour cream. Sprinkle shredded cheddar and mozzarella on top.
- In a heated skillet, sprinkle 2 tablespoons of shredded cheese onto the pan. Carefully place your assembled burrito seam-side down, grilling until the cheese melts and forms a crispy crust. Flip and repeat on the other side until golden brown.
- If you have leftovers, store them in an airtight container in the fridge for up to 3 days.

