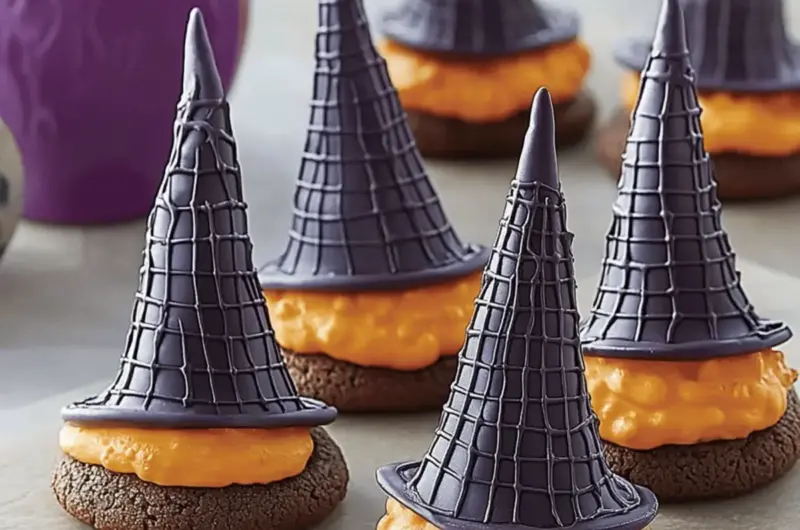
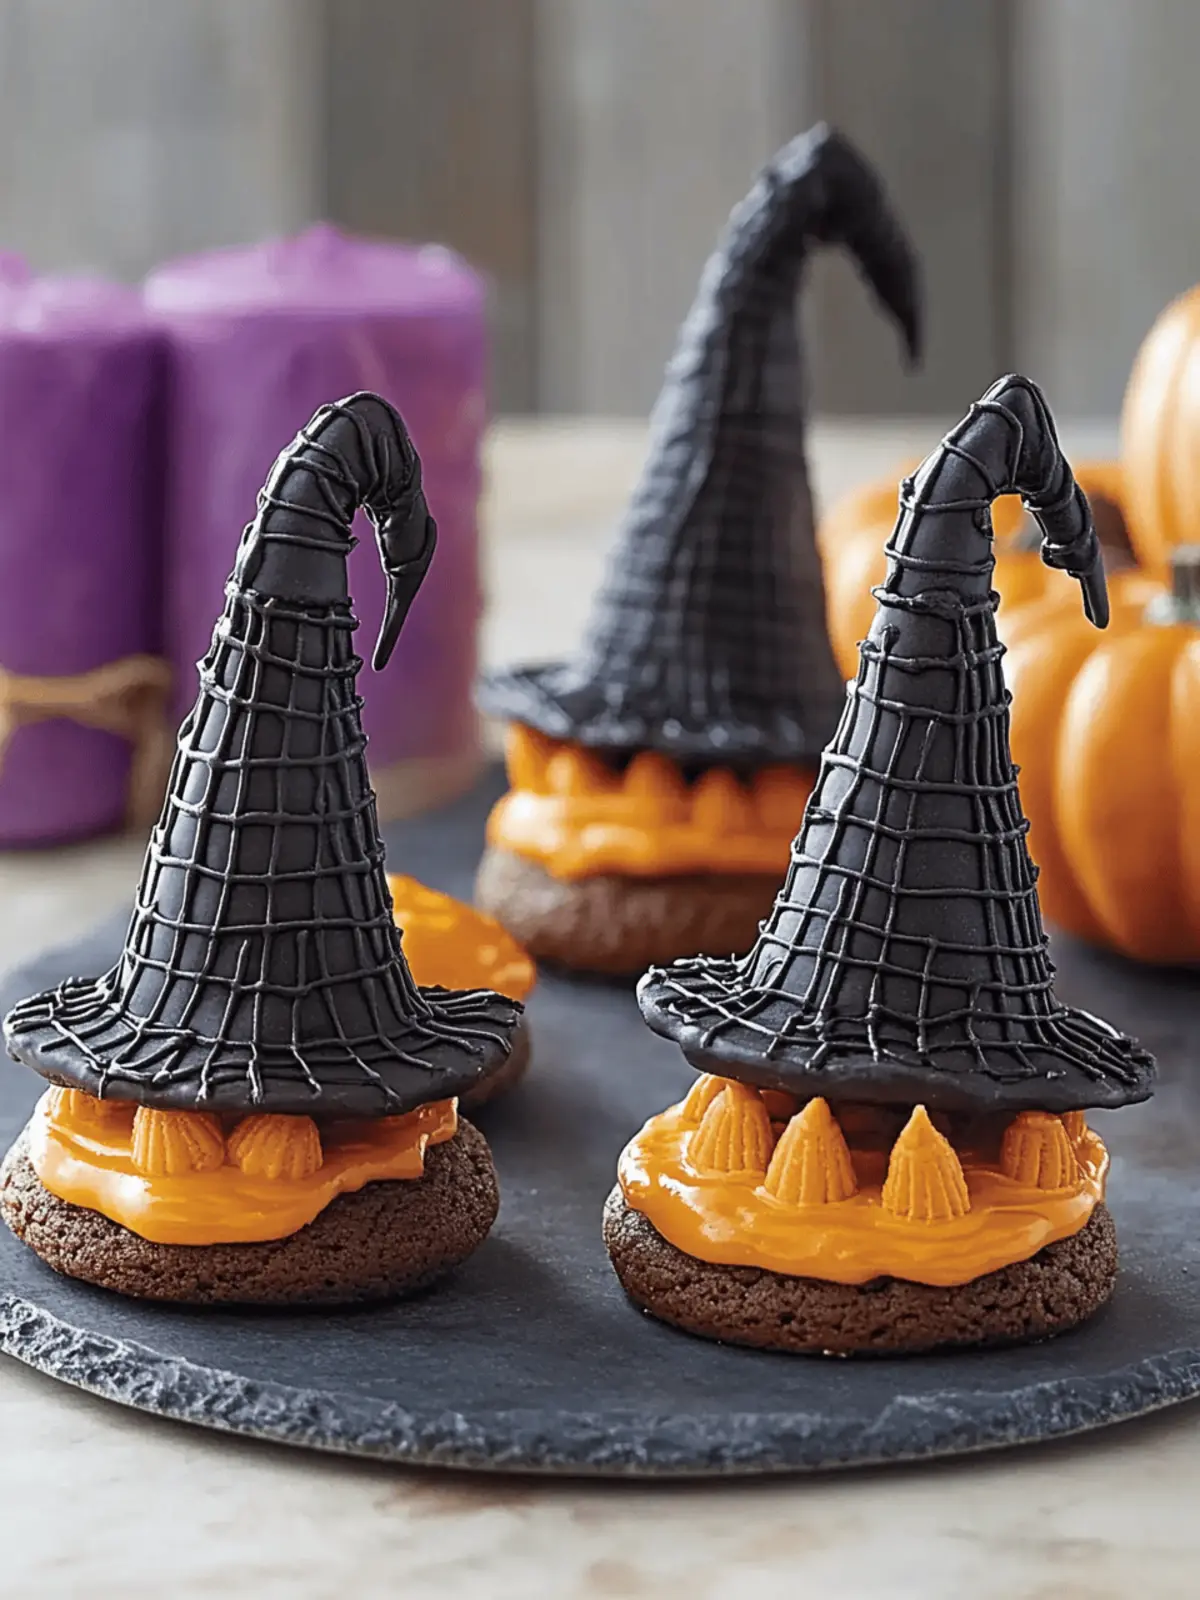
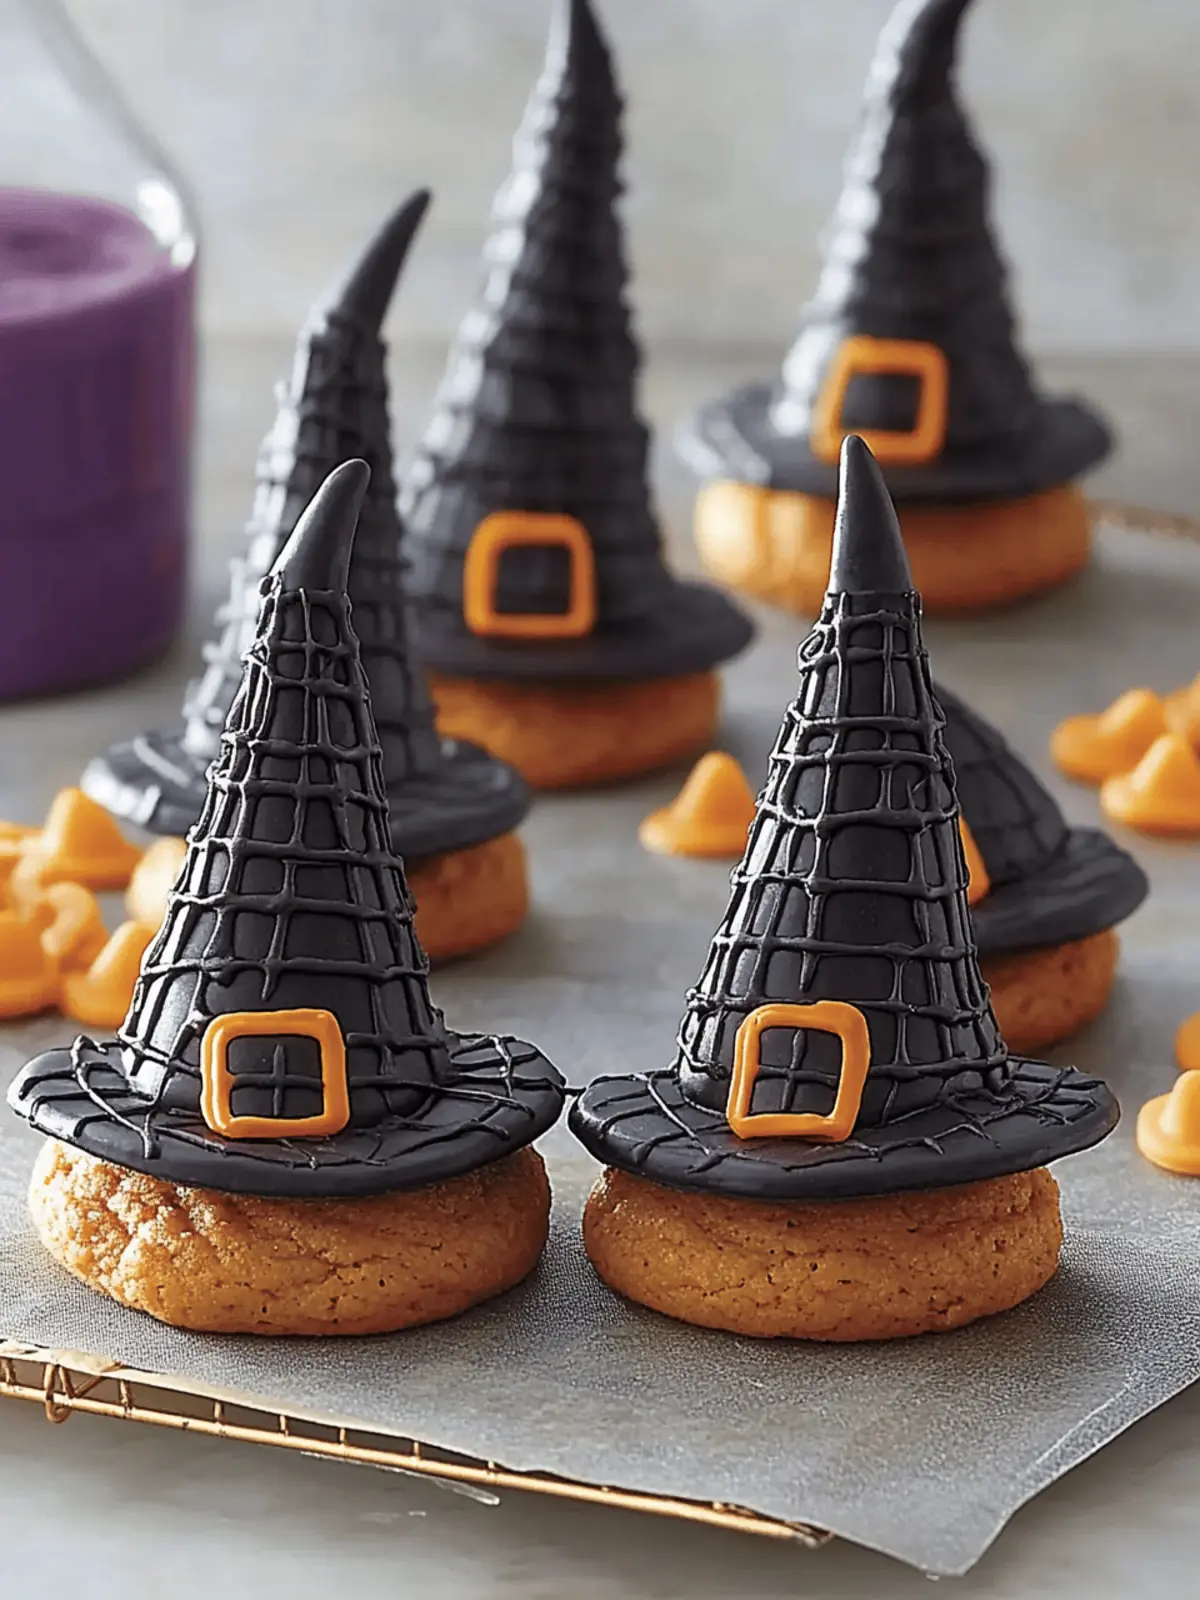
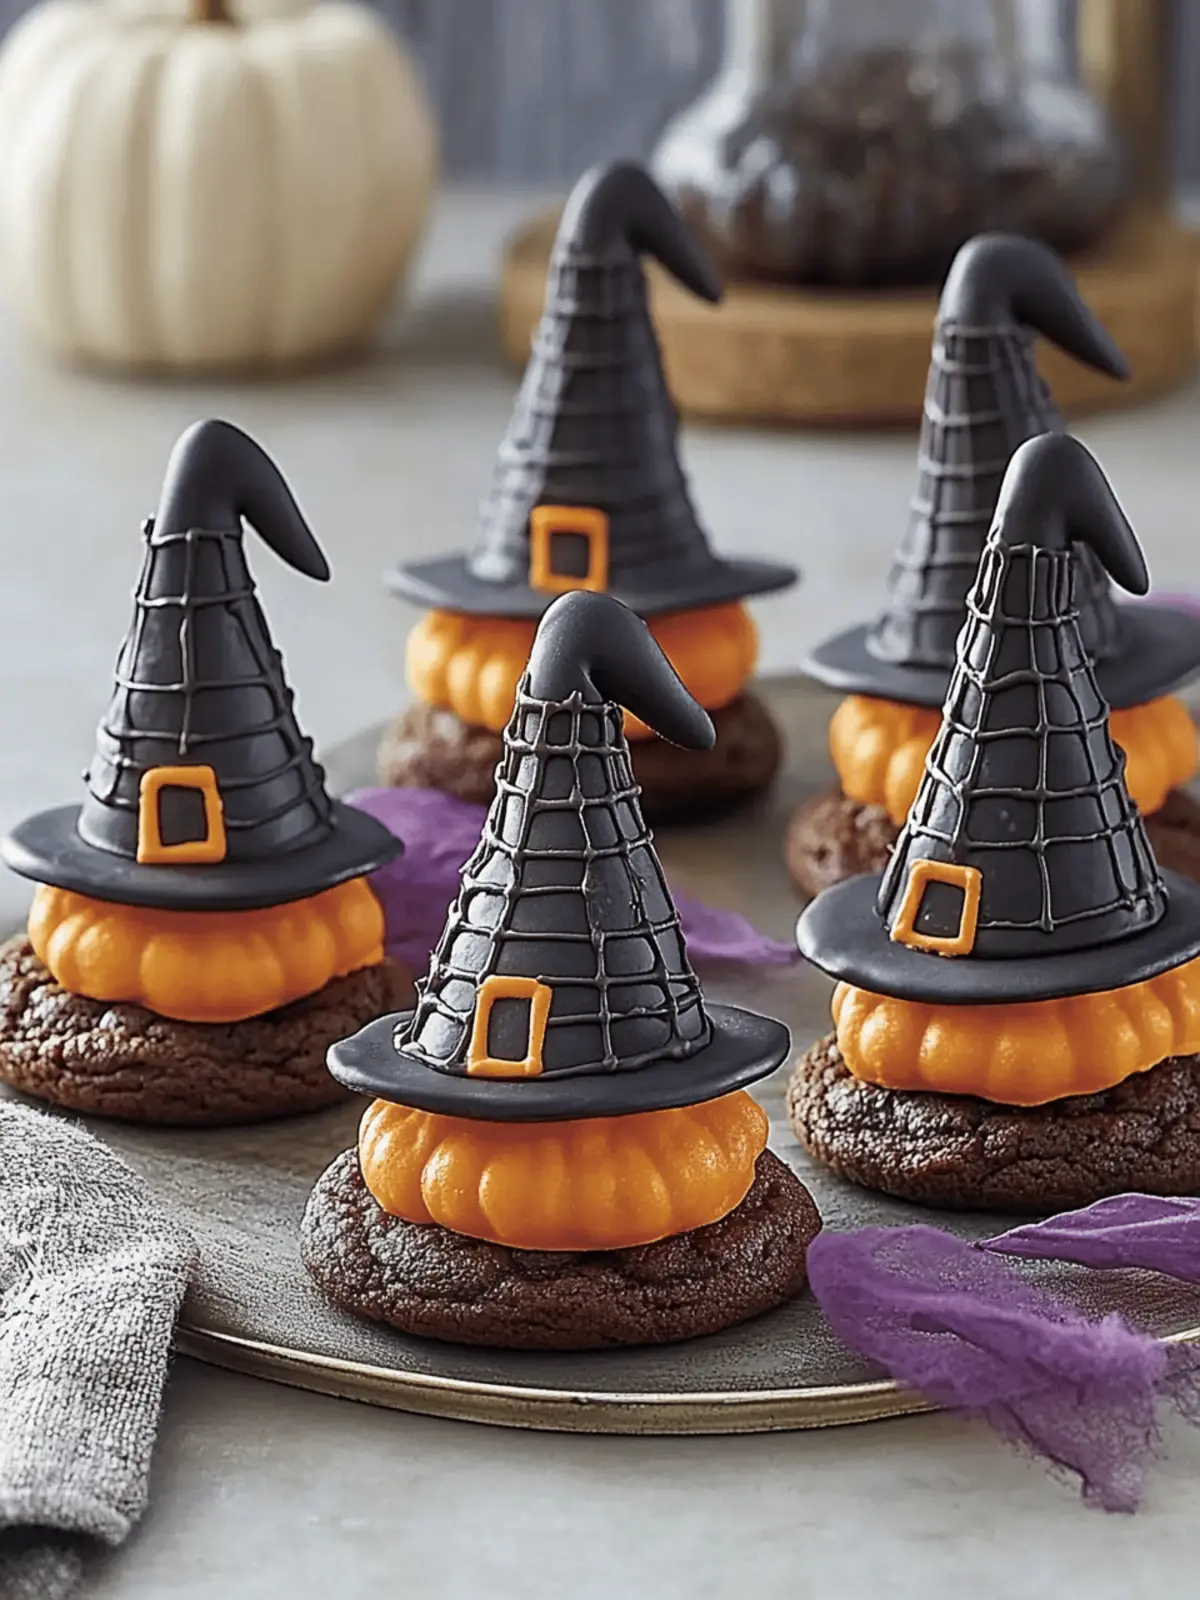
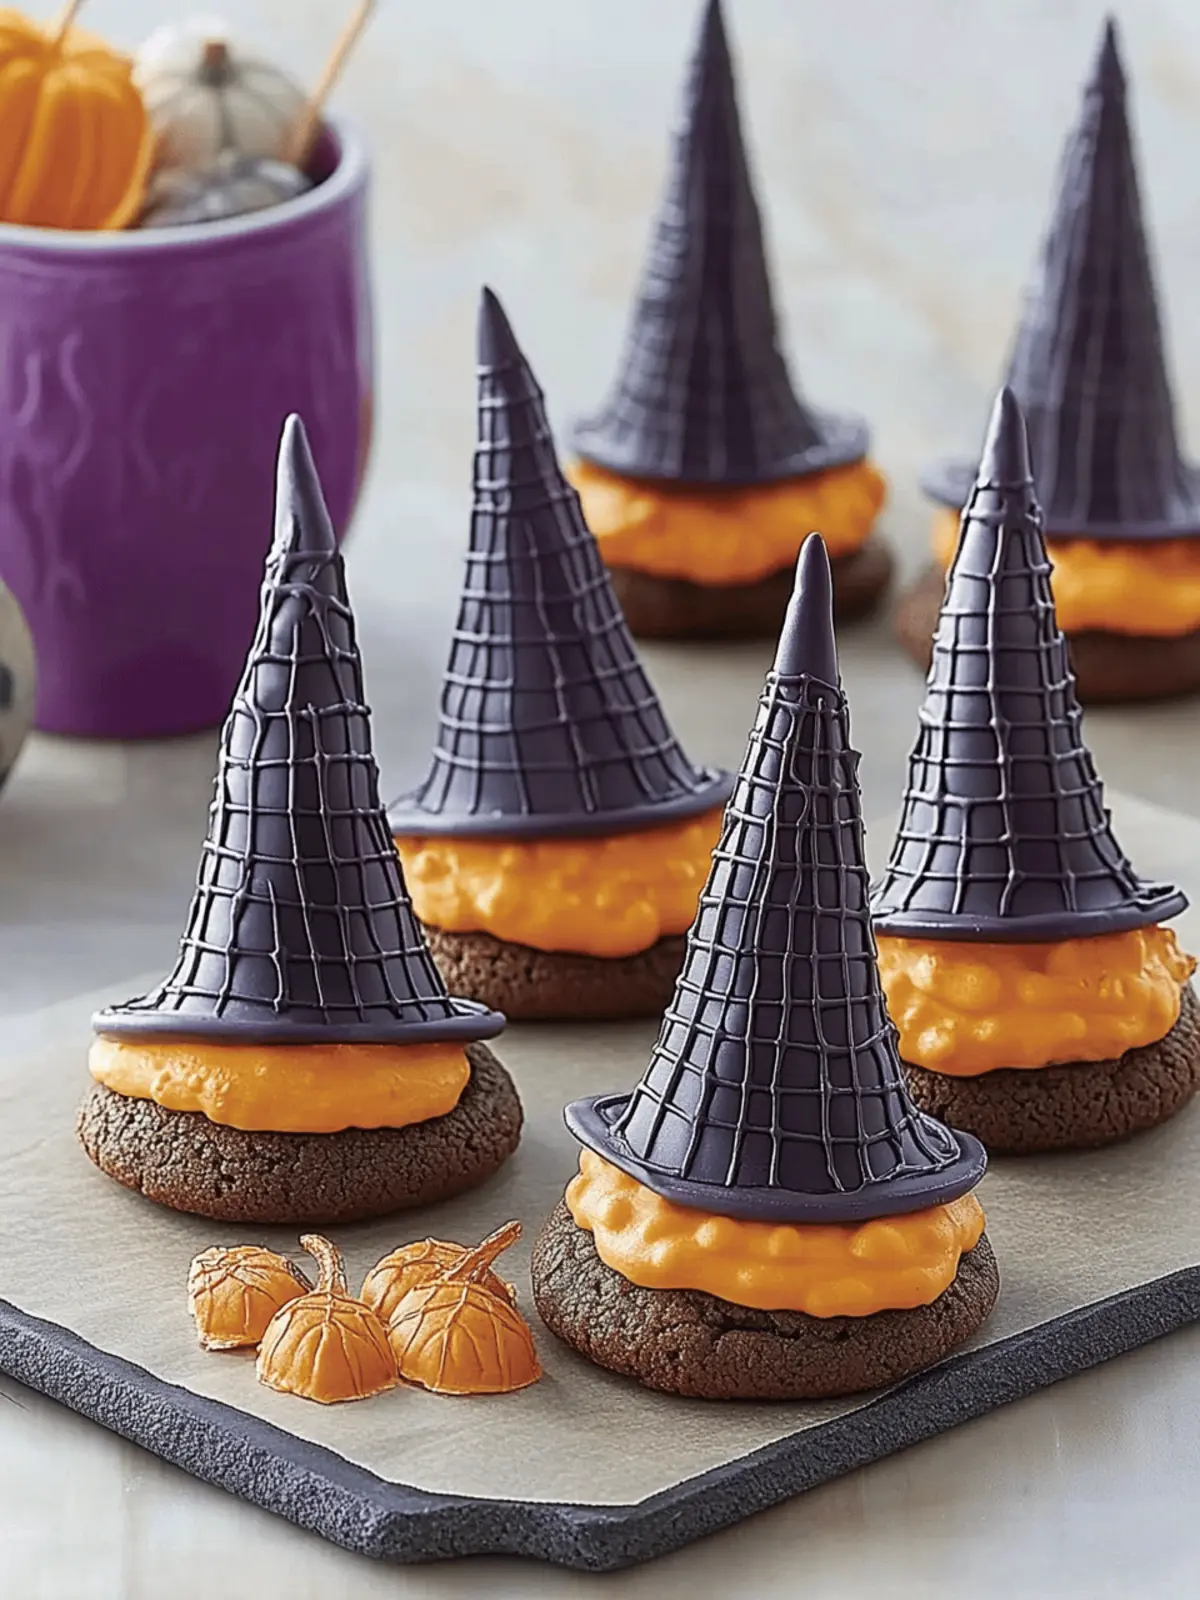
As the crisp autumn air swirls around us and the days grow shorter, visions of spooky celebrations and cheerful gatherings start to dance in my mind. Enter the showstopper of the season: Halloween Witch Hat Cookies! These charming treats offer more than just a chocolatey delight; they are whimsical creations that spark joy and laughter, making them perfect for Halloween parties or cozy nights at home.
With their crunchy sugar cone hats and vibrant icing, these cookies are not only visually captivating but also incredibly versatile. Whether you lean towards classic chocolate or want to add a twist with pumpkin spice, every bite is a delightful reminder of the festive spirit. Plus, they’re easy enough for the kids to lend a hand, ensuring a fun-filled afternoon in the kitchen. Get ready to impress your friends and family with a treat that’s a guaranteed showstopper, all while embracing the spirit of Halloween!
Why love these Halloween Witch Hat Cookies?
Delightful baking fun: These cookies make it easy to involve the whole family in festive decorating—perfect for creating lasting memories!
Irresistible visual appeal: Their whimsical look, featuring crunchy sugar cone hats and vibrant colors, adds a charming touch to any Halloween spread.
Quick and customizable: With simple ingredients and a flexible recipe, feel free to mix flavors or colors to suit your theme.
Perfect for all occasions: Ideal for Halloween parties, school events, or cozy celebrations at home, these treats will leave everyone craving more.
Easy to store and serve: Make them ahead of time and keep them fresh for days, so you can enjoy the festivities without any last-minute stress!
Halloween Witch Hat Cookies Ingredients
Get ready to create these spooky delights with this easy ingredient list!
For the Cookie Base
- Favorite Cake Mix – A convenient base for quick preparation; for a personal touch, try using a homemade chocolate cake.
- Store Bought Chocolate Cookies – Simplifies the process, but feel free to use homemade for a richer flavor.
For the Hats
- Sugar Cones – An essential component that gives the hats their shape; don’t substitute as they are key for structure.
- Black Color Mist Food Coloring Spray – Achieves the desired spooky look; alternatively, black icing can create a similar effect.
For the Icing
- Creamy White Decorator Icing – This icing is perfect for creating vibrant decorations; royal icing can provide a sturdier finish.
- Lemon Yellow Icing Color – Adds a bright, cheerful touch to your designs; natural dyes can be substituted if preferred.
- Rose, Violet, Golden Yellow, & Orange Icing Colors – These colors make your cookies visually appealing; mix and match with other food colors to fit your Halloween theme!
With these ingredients on hand, you’ll be well on your way to crafting delightful Halloween Witch Hat Cookies that will be the talk of your next gathering!
How to Make Halloween Witch Hat Cookies
-
Prepare Cones: Preheat your oven to 350°F. Using your favorite cake mix, bake according to the package instructions. Carefully fill sugar cones with about 2 tablespoons of batter and bake for 15-18 minutes. Let them cool completely.
-
Color Cones: Once cooled, trim any excess cake from the tops of the cones for a neat appearance. Spray the cones with black color mist food coloring, ensuring even coverage. Allow them to dry fully before moving on.
-
Tint Icing: Divide your creamy white decorator icing into separate bowls. Add lemon yellow and any other food coloring you desire to create your unique decorations. Get your piping bags ready for icing fun!
-
Assemble Hats: Pipe a circle of orange icing on each cookie to act as adhesive, then place the colored sugar cone on top. Use more icing to secure it around the base of the cone for stability.
-
Finish with Details: Once the initial icing sets, get creative! Pipe yellow icing buckles around the cone bands to add that special touch. Let everything dry before serving your spooky creations.
Optional: Decorate with spooky sprinkles for extra flair!
Exact quantities are listed in the recipe card below.
Expert Tips for Halloween Witch Hat Cookies
-
Allow Drying Time: Make sure to let the black spray dry completely before assembling the hats to avoid messy smudges on your cookies.
-
Trim Neatly: Use a sharp knife to create clean edges on the sugar cones after trimming; this helps maintain a tidy appearance.
-
Frost Promptly: Ice the cookies right after setting the cones to ensure the frosting adheres well; this prevents slipping or falling hats.
-
Creative Icing: Experiment with variations by using different icing colors and styles; your Halloween Witch Hat Cookies can reflect your personal creativity!
-
Proper Storage: Keep decorated cookies in an airtight container at room temperature to retain freshness for up to 5 days. Avoid refrigeration, which can lead to sogginess.
What to Serve with Halloween Witch Hat Cookies?
These whimsical cookies are perfect for adding festive cheer to any gathering, making your celebration both sweet and memorable.
-
Hot Apple Cider: The warm, spiced flavors of apple cider create a comforting contrast to the sweetness of the cookies, perfect for cozy fall evenings.
-
Pumpkin Spice Latte: This seasonal favorite adds a delightful touch to your treats, enhancing the autumn theme and warming hearts and hands alike.
-
Gummy Worms: Scatter a few gummy worms around your cookie platter for a fun and creepy element that kids will adore, enhancing the Halloween vibe!
-
Caramel Sauce: Drizzle some warm caramel sauce on the plate for dipping. The rich, buttery flavor complements the chocolatey goodness beautifully.
-
Sugar Cookie Bars: For a fun texture contrast, serve with chewy sugar cookie bars, providing a delightful variety of flavors and textures to your spread.
-
Milk or Almond Milk: A classic pairing that offers a refreshing touch, milk is perfect for washing down the sweetness, making it ideal for family gatherings.
-
Candy Corn: Place bowls of candy corn on the table; their bright colors and sweet taste beautifully complement the visual appeal of the Witch Hat Cookies while keeping the festive spirit alive!
Halloween Witch Hat Cookies Variations
Feel free to get creative and make these cookies your own with just a few adjustments!
-
Pumpkin Spice: Substitute the cake mix with pumpkin spice for a seasonal twist that will warm your heart. The autumn spices will add a cozy flavor that pairs perfectly with festive gatherings.
-
Bright Colors: Swap traditional food colorings for vibrant hues like teal or magenta. This playful approach gives your cookies a unique flair, perfect for a colorful Halloween theme or other celebrations!
-
Crunchy Delight: Enhance the texture by mixing in pretzel bits or toffee pieces into the cake batter. This unexpected addition will create delightful bites, balancing the softness of the cookie base with a satisfying crunch.
-
Mini Versions: Create mini witch hat cookies by using smaller sugar cones for bite-sized treats that are ideal for parties. These petite versions make sharing easy while ensuring everyone can enjoy a sweet indulgence!
-
Gummy Candy Toppers: Add gummy candies to the tops of the cones for extra decoration flair. Kids will love this twist, and their colorful presence will make the cookies even more eye-catching!
-
Gluten-Free Option: Use a gluten-free cake mix to accommodate dietary needs without sacrificing taste. Your gluten-sensitive friends can join in on the fun with their very own spooky cookies!
-
Chocolate Drizzle: Drizzle melted chocolate over the assembled cookies for an elegant touch. Not only does it elevate the visual appeal, but it also adds a rich flavor component that chocolate lovers will adore.
-
Spicy Kick: For those who enjoy a little heat, sprinkle a dash of cayenne or chili powder into the cake batter. This surprising twist will tantalize the taste buds and leave your guests guessing!
Storage Tips for Halloween Witch Hat Cookies
-
Room Temperature: Store decorated cookies in an airtight container at room temperature for up to 5 days to keep them fresh and tasty.
-
Make-Ahead: You can prepare the cookie bases and assemble the hats up to 24 hours in advance, ensuring a stress-free baking experience before your Halloween gathering.
-
Freezer: If you want to enjoy the cookies later, freeze the undecoated cookie bases in a single layer for up to 3 months. Thaw completely before decorating.
-
Airtight Guidance: Keep all components well-sealed and protected from moisture to maintain that delightful texture of your Halloween Witch Hat Cookies!
Make Ahead Options
These Halloween Witch Hat Cookies are perfect for busy cooks looking to save time without sacrificing fun! You can prepare the cookie base and fill the sugar cones with batter up to 24 hours in advance; simply store them in an airtight container at room temperature to keep them fresh. Once baked and cooled, spray the cones with black food coloring and let them dry before assembling. When you’re ready to serve, just tint your icing, decorate the cookies, and secure the cones on top with more icing. This way, you’ll have festive treats ready to impress with minimal last-minute effort, making your Halloween celebration all the more enjoyable!
Halloween Witch Hat Cookies Recipe FAQs
What type of cake mix should I use for the cookies?
Absolutely! You can use your favorite cake mix, but for a personal touch, homemade chocolate cake adds richness and flavor that store-bought may lack. Feel free to get creative with flavor—chocolate, vanilla, or even pumpkin spice work beautifully!
How should I store the decorated Halloween Witch Hat Cookies?
To keep your decorated cookies fresh, store them in an airtight container at room temperature for up to 5 days. Avoid refrigerating them, as this can lead to sogginess. If you’re preparing for a party, they can also be made a day in advance and left on the counter for stress-free serving.
Can I freeze Halloween Witch Hat Cookies?
Yes! You can freeze the cookie bases without icing for up to 3 months. To do this, bake them, let them cool completely, and then layer them in a freezer-safe container, separating layers with parchment paper. When you’re ready, simply thaw them at room temperature before decorating.
What if I don’t have black color mist food coloring spray?
Not to worry! If you can’t find black spray, you can use black icing as an alternative to achieve that spooky look on your sugar cone hats. Just use a piping bag to carefully coat the cone for even coverage.
Are there any dietary considerations for making these cookies?
Yes! If you’re considering allergies, keep in mind that these cookies contain gluten and may have dairy if using a standard cake mix. Always check the packaging of your ingredients for any allergens. For a gluten-free version, use gluten-free cake mix and cookies. You can also adjust colors and ingredients to accommodate dietary preferences for a fun and inclusive baking experience!
Spooky and Sweet Halloween Witch Hat Cookies
Ingredients
Equipment
Method
- Preheat your oven to 350°F. Bake your favorite cake mix according to the package instructions, filling sugar cones with about 2 tablespoons of batter and bake for 15-18 minutes. Let them cool completely.
- Once cooled, trim any excess cake from the tops of the cones for a neat appearance. Spray the cones with black color mist food coloring, ensuring even coverage. Allow them to dry fully.
- Divide your creamy white decorator icing into separate bowls. Add lemon yellow and any other food coloring to create unique decorations. Get your piping bags ready.
- Pipe a circle of orange icing on each cookie to act as adhesive, then place the colored sugar cone on top. Use more icing to secure it around the base of the cone.
- Once the icing sets, pipe yellow icing buckles around the cone bands. Let everything dry before serving.

