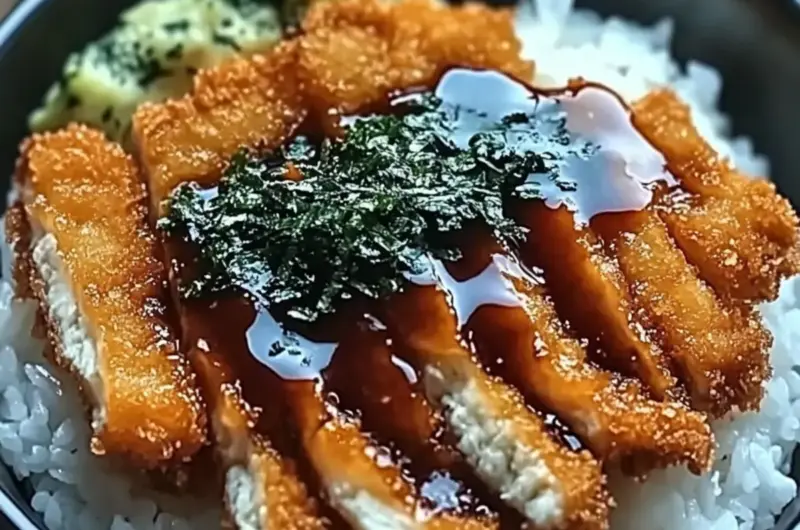
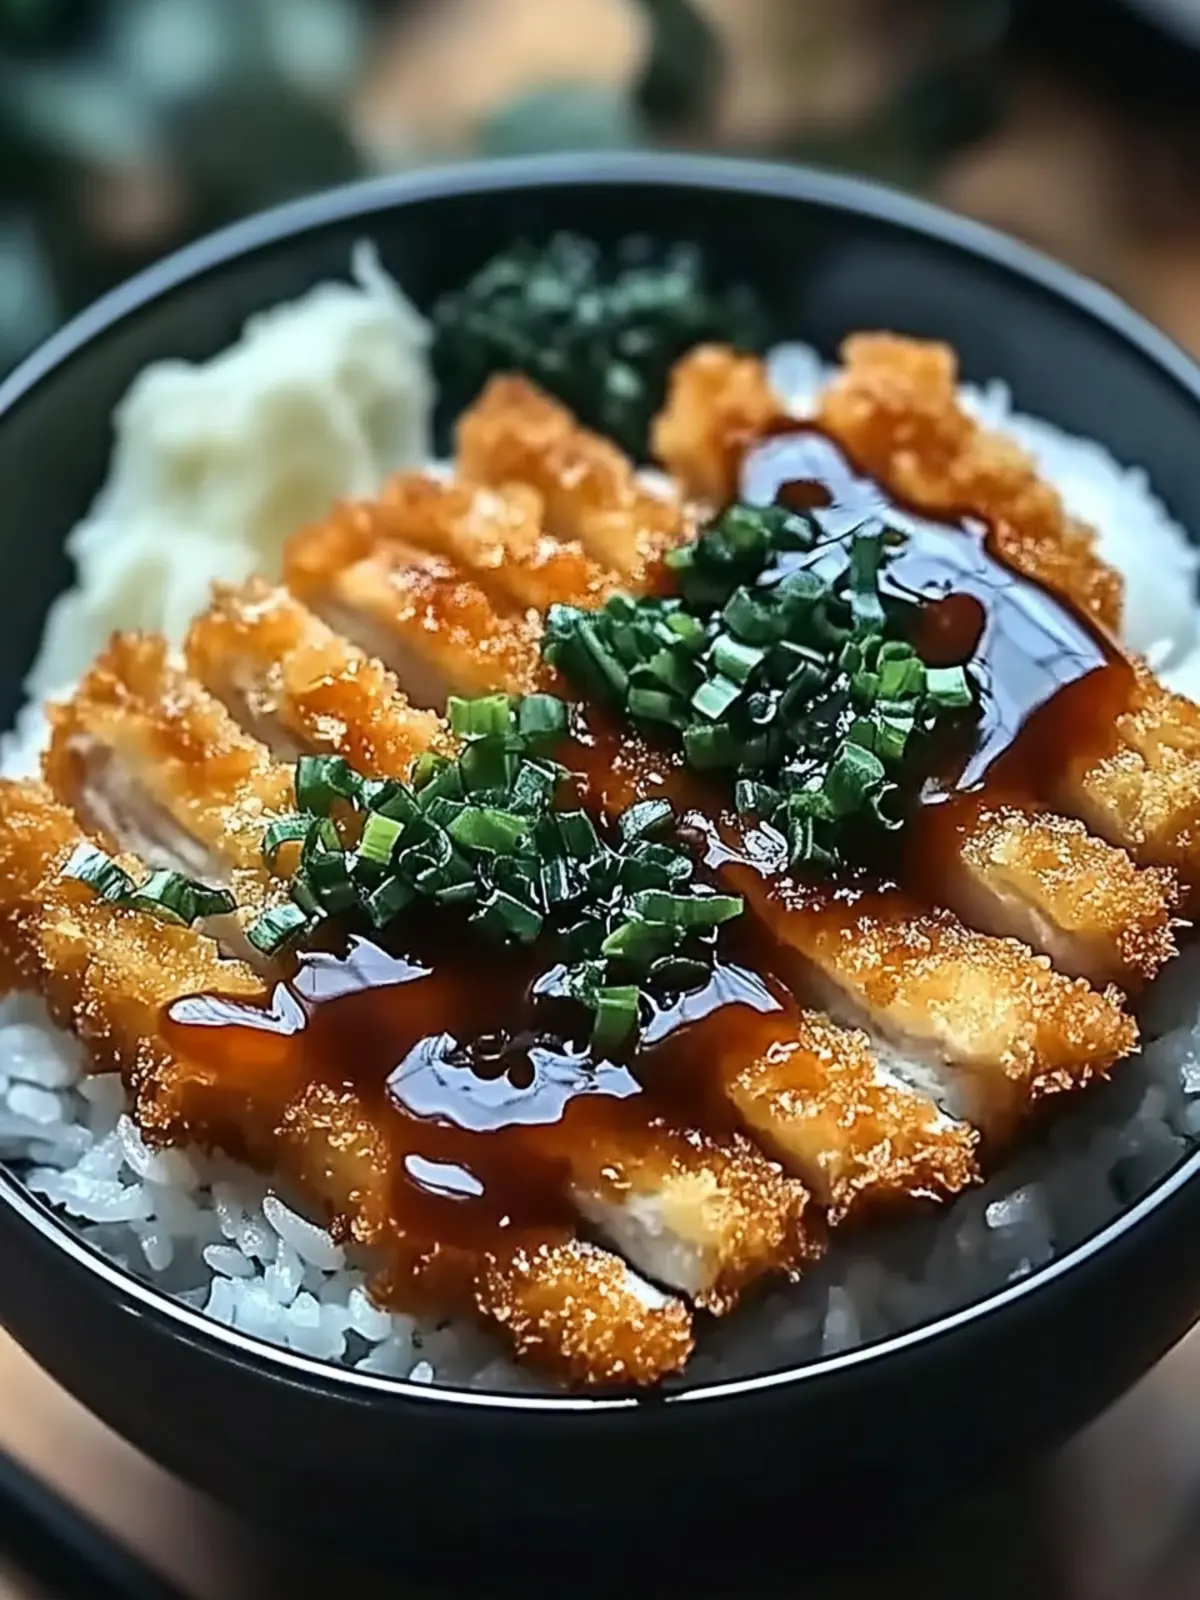
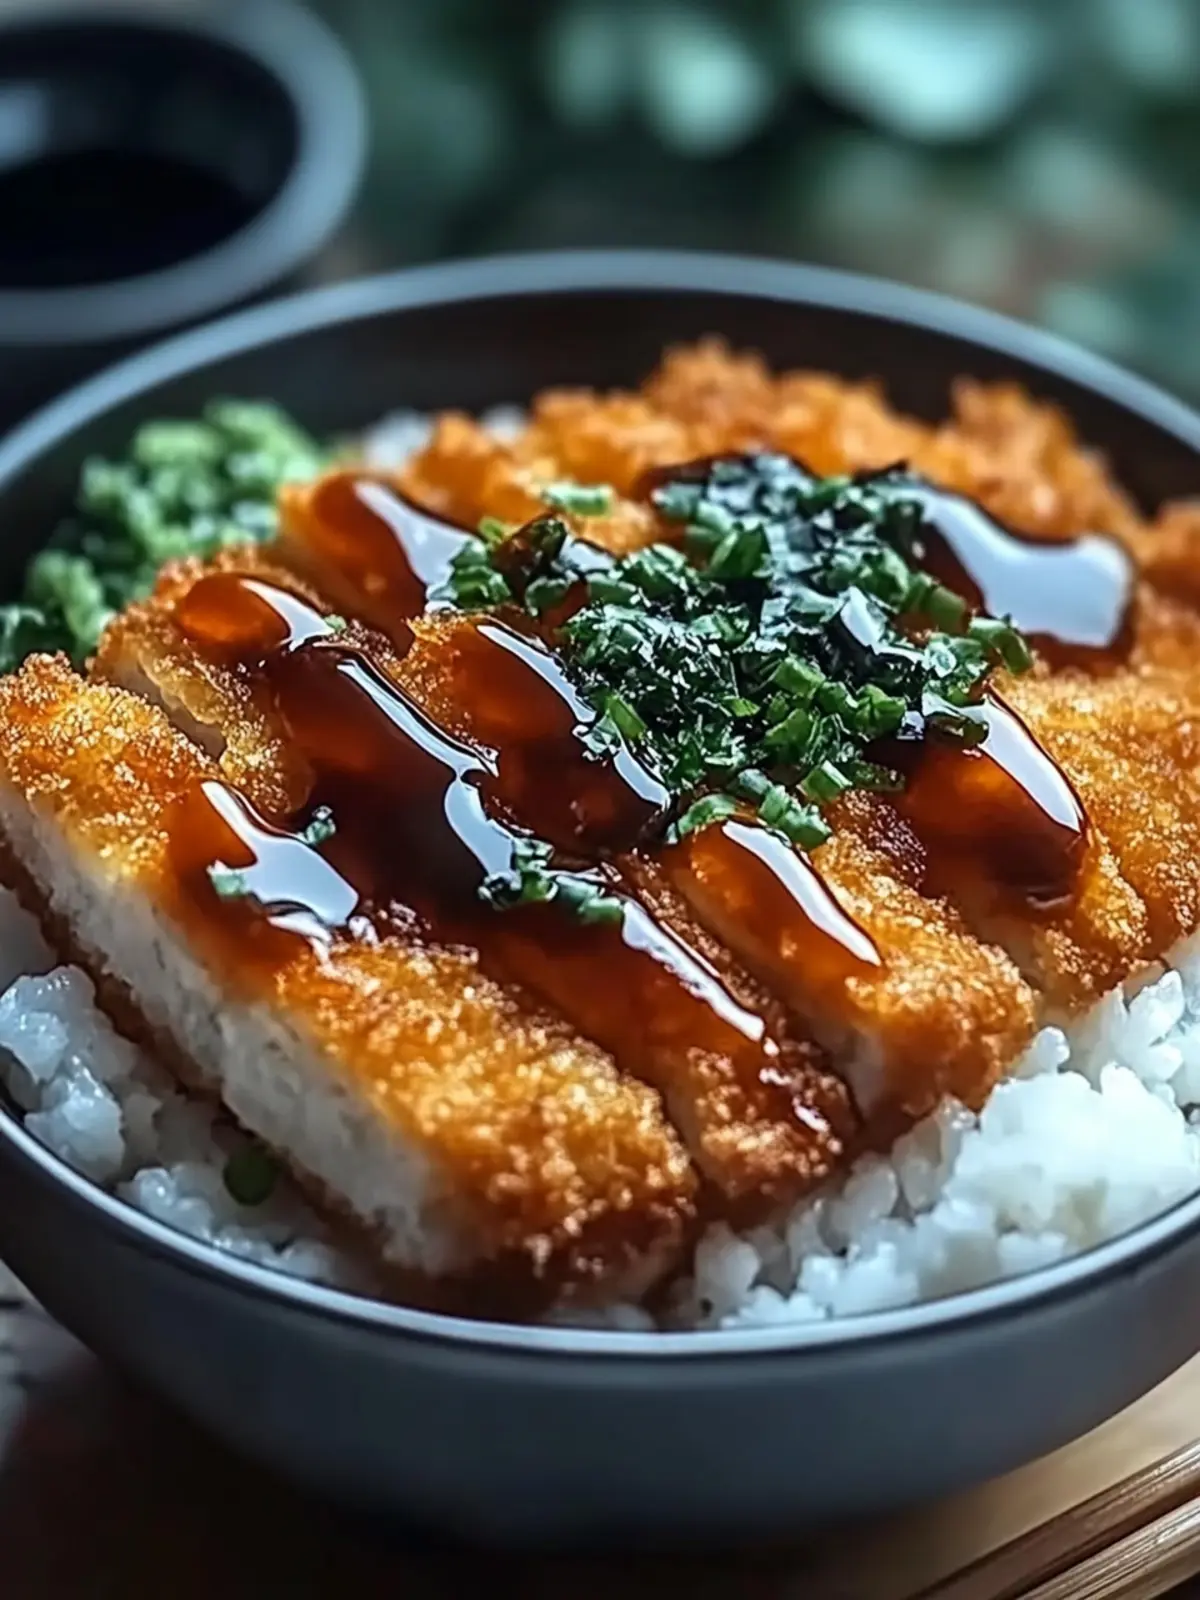
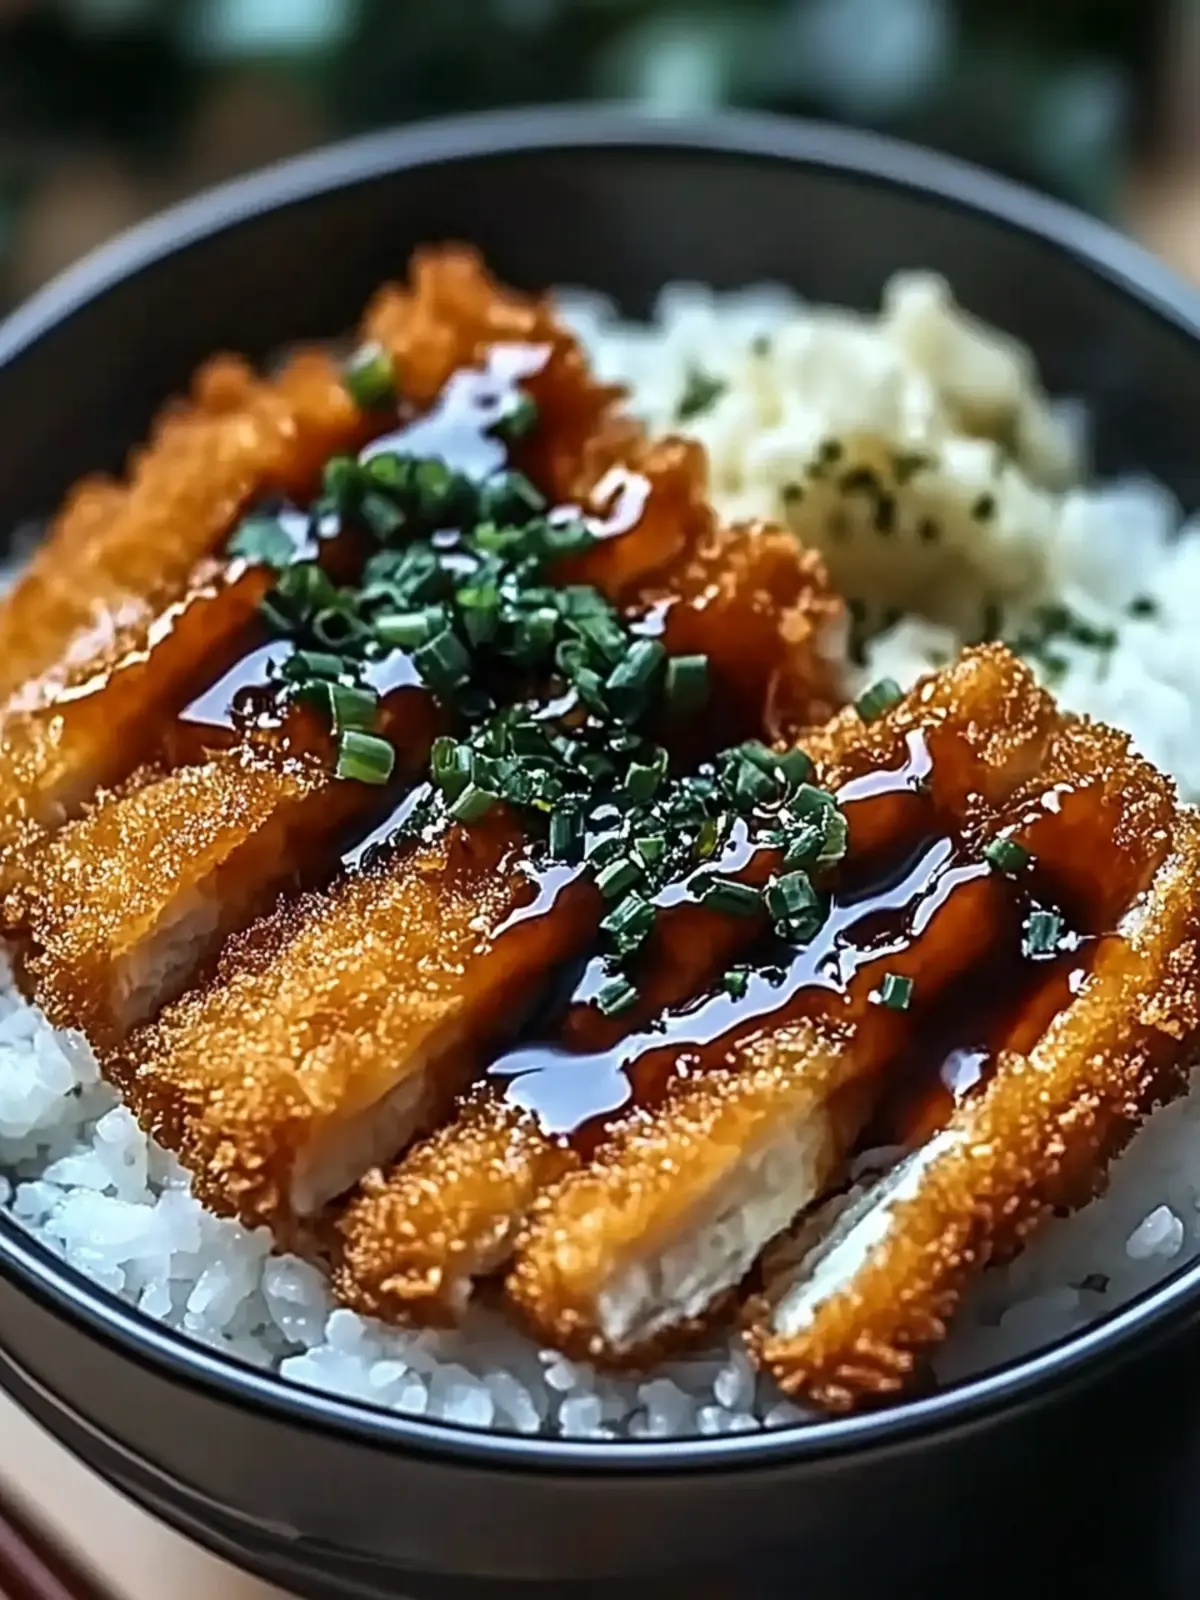
The first crunch of perfectly fried chicken katsu is like music to my ears, echoing the bustling streets of Japan. Just imagine the delightful moment when a golden crust meets the tender, juicy meat inside—pure bliss on a plate! When I first tried making Japanese Katsu Bowls at home, I never anticipated how easily I could bring authentic flavors to my own kitchen. This dish not only captures the heartwarming essence of comfort food but also allows for delightful customization—whether you’re a meat lover or a plant-based enthusiast, there’s a katsu option just for you!
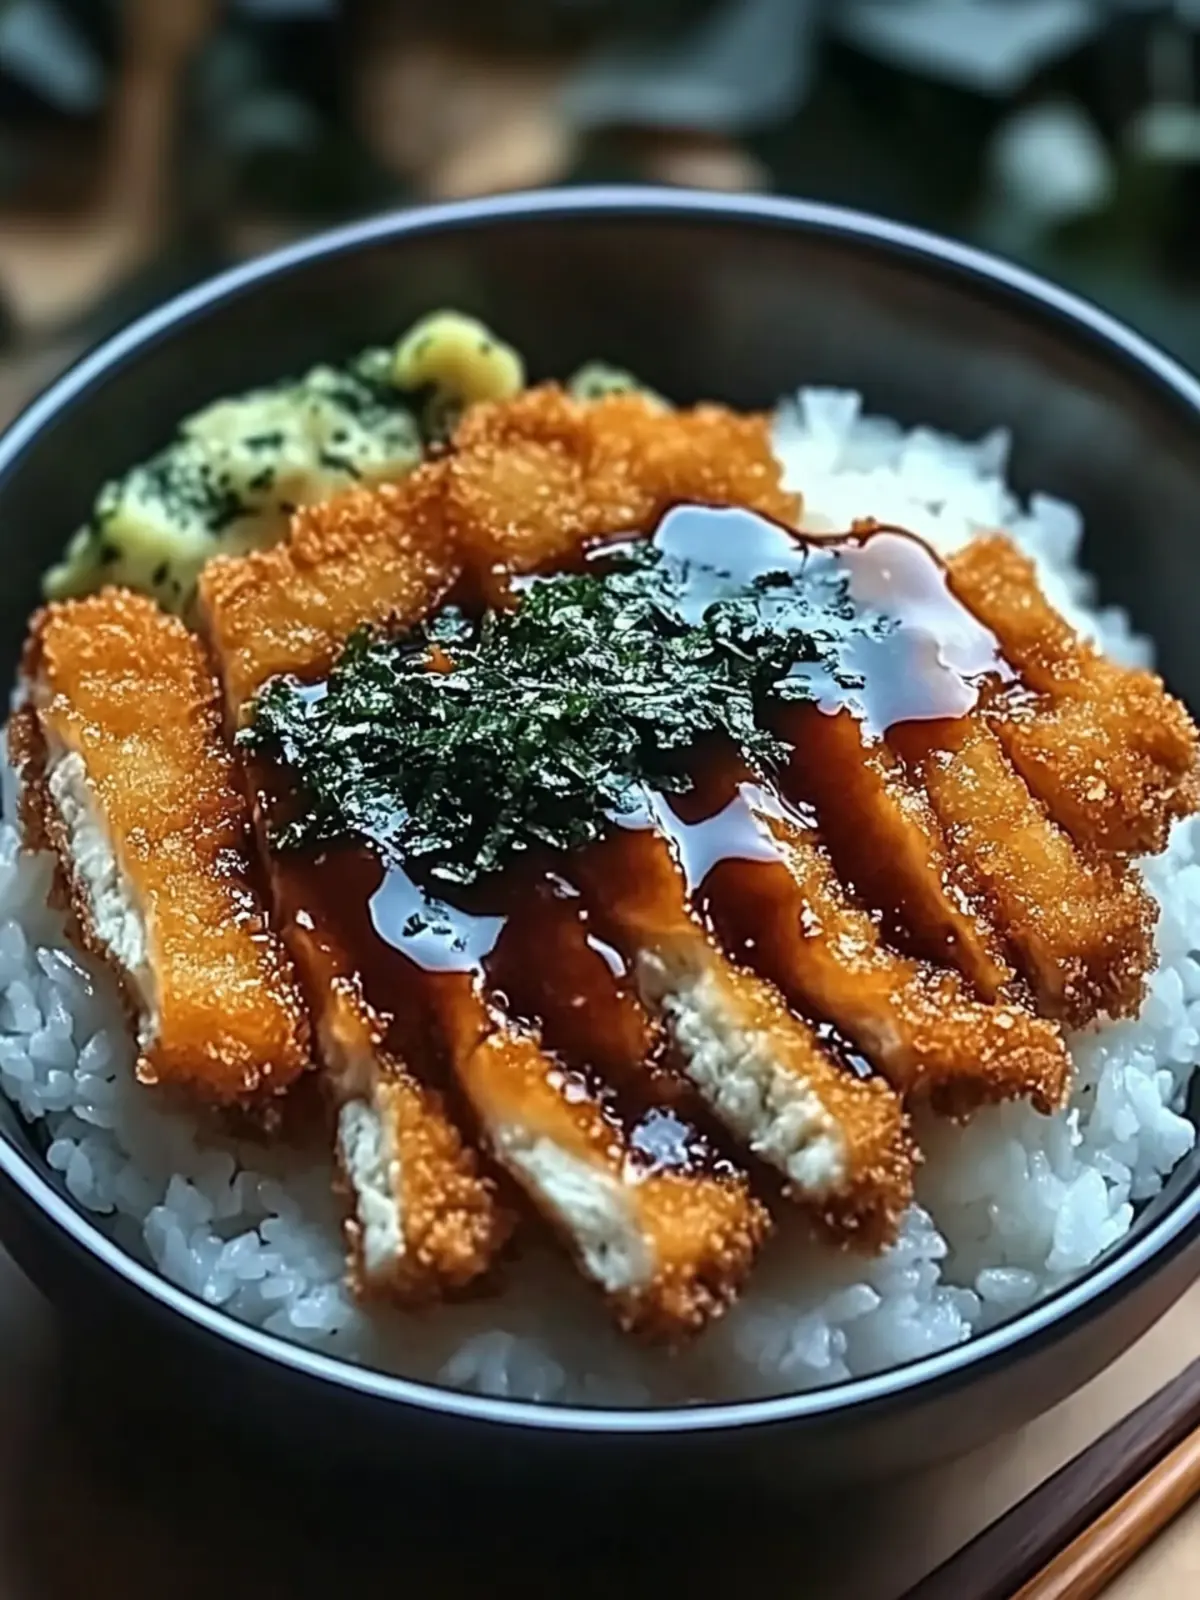
Picture this: a warm bowl of fluffy, seasoned rice cradling crispy katsu, all drizzled generously with a tangy tonkatsu sauce. Ideal for quick weeknight dinners or cozy gatherings, these bowls are bound to impress family and friends alike. Get ready to dive into a culinary adventure that transforms everyday ingredients into a comforting feast, all while staying true to the spirit of traditional Japanese cuisine. Let’s get started!
Why are Japanese Katsu Bowls irresistible?
Unmatched Crunch: The crispy coating of katsu adds an irresistible crunch that perfectly complements the tender meat inside.
Comforting Flavors: This dish delivers bold, savory flavors that warm your soul, a true epitome of comfort food.
Customizable Options: Whether you prefer chicken, pork, or even tofu, you can easily tailor these bowls to suit any dietary preference.
Quick and Easy: The recipe is straightforward, making it perfect for busy weeknights without compromising on flavor or quality.
Crowd-Pleasing Appeal: Everyone from picky eaters to adventurous foodies will rave about these bowls, making them an ideal centerpiece for gatherings.
Dive deeper into the world of flavors by pairing your katsu with side dishes that complement the main star beautifully!
Japanese Katsu Bowls Ingredients
For the Katsu
- Chicken Breasts or Pork Loin – Your main protein choice; either offers a hearty bite.
- Salt and Pepper – Essential seasonings; use sea salt for a depth of flavor.
- All-Purpose Flour – Helps create that crunchy katsu crust; gluten-free flour works well too.
- Eggs – Binds breadcrumbs to meat for a beautiful golden finish; try a flax egg for a vegan option.
- Panko Breadcrumbs – Lightweight and crispy, these breadcrumbs ensure the delightful crunch; regular breadcrumbs can be a substitute.
- Vegetable Oil – Needed for frying; use canola or peanut oil for a perfect crunch.
For the Rice
- Japanese Short-Grain Rice – This is key for fluffy, sticky rice; sushi rice is the best choice!
- Water – Necessary for cooking the rice properly; no meal is complete without it.
- Rice Vinegar – Adds a subtle acidity to enhance flavor; apple cider vinegar works in a pinch.
- Sugar – Balances the vinegar, creating a delightful seasoning mix; honey or agave makes a great natural alternative.
- Salt – This seasoning is crucial for enhancing the overall flavor of the rice.
For the Sauce and Toppings
- Tonkatsu Sauce – The star of the dish; it’s tangy and savory, with homemade or store-bought options available.
- Soy Sauce – Adds umami richness; low-sodium types keep it lighter.
- Worcestershire Sauce – Provides depth to the sauce; optional if you’re out!
- Ketchup – Adds a hint of sweetness; it’s optional but familiar.
- Shredded Cabbage – A fresh, crunchy topping that brightens the dish; any leafy green can be a substitute.
- Green Onions – Acts as a garnish for freshness; chives are a suitable swap.
- Sesame Seeds – These add beautiful presentation and nutty flavor; any nut can be sprinkled for garnish.
- Pickled Ginger (Optional) – A traditional sidekick that adds a zesty kick; try other pickled veggies if needed.
With these Japanese Katsu Bowls ingredients, you’re all set to create a meal that’s both comforting and delicious!
How to Make Japanese Katsu Bowls
-
Prepare Rice: Rinse the Japanese short-grain rice until the water runs clear, then soak in 2½ cups of water for 30 minutes. Bring to a boil, reduce heat, and simmer for 15 minutes without lifting the lid. Rest off heat for 10 minutes, then season with the vinegar mixture.
-
Pound and Season Protein: Use a meat mallet to flatten the chicken breasts or pork loin to an even thickness of about ½ inch. Season both sides generously with salt and pepper for enhanced flavor.
-
Set Up Breading Station: Prepare three shallow dishes: one with all-purpose flour, another with beaten eggs, and the last with panko breadcrumbs. This setup will make breading the katsu a breeze!
-
Bread the Katsu: Dredge each piece of protein first in flour, ensuring it’s fully coated, then dip it into the eggs, and finally, roll it in panko breadcrumbs, pressing gently to adhere the crumbs for a crispy finish.
-
Fry Katsu: Heat your vegetable oil in a deep skillet until hot (test by dropping in a breadcrumb that should sizzle). Carefully add the katsu and fry for 4-5 minutes on each side until golden brown and the internal temperature reaches 165°F. Drain on paper towels and slice into strips.
-
Make Sauce: In a small bowl, whisk together tonkatsu sauce, soy sauce, Worcestershire sauce, and ketchup. This mixture provides an explosion of flavor, perfect for drizzling over the katsu!
-
Assemble Bowls: Serve the sliced katsu over a generous bed of seasoned rice. Top with shredded cabbage, chopped green onions, a sprinkle of sesame seeds, and a few pieces of pickled ginger for that authentic Japanese flair.
Optional: Finish with a drizzle of spicy mayo for added flavor!
Exact quantities are listed in the recipe card below.
Japanese Katsu Bowls Variations & Substitutions
Feel free to let your creativity shine as you customize these delightful bowls!
-
Pork Alternates: Swap chicken for pork loin to enjoy a different flavor profile. The juiciness of pork creates a lovely contrast with the crunch.
-
Vegetarian Delight: Try eggplant or tofu in place of chicken for a deliciously crispy option, perfect for plant-based eaters! These alternatives absorb flavors beautifully.
-
Gluten-Free Option: Use gluten-free breadcrumbs and flour to create a satisfying, crispy texture without the gluten. Your katsu will still be finger-licking good!
-
Saucy Twist: Experiment with different sauces like spicy mayo or ponzu. A drizzle of chili oil can also add a warming kick if you crave heat.
-
Rice Variations: Swap short-grain rice for jasmine or brown rice for a nutty flavor and added fiber. Each variety brings its unique touch to the dish.
-
Extra Crunch: Include crushed nuts, like almonds or walnuts, in addition to sesame seeds for added texture and a delightful crunch that elevates every bite.
-
Toppings Upgrade: Top the bowls with sliced avocado or fresh herbs like cilantro or basil for a vibrant finish. Beautiful greens elevate not only appearance but flavor too!
-
Layer It On: Create a layered bowl with roasted vegetables or pickled carrot for extra dimension. Pile on the toppings! Your katsu will welcome the added freshness.
Storage Tips for Japanese Katsu Bowls
Room Temperature: Keep leftover katsu at room temperature for no more than 2 hours to ensure food safety.
Fridge: Store any uneaten katsu in an airtight container in the fridge for up to 3 days. This helps preserve flavor while preventing moisture loss.
Freezer: For longer storage, freeze katsu in a single layer, then transfer to a freezer-safe bag. It will maintain quality for up to 3 months.
Reheating: To reheat, bake frozen katsu in a preheated oven at 375°F for about 15-20 minutes until crispy. Serve warm over freshly prepared rice for delicious Japanese Katsu Bowls!
Expert Tips for Japanese Katsu Bowls
-
Heat the Oil: Ensure the vegetable oil is hot enough before frying; drop in a breadcrumb to check for sizzle. A properly heated oil guarantees a crispy katsu.
-
Don’t Overcrowd: Fry katsu in batches to avoid overcrowding the pan; this will maintain the oil temperature and keep the katsu crispy.
-
Rest Before Slicing: Allow the fried katsu to rest on paper towels for a couple of minutes before slicing; this helps retain moisture and juiciness.
-
Perfect Bread Crust: Ensure the breaded katsu is pressed firmly into the panko for even coating; this prevents the crumbs from falling off during frying.
-
Balance the Sauce: Adjust the tonkatsu sauce mixture to taste; feel free to increase sweetness with a bit of ketchup or add more soy sauce for umami.
-
Think Customization: Experiment with alternative proteins or vegetables for vegetarian Japanese Katsu Bowls, such as eggplant or tofu, to suit diverse dietary needs.
What to Serve with Japanese Katsu Bowls?
Elevate your dining experience by pairing these beloved bowls with delightful accompaniments that will make each bite memorable.
-
Crispy Tempura Vegetables: These light and airy bites add a satisfying crunch and vibrant flavors that complement the savory katsu perfectly. The assortment of vegetables brings a colorful flair to your meal!
-
Ginger-Miso Salad: A refreshing salad dressed in a zesty ginger-miso vinaigrette balances the richness of katsu while adding a healthy crunch with leafy greens and veggies.
-
Japanese Pickles: Traditionally served with katsu, their tangy bite awakens the palate and adds a wonderful contrast to the dish’s flavors. It’s a delightful way to introduce a bit of acidity!
-
Steamed Edamame: Simple yet delightful, steamed edamame sprinkles a touch of earthiness to your meal. These protein-packed pods can be seasoned with sea salt for an extra flavor boost.
-
Miso Soup: A warm bowl of miso soup serves as the ultimate comfort complement. Its umami-rich broth soothes the soul and smoothly transitions into the heartiness of katsu.
-
Green Tea: Sipping on a warm cup of green tea cleanses the palate and enhances the meal’s overall experience. Its delicate flavors create a calming atmosphere to indulge in your comforting Japanese feast!
-
Mocha Pudding (Dessert): Finish the meal on a sweet note with a creamy mocha pudding that tempts the taste buds with a silky texture. Its subtle coffee flavor can be a delightful contrast to the savory main dish!
Make Ahead Options
These Japanese Katsu Bowls are perfect for meal prep enthusiasts! You can bread the chicken or pork up to 24 hours in advance, simply covering it tightly in plastic wrap to prevent drying out. The rice can also be cooked and seasoned up to 3 days ahead; just store it in an airtight container in the refrigerator. When you’re ready to serve, fry the katsu fresh for that crispy texture, about 4-5 minutes per side, and gently reheat the rice in the microwave, adding a splash of water if needed to rehydrate. This way, you’ll enjoy delicious, homemade Japanese Katsu Bowls with minimal effort on busy weekdays!
Japanese Katsu Bowls Recipe FAQs
How do I choose the right chicken or pork for my katsu?
Absolutely! When selecting your chicken or pork, look for boneless cuts as they’re easier to flatten and cook evenly. If you’re using chicken, opt for tender, plump breasts for the juiciest result. For pork, a good loin cut will yield a flavorful katsu with beautiful tenderness. Freshness is key—avoid any pieces with dark spots or a slimy texture.
What’s the best way to store leftover katsu?
Very! To keep your leftover katsu crispy, allow it to cool completely before storing it. Place the uneaten katsu in an airtight container and refrigerate for up to 3 days. If you want it to stay fresh for a longer period, freeze it by placing the katsu in a single layer on a baking sheet. Once frozen solid, transfer the pieces to a freezer-safe bag where they’ll last for up to 3 months.
Can I freeze Japanese Katsu Bowls?
Certainly! Freezing is a great way to preserve both the katsu and the rice if you want to enjoy this dish later. To do so, first, let the katsu cool completely. Wrap individual katsu pieces in plastic wrap, then place them in a freezer-safe bag. For the rice, let it cool before transferring to a different airtight container. When ready to eat, simply reheat the katsu in the oven at 375°F for about 15-20 minutes until crispy, and warm the rice in a microwave or steamer.
What should I do if my katsu isn’t crispy?
If your katsu isn’t achieving that delightful crunch, there are a few troubleshooting steps to consider! Ensure your oil is hot enough before frying; ideally, it should reach about 350°F. If the oil is too cool, the katsu may absorb more oil and become soggy. Additionally, make sure to dredge your protein thoroughly through the flour, egg, and panko breadcrumbs, pressing gently to help them adhere well. Fry in small batches to avoid overcrowding, which can lower the oil temperature.
Are Japanese Katsu Bowls suitable for those with dietary restrictions?
Absolutely! These bowls are highly customizable. If you’re vegetarian, swap chicken or pork with eggplant or tofu for a delicious alternative. Additionally, if you’re concerned about gluten, you can easily substitute all-purpose flour and panko breadcrumbs with gluten-free options. For those watching their sodium intake, consider using low-sodium soy sauce; just balance flavors in your sauce mix accordingly.
How long does the sauce last in the fridge?
Very! Your homemade tonkatsu sauce can be stored in an airtight container in the refrigerator for up to one week. If you made extra sauce, consider doubling the recipe! Always remember to give it a good shake or stir before using, as the ingredients may settle. If you want to keep it longer, you can freeze the sauce in ice cube trays—perfect for quick flavor additions later!
Enjoy diving deeper into the delightfully crispy world of Japanese Katsu Bowls!
Delicious Homemade Japanese Katsu Bowls Everyone Will Love
Ingredients
Equipment
Method
- Rinse the Japanese short-grain rice until the water runs clear, then soak in 2½ cups of water for 30 minutes. Bring to a boil, reduce heat, and simmer for 15 minutes without lifting the lid.
- Use a meat mallet to flatten the chicken breasts or pork loin to an even thickness of about ½ inch. Season both sides generously with salt and pepper.
- Prepare three shallow dishes: one with all-purpose flour, another with beaten eggs, and the last with panko breadcrumbs.
- Dredge each piece of protein first in flour, then dip it into the eggs, and finally, roll it in panko breadcrumbs.
- Heat vegetable oil in a deep skillet until hot. Carefully add the katsu and fry for 4-5 minutes on each side until golden brown.
- In a small bowl, whisk together tonkatsu sauce, soy sauce, Worcestershire sauce, and ketchup.
- Serve the sliced katsu over a bed of seasoned rice, topped with shredded cabbage, green onions, sesame seeds, and pickled ginger.

