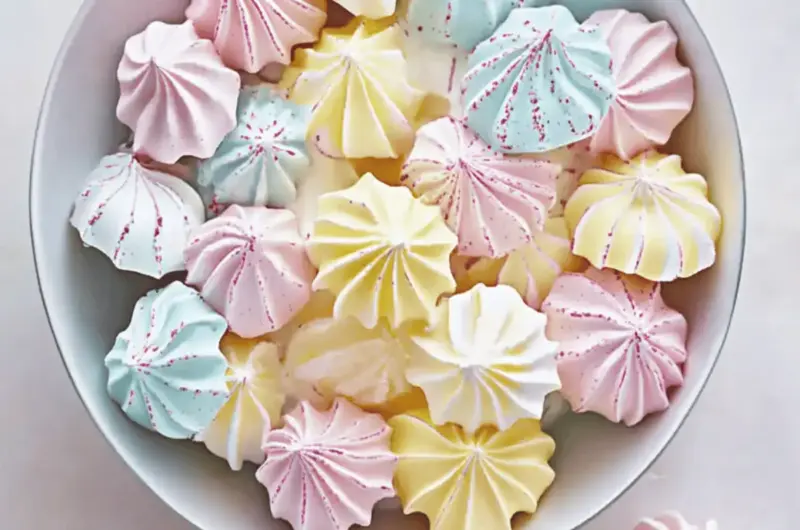
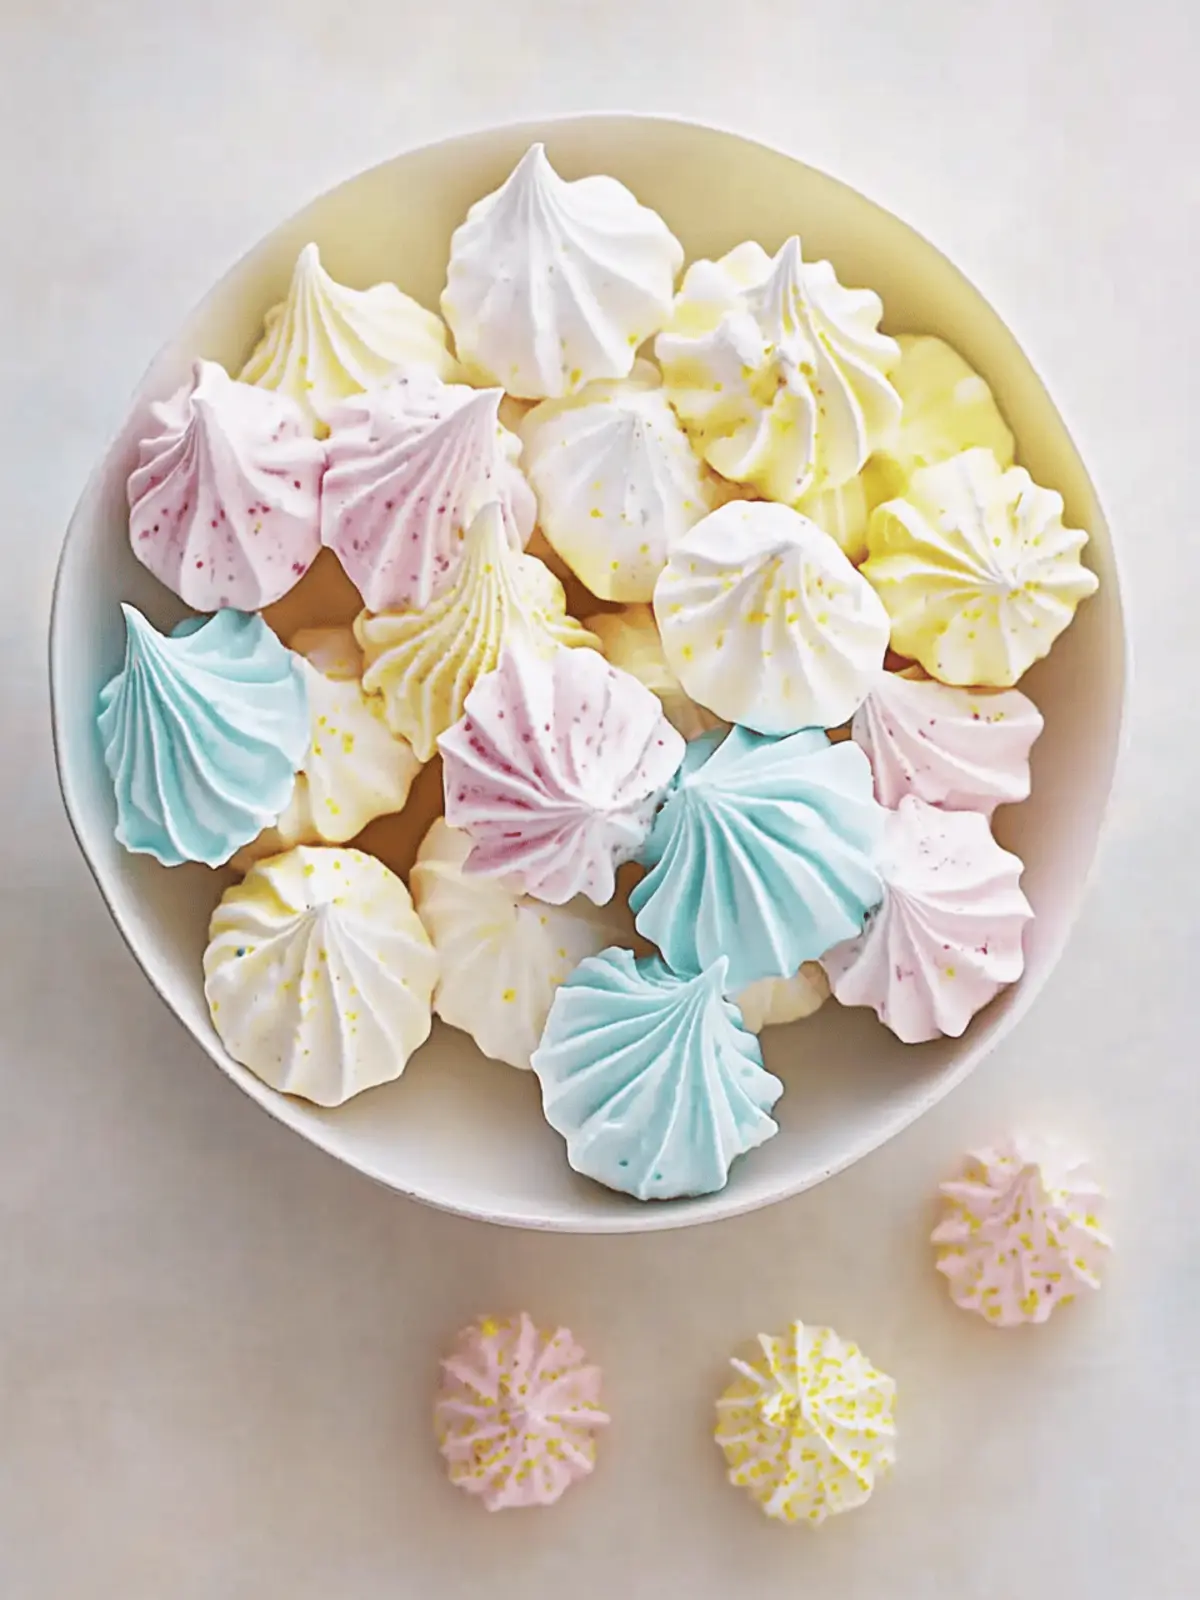
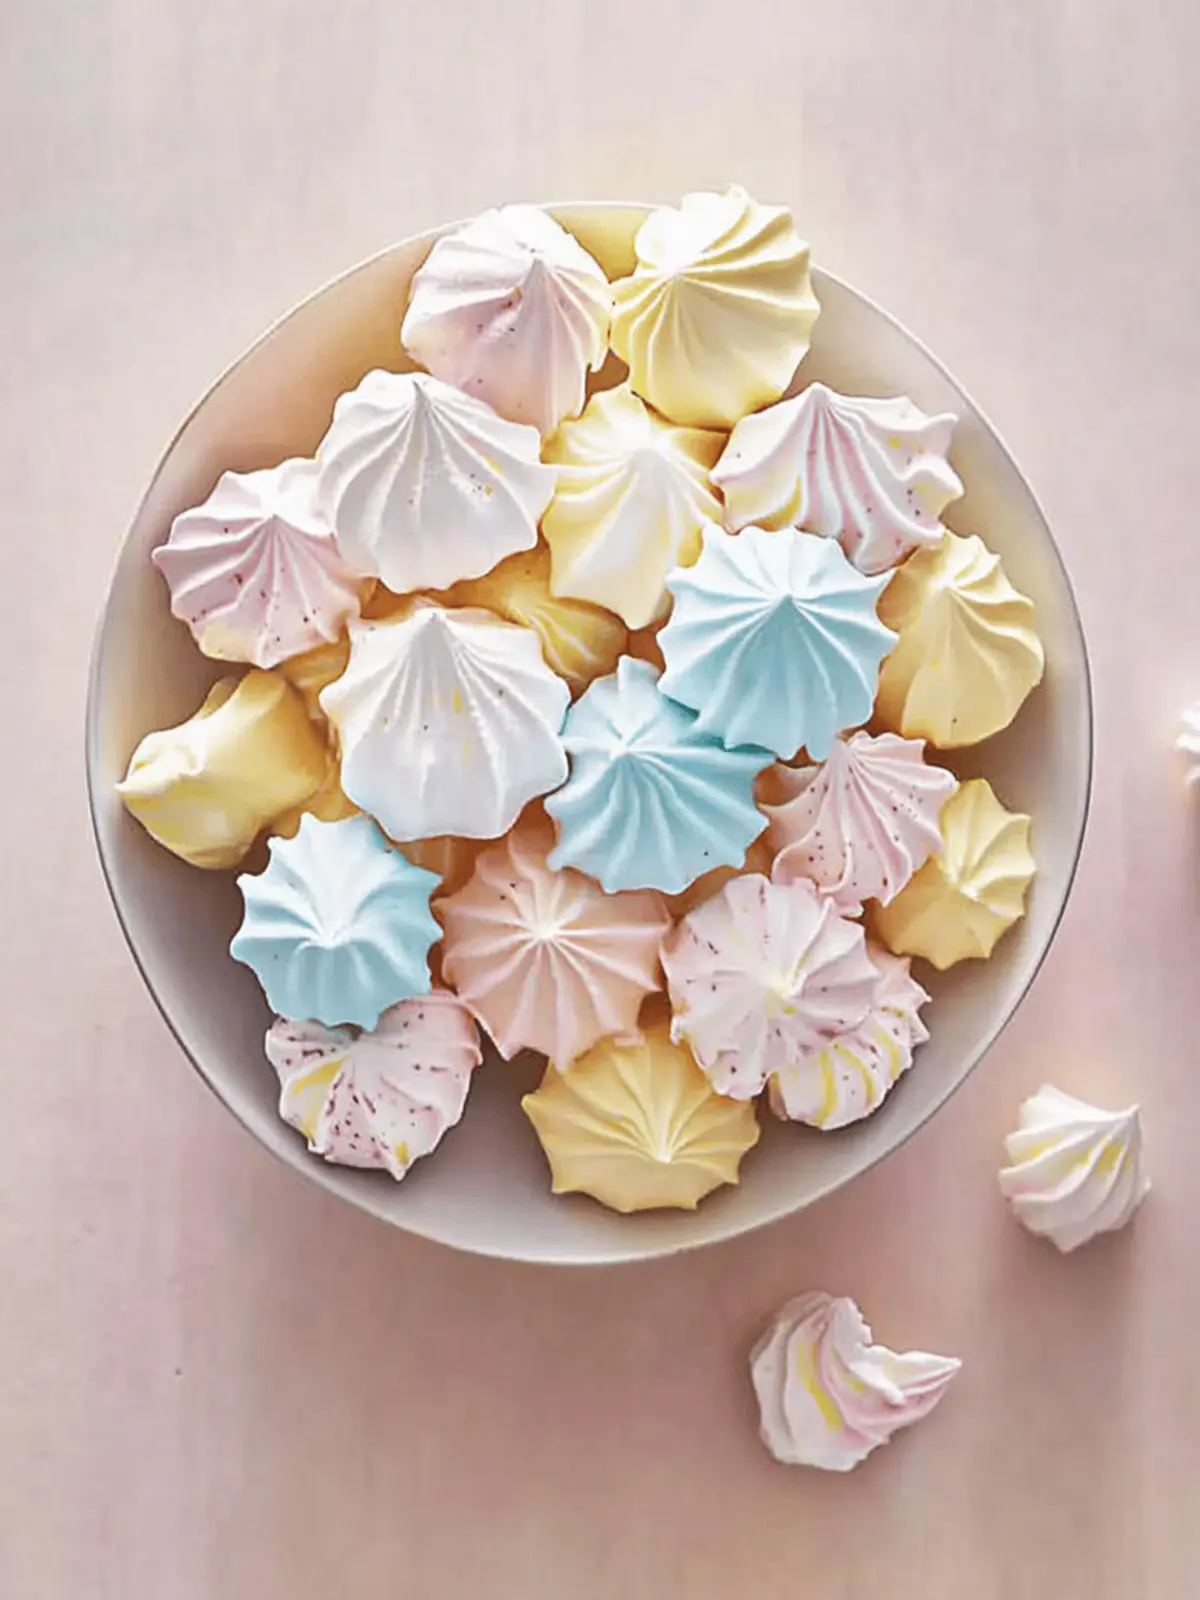
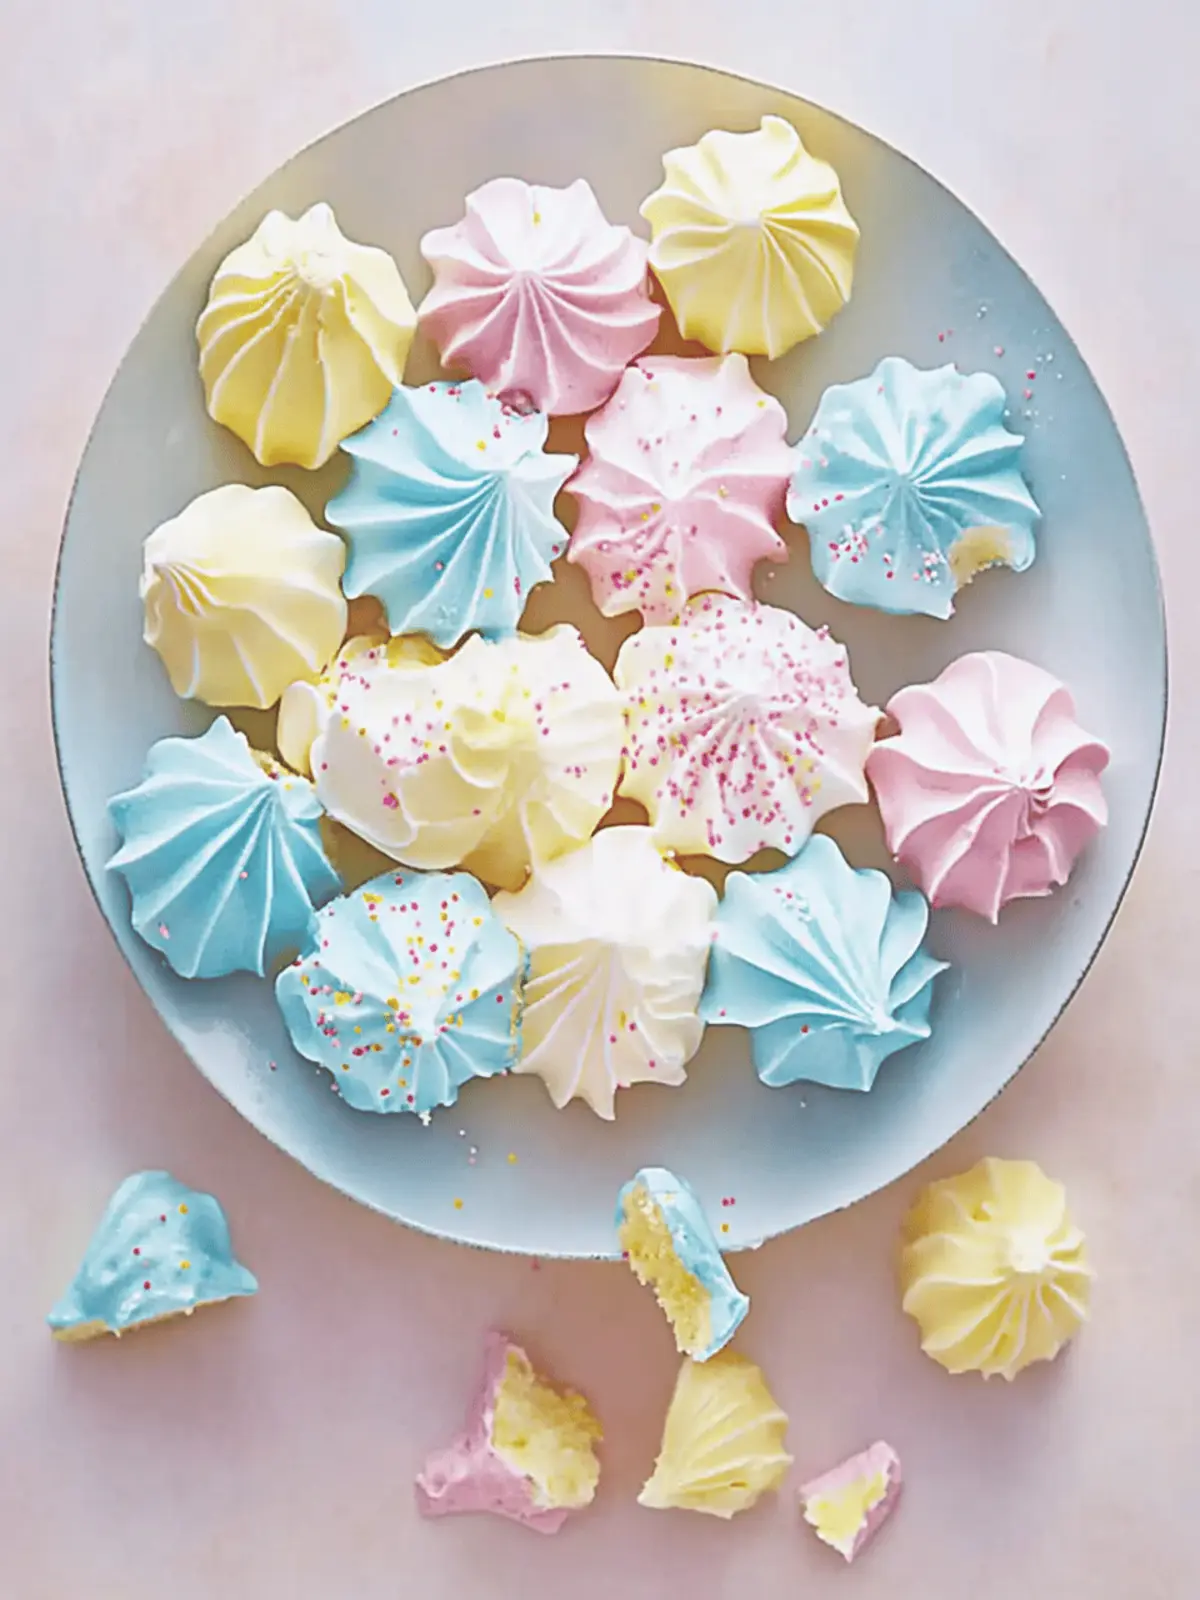
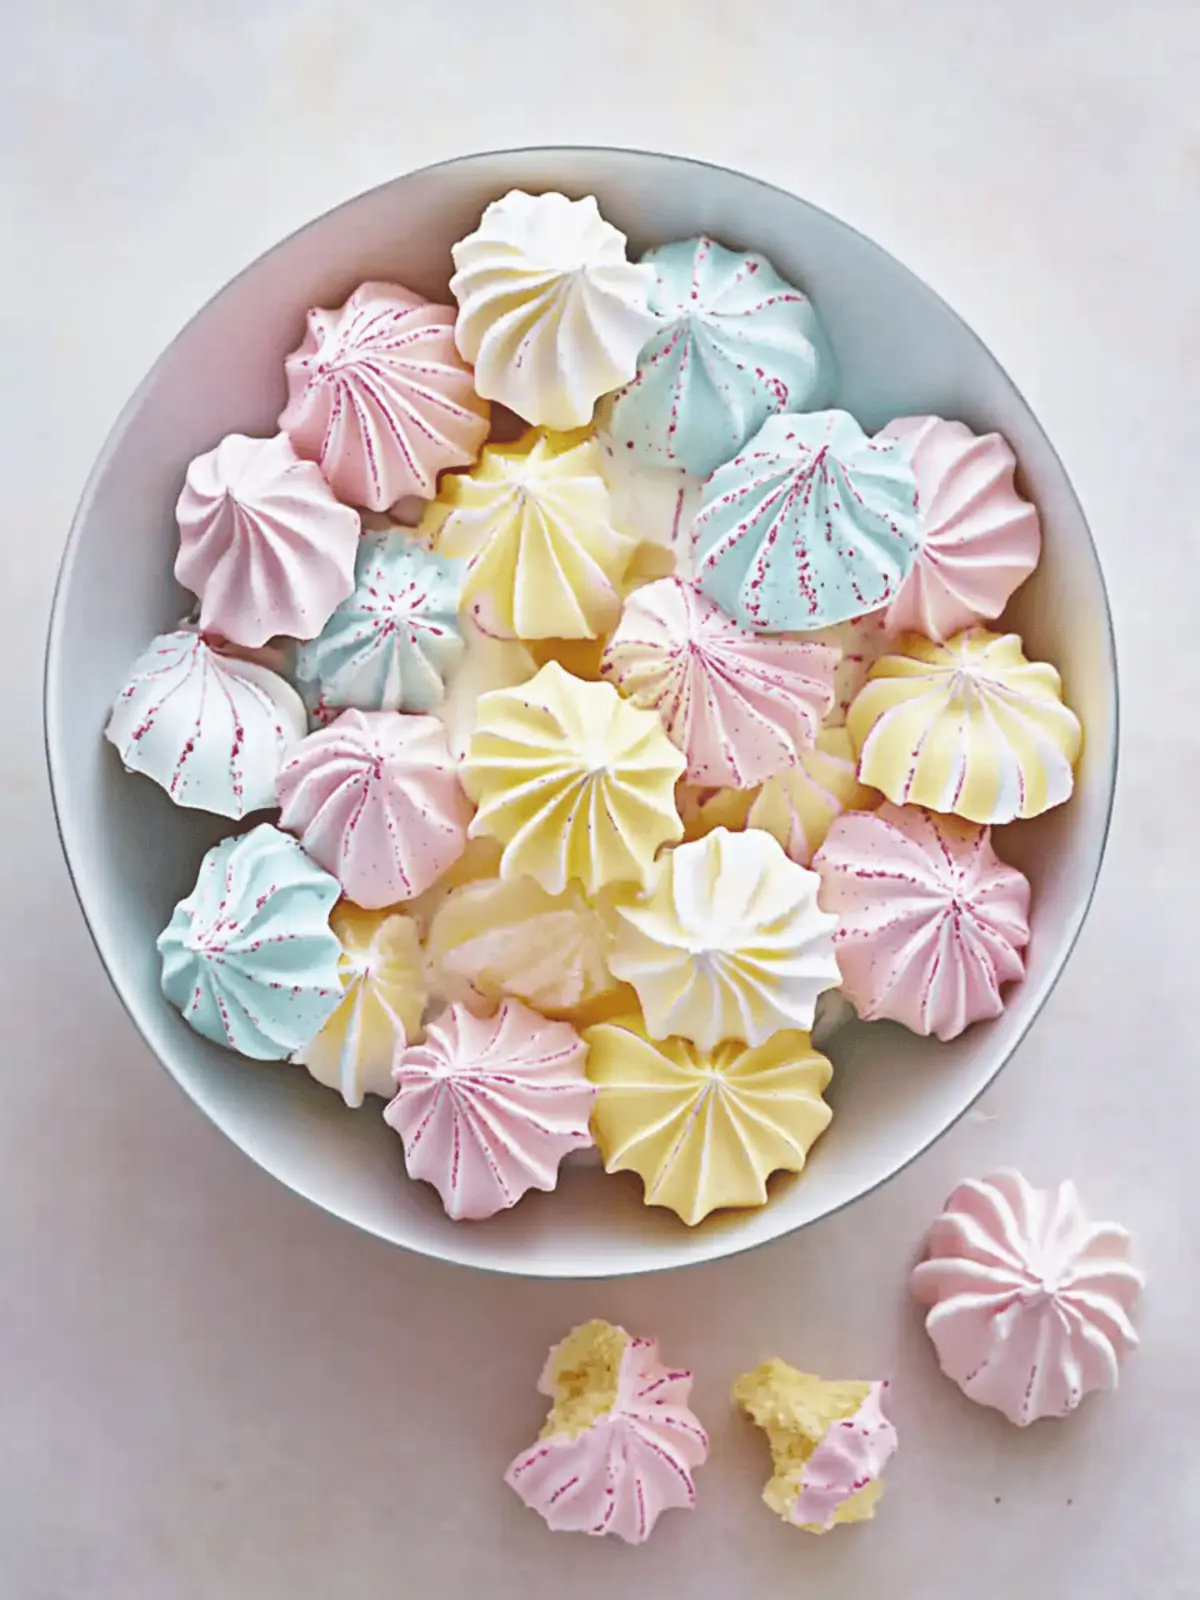
There’s nothing quite like the sight of delicate, wispy Mini Meringue Kisses shimmering in the sunlight, waiting for someone to pop them in their mouth. I first made these sweet little treats to surprise my friends during a casual brunch, and the tangy colors and airy texture transformed our gathering into a delightful celebration.
Crafted from just a handful of ingredients, these meringue kisses are the perfect way to elevate any occasion without the fuss of complicated recipes. With their charming crispiness and ability to showcase vibrant food coloring, you can even let your inner artist shine. Whether you’re looking to impress guests or simply craving a whimsical dessert, these Mini Meringue Kisses check all the boxes—a sweet escape from boring fast food and a fun addition to your homemade delights.
Join me as we explore how easy it is to whip up these delightful confections that are sure to please both your taste buds and your guests!
Why are Mini Meringue Kisses so delightful?
Light, Crispy Texture: These mini meringue kisses are incredibly airy, offering a satisfying crunch that melts in your mouth.
Vibrant Colors: With a splash of food coloring, you can create fun, colorful treats that brighten any dessert table.
Simple Ingredients: Made from just a few basic components, these meringues are easy to whip up, making them perfect for both beginner and experienced bakers.
Endless Versatility: Whether for a festive gathering or a casual snack, they fit any occasion beautifully.
Crowd-Pleaser: Shimmering and sweet, these bites will impress family and friends alike, making your gatherings unforgettable!
Experience the joy of meringue making and check out some of my other delightful recipes to elevate your home cooking!
Mini Meringue Kisses Ingredients
• Whip up these colorful delights with ease!
For the Meringue Base
- Basic Meringue – the foundation of your mini meringue kisses; don’t skimp on the beating for maximum fluffiness!
- Food coloring gels – choose vibrant colors like Wilton Teal, Rose, and Lemon Yellow to make your kisses pop with personality!
Optional Toppings
- Nonpareils – these sprinkles can add a delightful crunch and sparkle to your meringue kisses if you’d like an extra touch of fun!
Creating your Mini Meringue Kisses has never been easier with these simple ingredients, perfect for the sweet cravings that call for homemade magic!
How to Make Mini Meringue Kisses
-
Preheat your oven to 200°F (93°C). This low temperature helps to dry out the meringue, transforming it into that delightful, crunchy texture we all adore.
-
Whip the Basic Meringue until soft peaks form in a clean bowl. This process should take about 3-5 minutes of vigorous whisking, achieving that light and airy consistency central to your Mini Meringue Kisses.
-
Add food coloring gels to the meringue in your desired shades. Start with a small amount, as a little goes a long way! Mix gently to avoid deflating the meringue, keeping your kisses fluffy and light.
-
Pipe the meringue onto a parchment-lined baking sheet. Use a piping bag fitted with a star tip to create charming little swirls or kisses. Make them as big or small as you like!
-
Bake the meringue bites for about 90 minutes until they’re crisp on the outside. Look for a slightly off-white color, signaling they are ready to cool.
-
Cool completely on the baking sheet before serving. This is essential as the meringues need to firm up and develop that signature crunch we know and love!
Optional: Sprinkle with nonpareils for added texture and a whimsical finish!
Exact quantities are listed in the recipe card below.
Make Ahead Options
These delightful Mini Meringue Kisses are perfect for meal prep enthusiasts! You can prepare the Basic Meringue up to 24 hours in advance. Simply whip it up according to your recipe instructions and store the whipped meringue in an airtight container in the refrigerator to maintain its airy texture. When you’re ready to serve, add your chosen food coloring and pipe the meringues onto a parchment-lined baking sheet, following the rest of the baking instructions. This make-ahead approach not only saves time on busy days but also ensures your meringues remain just as delicious and light, providing a delightful sweet treat whenever the craving strikes!
What to Serve with Mini Meringue Kisses?
These whimsical treats are perfect for a charming dessert spread, inviting you to explore delightful pairings that enhance their sweetness.
-
Fresh Berries: Serve with a mix of strawberries, blueberries, and raspberries; their tartness beautifully balances the sugary meringues.
Berries add a refreshing touch and color contrast, making your dessert table come alive. -
Chocolate Sauce: A drizzle of rich, warm chocolate brings a decadent touch. Dip those kisses in for a perfect sweet-and-salty experience!
-
Whipped Cream: A dollop of lightly sweetened cream adds a luxuriant, creamy texture that complements the crunchy meringue. Simply exquisite!
-
Fruit Coulis: A vibrant raspberry or mango coulis adds a splash of color and fruitiness, elevating each kiss into an elegant treat.
-
Coffee or Tea: Pair with your favorite brew; the slight bitterness of coffee or the fragrant notes of tea beautifully enhance the sweetness.
-
Ice Cream: Nestle these delightful bites into a scoop of your favorite ice cream for a fabulous dessert that feels indulgent yet playful.
-
Sparkling Wine: A glass of bubbly adds a celebratory spirit, making it the perfect companion for sweet bites like mini meringue kisses.
Tips for the Best Mini Meringue Kisses
-
Perfect Peaks: Ensure your mixing bowl is completely clean and dry before whipping the meringue; any grease can prevent the egg whites from reaching their full potential.
-
Gentle Colors: When adding food coloring, use just a tiny bit at a time. Too much can weigh down the mini meringue kisses and affect their fluffiness.
-
Piping Precision: For evenly shaped meringue kisses, practice piping on parchment paper before baking, helping you create uniform swirls and ensuring a professional touch.
-
Low and Slow: Resist the urge to crank up the oven temperature; baking them low and slow helps achieve that perfect crunchy exterior and soft interior.
-
Patience Required: Allow the mini meringue kisses to cool completely on the baking sheet. This crucial step helps them develop their coveted crispiness and prevents any chance of deflation.
How to Store and Freeze Mini Meringue Kisses
Room Temperature: Keep your mini meringue kisses in an airtight container at room temperature for up to 3 days. This helps maintain their delightful crispiness.
Fridge: Avoid storing meringues in the fridge, as the humidity can cause them to become sticky and lose their texture.
Freezer: If you want to prepare ahead, freeze the meringue kisses for up to 2 months in a sealed container. Make sure to separate layers with parchment paper to prevent sticking.
Reheating: To refresh any slightly softened meringues, simply pop them back in a 200°F (93°C) oven for about 10 minutes to regain that delightful crunch!
Mini Meringue Kisses Variations
Feel free to get creative and customize your Mini Meringue Kisses with these fun variations!
-
Cocoa Twist: Add 1 tablespoon of cocoa powder to the meringue for a rich, chocolatey flavor that will satisfy any chocolate lover.
-
Lemon Zest: Incorporate 1 teaspoon of fresh lemon zest in the meringue for a delightful citrus punch that brightens up each bite.
-
Nutty Flavor: Fold in finely chopped nuts like pistachios or almonds for added texture and a nutty richness you’ll adore.
-
Spiced Surprise: Mix in a pinch of cinnamon or a dash of cayenne for a subtle warmth and spice that will tantalize the taste buds.
-
Fruit Infusion: Drop in a few drops of fruit extract, like strawberry or raspberry, for a sweet twist and an explosion of flavor!
-
Chocolate Drizzle: After baking, drizzle melted chocolate on top to create a decadent layer that offers a lovely contrast to the airy meringue.
-
Caramel Swirl: Add a swirl of homemade or store-bought caramel sauce before baking, giving each kiss a gooey surprise inside.
-
Herbal Infusion: For a unique twist, mix in a little finely chopped fresh rosemary or mint for an unexpected flavor layer that refreshes the palate.
Mini Meringue Kisses Recipe FAQs
How do I know if my egg whites are fresh enough for meringue?
Absolutely! Fresh egg whites whip better and result in a more stable meringue. To check, place the egg in a bowl of water; if it sinks and lays flat, it’s fresh. If it stands upright or floats, it’s best to discard it.
What’s the best way to store my mini meringue kisses?
You can store your delightful mini meringue kisses in an airtight container at room temperature for up to 3 days. This storage method helps maintain their crispiness. Just make sure the container is sealed well—exposure to air can cause them to lose their delightful crunchy texture!
Can I freeze mini meringue kisses?
Yes, of course! To freeze your mini meringue kisses, place them in a single layer in an airtight container separated by layers of parchment paper to prevent sticking. They can stay fresh in the freezer for up to 2 months. When you’re ready to enjoy them, simply allow them to thaw at room temperature or pop them back into a 200°F (93°C) oven for about 10 minutes to regain that lovely crunch.
What should I do if my meringue isn’t stiff enough?
Very common! If your meringue doesn’t reach stiff peaks, ensure your mixing bowl and beaters are completely clean and dry. Any grease can affect whipping. Start over with fresh egg whites if needed. You can also try adding a pinch of cream of tartar to stabilize your egg whites as you whip them; about 1/8 teaspoon for 2 egg whites usually does the trick!
Are there any dietary considerations I should think about?
Certainly! Mini meringue kisses are naturally gluten-free and dairy-free, making them suitable for those with gluten or dairy sensitivities. However, be cautious when buying your food coloring gels, as some may contain allergens. Always check the ingredient labels if you’re concerned about allergies.
Can I customize the flavors of my mini meringue kisses?
The more the merrier! Yes, you can infuse unique flavors into your meringue. Adding a few drops of vanilla extract or almond extract to your meringue base can create delightful variations. Just remember that adding too much liquid can affect the meringue’s stability, so stick with just a few drops!
Delicious Mini Meringue Kisses for Sweet Cravings
Ingredients
Equipment
Method
- Preheat your oven to 200°F (93°C).
- Whip the egg whites until soft peaks form, about 3-5 minutes.
- Add food coloring gels to the meringue and mix gently.
- Pipe the meringue onto a parchment-lined baking sheet.
- Bake for about 90 minutes until crisp.
- Cool completely on the baking sheet before serving.
- Sprinkle with nonpareils if desired.

