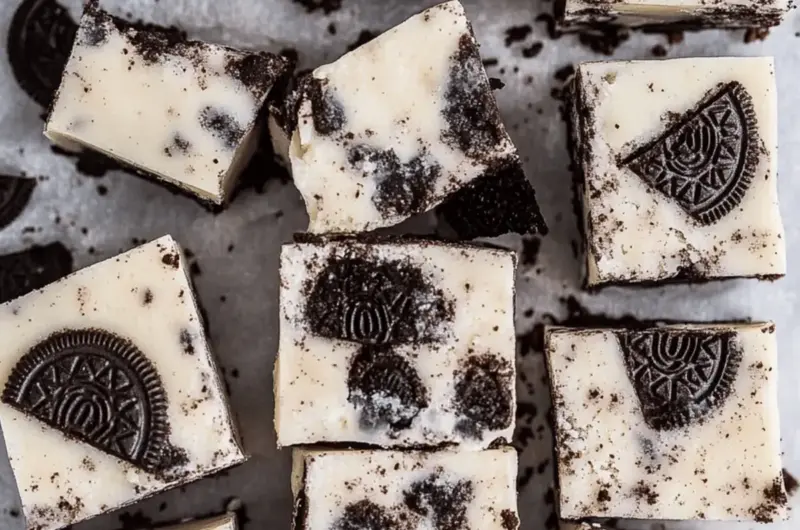
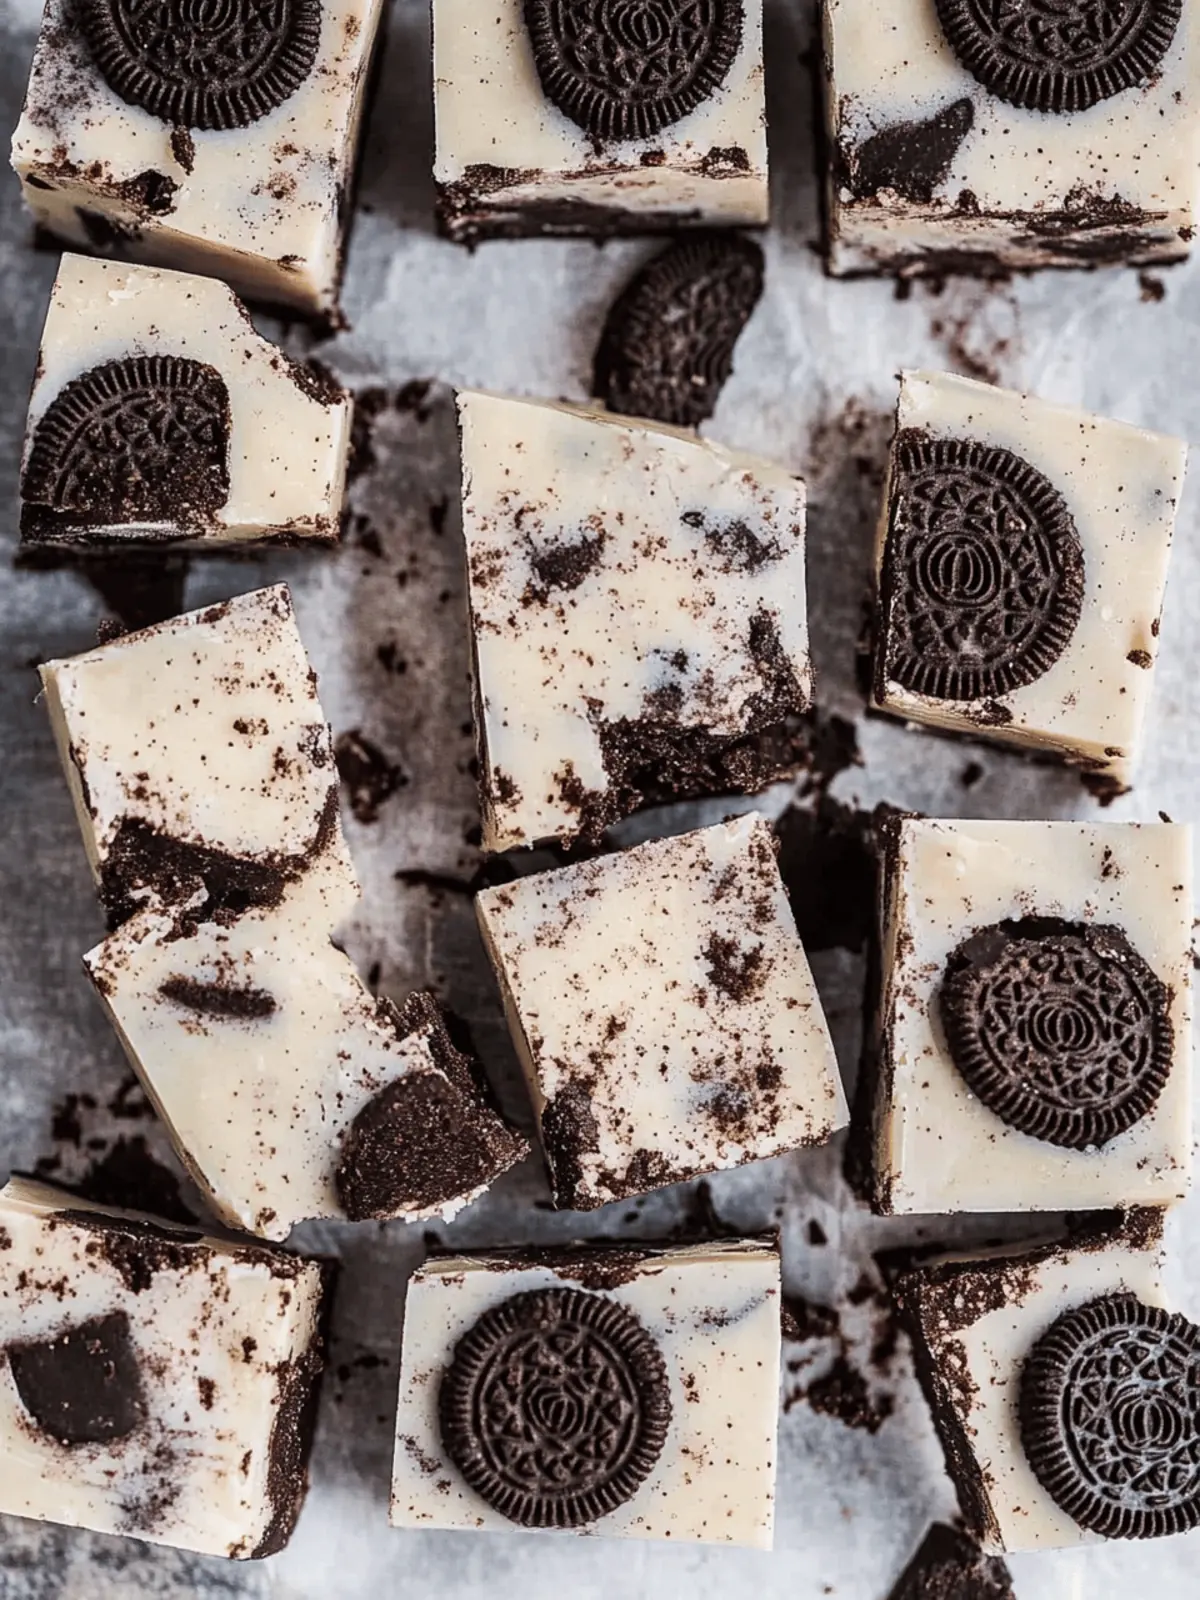
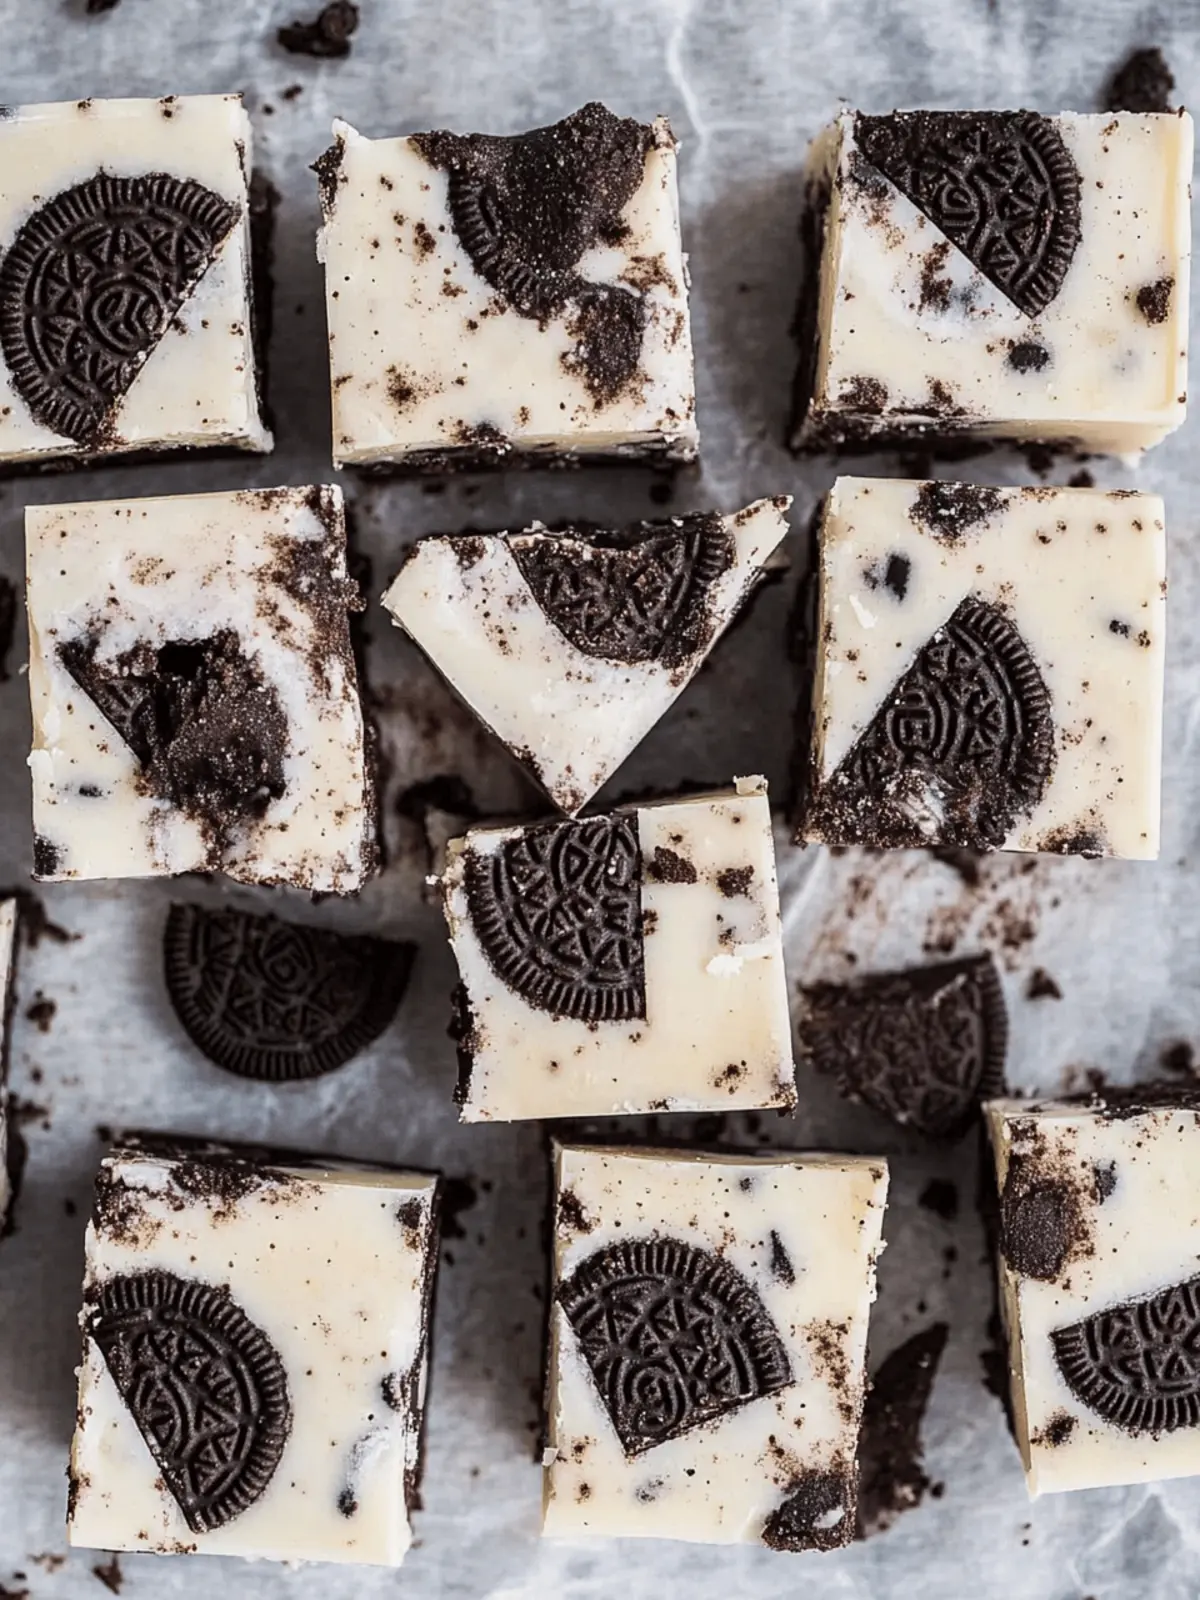
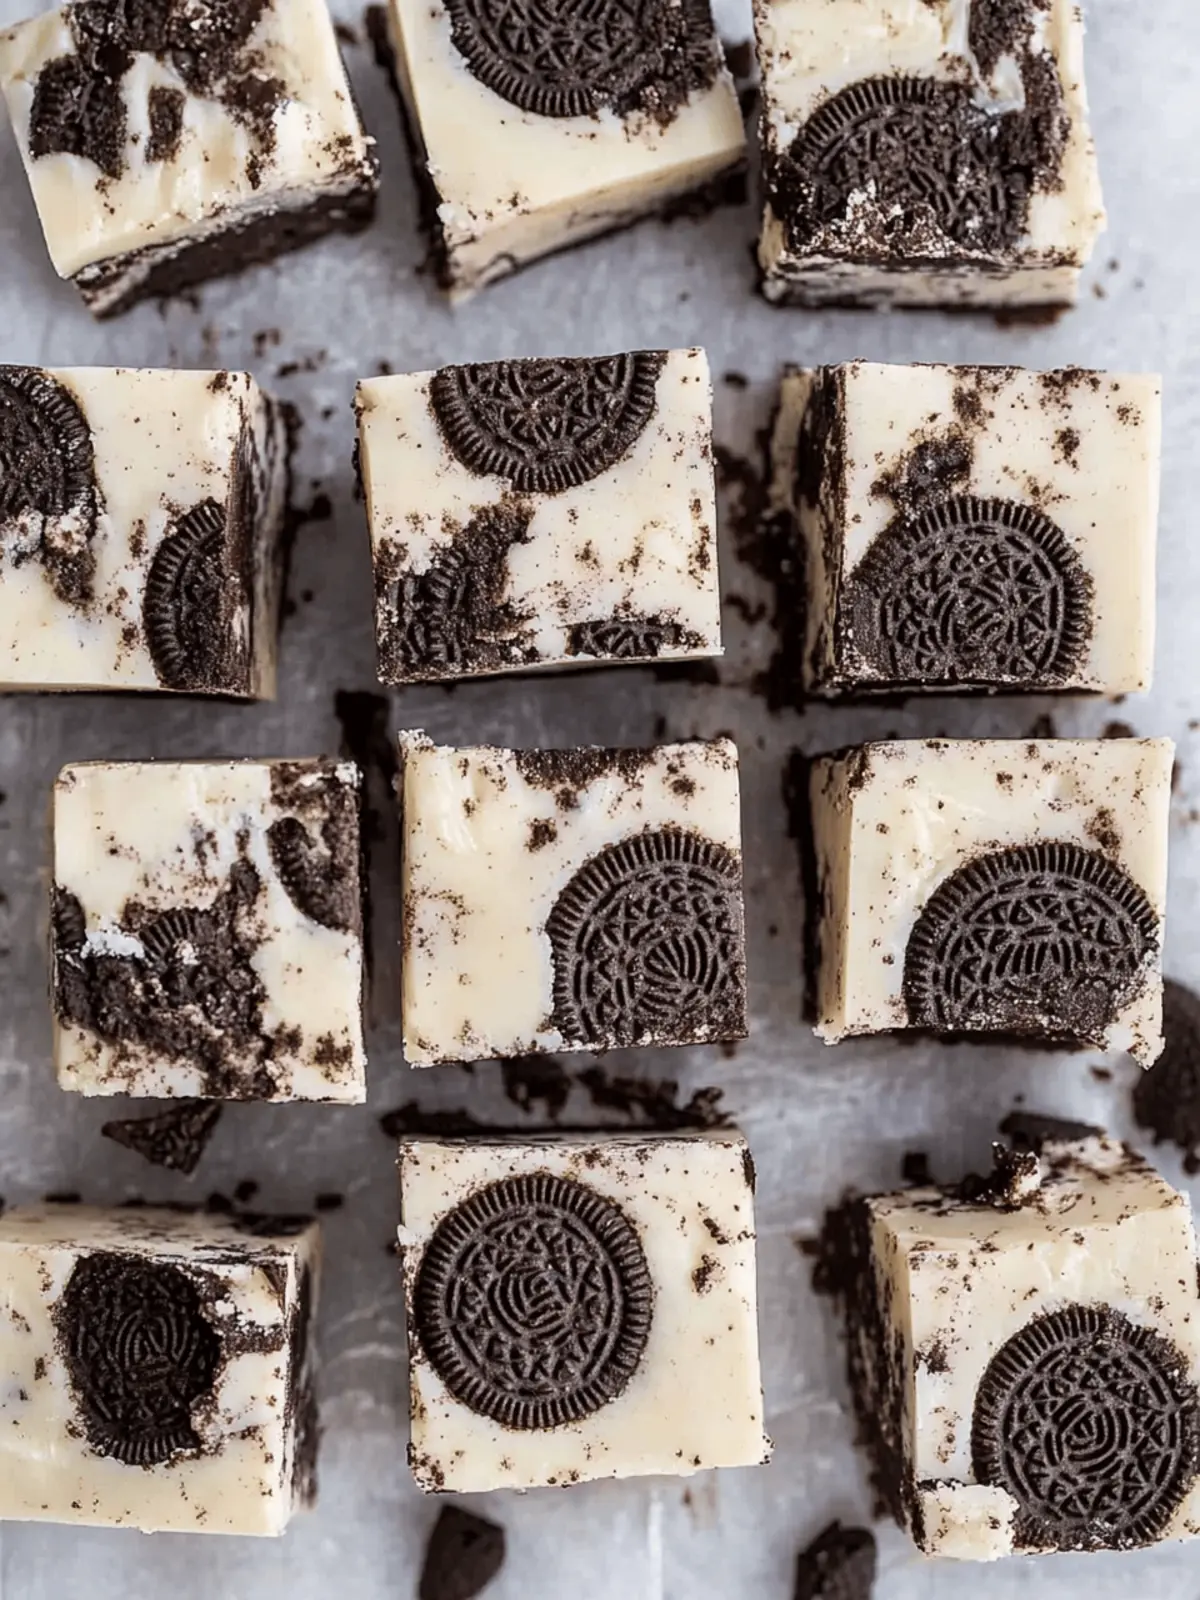
There’s something undeniably delightful about the combination of chocolatey crunch and creamy sweetness that Oreo Fudge brings to the table. I first discovered this little treasure on a busy afternoon when I craved something sweet but didn’t want to spend hours in the kitchen. Using just five ingredients and a microwave, I whipped up a batch that not only satisfied my craving but also led to wide-eyed approval from my family.
Imagine cutting into a glossy, smooth square of fudge, with every bite revealing luscious Oreo pieces that melt in your mouth. Whether you need a quick dessert for a gathering or a simple treat to brighten your day, this no-bake fudge has you covered. Plus, it’s so customizable—feel free to toss in your favorite mix-ins or experiment with different Oreo flavors! Trust me, once you make this easy Oreo Fudge, you’ll have a new go-to dessert that’s as fun to make as it is to eat. Let’s dive into the recipe!
Why is Oreo Fudge the perfect dessert?
Irresistible flavor: The delightful blend of white chocolate and crunchy Oreos creates a sweet symphony that’s hard to resist.
Quick to make: Prep this delicious treat in just five minutes, making it a lifesaver for unexpected guests!
No-bake bliss: No oven required means less hassle and cleanup—perfect for busy days or warm evenings.
Customizable: Feel free to mix in your favorite flavors, like peanut butter or mint, for a unique twist every time.
Crowd-pleaser: Whether it’s a family gathering or a cozy movie night, this fudge is sure to impress and satisfy everyone’s sweet tooth!
Oreo Fudge Ingredients
• A delightful array of flavors awaits!
For the Fudge
• Sweetened Condensed Milk – Provides a rich and creamy base for the Oreo Fudge.
• White Chocolate Chips – The primary source of sweetness and creaminess; semi-sweet chips can be used for a richer flavor.
• Oreos (10, chopped) – Add that classic cookies and cream taste and texture; any flavor can be a fun twist!
• Salt (1/8 tsp) – Balances the sweetness irresistibly, elevating the overall flavor.
• Vanilla Extract (1/2 tsp) – Enhances the fudge with warmth; optional but recommended for depth.
Optional Toppings
• Additional Oreos – Press them into the top for extra crunch and decoration.
• Sprinkles – Add a festive touch for celebrations or special occasions.
• Nut Butter – Stir in for a creamy contrast and an added layer of flavor.
How to Make Oreo Fudge
-
Prepare the Dish: Line an 8 or 9-inch square baking dish with aluminum foil, allowing the foil to extend up the sides for easy removal later. Set this aside as you move on to the next step.
-
Combine Ingredients: In a glass microwave-safe bowl, mix the sweetened condensed milk and white chocolate chips until the mixture looks well combined. This creates the sweet base of your fudge.
-
Microwave: Heat the mixture in the microwave on full power for 1 minute. Stir it well; if needed, microwave for an additional 15 seconds, but watch carefully to prevent overheating—it should come out melted and smooth.
-
Mix & Add Oreos: Gently fold the chopped Oreos, salt, and vanilla extract into the melted mixture. Be thorough, ensuring every piece of Oreo is coated with the creamy fudge blend.
-
Transfer & Set: Pour the fudge mixture into the prepared baking dish, spreading it evenly. If you like, press additional Oreo pieces into the top for that extra crunch and visual appeal. Allow it to set at room temperature for at least 4 hours, or ideally overnight for the best texture.
-
Cut & Serve: Once the fudge has set, lift it out from the pan using the foil as handles and cut into squares. Store any leftovers in an airtight container at room temperature for 1-2 weeks, if it lasts that long!
Optional: Top with a drizzle of chocolate or a sprinkle of sea salt for an extra-special treat.
Exact quantities are listed in the recipe card below.
Oreo Fudge Variations
Embrace the fun of customization with these delightful twists that will take your Oreo Fudge to the next level!
-
Minty Fresh: Add 1/4 tsp peppermint extract to infuse a refreshing minty flavor that pairs perfectly with the chocolatey Oreos.
-
Nutty Addition: Stir in 1/2 cup of your favorite nut butter for a creamy texture and an added layer of rich flavor.
-
Fun Sprinkles: Fold in some colorful sprinkles before pouring into the dish for a festive treat that brightens up any occasion.
-
Dairy-Free Option: Substitute sweetened condensed milk with coconut milk and use dairy-free chocolate chips for a vegan-friendly fudge.
-
Colorful Candy: Mix in some chopped M&M’s or Reese’s Pieces for a sweet crunch and a pop of color within your fudge.
-
Dark Chocolate Lovers: Swap white chocolate chips for dark chocolate chips to create a richer and slightly less sweet version of this beloved treat.
-
Chili Heat: For an adventurous twist, add a pinch of cayenne pepper for a spicy kick that balances the sweetness beautifully.
-
Caramel Drizzle: Finish with a drizzle of caramel sauce on top right before serving for an added indulgent flair that everyone will love!
What to Serve with Oreo Fudge?
Looking to elevate your dessert experience with delightful accompaniments?
-
Rich Coffee: The deep flavors of a fresh brew balance the sweetness of Oreo Fudge, creating a satisfying end to any meal.
-
Whipped Cream: A dollop of creamy goodness offers a light contrast, enhancing the rich texture of the fudge with added fluffiness.
-
Ice Cream: Chocolate or vanilla ice cream adds a cool, creamy element, turning your fudge into an indulgent sundae experience. Pairing the two creates a delightful mix of temperatures and textures that will impress your guests.
-
Fruit Platter: Fresh berries like raspberries or strawberries lend a fruity acidity that cuts through the richness, providing a refreshing touch to each bite.
-
Milkshake: A cookies-and-cream milkshake brings the joy of oreos full circle! The creamy shake pairs perfectly, turning dessert into a fun, nostalgic experience.
-
Nutty Brownies: For an indulgent double-chocolate treat, serve alongside nutty brownies. The contrasting textures elevate your dessert offering to new heights.
-
Sparkling Water: A light, bubbly drink can cleanse the palate, making each piece of fudge feel like a new adventure in flavor.
-
Caramel Drizzle: Drizzle warm caramel sauce over the fudge for an extra touch of decadence that will have friends and family swooning.
Each of these pairings is sure to enhance the delicious experience of your homemade Oreo Fudge!
How to Store and Freeze Oreo Fudge
Room Temperature: Store Oreo Fudge in an airtight container at room temperature for up to 1-2 weeks for perfect texture and flavor.
Fridge: If you prefer a firmer fudge, refrigerate it in an airtight container for up to 2-3 weeks. Just allow it to come to room temperature before serving.
Freezer: Wrap the fudge tightly in plastic wrap and place it in a zip-lock bag. It can be frozen for up to 3 months for long-term storage, making the Oreo Fudge easy to save for a sweet craving later.
Reheating: If desired, thaw frozen fudge overnight in the fridge before enjoying. For a warm treat, slightly microwave it for 10-15 seconds, just until it’s soft.
Expert Tips for Oreo Fudge
-
Watch the Microwave: Avoid over-microwaving, which can lead to dry and crumbly fudge. Stop heating when the mixture is just smooth and creamy.
-
Room Temperature Setting: Let the fudge cool at room temperature instead of in the fridge to prevent crystallization from sudden temperature changes.
-
Use Glass Bowls: For even heating and better control, opt for a glass bowl when microwaving your ingredients. It helps achieve a smooth melt!
-
Press Oreos Firmly: When adding additional Oreo pieces on top, press them down firmly to help them adhere to the fudge surface for that extra crunch in every bite.
-
Experiment with Flavors: Don’t be afraid to mix things up! Incorporating different Oreo flavors can create a delightful variation of your favorite Oreo Fudge.
Make Ahead Options
These Easy Oreo Fudge treats are perfect for busy home cooks looking to save time! You can prepare the fudge mixture up to 24 hours in advance by following the initial steps of combining the sweetened condensed milk and white chocolate chips, then adding in chopped Oreos before pouring it into the baking dish. To maintain quality, cover the dish tightly with plastic wrap and refrigerate. When you’re ready to serve, simply allow the fudge to come to room temperature for about 30 minutes, then cut it into squares. This way, you’ll have a delightful dessert ready to impress your guests with minimal effort and maximum satisfaction!
Oreo Fudge Recipe FAQs
How do I select ripe ingredients for the Oreo Fudge?
Absolutely! For this recipe, fresh ingredients yield the best results. Ensure your sweetened condensed milk is within its expiry date and that your white chocolate chips are smooth and creamy. When it comes to Oreos, look for packages without any visible damage, as broken cookies may lead to additional crumbles in your fudge.
How should I store Oreo Fudge after making it?
To keep your Oreo Fudge fresh, store it in an airtight container at room temperature for up to 1-2 weeks. If you prefer a firmer texture, you can also refrigerate it in an airtight container for up to 2-3 weeks. Just remember to let it sit at room temperature for a bit before serving for the best taste!
Can I freeze Oreo Fudge?
Yes, you can! To freeze your Oreo Fudge, wrap it tightly in plastic wrap and place it in a zip-lock freezer bag. It will stay good for up to 3 months. When you’re ready to enjoy it, just thaw the fudge overnight in the fridge. If you want a warm treat, microwave it for 10-15 seconds for a delightful soft bite.
What should I do if my fudge is too crumbly?
If your Oreo Fudge turns out crumbly, it’s likely due to overheating the mixture in the microwave. Next time, stop microwaving as soon as the chocolate melts and is smooth. Another trick is to add a tiny splash of sweetened condensed milk to help bind it together when mixing. If it’s already made, gently melt the fudge again while stirring and then pour it into the baking dish to set again.
Are there any dietary considerations for Oreo Fudge?
Great question! This Oreo Fudge contains dairy and gluten from the sweetened condensed milk and Oreos. If you have dietary restrictions, consider using dairy-free chocolate chips and gluten-free Oreos for a delicious alternative that can cater to different needs. Always check the packaging for any allergen information to be safe.
Can I customize my Oreo Fudge with other flavors?
Very! There are numerous ways to personalize your Oreo Fudge. You can swap the regular Oreos for flavored ones, like Mint or Peanut Butter. Additionally, consider mixing in some nuts, sprinkles, or even a touch of espresso powder for a mocha twist. The more the merrier when it comes to creating your perfect fudge!
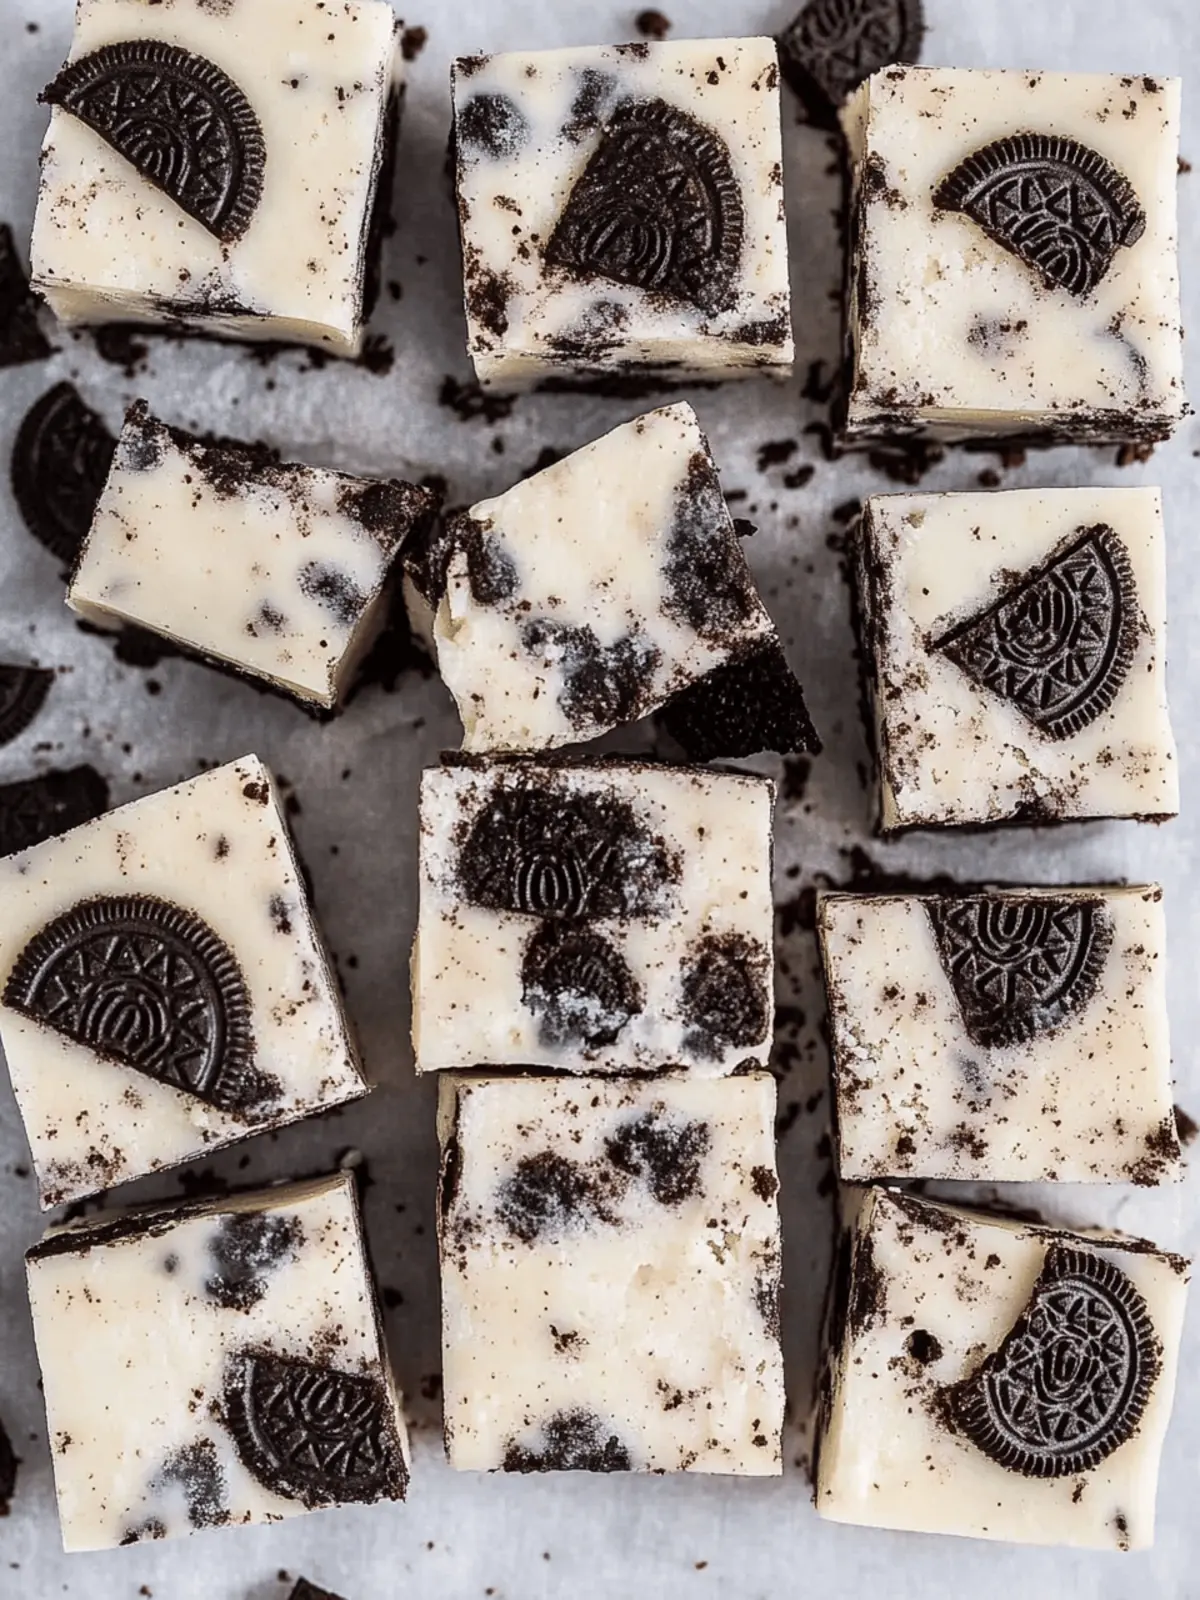
Irresistible Oreo Fudge: A 5-Minute Delicious Treat
Ingredients
Equipment
Method
- Line an 8 or 9-inch square baking dish with aluminum foil, allowing the foil to extend up the sides for easy removal.
- In a glass microwave-safe bowl, mix the sweetened condensed milk and white chocolate chips until well combined.
- Heat the mixture in the microwave on full power for 1 minute. Stir well; microwave for an additional 15 seconds if needed.
- Gently fold in the chopped Oreos, salt, and vanilla extract into the melted mixture.
- Pour the fudge mixture into the prepared baking dish and spread it evenly. Press additional Oreo pieces into the top if desired.
- Allow it to set at room temperature for at least 4 hours, or ideally overnight.
- Once set, lift it out using the foil and cut into squares. Store leftovers in an airtight container for 1-2 weeks.

