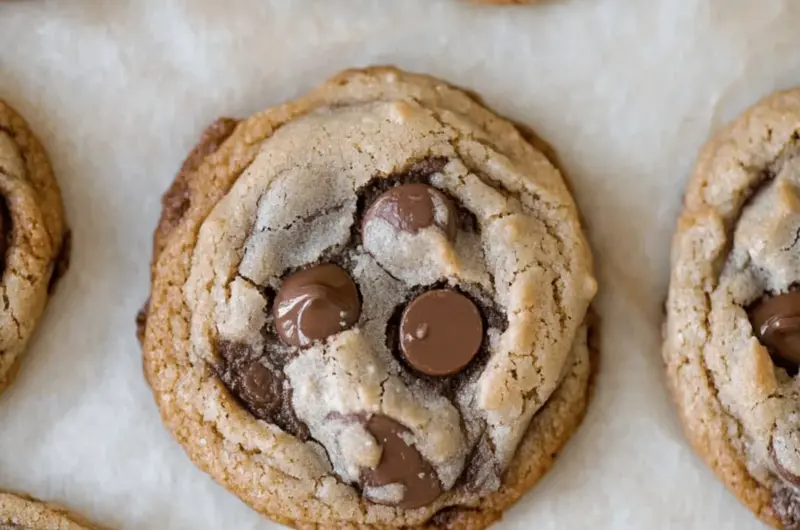
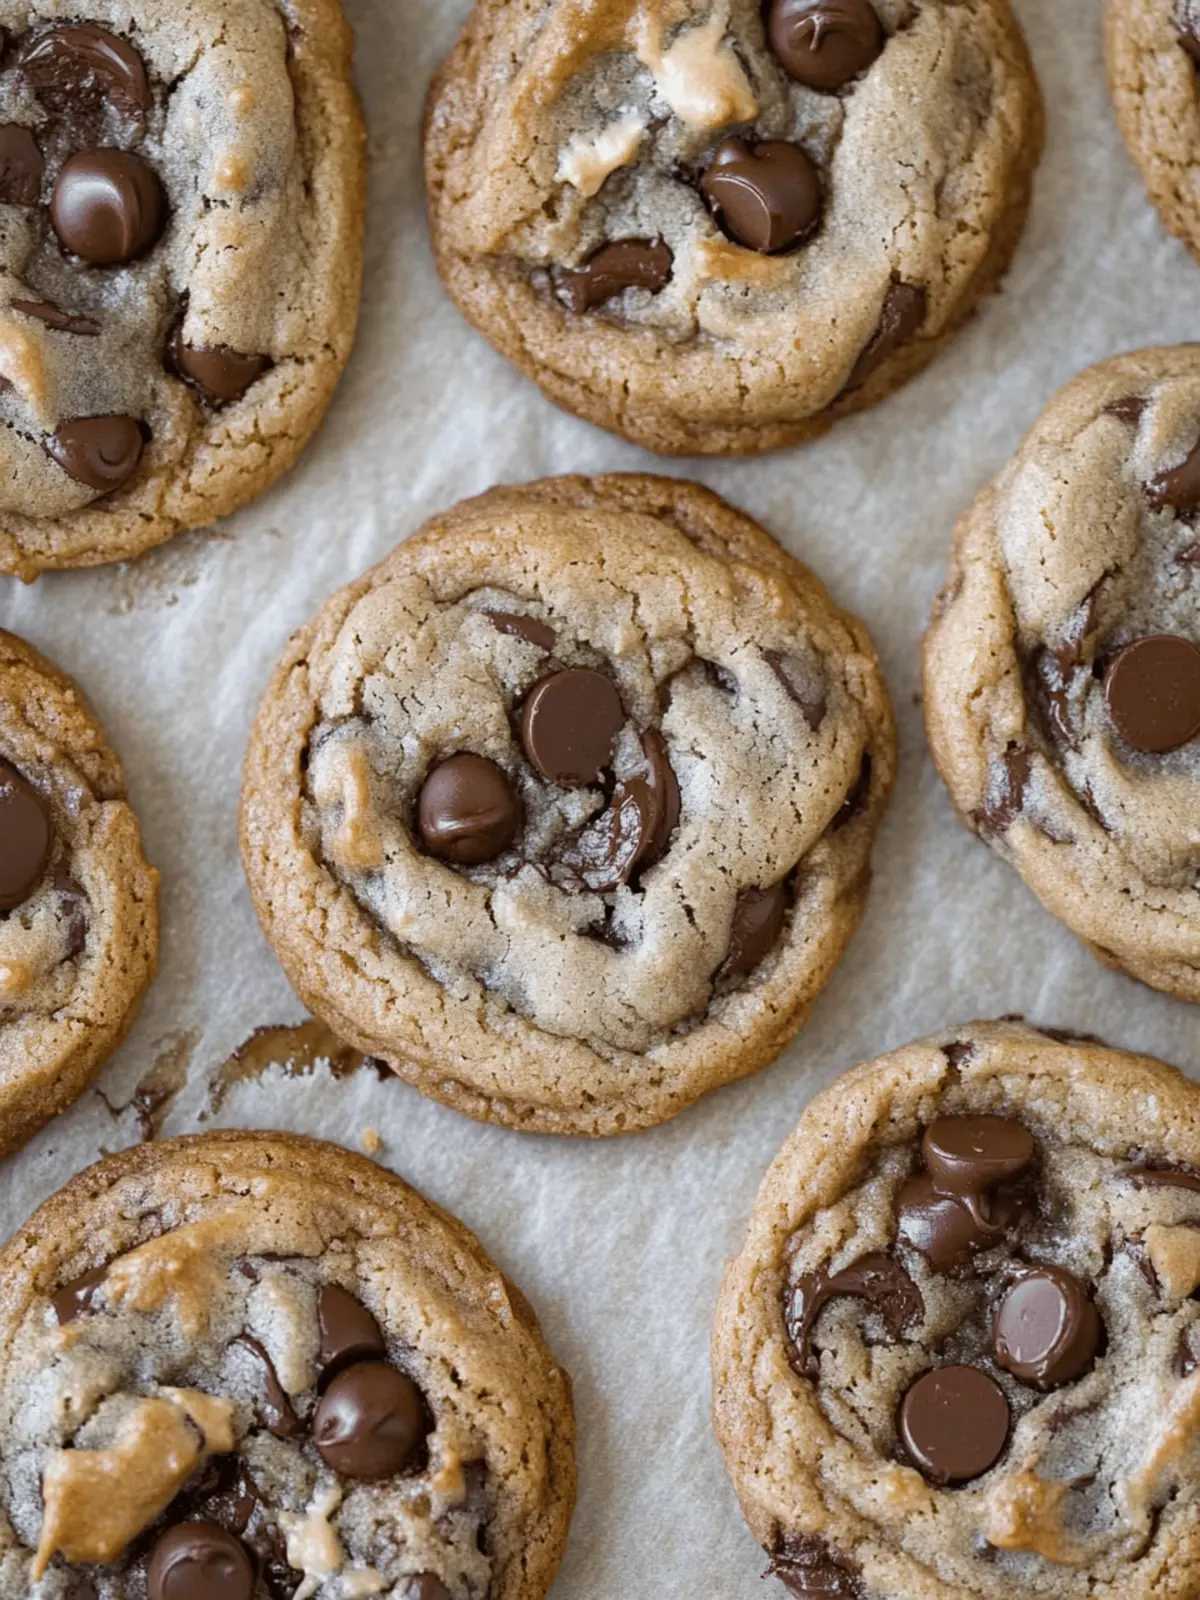
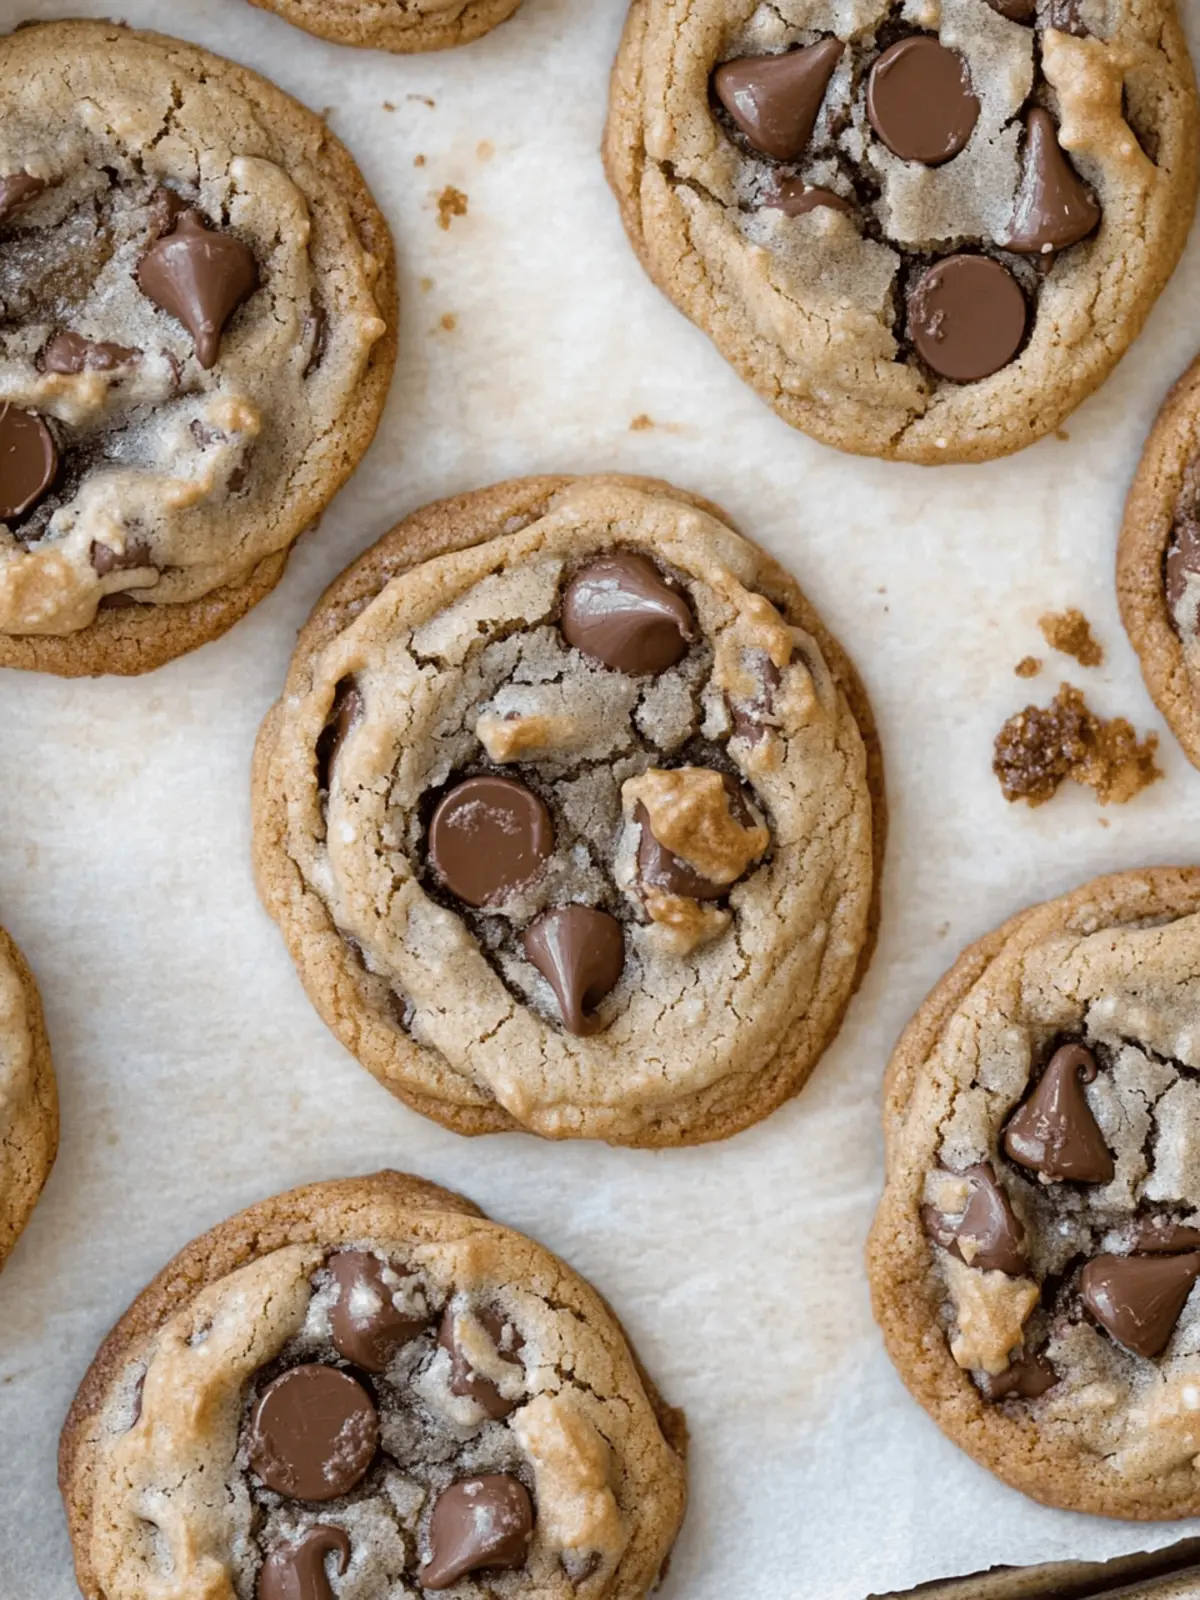
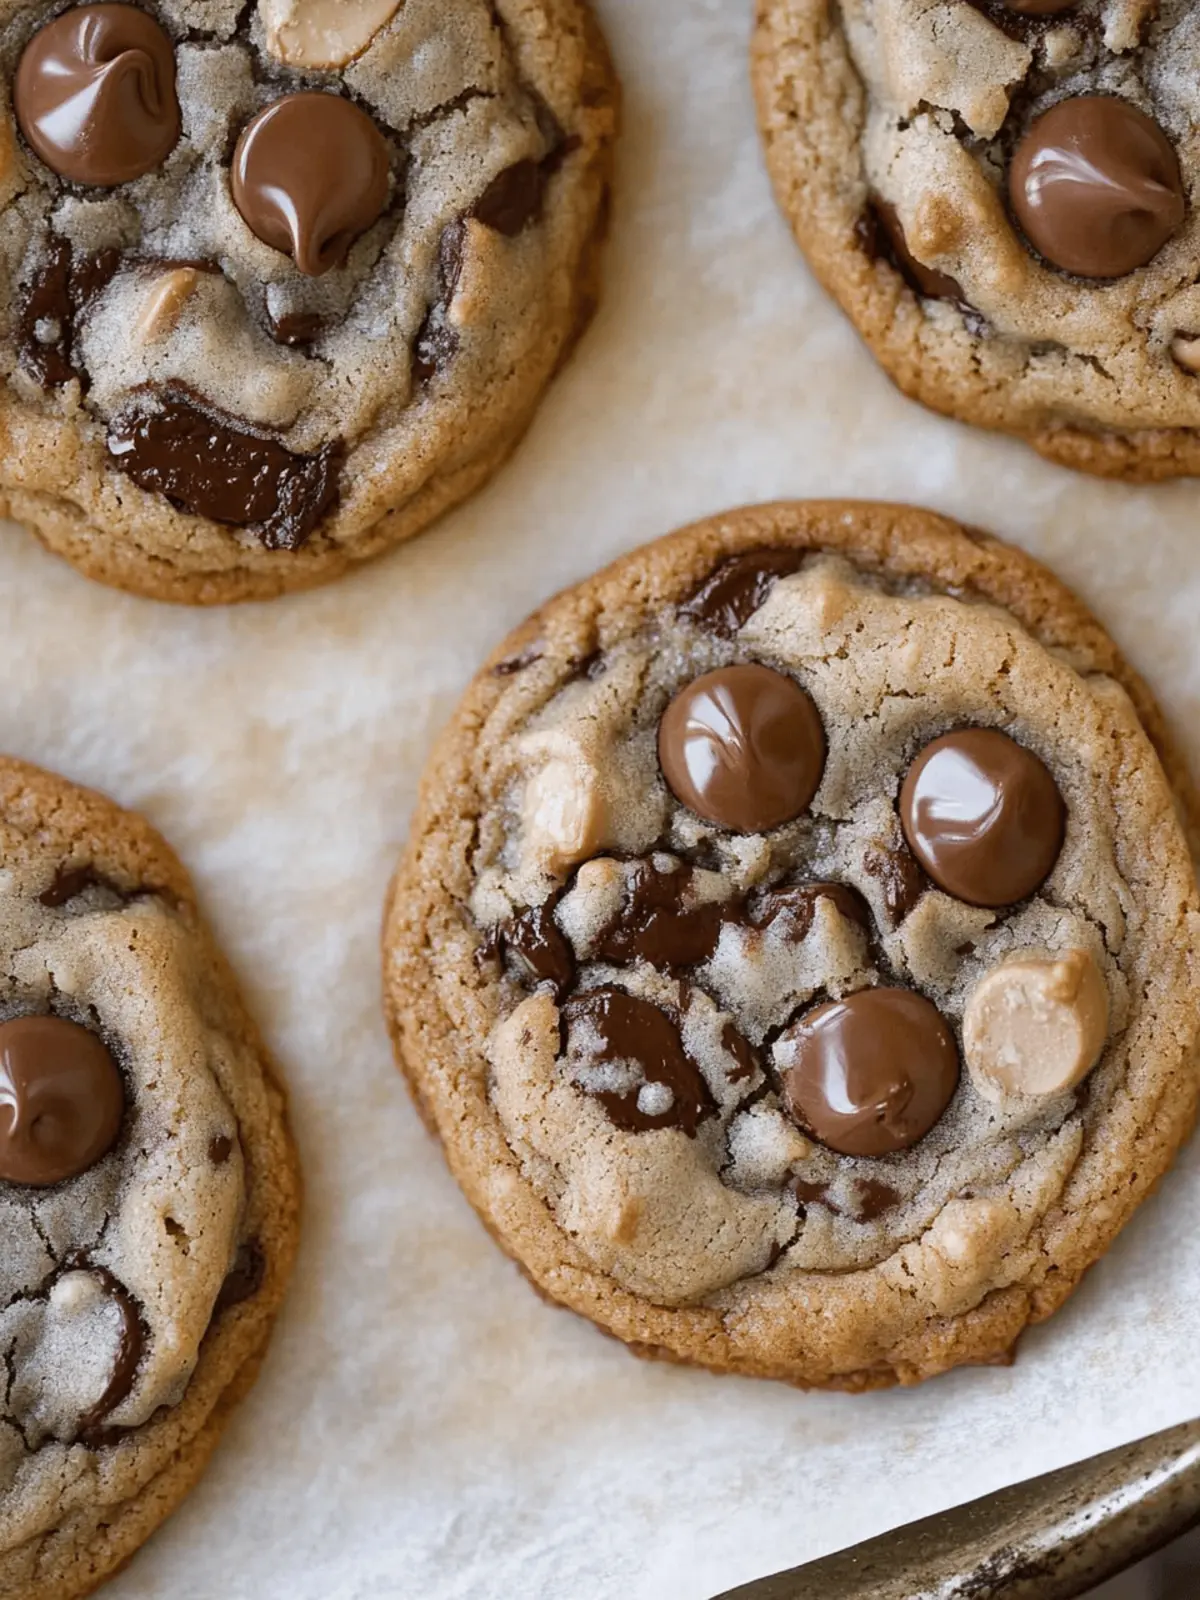
After a long week, nothing satisfies quite like the warm, gooey goodness of fresh-baked cookies. When I first embraced the art of browning butter, I didn’t realize how transformative it would be. The nutty aroma fills the kitchen and whispers promises of rich flavor in every bite. These Ultimate Brown Butter Chocolate Chip and Chunk Cookies are the perfect antidote to boring, boxed treats. They’re delightfully chewy with a crispy edge, creating that blissful contrast we all crave.
With no need for freezing or complicated processes, this recipe allows for quick satisfaction—ideal for those last-minute cravings or spontaneous get-togethers. The mix of milk chocolate chips and semi-sweet chunks ensures each cookie is filled with creamy, decadent pockets of chocolate. So, whether you’re a seasoned baker or just looking to escape the fast food routine, these cookies will undoubtedly impress. Join me as we dive into this delightful recipe and discover the joy of baking at home!
Why are Perfect Chocolate Chip Cookies so special?
Nostalgic Comfort: There’s something heartwarming about the smell of freshly baked cookies that takes us back to simpler times.
No Freezing Needed: This recipe is all about instant gratification—no waiting for dough to chill!
Quick to Make: In just about 30 minutes, you can have warm cookies ready to indulge in.
Unique Flavor: The brown butter adds a rich, nutty depth that elevates the traditional chocolate chip cookie experience.
Crowd Pleaser: Perfect for gatherings, these cookies are sure to impress family and friends alike.
Versatile Options: Mix it up by swapping chocolate types or adding nuts to customize your treats! Explore more delightful cookie variations for endless fun in the kitchen.
Perfect Chocolate Chip Cookies Ingredients
For the Cookie Dough
- Unsalted Butter – Browning it yields a nutty flavor that enhances the cookie’s richness.
- Brown Sugar – Adds moisture and a deep sweetness that creates chewiness.
- Granulated Sugar – Balances the brown sugar, resulting in a crisp outer texture.
- All-Purpose Flour – The main structure builder that gives the cookies their shape.
- Baking Soda – A leavening agent that helps achieve a chewy texture.
- Salt – Enhances the flavors, balancing the sweetness perfectly.
- Eggs – Essential for binding the ingredients and adding moisture.
- Vanilla Extract – Infuses warmth and depth into each cookie.
- Milk Chocolate Chips – Provides a creamy sweetness that melts beautifully in the cookie.
- Semi-Sweet Chocolate Chunks – Adds richness and creates decadent chocolate pools.
Optional Add-Ins
- Nuts (e.g., walnuts or pecans) – Introduces a delightful crunch and additional texture.
- Dark Chocolate Chunks – Offers a deeper flavor profile if you’re a chocolate lover!
- White Chocolate Chips – Use these for a contrasting sweetness that surprises the palate.
How to Make Perfect Chocolate Chip Cookies
-
Whisk Together: In a small bowl, mix the flour, baking soda, and salt until well combined. This step ensures even distribution of the leavening agent and seasoning throughout the dough.
-
Brown the Butter: In a pan over medium heat, melt the cubed unsalted butter. Stir continuously for about 5-7 minutes until it turns golden brown and smells nutty. Be careful not to burn it!
-
Cool the Butter: Once browned, transfer the butter to a bowl and let it cool for a few minutes. This cooling period prevents cooking the eggs when you combine the ingredients.
-
Mix Sugars: Add the brown sugar and granulated sugar to the cooled brown butter. Use an electric mixer or a whisk to blend until smooth and creamy.
-
Add Eggs and Vanilla: Crack in the eggs one at a time and pour in the vanilla extract. Mix thoroughly until fully incorporated for a rich cookie base.
-
Combine Dry Ingredients: Gradually add your flour mixture to the wet ingredients. Stir gently until a cohesive dough forms, avoiding overmixing to keep the cookies tender.
-
Fold in Chocolates: Gently fold in the milk chocolate chips and semi-sweet chocolate chunks, making sure they’re evenly distributed throughout the dough.
-
Rest the Dough: Let the dough rest for about 15-20 minutes. This brief waiting time helps enhance the flavors, making the cookies even tastier!
-
Preheat the Oven: While the dough rests, preheat your oven to 350°F (175°C), preparing it for perfect baking.
-
Scoop the Dough: Use a 1/4 cup measuring cup to scoop portions of dough onto a parchment-lined baking sheet, placing about 6 cookies per sheet for even baking.
-
Bake: Put the baking sheet in the preheated oven and bake for 10-11 minutes, until the edges turn golden brown. Remember, cookies will continue to cook slightly on the pan after removal.
Optional: Serve warm with a glass of milk for an indulgent treat.
Exact quantities are listed in the recipe card below.
Perfect Chocolate Chip Cookies Variations
Feel free to sprinkle your personal touch on these cookies and make them uniquely yours!
- Dark Chocolate: Swap semi-sweet chunks for dark chocolate for a more intense, bittersweet flavor.
- White Chocolate: Replace milk chocolate with white chocolate chips for a delightful contrast of sweetness that delights every palate.
- Nutty Delight: Stir in chopped walnuts or pecans for a crunchy twist and added depth of flavor.
- Spiced Up: Add a pinch of cinnamon or a dash of espresso powder to the dry ingredients for unexpected warmth.
- Vegan Friendly: Replace butter with coconut oil and use flax eggs for a plant-based version everyone can enjoy.
- Salted Caramel: Fold in chunks of caramel for pockets of gooeyness that will melt in your mouth with each bite.
- Peanut Butter Swirl: Mix in some creamy peanut butter for a nutty taste that pairs perfectly with chocolate!
- Coconut Flakes: Incorporate shredded coconut for a tropical, chewy texture that takes your cookies on a sweet adventure.
Embrace the opportunity to experiment and create your own signature cookie! Each variation presents a chance to discover flavors that resonate with you and your loved ones. Happy baking!
What to Serve with Perfect Chocolate Chip Cookies?
After indulging in these comforting cookies, you’ll love enhancing your experience with delightful pairings.
- Cold Glass of Milk: The classic choice that pairs perfectly, balancing the sweet richness and enhancing the nostalgic vibes.
- Warm Coffee: The slight bitterness of fresh brewed coffee beautifully contrasts the sweetness, making each bite more enjoyable.
- Vanilla Ice Cream: Serve a scoop on the side or sandwich it between two cookies for an indulgent dessert sandwich that’s hard to resist.
- Fruit Salad: A fresh, vibrant salad adds a refreshing element, balancing the rich flavors of the cookies effortlessly.
- Chocolate Sauce Drizzle: For the ultimate chocolate lover, a warm drizzle intensifies the cookie’s flavor and adds a luscious touch.
- Nutty Trail Mix: A handful of trail mix on the plate introduces crunchy textures and flavors, making your dessert spread more interesting.
- Decadent Hot Chocolate: Cozy up with a cup of hot chocolate topped with whipped cream for a warm, sweet treat alongside your cookies.
- Caramel Sauce: Drizzle this over a cookie and enjoy a sweet surprise that elevates your dessert to gourmet status.
Storage Tips for Perfect Chocolate Chip Cookies
- Room Temperature: Keep your cookies in an airtight container at room temperature for up to 1 week to maintain their delightful chewy and crispy texture.
- Freezer: If you’d like to store them for longer, freeze the cookies in a single layer, then transfer to a freezer-safe bag for up to 3 months.
- Reheating: For a just-baked experience, reheat frozen cookies in the oven at 350°F (175°C) for about 5-7 minutes. Enjoy their warm, gooey goodness!
- Avoid Humidity: To prevent cookies from becoming soft or losing their structure, ensure they are completely cooled before storing and keep them in a dry place.
Expert Tips for Perfect Chocolate Chip Cookies
- Cool the Butter: Allow the browned butter to cool before mixing with eggs. This prevents them from cooking and curdling in the dough.
- Resting is Key: Let the dough sit for 15-20 minutes. This enhances the flavors and improves the chewy texture of your perfect chocolate chip cookies.
- Bake Time Caution: Keep a close eye on your cookies. Remove them from the oven just as the edges start to brown for that perfect blend of chewy and crispy.
- Use Quality Chocolate: Opt for high-quality chocolate chips and chunks to elevate your cookies’ flavor. It makes a delightful difference in every bite!
- Don’t Overmix: When incorporating dry ingredients, be gentle. Overmixing can lead to tough cookies, so stop once the dough comes together.
Make Ahead Options
These Ultimate Brown Butter Chocolate Chip and Chunk Cookies are perfect for meal prep, allowing you to whip up a delightful batch on a busy day! You can prepare the dough up to 24 hours in advance by following the initial steps and chilling it in the refrigerator. This resting time enhances the flavors and results in even more delicious cookies. To maintain quality, ensure the dough is wrapped tightly to prevent air exposure. When you’re ready to bake, simply scoop and bake the dough directly from the fridge; just add a couple of extra minutes to the baking time for perfectly gooey centers and crisp edges. Enjoy the ease of fresh-baked cookies with minimal effort!
Brown Butter Perfect Chocolate Chip Cookies Recipe FAQs
What type of butter should I use?
Absolutely! Using unsalted butter is recommended because it allows you to control the salt content in your cookies. If you only have salted butter on hand, that’s perfectly fine—just reduce the added salt in the recipe accordingly to maintain the right flavor balance.
How should I store my cookies for maximum freshness?
To keep your cookies at their best, store them in an airtight container at room temperature for up to 1 week. This method ensures they maintain their delightful crunchy edges and chewy centers. If you want to extend their life, you can freeze them for up to 3 months! Just make sure they’re in a single layer until frozen solid, then transfer them to a freezer-safe bag.
Can I freeze the cookie dough for later use?
Very! You can absolutely freeze the cookie dough before baking. After forming the dough, scoop it onto a parchment-lined baking sheet and freeze until solid. Then, transfer the dough balls to a freezer-safe bag. When you’re ready to bake, you can directly pop the frozen dough into the preheated oven, adding a couple of extra minutes to the baking time.
What if my cookies spread too much during baking?
Oh no! If your cookies spread out too much, it may be due to warm butter. Make sure to let the browned butter cool sufficiently before incorporating it into the mixture. Additionally, chilling the dough for 30 minutes before scooping it onto the baking sheet can help maintain their shape. If you’re still seeing spreading issues, consider adding a little more flour next time.
Are these cookies safe for pets or those with allergies?
While the brown butter perfect chocolate chip cookies are generally safe for human consumption, they’re not suitable for pets. Chocolate can be toxic to dogs, and it’s best to keep these sweets away from them. If anyone in your household has allergies—like to gluten or eggs—be sure to substitute with alternatives like gluten-free flour and egg replacements to accommodate their dietary needs. Always double-check ingredient labels if you’re unsure!
Can I use different types of chocolate?
The more the merrier! Feel free to mix different types of chocolate to suit your taste—dark chocolate chunks can add a rich depth, while white chocolate chips can introduce a wonderfully sweet contrast. Experimenting with various chocolates and nuts will surely create delightful twists to your cookie recipe!
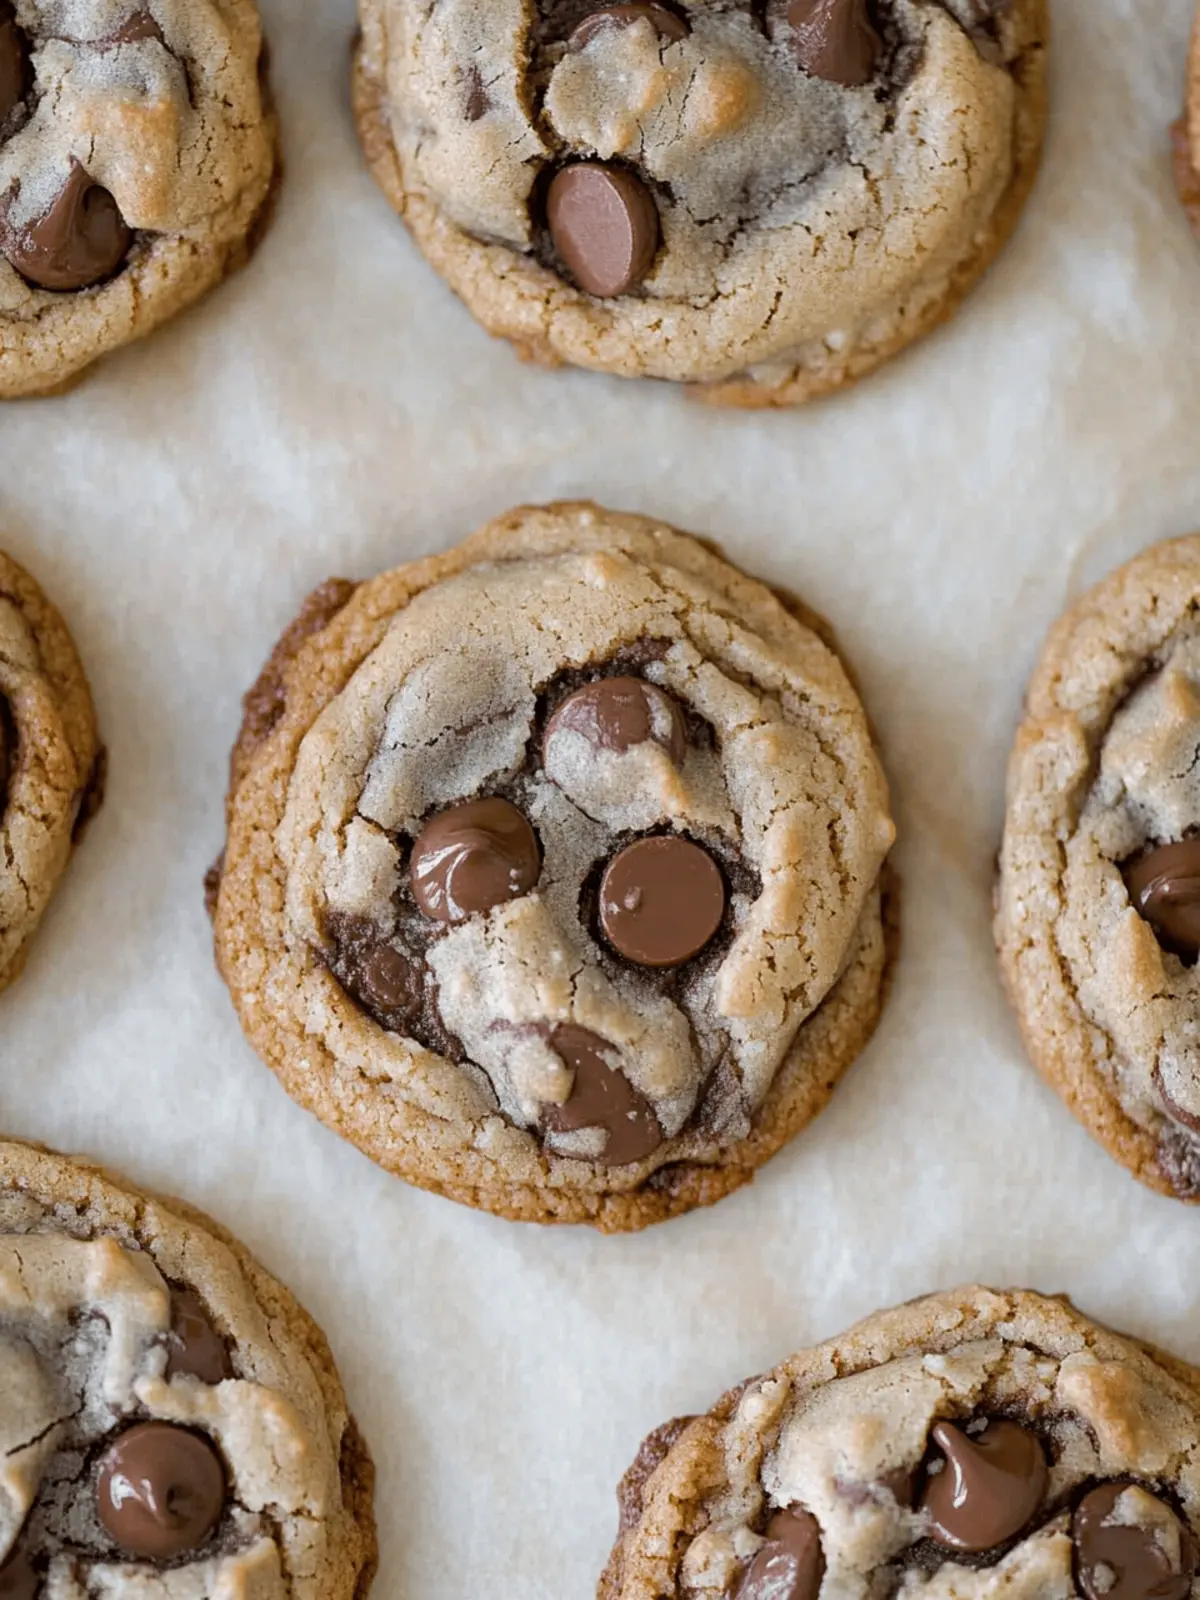
Brown Butter Perfect Chocolate Chip Cookies You'll Adore
Ingredients
Equipment
Method
- In a small bowl, mix the flour, baking soda, and salt until well combined.
- In a pan over medium heat, melt the cubed unsalted butter, stirring continuously until golden brown and nutty.
- Transfer the browned butter to a bowl and let it cool for a few minutes.
- Add the brown sugar and granulated sugar to the cooled brown butter and blend until smooth and creamy.
- Crack in the eggs one at a time and pour in the vanilla extract, mixing thoroughly.
- Gradually add the flour mixture to the wet ingredients, stirring gently until a cohesive dough forms.
- Fold in the milk chocolate chips and semi-sweet chocolate chunks.
- Let the dough rest for about 15-20 minutes.
- Preheat your oven to 350°F (175°C).
- Scoop portions of dough onto a parchment-lined baking sheet, placing about 6 cookies per sheet.
- Bake for 10-11 minutes, until the edges turn golden brown.

