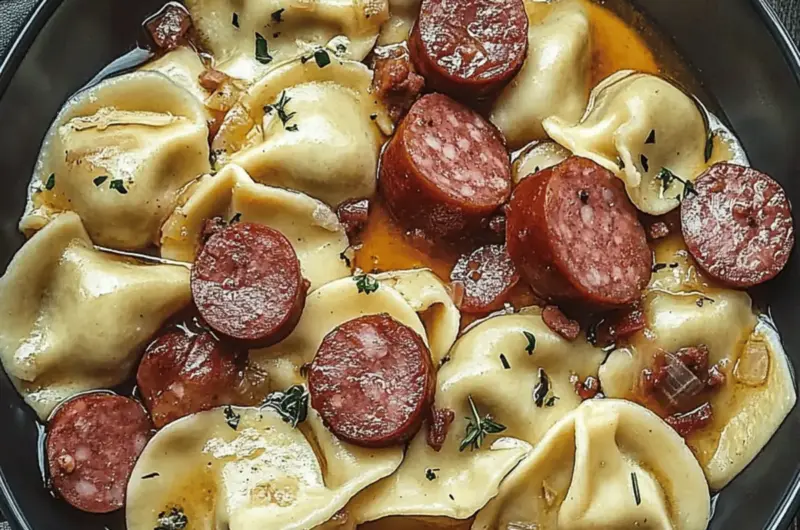
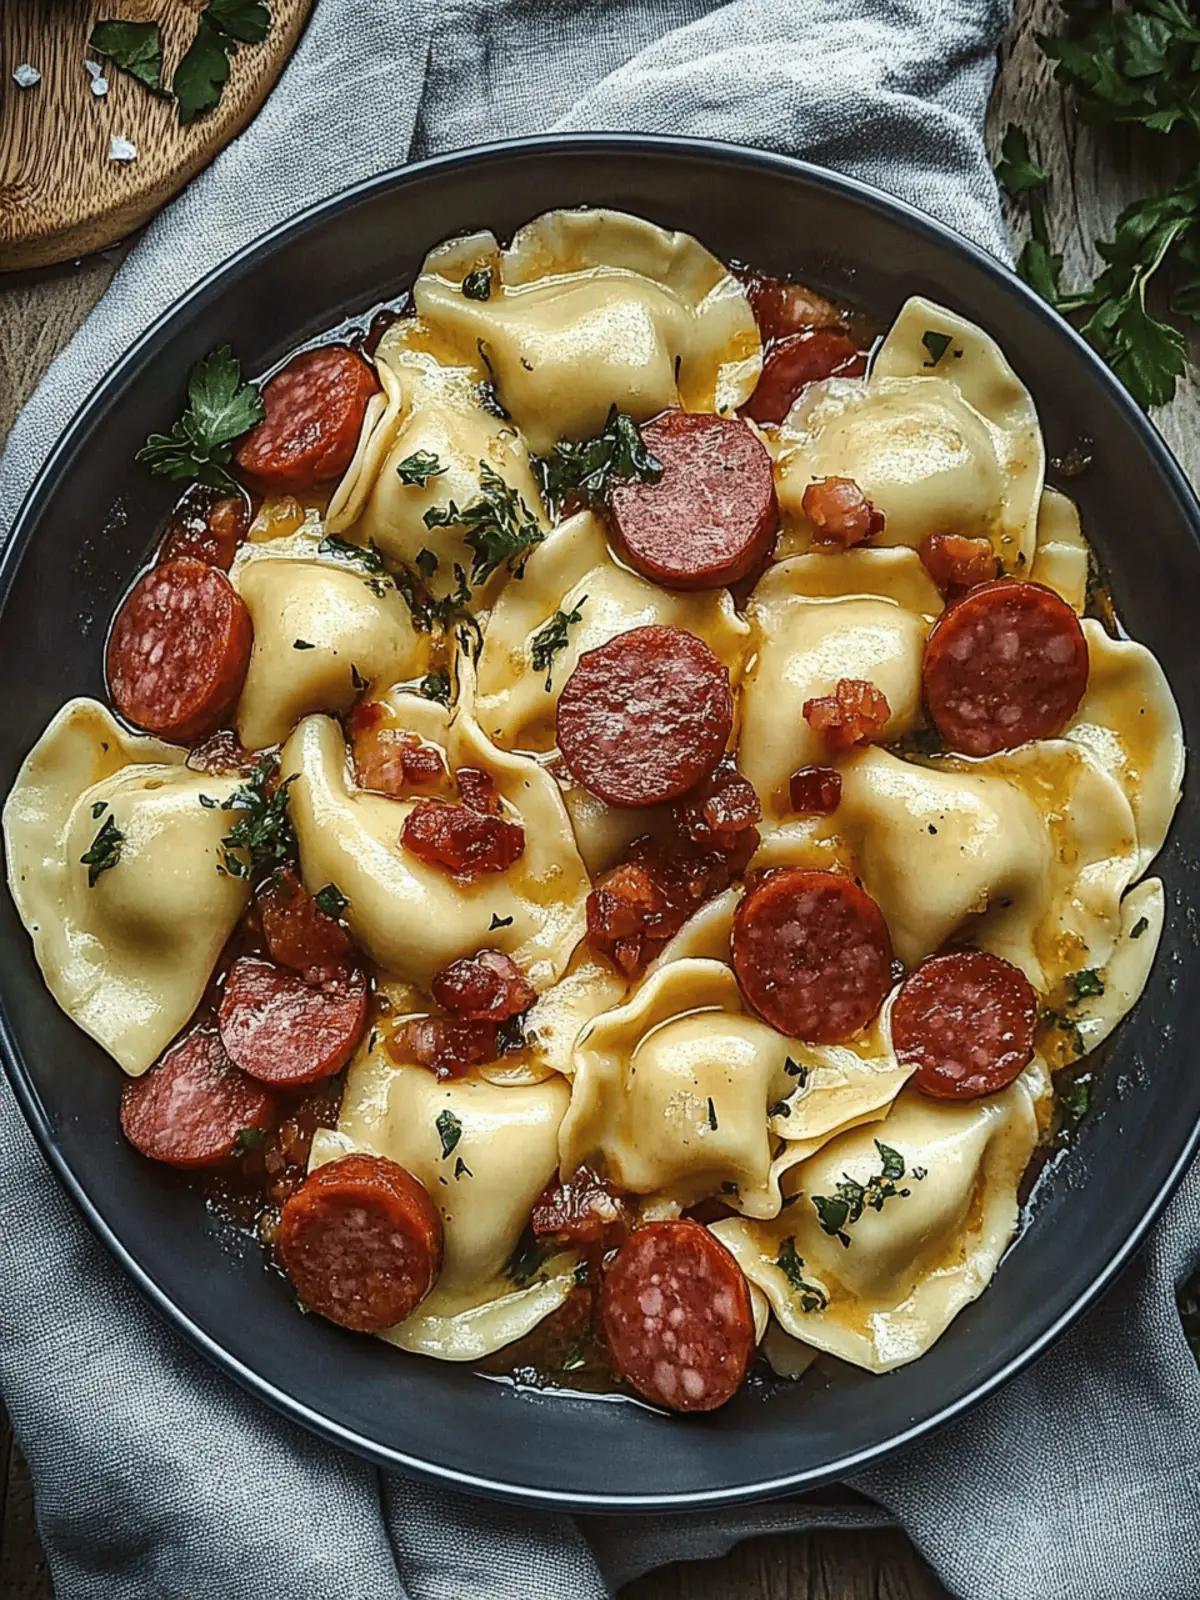
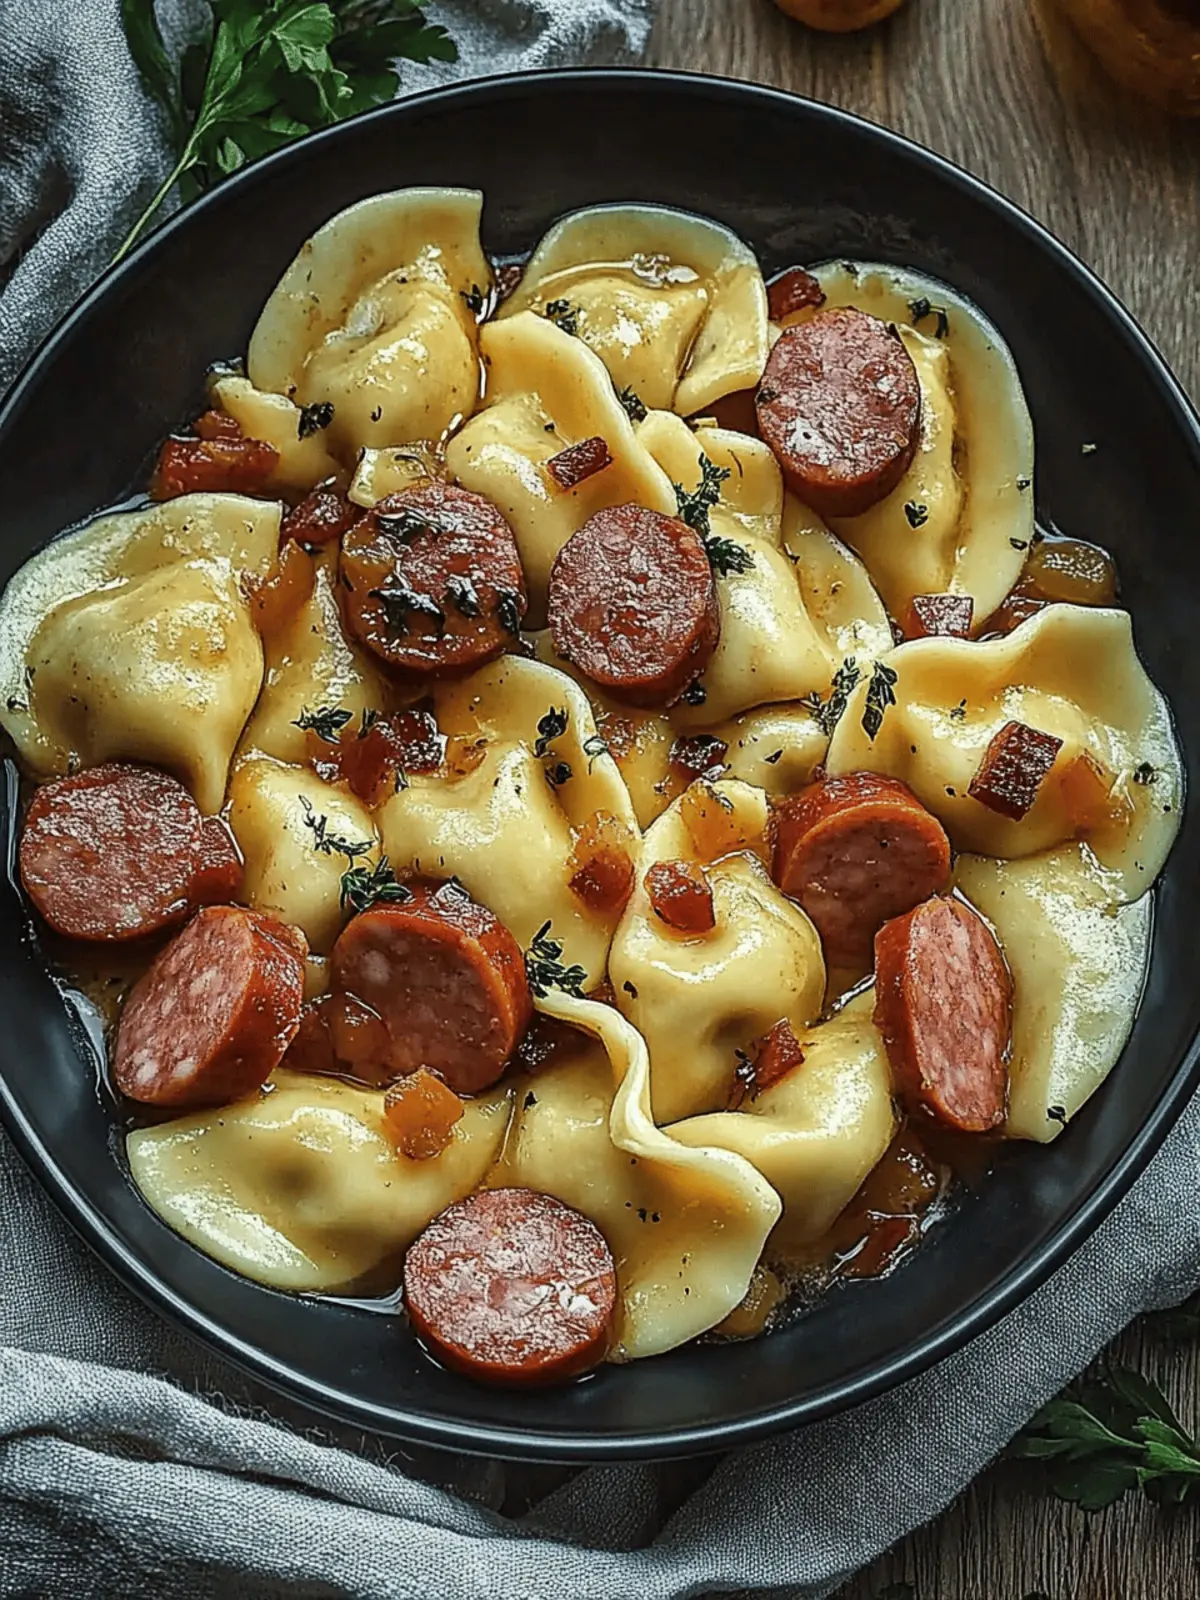
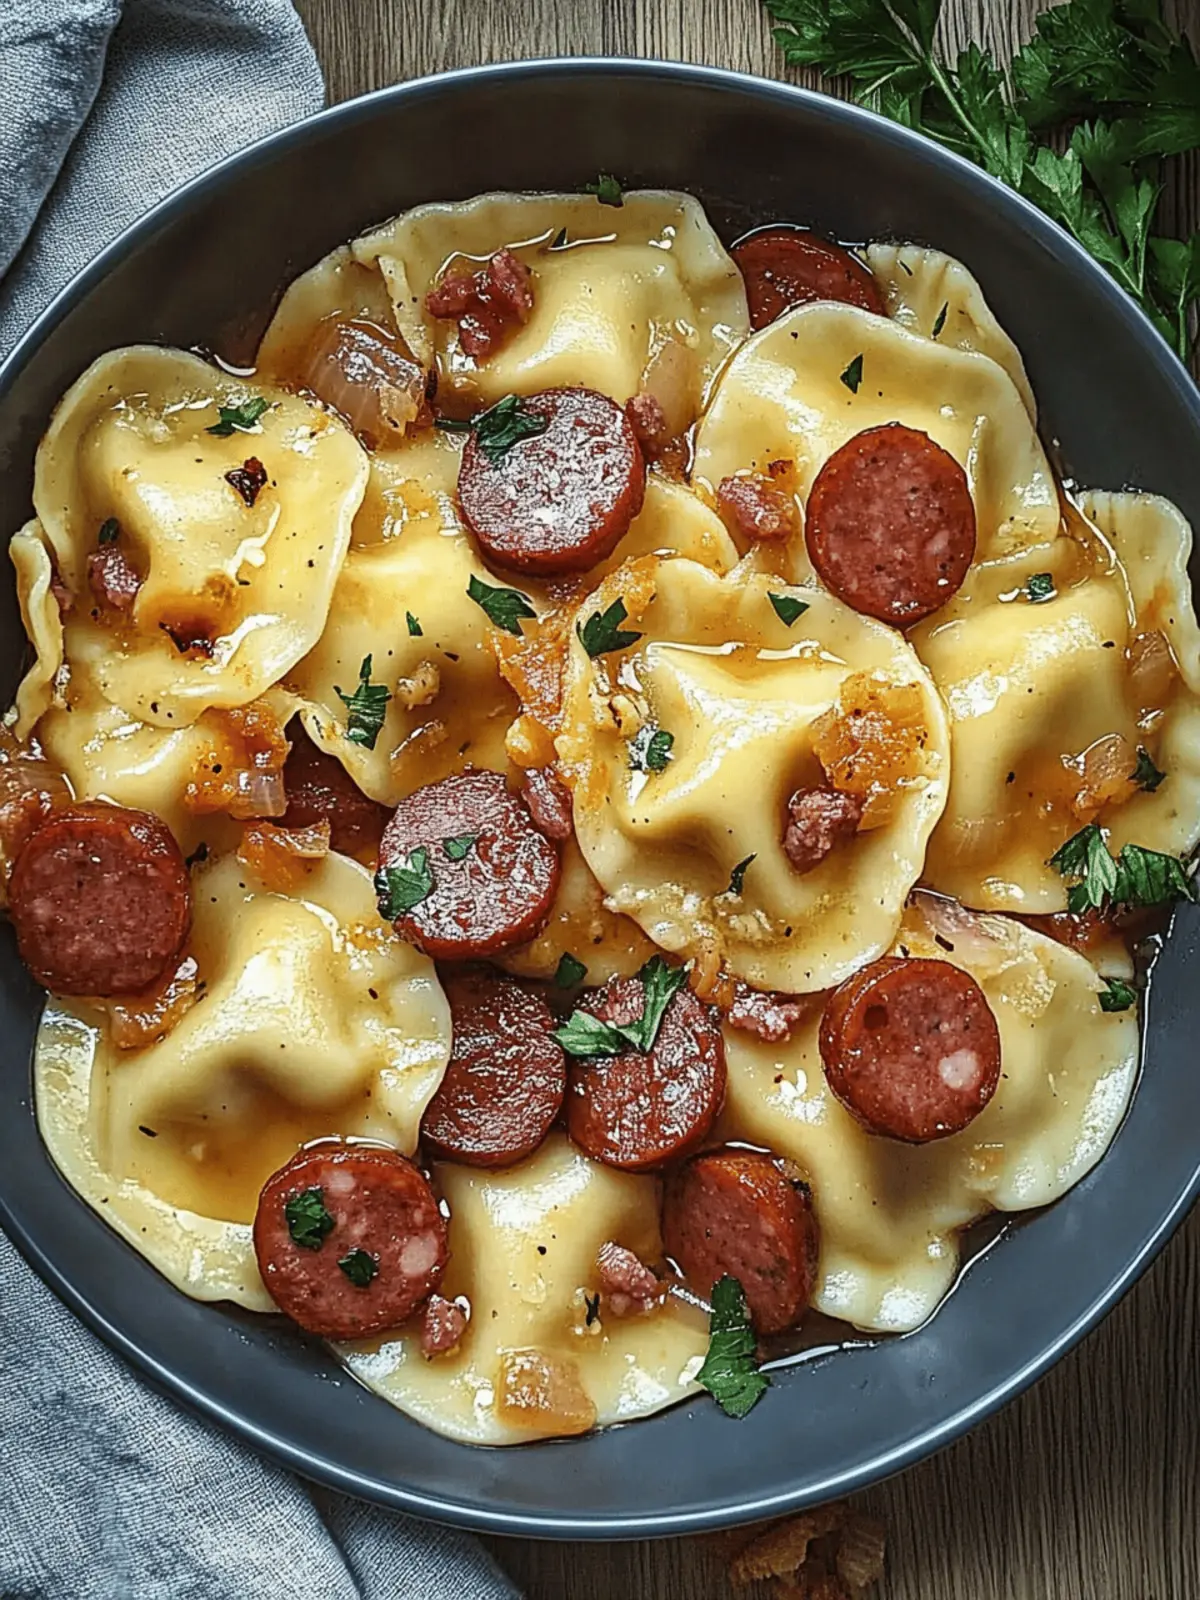
There’s nothing quite like the comforting embrace of hearty food, and for me, that means pierogies and Kielbasa. Picture this: golden-brown pierogies, soft and stuffed with creamy cheddar and potatoes, sizzling joyfully alongside crispy slices of Kielbasa. This delightful Polish dish brings together textures and flavors that create a meal perfect for any occasion, from cozy family dinners to lively gatherings with friends. What’s more, it’s ready in just 25 minutes—ideal for those evenings when you crave something homemade yet simple.
As someone who loves to explore different flavor profiles, I find the combination of the smoky richness of Kielbasa and the buttery goodness of the pierogies utterly irresistible. Plus, it’s versatile! Want to make it vegetarian? Just swap out the Kielbasa for a plant-based sausage, and you’re good to go. Whether you’re feeding a crowd or just treating yourself, this meal delivers comfort in every bite. Let’s dive into this quick and easy recipe that will soon become a favorite in your kitchen!
Why will you love Pierogies and Kielbasa?
Comforting Home-Cooked Goodness: With just 25 minutes of prep, this dish brings the warmth of homemade comfort food right to your table.
Flavor Explosion: The combination of crispy Kielbasa and buttery pierogies filled with creamy cheddar promises an indulgent experience.
Customizable Options: Easily switch up ingredients for vegetarian or gluten-free versions to suit everyone’s preferences.
Crowd-Pleasing Delight: Perfect for family dinners or gatherings, this dish is sure to impress your guests with its rich flavors.
Quick and Convenient: Ideal for busy weeknights, this meal saves you time without sacrificing taste—so you can enjoy home-cooked comfort in no time!
Pierogies and Kielbasa Ingredients
For the Pierogies
• Mini Pierogies – Look for varieties filled with creamy cheddar and potatoes for a satisfying base.
For the Kielbasa
• Kielbasa – Choose a quality smoked sausage for maximum flavor; turkey Kielbasa is a great lighter substitute.
For the Aromatics
• Onions – Sweet, caramelized onions add depth; yellow or sweet onions work best for this dish.
• Butter – Use high-fat European-style butter for added richness and perfect browning.
Optional Add-ins
• Vegetables – Incorporate bell peppers or spinach for added nutrition and flavor.
• Herbs – Fresh parsley or dill can brighten up the dish; sprinkle them on just before serving.
With this diverse group of ingredients, your pierogies and Kielbasa will be a hit, around your dinner table or at your next gathering!
How to Make Pierogies and Kielbasa
-
Cook Kielbasa: In a large skillet, brown sliced Kielbasa over medium heat for about 4-5 minutes. Turn occasionally until the sausage is crispy and caramelized, releasing its rich flavors.
-
Sauté Onions: Add the diced onions to the skillet, mixing with the flavorful fat from the Kielbasa. Sauté for approximately 5 minutes, until the onions turn golden and sweet, adding depth to your dish.
-
Add Pierogies: Gently introduce the mini pierogies to the skillet. Cook for about 5-7 minutes, stirring occasionally to ensure the pierogies heat through and achieve a lovely golden-brown color.
-
Combine Flavors: Carefully stir everything together in the skillet. Allow the dish to meld for an additional 2-3 minutes, ensuring all the flavors blend beautifully.
Optional: Garnish with freshly chopped parsley for a vibrant finish.
Exact quantities are listed in the recipe card below.
Expert Tips for Pierogies and Kielbasa
-
Quality Matters: Use high-quality Kielbasa and butter for optimal flavor—this elevates your pierogies and Kielbasa to new heights.
-
Proper Browning: Ensure you’re browning the Kielbasa and pierogies well to unlock rich, deep flavors; avoid overcrowding the pan for even cooking.
-
Perfect Onions: Caramelize onions slowly in the rendered fat from Kielbasa to achieve that sweet, golden perfection that complements the dish beautifully.
-
Experiment with Fillings: Don’t hesitate to try different pierogi fillings like mushrooms or spinach for a delightful twist on the traditional recipe.
-
Rest Before Serving: Allow the dish to sit for a few minutes after cooking, which helps the flavors meld together and makes every bite delicious.
What to Serve with Pierogies and Kielbasa?
Create a delightful meal with comforting sides that enhance this satisfying dish.
-
Roasted Brussels Sprouts: Their crispy texture and slightly nutty flavor provide a wonderful contrast to the richness of the pierogies and Kielbasa. Roasting brings out their natural sweetness, creating a perfect snack or side.
-
Cucumber Salad: With its cool, crisp elements and light vinaigrette, this salad refreshes your palate while complementing the heartiness of the main dish. It’s a wonderfully vibrant addition that brightens your plate.
-
Sauerkraut: A traditional accompaniment, its tangy flavor cuts through the richness of the Kielbasa, adding an authentic Polish touch to your meal. Serve it warmed or cold for an extra kick of zest.
-
Creamy Coleslaw: The crunch of coleslaw, paired with a creamy dressing, adds balance and contrast to the warm, buttery flavors of the pierogies. Plus, it’s easy to whip up and adds a playful, bright touch.
-
Garlic Bread: Soft, buttery garlic bread is perfect for soaking up any delicious juices from the dish. This cozy addition can round out your meal nicely, satisfying those bread cravings.
-
Sweet Apple Strudel: Finish your meal on a sweet note with this delightful pastry. The sweet, spiced apple filling offers a lovely contrast to the savory pierogies and Kielbasa, making it a perfect dessert.
-
Red Wine: A crisp red wine pairs beautifully with the smoky flavors of Kielbasa, enhancing the overall dining experience. Choose a light Merlot or Pinot Noir for a delightful complement.
-
Fresh Parsley Garnish: Not a side dish, but sprinkling fresh parsley on top adds a pop of color and a hint of freshness, enhancing all flavors on your plate. It’s the little things that count!
How to Store and Freeze Pierogies and Kielbasa
Fridge: Store any leftovers in an airtight container for up to 3 days. Reheat gently on the stovetop with a little butter to restore moisture and flavor.
Freezer: If you want to enjoy your pierogies and Kielbasa later, freeze in a single layer on a baking sheet for 1-2 hours, then transfer to a freezer-safe bag for up to 3 months.
Reheating: When you’re ready to enjoy, thaw in the fridge overnight, then reheat in a skillet over medium heat until heated through, ensuring the pierogies regain their golden-brown finish.
Make Ahead Options
These Pierogies and Kielbasa are perfect for busy cooks looking to save time during the week! You can prepare the filling for the pierogies and sauté the onions up to 24 hours in advance. Simply refrigerate them in airtight containers to maintain freshness. The Kielbasa can also be sliced and cooked ahead of time, then stored in the fridge for up to 3 days. When you’re ready to serve, just reheat everything in a skillet over medium heat until heated through, adding the pierogies for about 5-7 minutes. This way, you’ll enjoy a delicious meal with minimal effort while keeping the flavors just as rich and satisfying!
Pierogies and Kielbasa Variations
Feel free to get creative and personalize this dish to suit your taste. Each twist will make it uniquely yours!
- Gluten-Free: Opt for gluten-free pierogies made from tapioca or rice flour to accommodate dietary needs.
- Vegetarian: Swap Kielbasa with plant-based sausage for a delicious, meat-free alternative that still packs a punch.
- Cheesy Delight: Add a mix of cheeses like feta or ricotta to the pierogies for an extra creamy and flavorful filling.
- Herb-Infused: Sprinkle fresh herbs like chives or thyme over the dish before serving to brighten flavors and add a pop of color.
- Spicy Kick: Incorporate roasted red peppers or a dash of crushed red pepper flakes for a fiery twist.
- Smoky Addition: Enhance the smoky profile by adding smoked paprika or a few slices of smoked cheddar into the filling.
- Veggie Boost: Toss in sautéed mushrooms or zucchini alongside the onions for an extra layer of texture and flavor.
- Sweet Touch: Finish with a light drizzle of balsamic reduction for a sweet-savory contrast that elevates every bite.
With these variations, you can transform your pierogies and Kielbasa into an ever-evolving dish that delights the palate!
Pierogies and Kielbasa Recipe FAQs
What type of mini pierogies should I use?
Absolutely! I recommend looking for pierogies filled with creamy cheddar and potatoes for that classic flavor. You can also find varieties stuffed with sauerkraut or mushrooms—each brings its unique taste to the dish!
How should I store leftovers of Pierogies and Kielbasa?
Very simply! Store any leftovers in an airtight container in the refrigerator for up to 3 days. When reheating, I suggest warming them gently on the stovetop with a little butter. This will restore moisture and flavor, making them just as delightful as when they were freshly made.
Can I freeze Pierogies and Kielbasa?
Yes, you can! To freeze them, spread out the cooked pierogies and Kielbasa in a single layer on a baking sheet and pop them in the freezer for about 1-2 hours. Once they’re firm, transfer them into a freezer-safe bag and store for up to 3 months. When you’re ready to enjoy, let them thaw in the refrigerator overnight before reheating.
What should I do if my Kielbasa is rubbery?
Oh no! If that happens, it’s likely due to overcooking. Next time, try cooking the Kielbasa on medium heat and keep an eye on it—it should be crispy but not overly browned. Additionally, slicing it into thinner pieces can help it cook more evenly and avoid that rubbery texture.
Are there any dietary considerations for Pierogies and Kielbasa?
Certainly! If you have dietary restrictions, you can easily customize this dish. For a vegetarian option, swap the Kielbasa for plant-based sausage. If gluten is a concern, look for gluten-free pierogies available at many grocery stores. Always check labels for potential allergens and adapt as needed.
How can I make this dish healthier without losing flavor?
Great question! You can incorporate more vegetables by adding bell peppers or spinach to the skillet while sautéing the onions. Using turkey Kielbasa is another fantastic option for cutting back on fat and calories while still enjoying that smoky flavor.
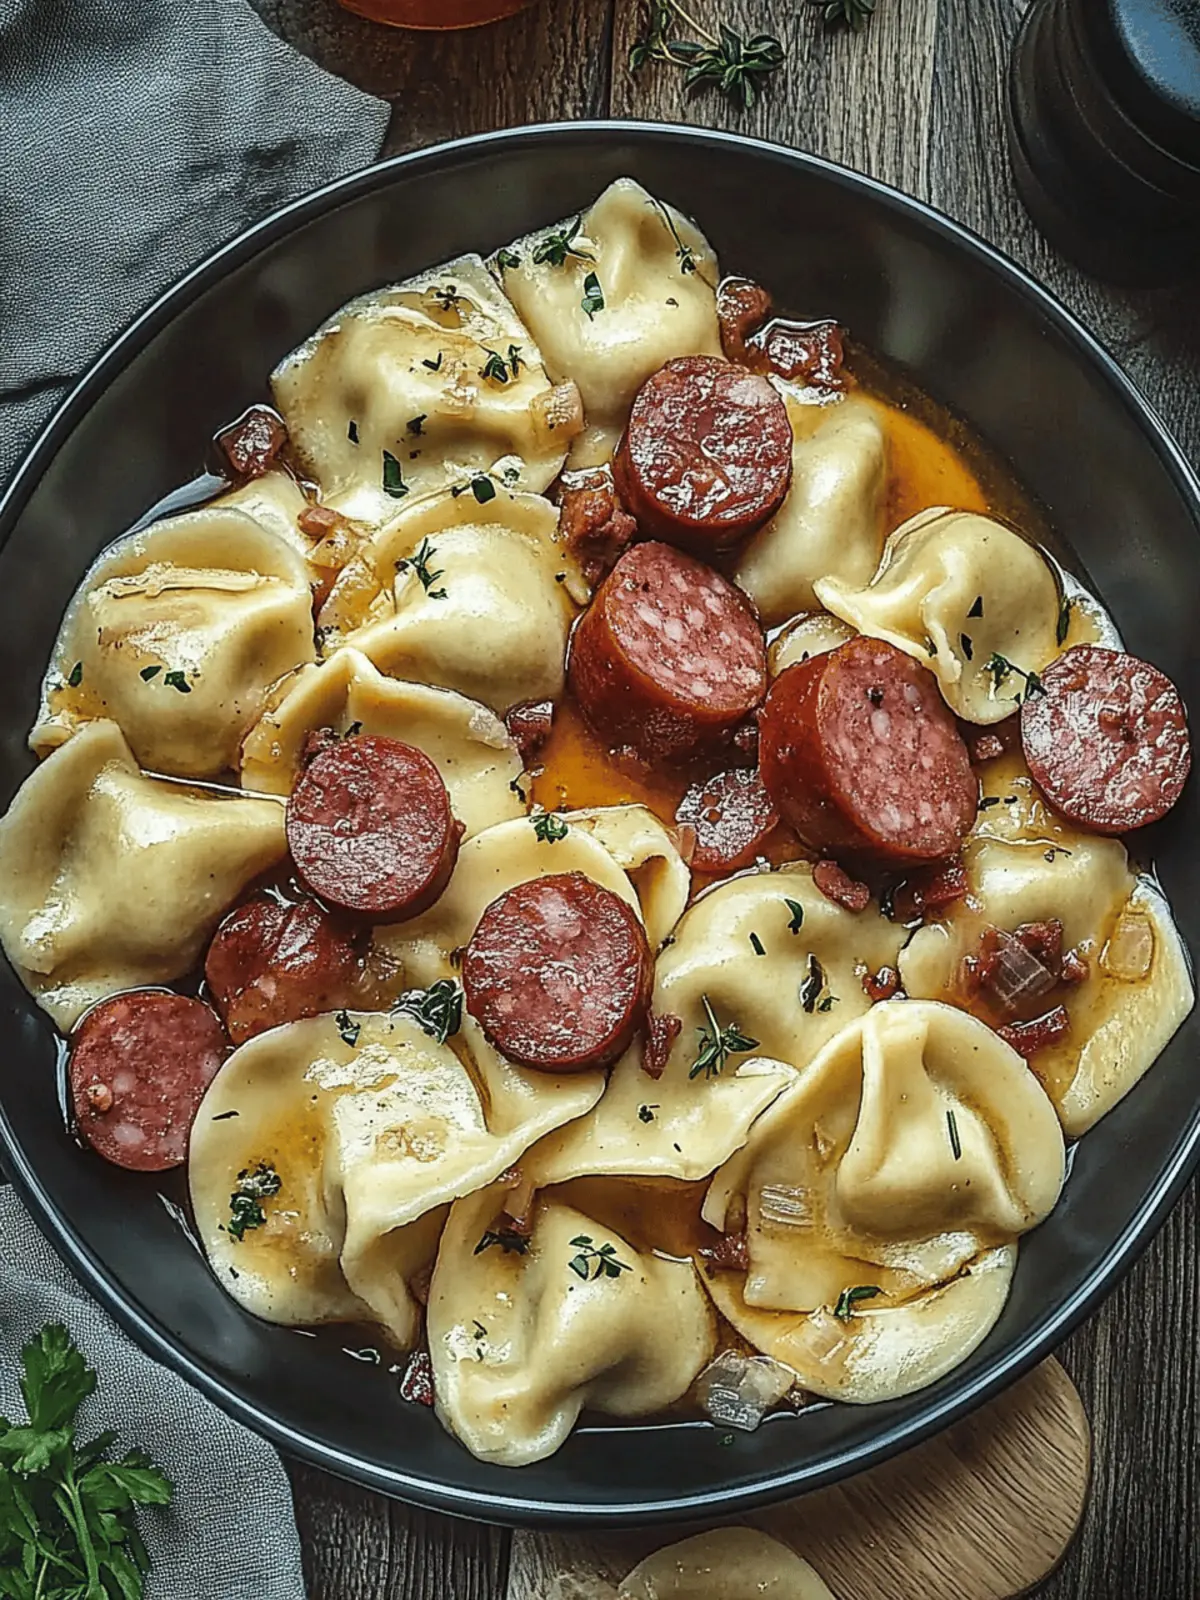
Delicious Pierogies and Kielbasa: Comfort Food in 25 Minutes
Ingredients
Equipment
Method
- In a large skillet, brown sliced Kielbasa over medium heat for about 4-5 minutes, until crispy.
- Add the diced onions to the skillet and sauté for approximately 5 minutes, until golden and sweet.
- Introduce the mini pierogies to the skillet and cook for about 5-7 minutes, stirring occasionally.
- Stir everything together in the skillet and allow to meld for an additional 2-3 minutes.
- Optional: Garnish with freshly chopped parsley before serving.
