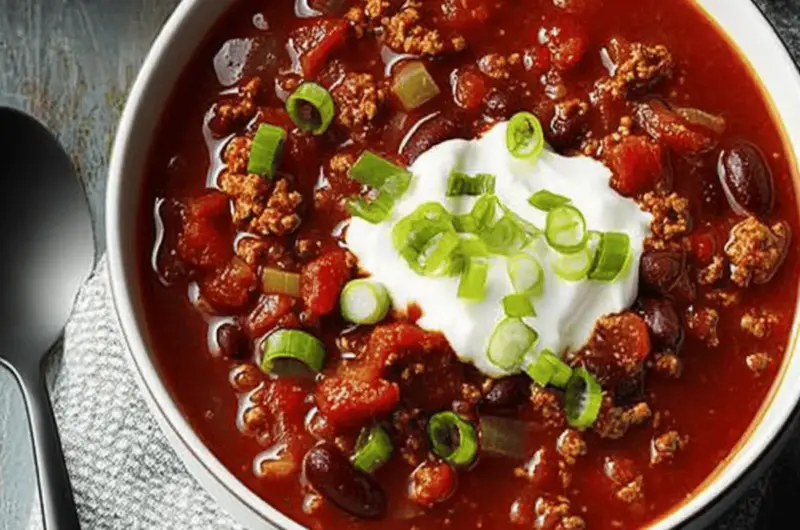
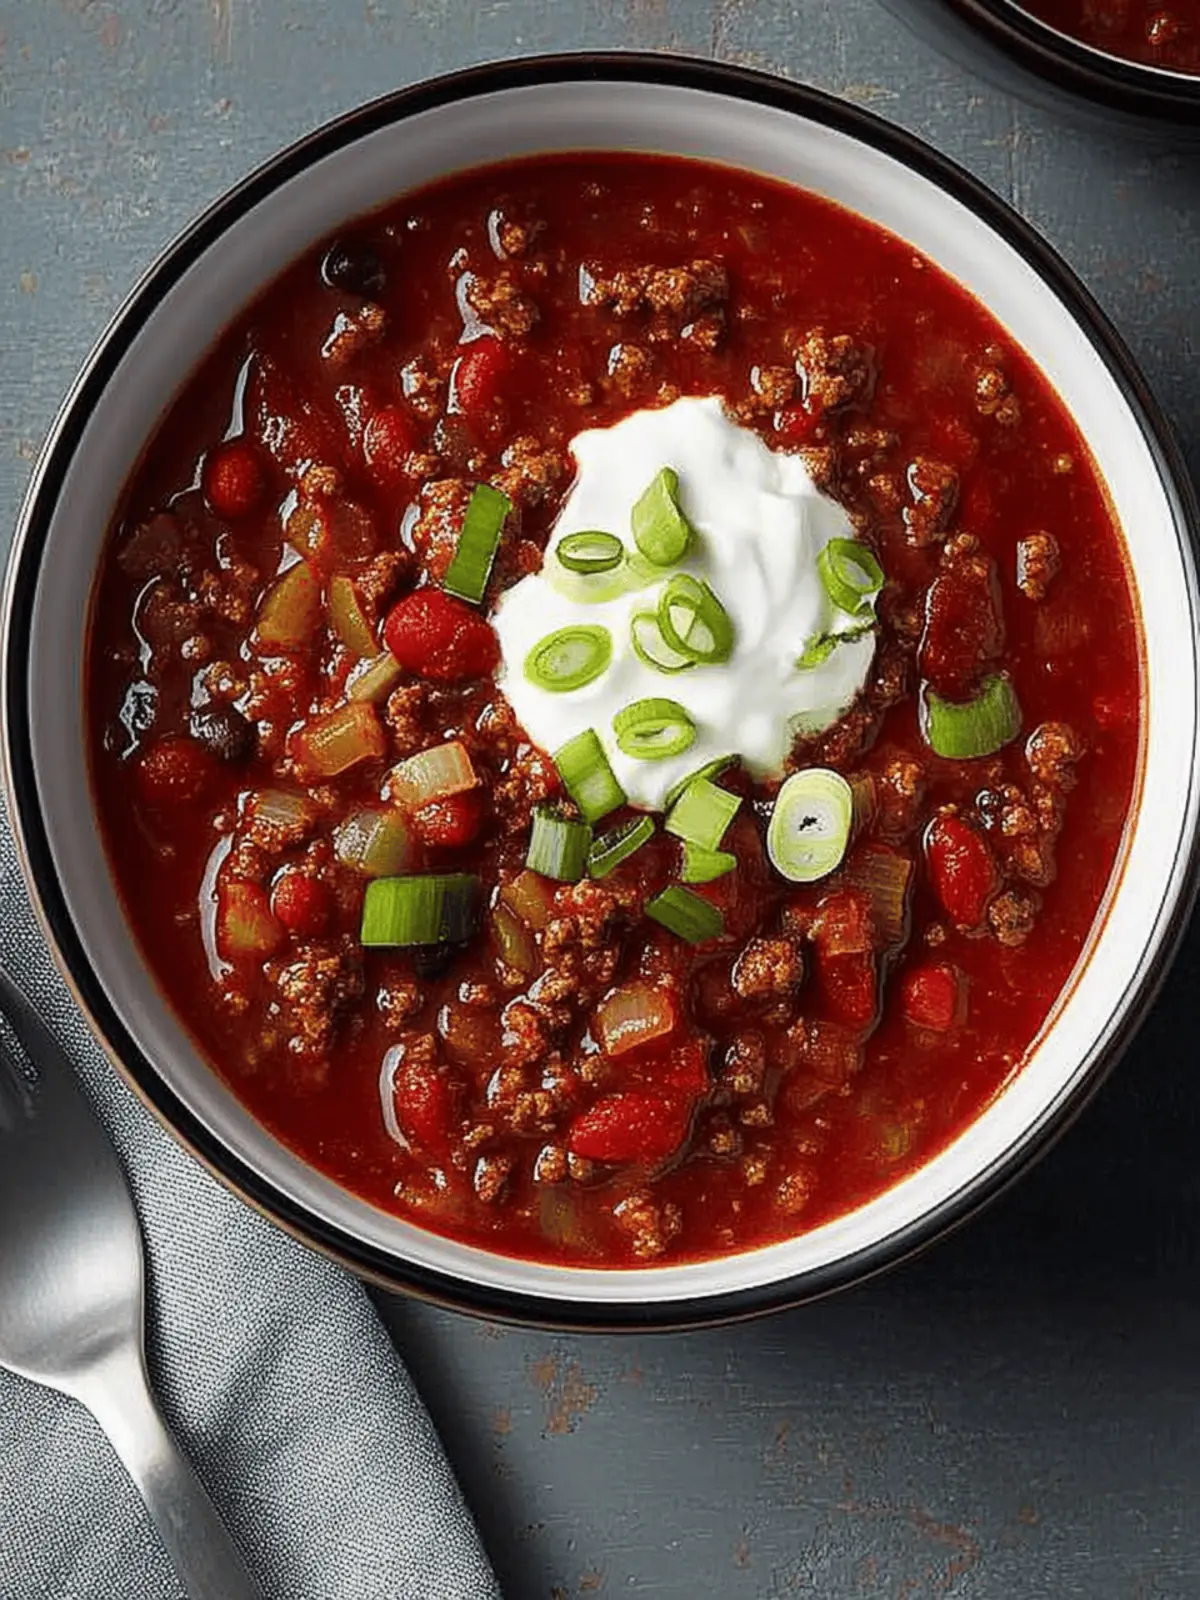
There’s nothing quite like the rich, inviting aroma of a hearty chili wafting through the house, especially when it comes together in just 25 minutes! After a long day, I often find myself yearning for a comforting dish that feels both nutritious and satisfying, and this Easy Pressure-Cooker Spanish Chili has become my go-to solution.
Picture this: a warm bowl crafted from seasoned ground beef mingling with vibrant bell peppers and wholesome beans, all simmered to perfection with a unique blend of spices. The robust flavors and effortless preparation make it ideal for busy weeknights or gatherings with friends. And with every spoonful, you’re treated to a delightful fusion of textures and tastes that will instantly elevate your dinner routine.
Join me in creating a dish that’s not only quick and convenient but also bursting with flavor. Let’s dive into the simple steps to whip up this delicious Spanish chili that’s sure to impress at any table!
Why is Pressure-Cooker Spanish Chili a must-try?
Speedy Preparation: In just 25 minutes, you can have a delicious meal ready on the table, making it perfect for busy evenings.
Flavor Explosion: The combination of savory ground beef and vibrant peppers creates a mouthwatering experience with every bite.
Hearty and Satisfying: This chili is thick and rich, providing warmth and comfort that’s perfect for family dinners or gatherings.
Versatile and Adaptable: Feel free to switch up proteins or add veggies to suit your dietary needs and preferences for a personalized touch.
Easy Clean-Up: With the pressure cooker, you’re left with fewer dishes to wash, letting you relax after enjoying your meal!
You’ll also appreciate how quickly it can become a family favorite; who could resist this cozy bowl of goodness?
Delicious Pressure-Cooker Spanish Chili Ingredients
For the Base
• Ground Beef – Provides protein and richness; use lean ground turkey or chicken for a lighter option.
• Onion – Adds sweetness and aroma; substitute with shallots for a milder flavor.
• Sweet Red Pepper – Contributes sweetness and color; green bell pepper can be used as a substitute.
• Green Pepper – Adds a slightly bitter and fresh taste; swap with more sweet bell peppers if desired.
• Tomato Sauce – Acts as the base for the chili; canned crushed tomatoes may create a chunkier texture.
• Diced Tomatoes – Adds acidity and texture; use fresh diced tomatoes if preferred.
• Brown Sugar – Balances acidity and adds subtle sweetness; agave syrup can serve as an alternative.
For Seasoning
• Chili Powder – Provides warmth and depth of flavor; use a blend of paprika and cumin if necessary.
• Goya Sazon Seasoning – Enhances flavor with coriander and annatto; any all-purpose seasoning can replace it.
• Baking Cocoa – Adds depth and richness to the chili; omit or use dark chocolate if preferred.
• Pepper – Freshly cracked black pepper enhances flavor; adjust according to taste.
• Salt – Essential for flavor enhancement; use kosher or sea salt for better taste.
• Cayenne Pepper – Provides heat; adjust or omit based on your heat preference.
For Final Touches
• Chili Beans – Adds texture and protein; black beans or kidney beans can be swapped in.
• Red Wine Vinegar – Brightens flavor at the end; apple cider vinegar can work as a substitute.
• Optional Toppings – Sour cream and green onions enhance taste and presentation; consider cheese or avocado for added creaminess.
With these ingredients, you’re well on your way to creating a mouthwatering Pressure-Cooker Spanish Chili that will warm your heart and home!
How to Make Pressure-Cooker Spanish Chili
-
Sauté Beef: Start by setting your pressure cooker to sauté mode. Cook the ground beef for about 5-7 minutes, stirring occasionally until it’s no longer pink. Drain any excess fat to keep it light and tasty.
-
Combine Ingredients: Once the beef is browned, press the cancel button. Stir in the onion, both peppers, tomato sauce, diced tomatoes, brown sugar, chili powder, Goya Sazon, cocoa, pepper, salt, and cayenne. Mix it all well!
-
Pressure Cook: Lock the lid securely and close the valve. Cook on high pressure for 8 minutes, letting the wonderful flavors blend together. After cooking, allow the pressure to release naturally for the best texture.
-
Add Beans and Vinegar: Switch back to sauté mode, adjusting to low heat. Gently stir in the chili beans and red wine vinegar, simmering until heated through. This gives your chili a nice zing!
Optional: Top with sour cream and chopped green onions for a delicious finish.
Exact quantities are listed in the recipe card below.
Pressure-Cooker Spanish Chili Variations
Feel free to get creative and make this dish truly your own with these fun tweaks!
-
Lean Protein: Swap ground beef for ground turkey or chicken for a lighter alternative; you’ll still enjoy rich flavors.
-
Vegetarian Delight: Leave out the meat altogether and increase the amount of beans or add lentils for a hearty vegetarian option. It’s just as satisfying!
-
Extra Veggies: Toss in some sweet corn or diced zucchini to increase your veggie intake and add color to your chili. Your family will love the surprise bursts of sweetness!
-
Heat it Up: If you like a little kick, add some diced jalapeños or extra cayenne pepper to elevate the heat level. Just be cautious—spice levels can vary!
-
Chunky Style: Use canned crushed tomatoes instead of tomato sauce for a chunkier texture that enhances each spoonful. It gives the chili a delightful rustic finish!
-
Flavor Twist: Consider adding a dash of Worcestershire sauce or some smoked paprika for a deeper flavor profile that’ll your taste buds will appreciate.
-
The Sweet Side: If you prefer a kick of sweetness, swap the brown sugar for honey or maple syrup for a unique twist that brings out the richness of the tomatoes.
-
Refresh with Citrus: A splash of lime or lemon juice right before serving can brighten the entire dish and bring all those flavors together beautifully!
With these variations, your Pressure-Cooker Spanish Chili can be a new experience each time!
What to Serve with Pressure-Cooker Spanish Chili?
Enhance your mealtime experience with delightful sides that perfectly complement every bowl of this savory chili.
-
Crusty Bread: Slice up a warm baguette or artisan bread to soak up the flavorful broth, adding a satisfying crunch to each bite.
-
Fluffy Rice: Serve over a bed of fluffy white or brown rice that absorbs the rich flavors of the chili, creating a comforting combination you’ll love.
-
Cornbread Muffins: Warm, sweet cornbread muffins add a delightful contrast to the chili’s robust flavors, making each mouthful a joy.
-
Guacamole: A cool, creamy dollop of guacamole offers a refreshing balance and adds creamy richness that enhances the chili experience.
-
Side Salad: A light spinach or mixed greens salad, tossed with zesty lime dressing, provides freshness and balances the chili’s hearty taste.
-
Chips & Salsa: The crunchy chips and zesty salsa create an inviting appetizer that piques the taste buds and sets the stage for the main dish.
-
Cheese Quesadillas: Simple and cheesy, these quesadillas provide extra warmth and comfort alongside your chili, pleasing both kids and adults alike.
-
Red Wine: Pour a glass of smooth red wine to elevate the dining experience, complementing the savory depth of the Pressure-Cooker Spanish Chili beautifully.
Expert Tips for Pressure-Cooker Spanish Chili
-
Brown the Beef Well: Ensure that the meat is well-browned before adding the vegetables; this enhances the flavor depth of your Pressure-Cooker Spanish Chili.
-
Mind Your Beans: If you’re using dried beans, be sure to pre-soak them overnight. Adjust the cooking time accordingly to keep them tender.
-
Natural Pressure Release: Allow natural pressure release for a few minutes after cooking; it helps retain the robust flavors and thick texture of the chili.
-
Adjust Spice Levels: If you prefer a milder chili, start with less cayenne pepper and add more gradually to suit your heat preference.
-
Experiment with Toppings: Get creative with toppings like avocado, cilantro, or cheese; they can elevate the taste of your chili significantly!
Make Ahead Options
These Easy Pressure-Cooker Spanish Chili preparations are perfect for meal prep enthusiasts! You can chop the onion and both peppers up to 24 hours in advance, storing them in an airtight container in the refrigerator to maintain freshness. Additionally, you can fully prepare the chili (without the beans and vinegar) up to 3 days ahead—just let it cool completely before refrigerating in a sealed container. When you’re ready to serve, simply reheat the chili in the pressure cooker on the sauté setting, stir in the beans and red wine vinegar, and simmer until heated through. This way, you’ll enjoy a hearty, home-cooked meal with minimal effort after a busy day!
How to Store and Freeze Pressure-Cooker Spanish Chili
Fridge: Keep your delicious Pressure-Cooker Spanish Chili in an airtight container for up to 3 days. Always allow it to cool down before sealing to preserve freshness.
Freezer: You can freeze the chili for up to 3 months. Portion it into freezer bags, removing as much air as possible to avoid freezer burn.
Reheating: When you’re ready to enjoy leftovers, simply thaw in the refrigerator overnight, then reheat on the stove or in the microwave until heated through.
Airtight Storage: Ensure containers or bags are tightly sealed for optimal flavor retention, preventing any unwanted odors from your fridge or freezer from affecting your comforting chili.
Pressure-Cooker Spanish Chili Recipe FAQs
What type of ground beef should I use for the chili?
Absolutely! Using lean ground beef is ideal for this recipe as it gives rich flavor without being too greasy. Alternatively, you can switch things up with ground turkey or chicken for a lighter option—both are delicious!
How should I store my leftovers, and how long will they last?
You can refrigerate your delicious Pressure-Cooker Spanish Chili in an airtight container for up to 3 days. Just be sure to allow it to cool before sealing to keep everything fresh and ready to enjoy later.
Can I freeze leftover chili, and how should I do it?
Yes, you can freeze your chili for up to 3 months! Portion it into freezer bags or airtight containers, removing as much air as possible to prevent freezer burn. When you’re ready to indulge, thaw it overnight in the refrigerator and reheat on the stove or in the microwave until hot.
What if I want to make the chili spicier?
Very good question! If you’re looking for a spicier kick, feel free to increase the amount of cayenne pepper in the recipe. Start small—maybe 1/4 teaspoon—and taste as you go. You can always add more spice, but it’s hard to tone it down once it’s in!
Are there any dietary considerations I should be aware of?
Definitely! If you’re serving this chili to guests or family members, be mindful of possible allergies, such as to peppers or beans. For a vegetarian version, simply omit the meat and add extra beans or lentils for protein. Each of your guests will surely love a bowl of this comforting chili, no matter their dietary needs.
Can I use different beans in the chili?
The more, the merrier! Although the recipe calls for chili beans, you can definitely swap them out for black beans or kidney beans based on your personal preference. Just remember to rinse and drain canned beans before adding them to the chili for the best results.

Savory Pressure-Cooker Spanish Chili in Just 25 Minutes
Ingredients
Equipment
Method
- Start by setting your pressure cooker to sauté mode. Cook the ground beef for about 5-7 minutes, stirring occasionally until it’s no longer pink. Drain any excess fat to keep it light and tasty.
- Once the beef is browned, press the cancel button. Stir in the onion, both peppers, tomato sauce, diced tomatoes, brown sugar, chili powder, Goya Sazon, cocoa, pepper, salt, and cayenne. Mix it all well!
- Lock the lid securely and close the valve. Cook on high pressure for 8 minutes, letting the wonderful flavors blend together. After cooking, allow the pressure to release naturally for the best texture.
- Switch back to sauté mode, adjusting to low heat. Gently stir in the chili beans and red wine vinegar, simmering until heated through.
- Optional: Top with sour cream and chopped green onions for a delicious finish.


