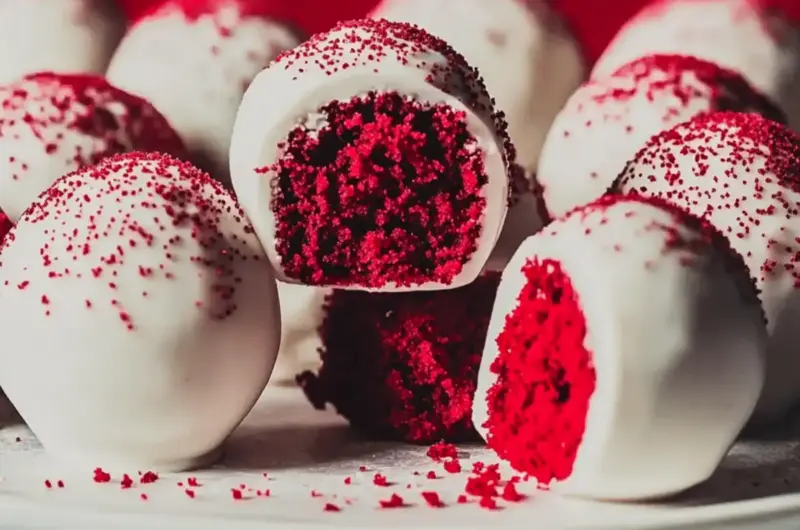
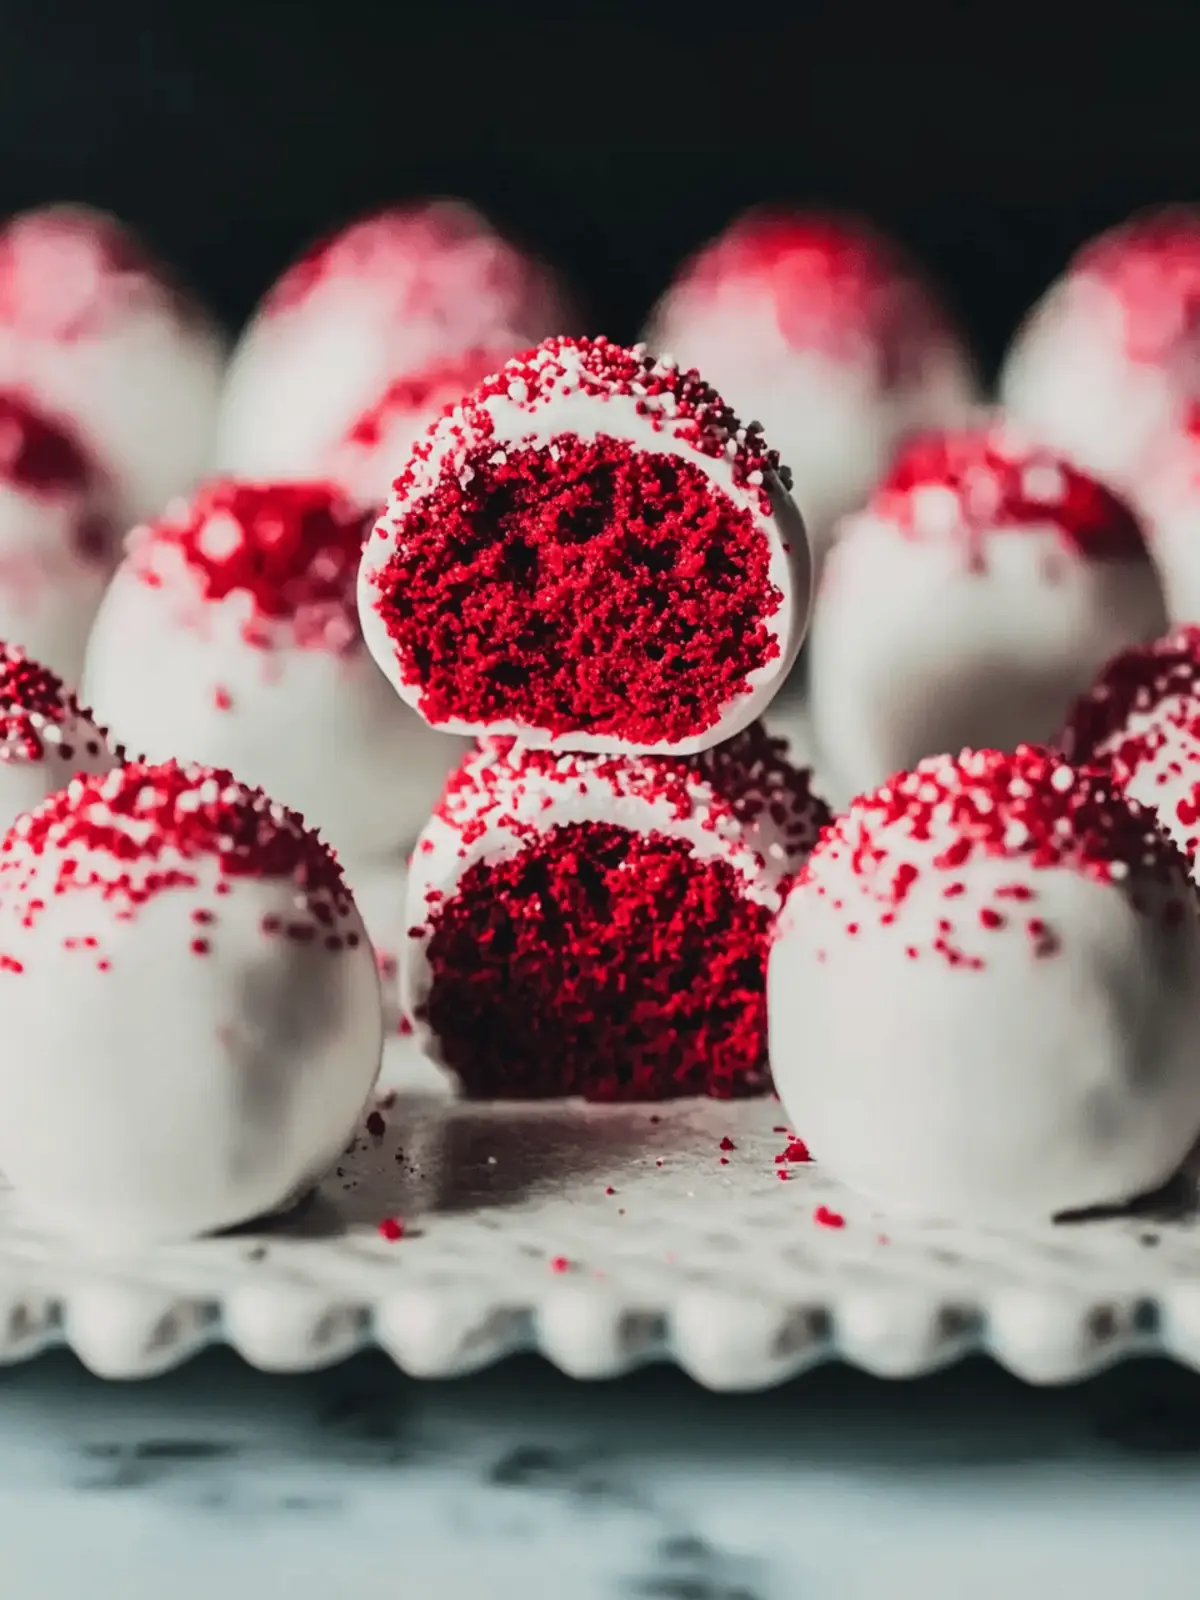
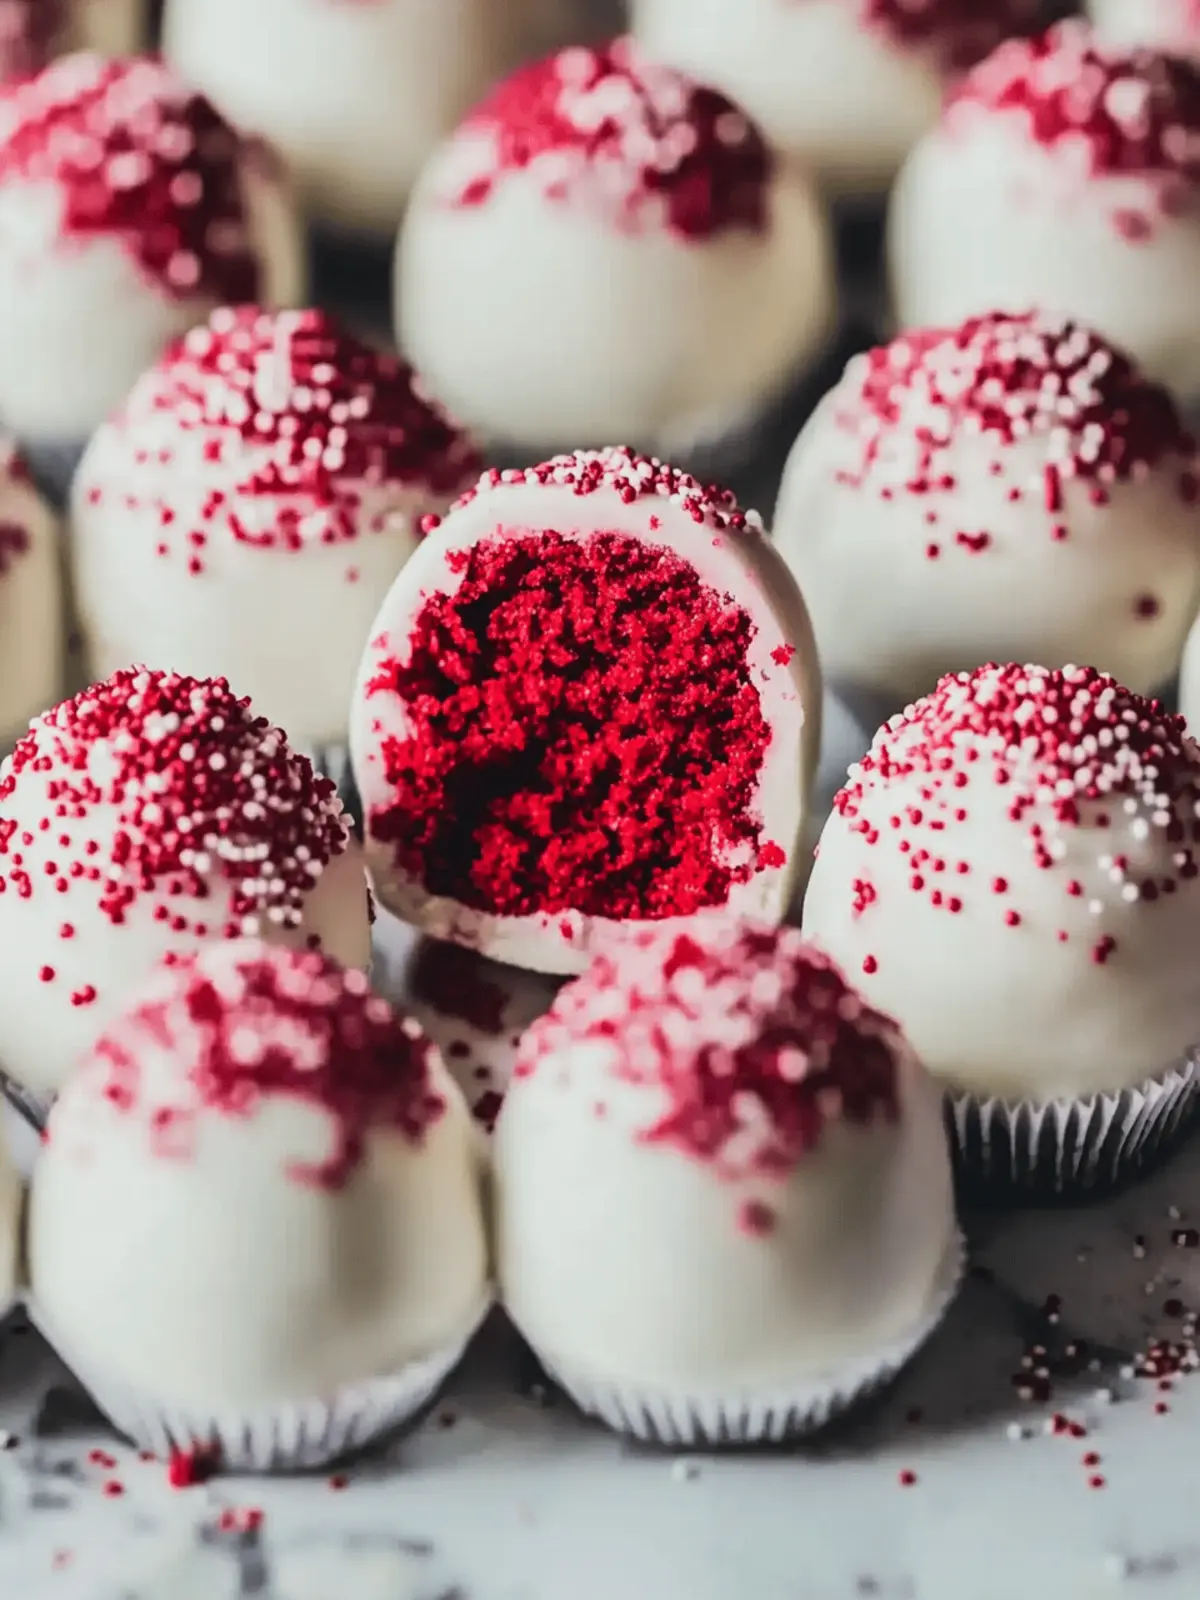
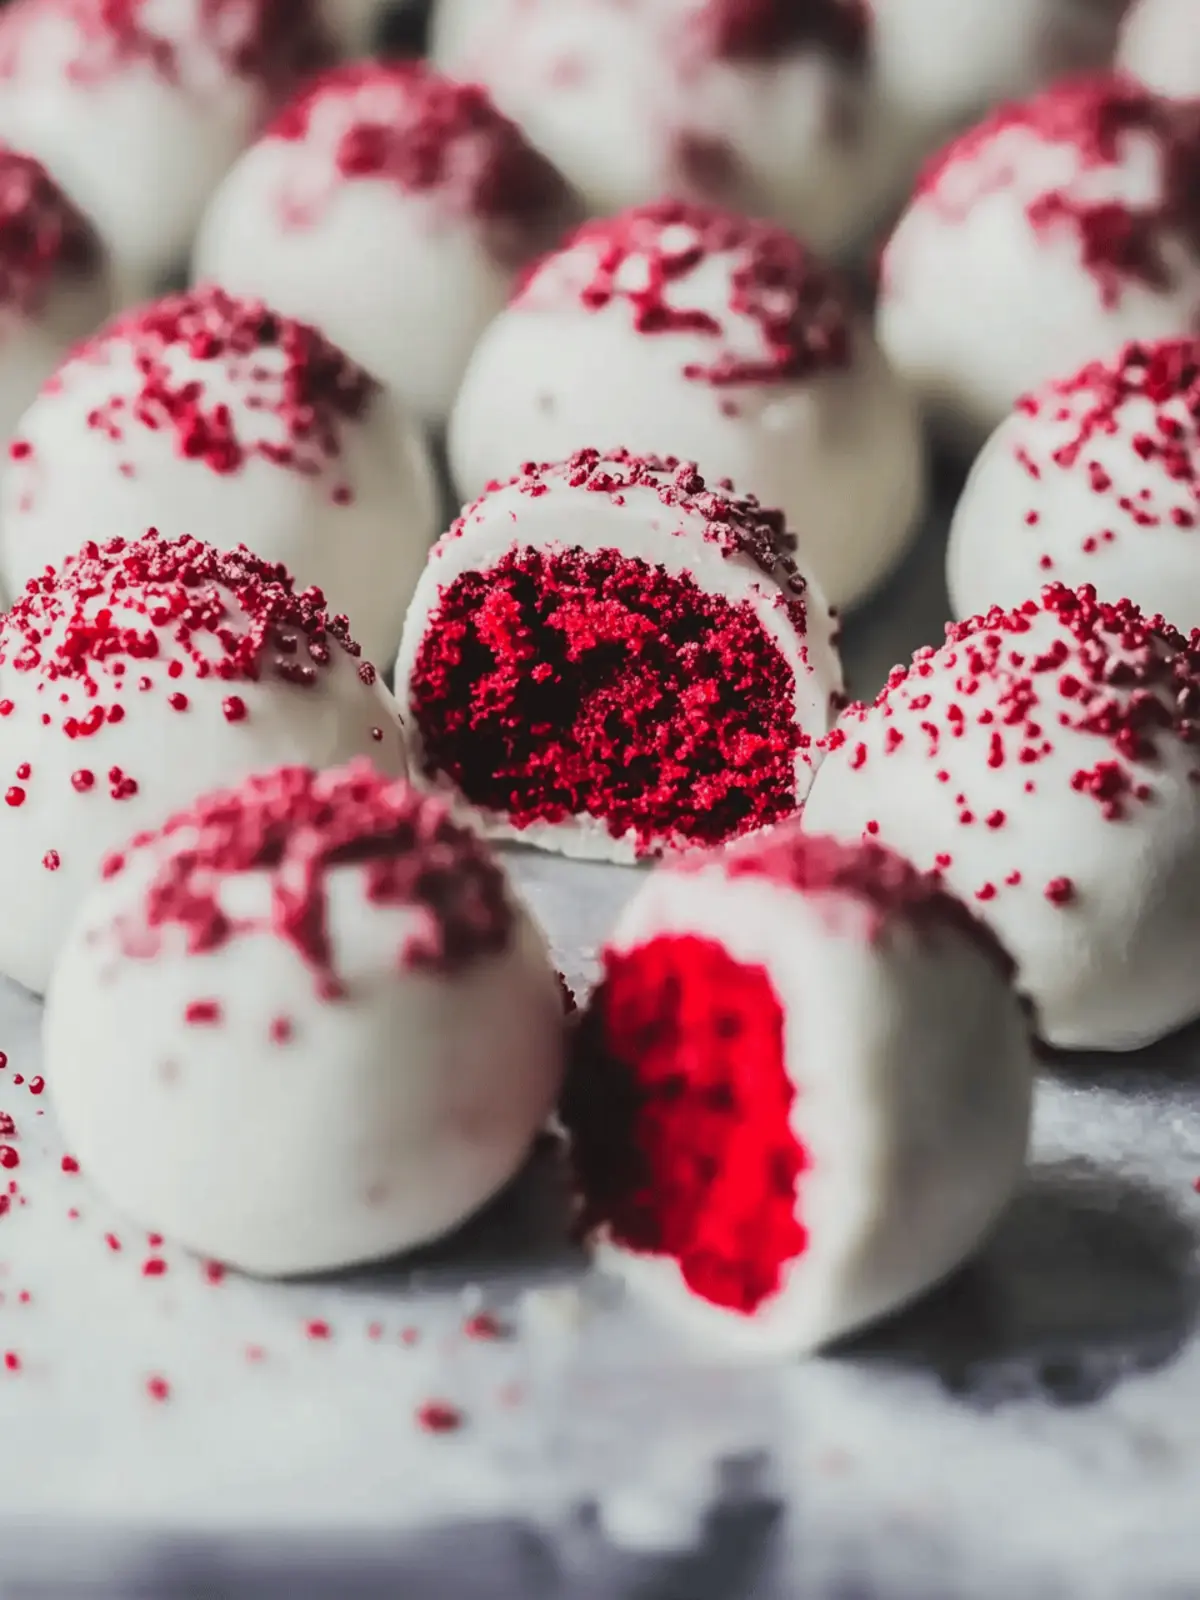
The first time I tasted Red Velvet Cake, I was captivated by its velvety texture and rich flavor, a delightful twist on the classic dessert. Fast forward a few years, I wanted to recreate that magic but in a fun and bite-sized form—enter Red Velvet Cake Balls! These little spheres of joy pack the perfect punch of flavor while being a whimsical treat for any occasion.
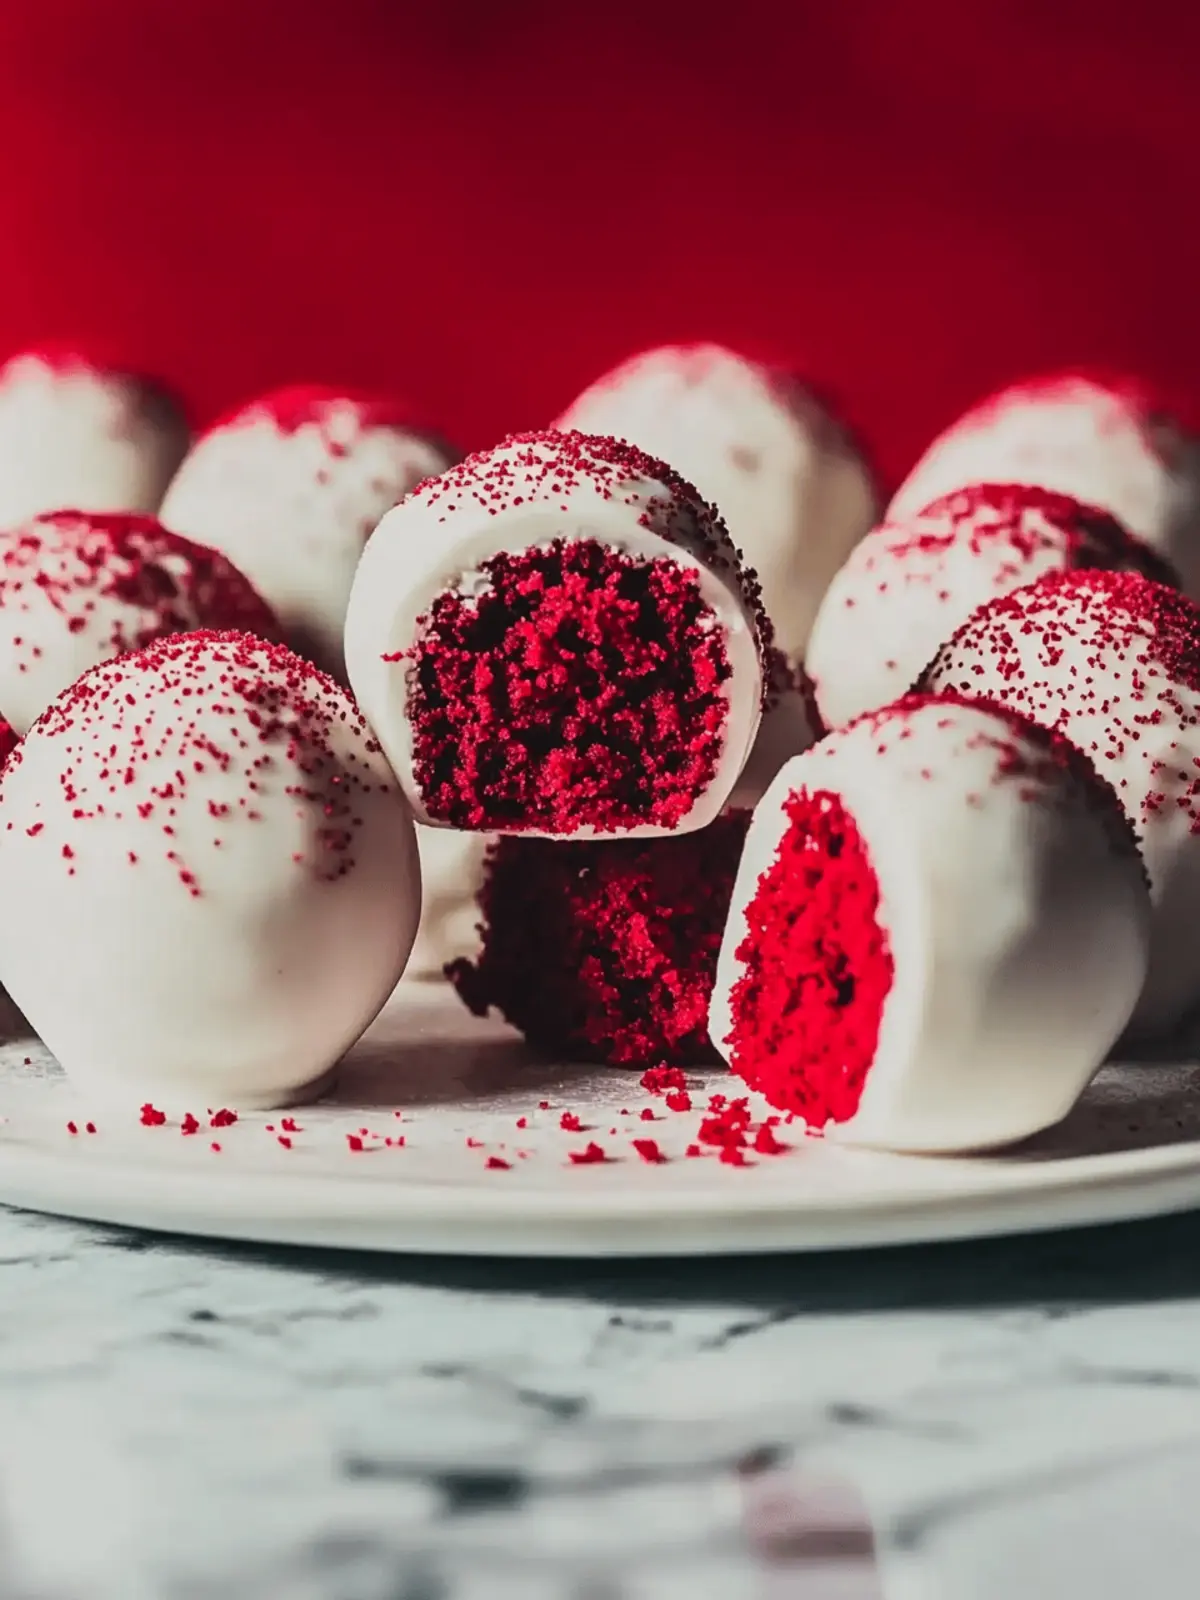
Picture this: a soft red velvet cake hidden inside a shell of luscious cream cheese frosting, all elegantly coated in sweet white melting wafers. They’re as beautiful as they are delicious, adorned with a sprinkle of festive colors that make them perfect for celebrations or even a cozy night in. If you’re tired of the same old snacks or seeking a creative way to impress your friends, these Red Velvet Cake Balls are sure to steal the show. Let’s dive into this easy, crowd-pleasing recipe that elevates your dessert game without fuss.
Why Choose Red Velvet Cake Balls?
Irresistible Delight: These Red Velvet Cake Balls combine the classic taste of red velvet cake with the ease of bite-sized treats, making them a hit at any gathering.
Festive Appearance: Their vibrant red color, creamy white coating, and playful sprinkles make them the ultimate eye-catching dessert.
Crowd-Pleaser: Whether it’s a holiday party or just a cozy night at home, their unique flavor and appealing look will wow your guests.
Easy to Make: With simple ingredients and straightforward steps, you’ll whip these up in no time, elevating your dessert spread without the hassle.
Versatile Treat: Perfect for any occasion, customize the decorations to suit birthdays, anniversaries, or even as a sweet surprise for loved ones.
Dive into this fun recipe for a delightful twist on a classic dessert!
Essential Red Velvet Cake Balls Ingredients
For the Cake Balls
• Red velvet cake mix – Perfect for creating the soft and rich base of your cake balls.
• Whole milk – Adds moisture and richness for a tender texture.
• Salted butter – Enhances flavor and ensures a moist cake.
• Vanilla extract – Imparts a warm, sweet aroma and depth to the flavor.
For the Frosting
• Cream cheese – Delivers the classic tangy flavor that pairs beautifully with red velvet.
• Salted butter – Combines with the cream cheese for a creamy, delicious texture in the frosting.
• Powdered sugar – Sweetens the frosting while keeping it smooth for easy spreading.
• Vanilla extract – Adds an extra layer of flavor to the frosting.
For Decoration
• White melting wafers – Provides a sweet, smooth coating that makes these Red Velvet Cake Balls even more delightful.
• Red and white sprinkles – Perfect for adding a festive touch; customize them for any occasion!
• Sanding sugars – Enhances the visual appeal of your cake balls with a sprinkle of glamour.
How to Make Red Velvet Cake Balls
-
Prepare the Cake Mix: Start by following the package instructions for the red velvet cake mix, using whole milk, melted butter, and 1 teaspoon of vanilla extract. This will create a rich and moist cake base.
-
Bake and Cool: Grease a baking pan with vegetable shortening, dust it with flour, and pour in your cake batter. Bake according to the package directions, then let the cake cool completely so it firms up for easy handling.
-
Make the Frosting: In a mixing bowl, combine the softened cream cheese and ½ cup of softened butter. Beat until smooth and creamy, then gradually add the powdered sugar, mixing well with each addition.
-
Flavor the Frosting: Stir in the remaining 2 teaspoons of vanilla extract into your frosting mixture until everything is well combined and luscious.
-
Crumble the Cake: Once the cake has cooled, crumble it into a large mixing bowl until it resembles fine crumbs. This is where the magic happens!
-
Combine Cake and Frosting: Add the frosting to the crumbled cake and mix until well incorporated. The mixture should be moist enough to hold its shape when rolled into balls.
-
Form the Balls: Scoop out portions of the cake-frosting mixture and roll them into 1-inch balls. Place them on a lined baking sheet.
-
Melt the Coating: Melt the white melting wafers according to package instructions. Ensure they are smooth and ready for dipping!
-
Dip the Cake Balls: Carefully dip each cake ball into the melted white wafers, ensuring they’re fully coated. Let any excess coating drip off.
-
Decorate: Before the coating sets, sprinkle your red and white sprinkles and sanding sugars on top. This adds a festive touch to your beautiful Red Velvet Cake Balls!
Optional: Drizzle additional melted white wafers on top for a gourmet look.
Exact quantities are listed in the recipe card below.
Red Velvet Cake Variations
Feel free to get creative and customize these delicious treats to suit your taste!
- Chocolatey Twist: Add ½ cup mini chocolate chips to the cake mix for a delightful surprise in every bite.
- Nutty Addition: Fold in ½ cup chopped walnuts or pecans into the cake mixture for a lovely crunch paired with velvety softness.
- Dairy-Free: Substitute whole milk and butter with almond or oat milk and dairy-free butter for a delicious vegan option.
- Spice it Up: Mix 1 tsp of cinnamon or a hint of nutmeg into the cake batter for a warm, spiced flavor that elevates the classic red velvet.
For a mini-paragraph, consider adding:
Berry Boost: Incorporate ½ cup of crushed raspberries or strawberries into the frosting for a fruity, tangy zing that beautifully complements the rich chocolate flavor.
- Coconut Cream: Swap the vanilla extract in the frosting for coconut extract and add shredded coconut for a tropical twist.
- Citrus Zing: Add the zest of 1 orange or lemon to the cake batter for a refreshing citrus flavor that brightens the dessert.
- Spiked Indulgence: For an adult version, drizzle a little bourbon or rum into the melted white wafers for a decadent kick.
What to Serve with Red Velvet Cake Balls?
Indulge in the delightful world of flavors to create a memorable meal surrounding these luscious treats.
-
Creamy Vanilla Ice Cream: The cool, creamy texture beautifully contrasts the rich flavors of the cake balls, providing a refreshing balance in every bite.
-
Fizzy Raspberry Lemonade: This tangy and vibrant drink adds a zing that matches the cake balls’ sweetness, making it a fun and lively pairing.
-
Chocolate-Covered Strawberries: The decadence of chocolate complements the cake balls perfectly, creating a luxurious experience that’s great for special occasions.
-
Nutty Pecan Pie: The crunchy texture of this classic dessert offers a satisfying contrast to the soft cake balls, while the caramel flavors enhance their richness.
-
Warm Milk with Cinnamon: Enjoy this comforting beverage that soothes the palate, allowing the flavors of the red velvet cake balls to shine.
-
Mini Fruit Tarts: The fresh, fruity elements bring a burst of color and flavor that beautifully balances the indulgence of the cake balls.
-
Coffee or Espresso: A bold cup of coffee serves as the ideal companion, cutting through the sweetness while enhancing the cake balls’ decadent flavor.
-
White Chocolate Mocha: Sweet and creamy, this coffee treat harmonizes wonderfully with the cake balls, making every bite feel celebratory.
Make Ahead Options
These Red Velvet Cake Balls are perfect for meal prep, saving you time without compromising on taste! You can prepare the cake base up to 24 hours in advance—just bake it, let it cool, and store it tightly wrapped in plastic wrap in the refrigerator. The frosting can also be made ahead and kept in an airtight container for up to 3 days. When you’re ready to assemble, crumble the chilled cake and mix in the frosting. Then, simply roll into balls, coat in melted white wafers, and decorate as desired. This way, you maintain the delicious flavor and texture, ensuring your treats are just as delightful when served!
Helpful Tricks for Red Velvet Cake Balls
Use Fresh Ingredients: Ensure your cake mix, butter, and cream cheese are fresh for the best flavor and texture in your Red Velvet Cake Balls.
Don’t Overmix: When combining the cake crumbs and frosting, mix just until incorporated. Overmixing can lead to dense cake balls.
Chill Before Dipping: After rolling the balls, refrigerate them for about 30 minutes. This helps them hold their shape during the dipping process.
Work in Batches: Melt the white melting wafers in small batches to keep them smooth and easy to dip. If they harden, reheat gently.
Customize Your Finish: Get creative with your decorations! Try various sprinkles to match the theme of your gathering, ensuring your Red Velvet Cake Balls always shine.
How to Store and Freeze Red Velvet Cake Balls
Room Temperature: Store your Red Velvet Cake Balls in an airtight container for up to 3 days; they’ll stay soft and delicious.
Fridge: To keep them fresh longer, refrigerate them in an airtight container for up to 1 week. Allow to come to room temperature before serving for the best flavor.
Freezer: For longer storage, freeze the cake balls in a single layer on a baking sheet, then transfer to a freezer-safe container or bag for up to 3 months.
Reheating: There’s no need to reheat cake balls; simply thaw in the fridge for a few hours or at room temperature for a perfect treat!
Red Velvet Cake Balls Recipe FAQs
How do I choose the right red velvet cake mix?
Absolutely! Look for a cake mix that has a rich red color and includes cocoa powder; this ensures a classic red velvet flavor. Check the package for any unusual ingredients—simple is usually best!
What’s the best way to store Red Velvet Cake Balls?
I recommend storing your Red Velvet Cake Balls in an airtight container at room temperature for up to 3 days. If you want them to last longer, keep them in the fridge for up to a week, allowing them to come to room temperature before serving for that soft deliciousness.
Can I freeze Red Velvet Cake Balls?
Yes, you can! For freezing, place the cake balls on a baking sheet in a single layer and freeze them until firm (about 1-2 hours). Then transfer them to a freezer-safe container or bag for up to 3 months. When you’re ready to enjoy, just thaw them in the fridge for a few hours or leave them out at room temperature.
What should I do if my cake balls are too crumbly?
If the mixture feels too crumbly, you can add a little more frosting—just a tablespoon at a time—until the consistency is moist enough to hold together when rolled. This usually does the trick!
Can Red Velvet Cake Balls be made in advance?
Very much so! You can make them up to 2 days in advance and store them in the fridge. Just make sure they’re sealed tightly in an airtight container. The flavors often deepen and improve after sitting for a day!
Are Red Velvet Cake Balls suitable for people with allergies?
If anyone in your group has allergies, be cautious! The standard ingredients, like cream cheese and butter, are common allergens. You can customize by using gluten-free cake mix and alternatives like dairy-free cream cheese for those with specific dietary needs. Always check labels to ensure they’re allergen-free!
Decadent Red Velvet Cake Balls That Wow Every Sweet Tooth
Ingredients
Equipment
Method
- Prepare the Cake Mix: Follow package instructions for the red velvet cake mix, using whole milk, melted butter, and vanilla extract.
- Bake and Cool: Pour cake batter into greased baking pan and bake as directed. Let it cool completely.
- Make the Frosting: Combine cream cheese and butter, beat until smooth, then gradually add powdered sugar.
- Flavor the Frosting: Stir in additional vanilla extract into the frosting mixture until well combined.
- Crumble the Cake: Crumble the cooled cake into a bowl until it resembles fine crumbs.
- Combine Cake and Frosting: Mix the crumbled cake and frosting until well incorporated.
- Form the Balls: Roll mixture into 1-inch balls and place on a lined baking sheet.
- Melt the Coating: Melt the white melting wafers according to package instructions.
- Dip the Cake Balls: Dip each ball into melted wafers, ensuring they are fully coated.
- Decorate: Sprinkle with red and white sprinkles before the coating sets.
