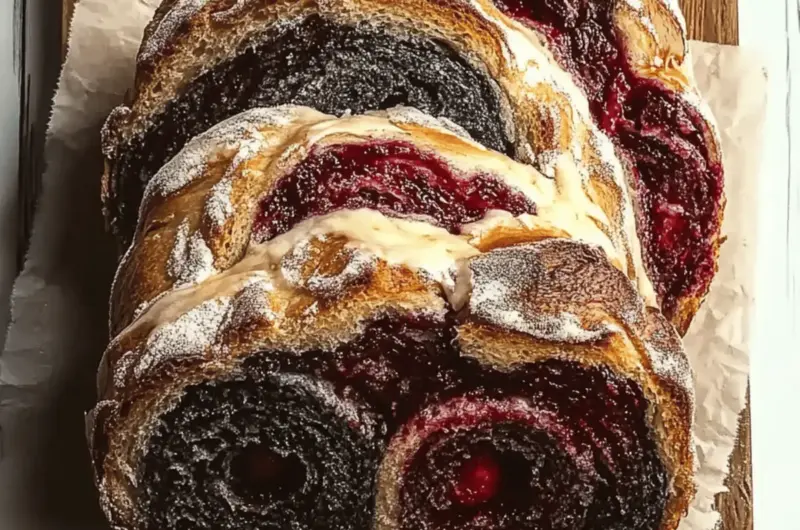
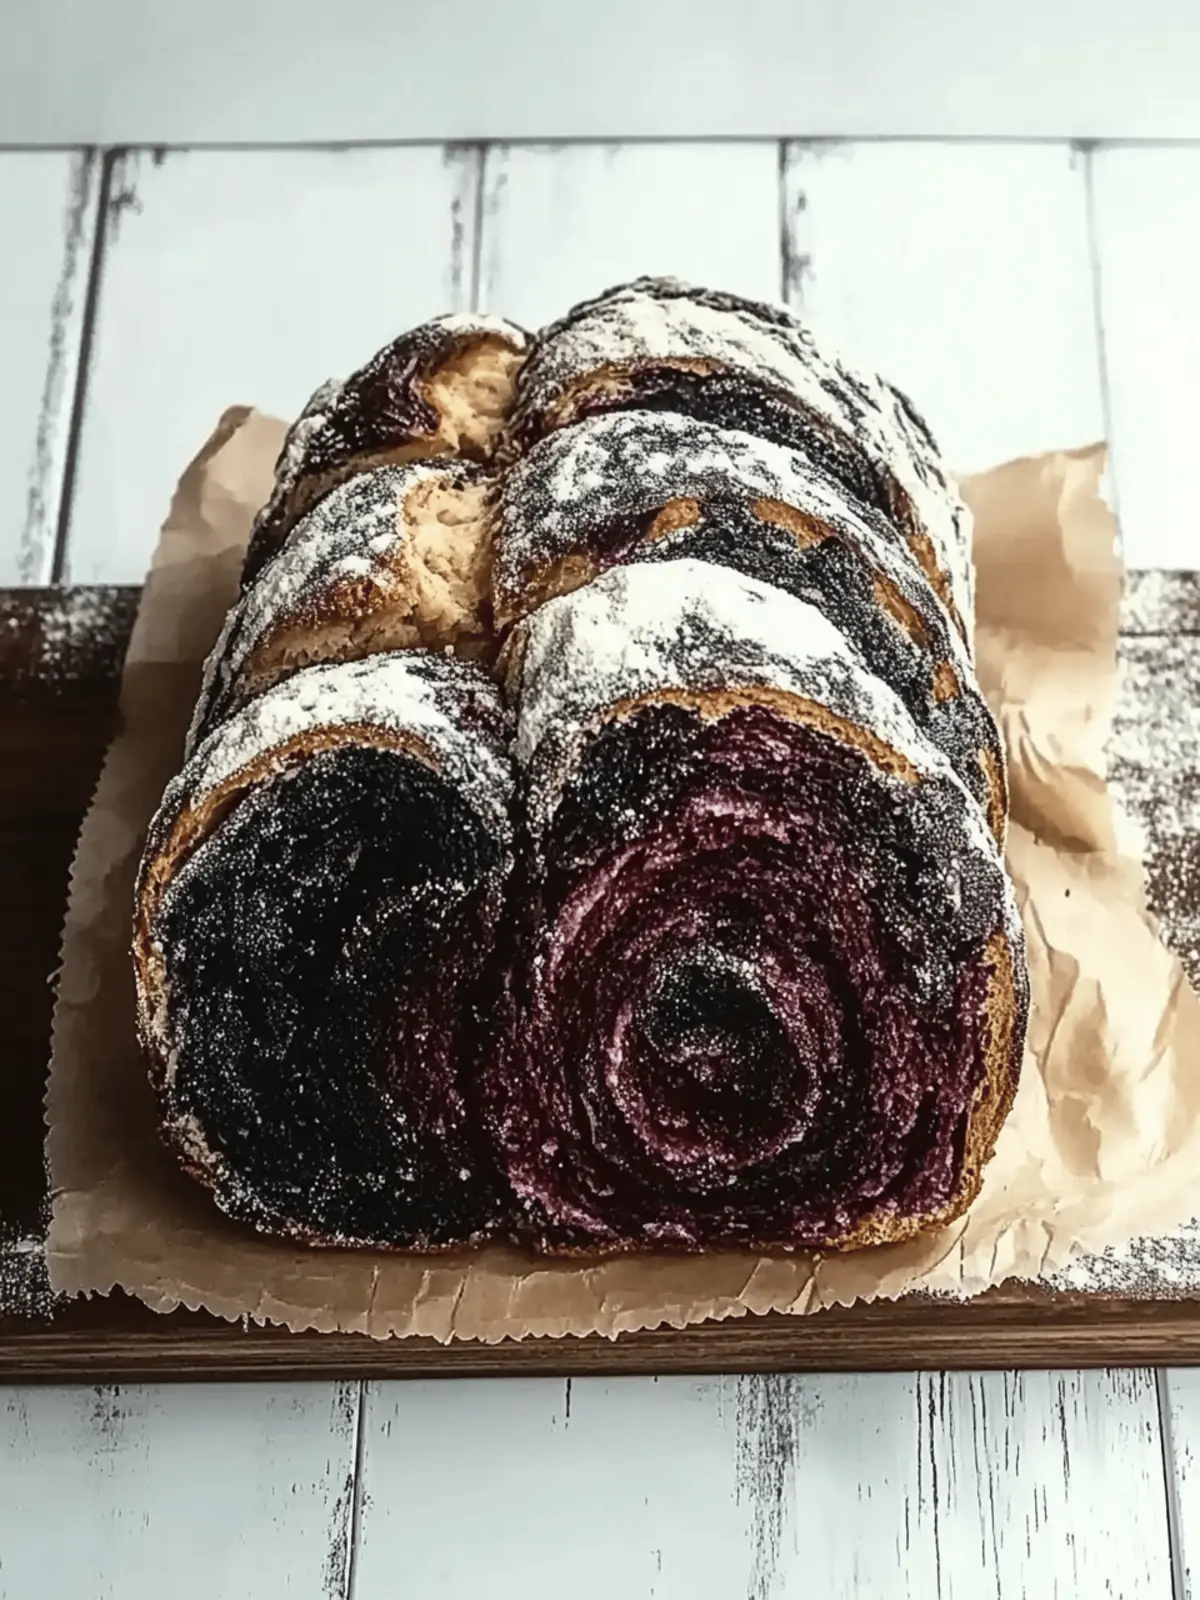
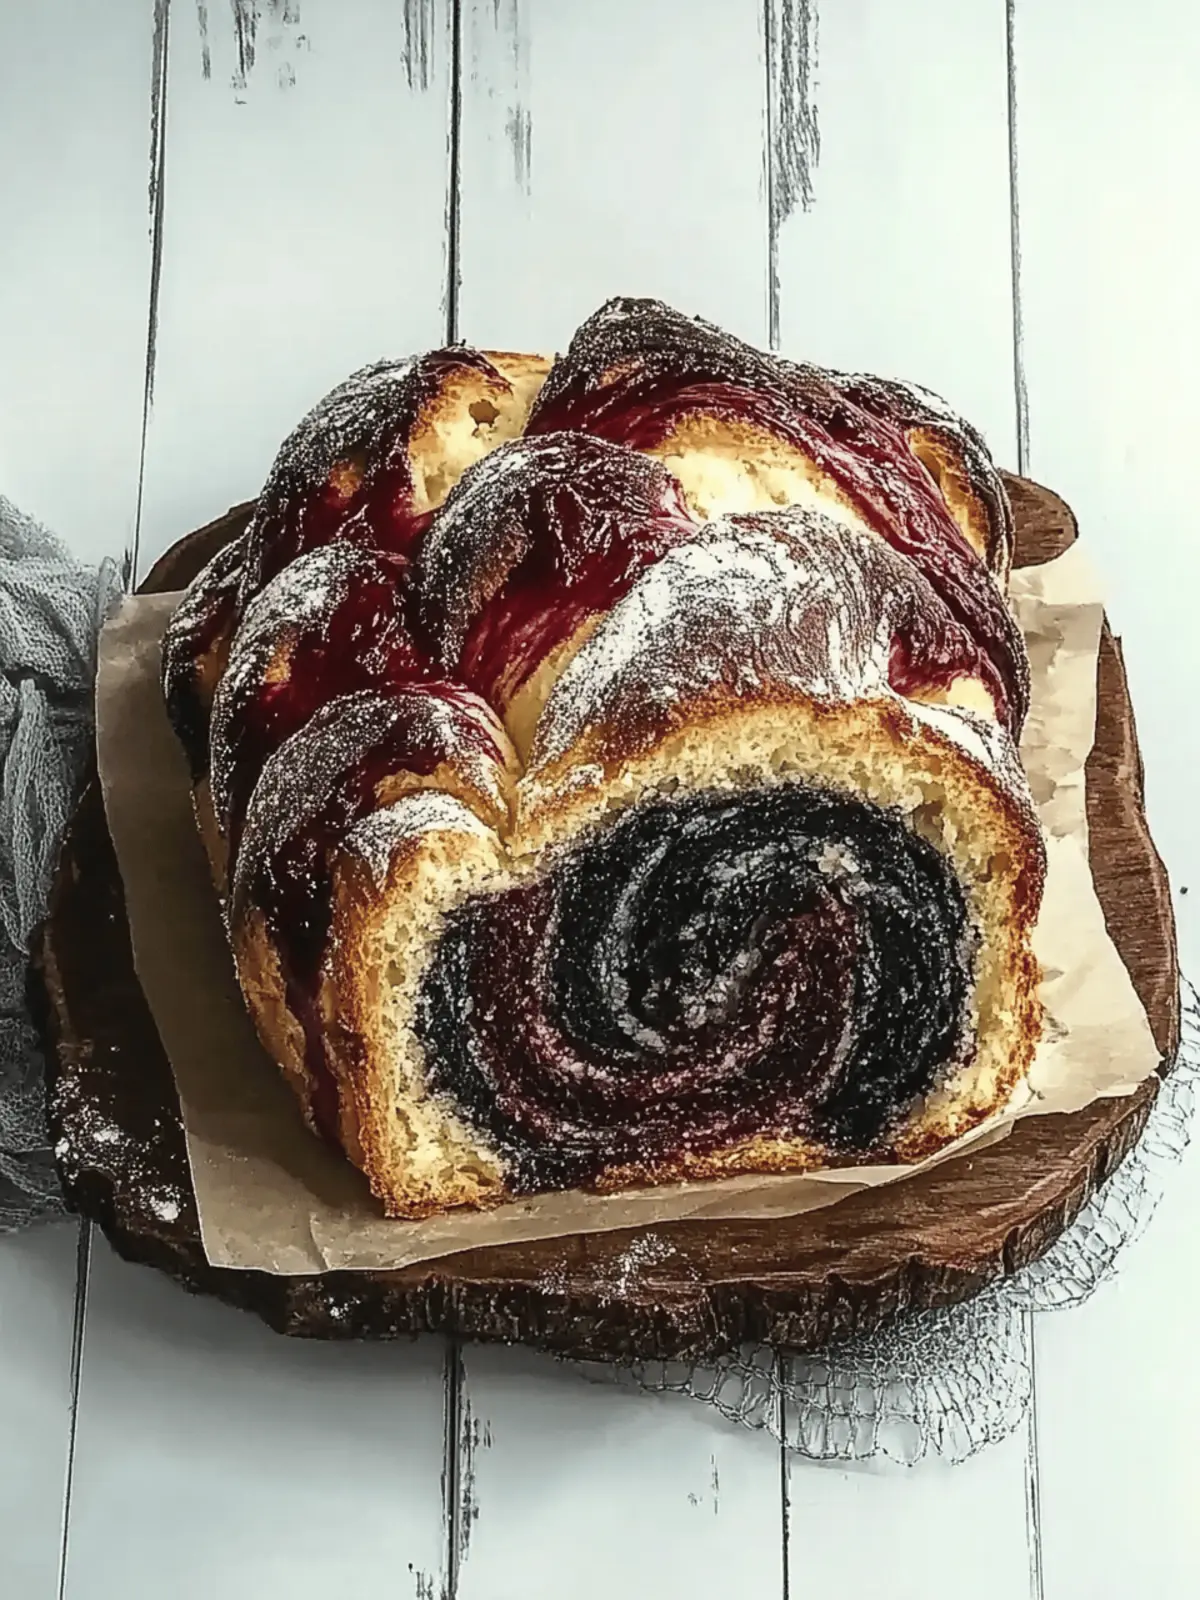
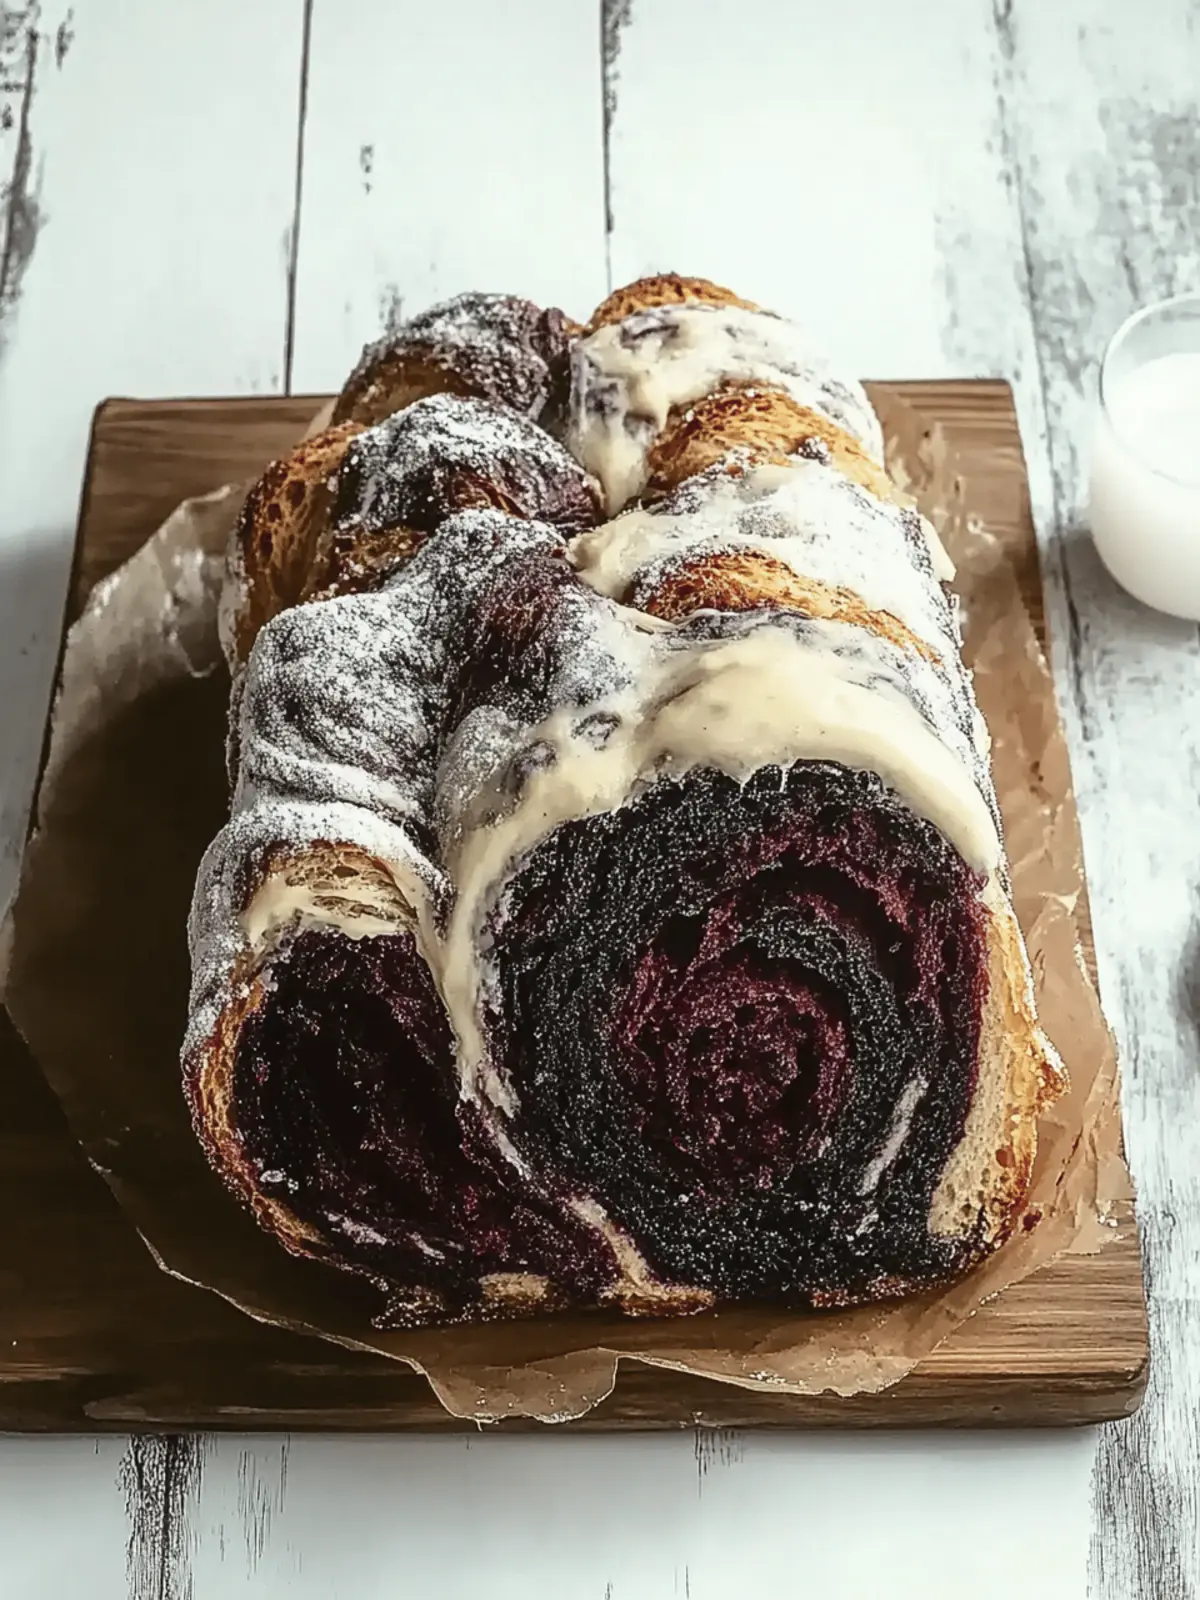
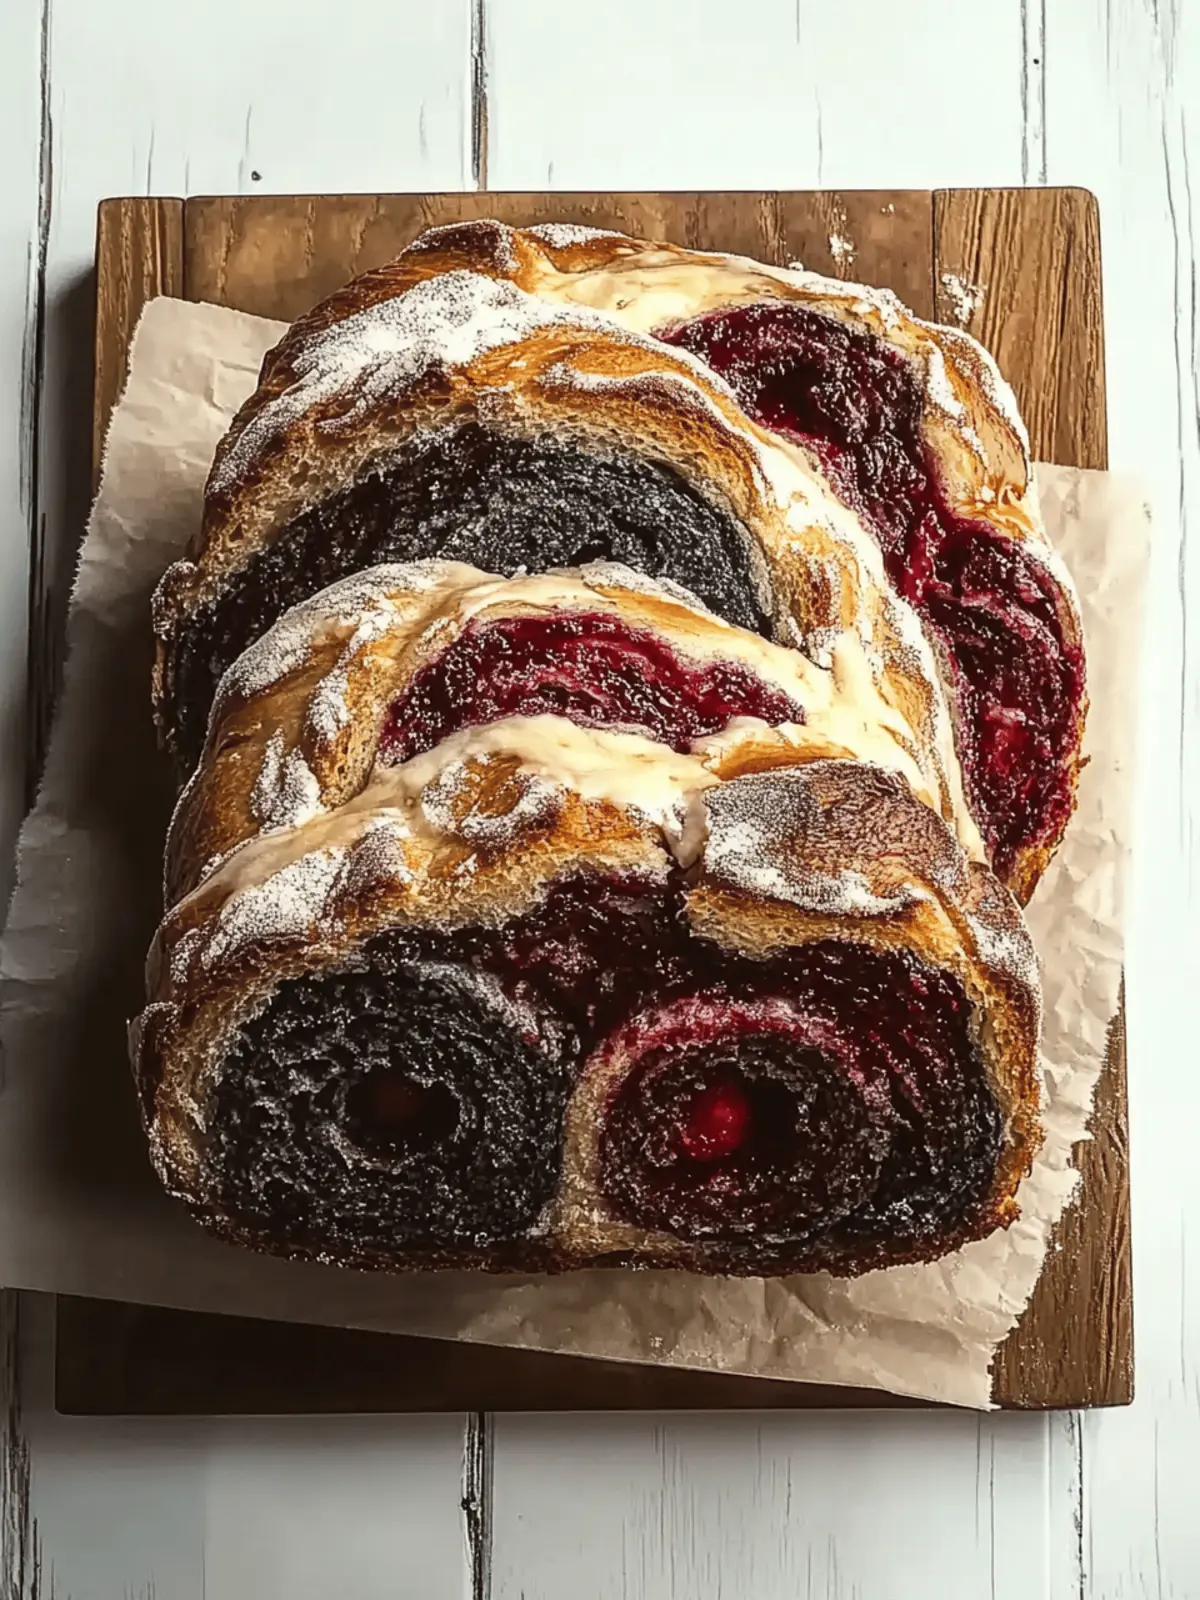
As the days grow shorter and Halloween approaches, I find myself enchanted by the vibrant colors and whimsical treats of the season. This year, I’m turning my kitchen into a haunted bakery with an utterly tempting creation: Vampire Bread! Just the sight of its striking red and black swirls evokes the spirit of Halloween, making it not just a treat, but a centerpiece for any festive gathering.
Imagine pulling a warm loaf from the oven, its inviting aroma of fresh bread filling the air—it’s simply irresistible! The beauty of this recipe lies not only in its visually stunning appearance but also in its low-fat and adaptable nature. Whether you’re gluten-free or dairy-free, there’s a version waiting for you. This delightful bread will surely become a favorite, bringing smiles to faces of all ages! So roll up your sleeves and let’s conjure up some spooky deliciousness together!
Why is Vampire Bread a Must-Try?
Enchanting Appearance: The striking red and black swirls create a visually stunning loaf that’s perfect for Halloween festivities.
Adaptable Options: Whether you’re gluten-free or dairy-free, this recipe offers variations tailored to your dietary needs.
Fun to Make: Baking this bread is a hands-on experience that’s enjoyable for all ages—great for family time!
Irresistible Aroma: Imagine the warm, inviting scent of freshly baked bread filling your home, sure to entice everyone!
Crowd-Pleaser: Serve it at gatherings, alongside savory soups or with sweet spreads, and watch it disappear in no time!
Plus, if you’re looking for more exciting Halloween treats, check out our Spooky Pumpkin Muffins for a delicious complement!
Vampire Bread Ingredients
Get ready to craft this festive treat with the following essentials!
For the Dough
- All-Purpose Flour – Provides structure and texture; substitute with gluten-free flour for a gluten-free version.
- Yeast – Acts as a leavening agent for a light, airy bread; use active dry yeast or fresh yeast depending on what you have on hand.
- Sugar – Adds sweetness and enhances browning; you can reduce it for a less sweet bread if desired.
- Salt – Enhances flavor and strengthens gluten; omit for low-sodium diets if necessary.
- Water – Hydrates the dough; ensure it’s warm (about 110°F) for effective yeast activation.
- Butter (or Oil) – Adds richness and moisture; substitute with plant-based butter for a dairy-free option.
For the Color
- Food Coloring (Red and Black) – Creates vibrant color swirls in the bread; for a natural option, beet juice or activated charcoal works beautifully.
Dive into the world of homemade delights with this Vampire Bread recipe—because Halloween deserves a special touch!
How to Make Vampire Bread
-
Prepare the Dough: In a large bowl, combine all-purpose flour, sugar, yeast, and salt. Gradually add warm water (about 110°F) and knead until smooth, taking about 8-10 minutes. You want a soft, elastic dough!
-
First Rise: Cover the bowl with a clean kitchen towel and let the dough rise in a warm spot for 1-2 hours, or until it has doubled in size—this is where the magic begins!
-
Color the Dough: Gently punch down the risen dough to release air. Divide it into two equal portions, and color one half red and the other black using food coloring. Knead until the colors are vibrant.
-
Shape the Loaf: On a floured surface, roll out each colored portion into flat rectangles. Layer the red and black dough together, carefully twist them together, and form it into a loaf shape. How spooky!
-
Second Rise: Place your shaped loaf onto a baking sheet and let it rise for another 30 minutes. It should look slightly puffy as it gets ready for the oven.
-
Bake the Loaf: Preheat your oven to 350°F (175°C) and bake for about 30 minutes, or until the top is golden brown and sounds hollow when tapped. Your kitchen will smell irresistible!
-
Cool Down: Once baked, remove the loaf from the oven and cool on a wire rack before slicing. This step will help maintain that lovely fluffy texture.
Optional: Serve warm with a smear of butter or your favorite jam for an extra treat!
Exact quantities are listed in the recipe card below.
Expert Tips for Making Vampire Bread
-
Check Yeast Freshness: Always ensure your yeast is fresh and bubbly in warm water to avoid flat bread. Inactive yeast is a common misstep!
-
Knead Properly: Knead the dough until it’s smooth and elastic, about 8-10 minutes. This step is crucial for the perfect texture of your Vampire Bread.
-
Cover During Rising: Protect the dough with a clean towel while it rises. This prevents it from drying out and ensures a good rise.
-
Use Warm Water: Activating the yeast requires warm water around 110°F. Cold water can hinder the leavening process.
-
Adjust Coloring: For a healthier option, experiment with natural colorings like beet juice instead of food coloring for those spooky swirls.
-
Don’t Rush the Cool Down: Let the bread cool completely on a wire rack before slicing. This keeps the texture fluffy and prevents a gummy crumb.
How to Store and Freeze Vampire Bread
Room Temperature: Keep your Vampire Bread in an airtight container at room temperature for up to 3 days to maintain its fluffy texture and freshness.
Fridge: If stored in the fridge, the bread will last up to a week, but it may lose some of its softness. Make sure to wrap it tightly in plastic wrap or foil.
Freezer: For longer storage, wrap the cooled Vampire Bread tightly in plastic wrap and then in aluminum foil; it will stay fresh for up to 3 months in the freezer.
Reheating: To enjoy, simply thaw and reheat the bread in the oven at 350°F (175°C) for about 10 minutes to regain that fresh-baked flavor and texture.
Make Ahead Options
These delightful Vampire Bread loaves are perfect for busy home cooks who love to meal prep! You can prepare the dough up to 24 hours in advance: after kneading, cover the bowl tightly with plastic wrap and refrigerate. When you’re ready to bake, simply let the dough come to room temperature for about 30 minutes and follow the color, shape, and rising instructions as usual. Additionally, once your shaped loaf rises, you can cover it and refrigerate for an additional 24 hours before baking; just allow it to warm slightly on the counter before heading to the oven. This way, you’ll have a breathtaking, freshly baked treat with minimal last-minute effort, ensuring your Vampire Bread is just as delicious!
What to Serve with Vampire Bread?
This delightful loaf is not just a treat for the eyes; it’s also incredibly versatile and pairs beautifully with numerous accompaniments.
-
Savory Pumpkin Soup: The warm, creamy texture of pumpkin soup beautifully complements the lightness of Vampire Bread, making it perfect for a cozy Halloween dinner.
-
Garlic Herb Butter: Spread a dollop of garlic herb butter on each slice for an irresistible richness that enhances the soft, fluffy texture of the bread.
-
Spicy Tomato Jam: The sweet heat of a spicy tomato jam creates a delightful contrast to the slightly sweet Vampire Bread, making each bite an exciting flavor experience.
-
Cheese Platter: Pair it with a selection of soft cheeses like goat cheese or brie to elevate your spooky gathering into a gourmet feast. A little fruit on the side can add a refreshing balance.
-
Warm Apple Cider: Enjoying a slice of Vampire Bread with a cup of warm apple cider evokes autumn flavors, creating a comforting and festive atmosphere for your family gatherings.
-
Festive Salads: Serve alongside a colorful autumn salad with roasted butternut squash and baby spinach for a refreshing contrast that brings the whole meal together.
Embrace the Halloween spirit while enjoying this delicious bread, as it makes for stunning presentations and tasty pairings everyone will love!
Vampire Bread Variations
Feel free to put your own spin on this spooky treat and make it uniquely yours!
- Gluten-Free: Substitute all-purpose flour with a gluten-free blend to cater to those with gluten sensitivities. Everyone should enjoy the festivities!
- Dairy-Free: Use plant-based butter or oil in place of regular butter for a creamy, non-dairy option that keeps the loaf moist and flavorful.
- Flavor Twists: Add sun-dried tomatoes, fresh herbs, or a sprinkle of garlic powder for an exciting fusion of flavors. Each bite can be a surprising delight!
- Natural Coloring: Replace artificial food coloring with beet juice for red and activated charcoal for black, allowing for a naturally colorful twist that’s healthier, too.
- Herb-Infused: Knead in dried herbs like rosemary or thyme into your dough before the first rise for a fragrant addition that elevates this spooky bread into a savory delight.
- Spicy Kick: For those who love a little heat, a few chopped jalapeños or crushed red pepper flakes can be added to the dough. This twist on Vampire Bread will surprise and delight the courageous!
- Nutty Texture: Include chopped nuts like walnuts or hazelnuts to add a crunchy texture contrast that makes each slice a bit more exciting and hearty.
- Sweeten the Deal: For a sweeter version, fold in chocolate chips or chopped dried fruits like cranberries for delightful pockets of sweetness in every slice!
Let your imagination lead the way, and enjoy crafting your own fabulous Vampire Bread!
Vampire Bread Recipe FAQs
What kind of flour should I use for Vampire Bread?
You can use all-purpose flour for a classic texture, but if you’re looking for a gluten-free option, a gluten-free flour blend works wonderfully. Just make sure it’s designed for baking to achieve the right structure!
How should I store leftover Vampire Bread?
Store your Vampire Bread in an airtight container at room temperature for up to 3 days. If you want to keep it fresh for longer, you can wrap it tightly in plastic wrap or aluminum foil, and it will last in the freezer for up to 3 months!
Can I freeze Vampire Bread?
Absolutely! To freeze, first let the bread cool completely. Then wrap it tightly in plastic wrap and again in aluminum foil. Label it with the date and freeze. When you’re ready to enjoy it, just thaw at room temperature or reheat in the oven at 350°F (175°C) for about 10 minutes.
Why did my Vampire Bread not rise properly?
This could be due to inactive yeast or a too-cool rising environment. Always check that your yeast is fresh (it should foam when activated in warm water). Also, let your dough rise in a warm, draft-free area—consider placing it in an oven that’s turned off but still warm to the touch!
Is Vampire Bread safe for my dietary needs?
Yes! This recipe can easily adapt to various dietary restrictions. Use gluten-free flour for a gluten-free version and plant-based butter or oil to make it dairy-free. Just be mindful of the food coloring if you have allergic reactions—it’s best to opt for natural alternatives like beet juice!
This delightful Vampire Bread Recipe FAQs should clear any doubts you have while baking this spooky treat!
Delicious Vampire Bread: A Spooky Treat for Your Halloween Table
Ingredients
Equipment
Method
- In a large bowl, combine all-purpose flour, sugar, yeast, and salt. Gradually add warm water (about 110°F) and knead until smooth, taking about 8-10 minutes.
- Cover the bowl with a clean kitchen towel and let the dough rise in a warm spot for 1-2 hours, or until it has doubled in size.
- Gently punch down the risen dough to release air. Divide it into two equal portions, and color one half red and the other black using food coloring.
- On a floured surface, roll out each colored portion into flat rectangles. Layer the red and black dough together, carefully twist them together, and form it into a loaf shape.
- Place your shaped loaf onto a baking sheet and let it rise for another 30 minutes.
- Preheat your oven to 350°F (175°C) and bake for about 30 minutes, or until the top is golden brown.
- Once baked, remove the loaf from the oven and cool on a wire rack before slicing.

